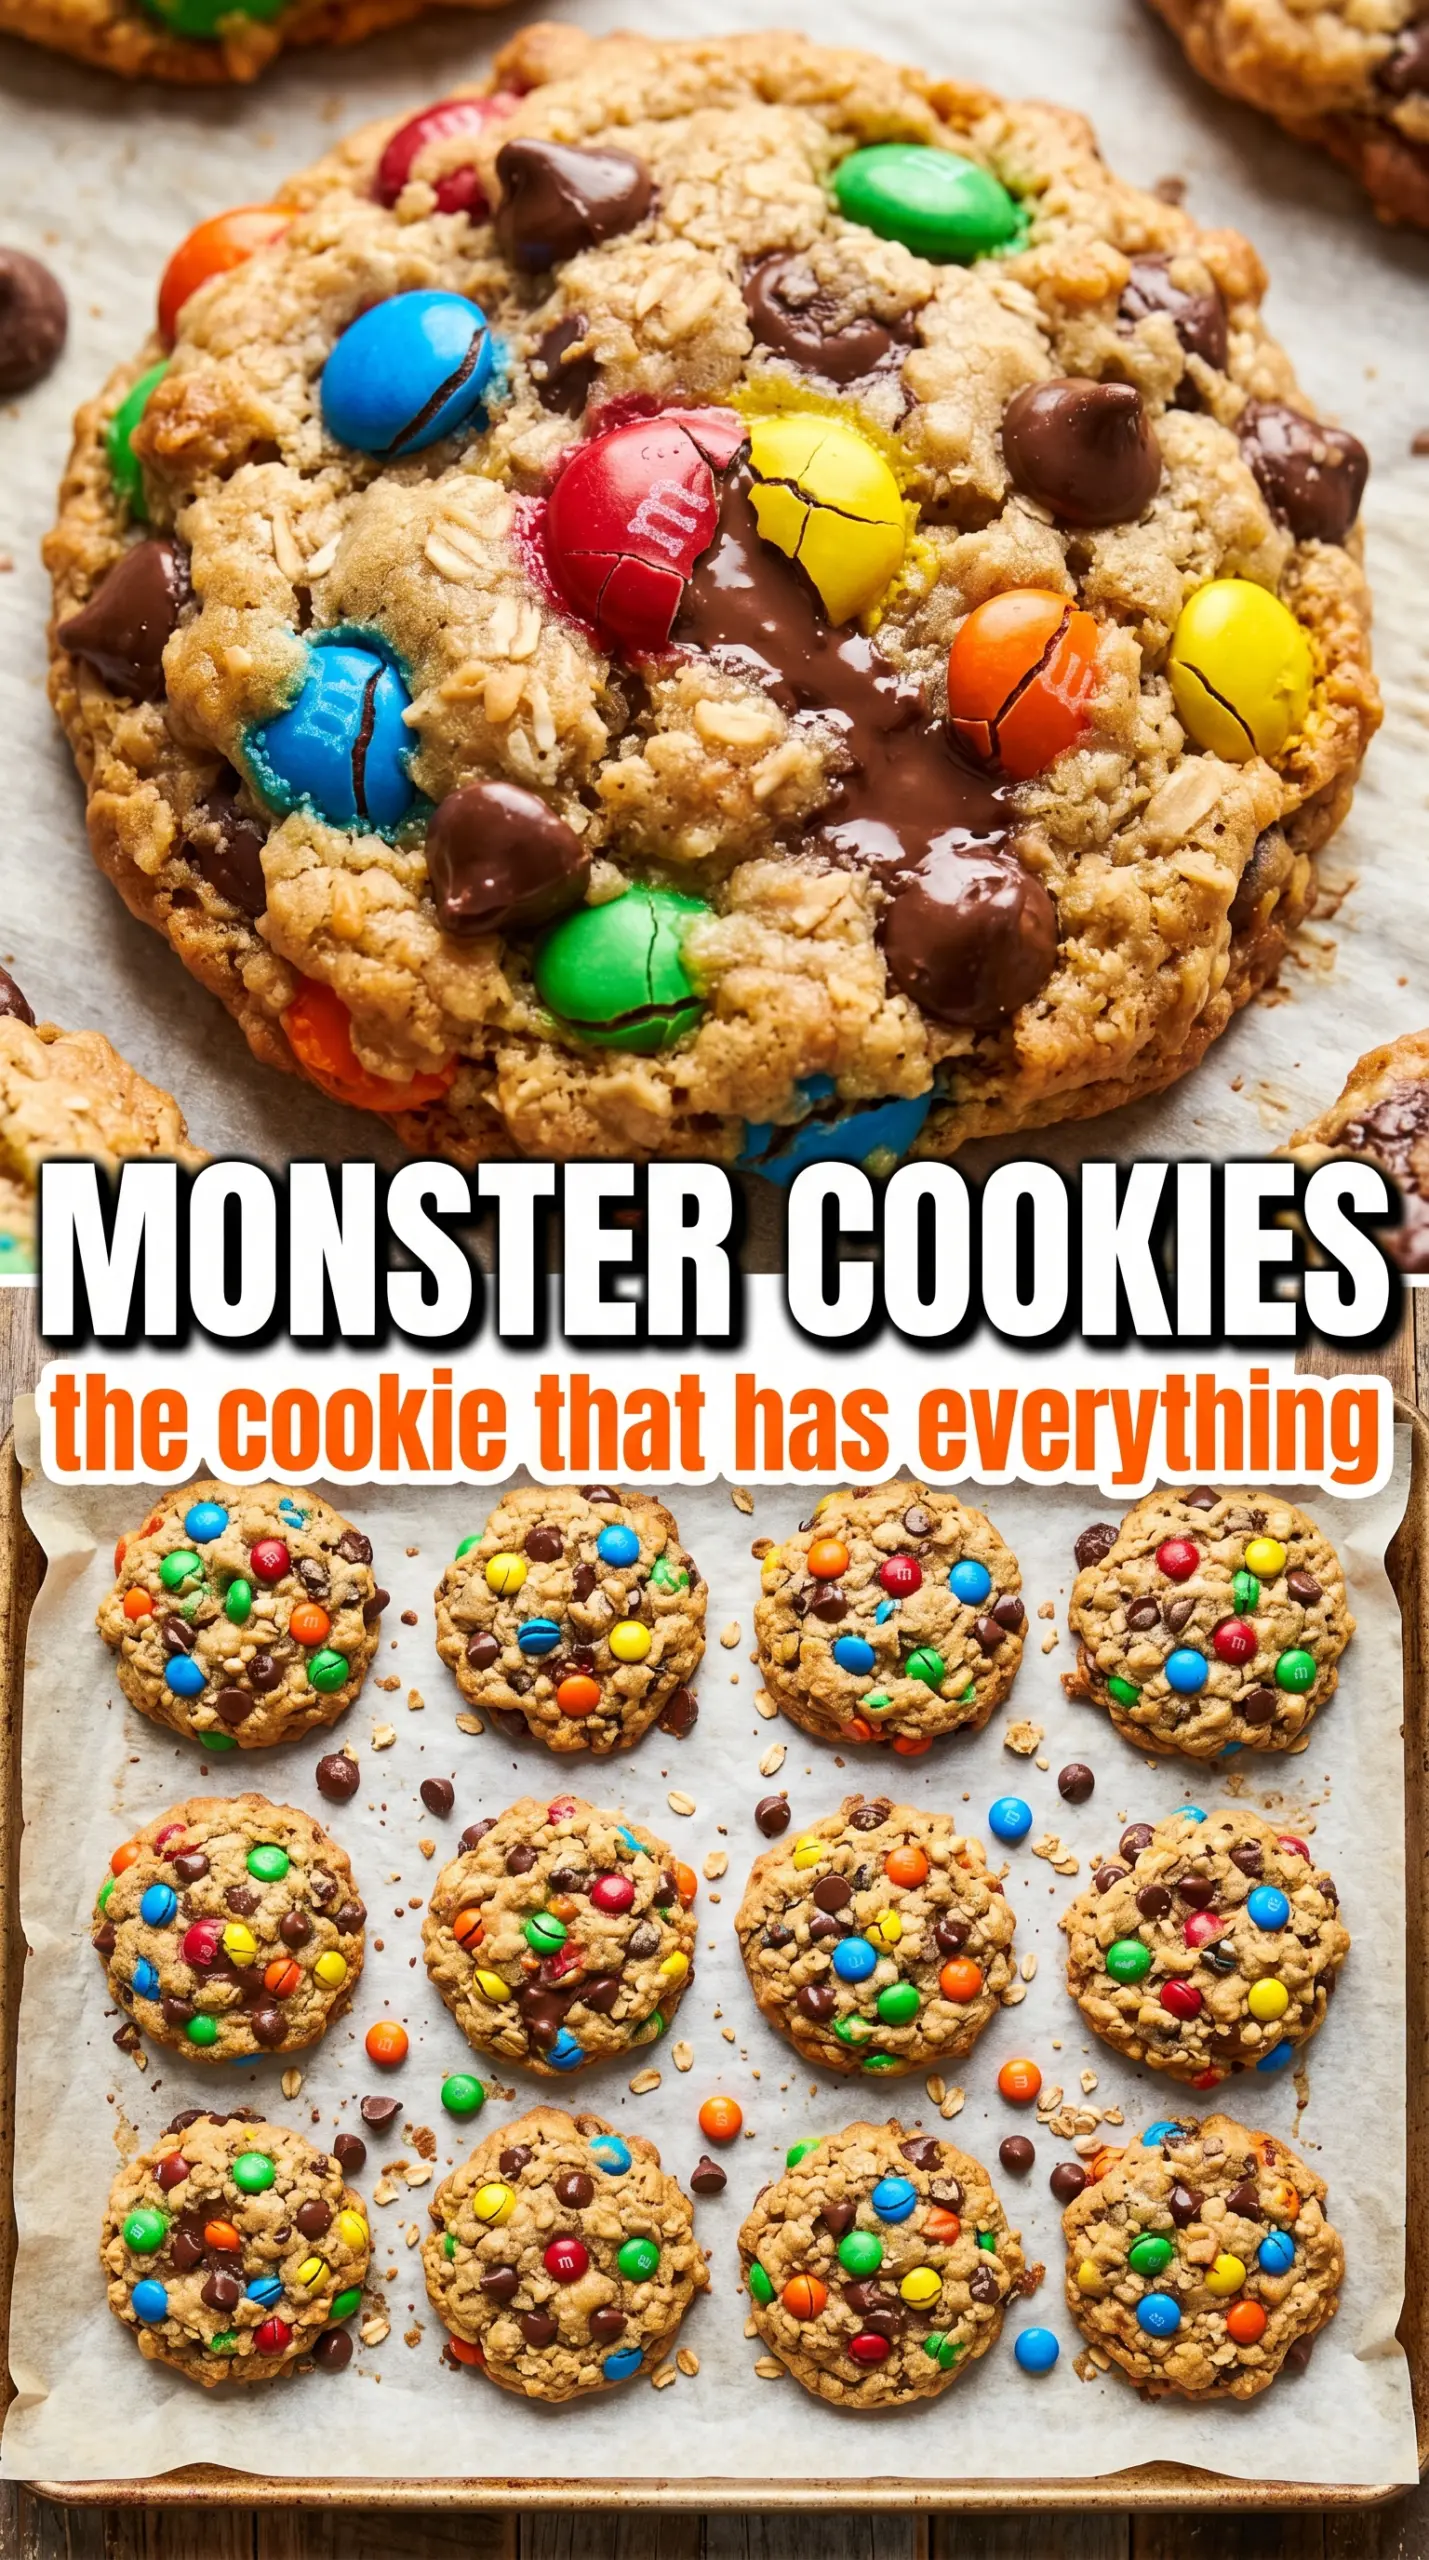
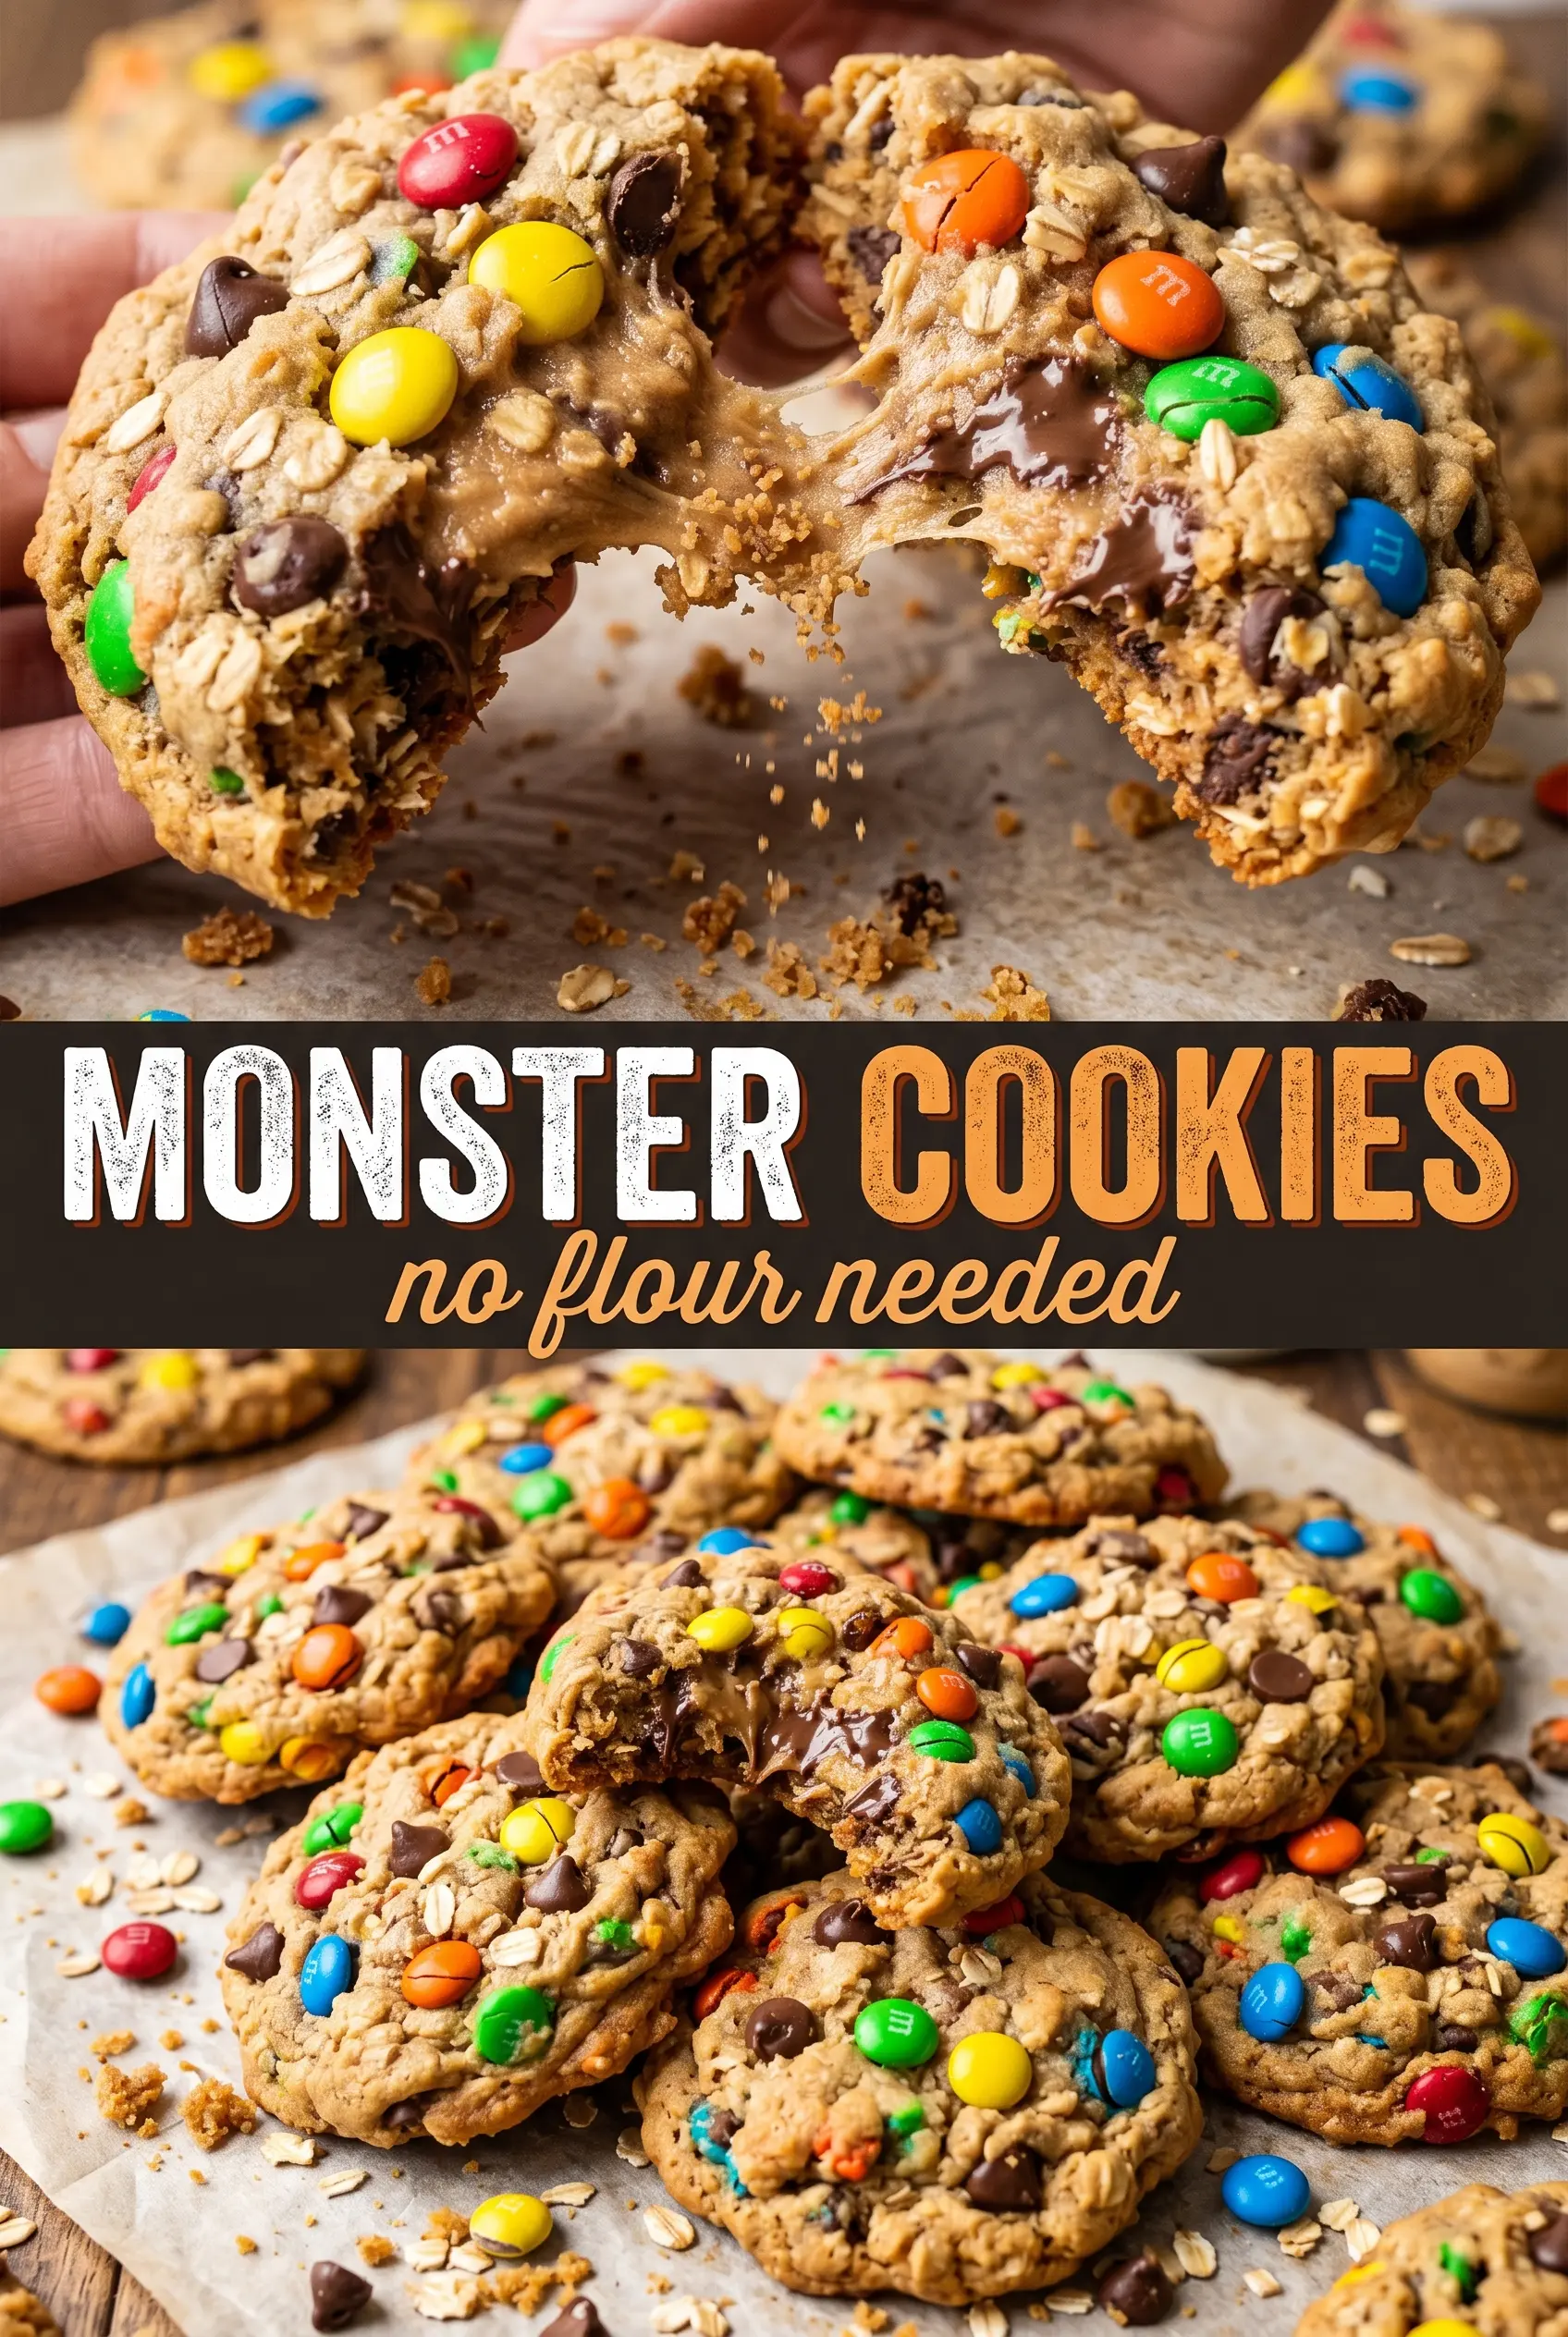
Monster cookies earn their place in the rotation because they deliver everything people want in one bite: a soft peanut butter center, chewy oats, and pockets of chocolate that stay melty long enough to matter. The edges set into a light golden ring while the middle stays tender, which is exactly what keeps these from turning dry or crumbly.
The trick is keeping the dough simple and sturdy. Peanut butter carries the structure here, so there’s no flour to fuss with and no creaming butter until it looks right. Oats bring chew and bulk, while the mix of regular and mini chocolate chips gives you both visible chocolate chunks and little bursts throughout the cookie. The M&Ms go in at the end so they hold their shape and color instead of streaking through the dough.
Below you’ll find the small details that matter most, including how to keep the cookies thick instead of spreading too much and how to swap the candy colors for a holiday or team version without changing the texture.
The centers stayed soft and chewy after cooling, and the mix of M&Ms and mini chocolate chips made every bite taste different in a good way. I baked mine for 11 minutes and they came out thick instead of flat.
Keep these thick, chewy monster cookies handy for the days when you want a no-flour cookie packed with oats, peanut butter, and candy in every bite.
The Part That Keeps Monster Cookies Thick Instead of Spreading
Monster cookies can go from chunky and soft to thin and greasy if the peanut butter base is too loose or the dough gets overmixed after the oats go in. This version stays thick because the sugars are balanced, the oats absorb moisture, and the cookies are scooped while the dough is still sturdy. The goal is a dough that holds its shape on the baking sheet before it ever goes into the oven.
If your cookies usually spread, the problem is almost always in the mix. Natural peanut butter can work, but it needs to be stirred extremely well and it often makes a softer dough, which means more spreading. A standard creamy peanut butter gives the most reliable result here. Baking just until the edges set and the centers still look a little underdone is what keeps that soft center after cooling.
- Peanut butter — This does the structural heavy lifting, so use a no-stir creamy peanut butter for the most dependable texture. Natural peanut butter tends to make the dough looser and can cause more spread.
- Quick-cooking oats — Quick oats blend into the dough better than old-fashioned oats and give you that classic monster cookie chew without making the cookies feel bulky or rough.
- M&Ms and chocolate chips — The candy-coated pieces stay colorful and distinct, while the chocolate chips melt into the dough and make the cookies taste richer. The mix of both gives better texture than using just one or the other.
What Each Ingredient Is Doing in These Cookies
- Brown sugar — Adds moisture and helps the cookies stay soft for days. Packed brown sugar also deepens the peanut butter flavor.
- Granulated sugar — Gives the edges a little more crispness and keeps the texture from turning too dense.
- Eggs — These bind the dough and help the cookies puff and set. Three eggs may look like a lot, but they’re part of what makes monster cookies hold together without flour.
- Vanilla extract — Rounds out the peanut butter and chocolate. A good vanilla matters here because the ingredient list is short.
- Baking soda — Helps the cookies spread just enough and gives the edges a lighter bite. Don’t leave it out or the cookies will bake up heavier and flatter in a dull way.
Getting the Dough Together Without Losing the Chew
Building the Peanut Butter Base
Start by mixing the peanut butter with both sugars until the mixture looks thick and evenly blended. You don’t need to whip air into it; you’re aiming for a smooth paste that can hold the eggs. If the sugars still look grainy, keep mixing until the mixture turns glossy and the peanut butter lightens a little. That step gives the cookies a more even texture instead of pockets of dry sugar.
Adding the Eggs and Dry Ingredients
Mix in the eggs, vanilla, and baking soda until the dough looks smooth before the oats go in. The dough will loosen at first, then tighten once the oats are added. Stir the oats in just until they’re fully coated and the mixture looks uniform. Overmixing at this stage can make the cookies tougher, especially once the oats start absorbing the moisture.
Folding in the Candy and Chips
Add the M&Ms and both kinds of chocolate chips last so they stay intact and don’t get crushed. Fold gently and stop as soon as the candy looks evenly distributed. Scoop the dough into 2-tablespoon portions and flatten them slightly with your palm; these cookies should look thick before baking, not like rounded balls that will stay too tall in the center.
Baking to the Right Finish
Bake just until the edges are set and the centers still look a touch underdone. That slightly soft center is the whole point, because the cookies keep cooking on the hot pan after they come out of the oven. Let them sit on the baking sheet for five minutes before moving them to a wire rack. If you move them too soon, they can break while they’re still setting.
How to Change the Candy, Chocolate, or Texture Without Ruining the Cookie
Patriotic red, white, and blue monster cookies
Use red, white, and blue M&Ms and keep the rest of the dough the same. The color change is purely visual, so you get the same chewy texture with a holiday or game-day look. This works best when you reserve a few candies to press into the tops right before baking.
Gluten-free monster cookies
These are naturally flourless, so they already fit a gluten-free pattern as long as your oats and candy are certified gluten-free. The texture stays chewy and hearty, with no separate flour blend needed. That makes this one of the easier gluten-free cookies to get right the first time.
Peanut-free version
Swap in sunflower seed butter one-for-one. The cookies will taste a little earthier and may bake up slightly softer, but the oats still give them enough structure to hold together. If the dough seems looser than expected, chill it for 20 minutes before scooping.
Extra chocolate-heavy cookies
Swap out part of the M&Ms for more chocolate chips if you want a deeper chocolate bite and less candy-shell crunch. Mini chips spread more evenly through the dough, while larger chips create bigger pockets of melted chocolate. Either way, keep the total mix-in amount about the same so the dough doesn’t fall apart.
Storage and Reheating
- Refrigerator: Store in an airtight container for up to 5 days. The cookies stay chewy, though the oats soften slightly as they sit.
- Freezer: These freeze well. Freeze baked cookies in a single layer, then transfer to a sealed bag for up to 2 months. You can also freeze scooped dough balls and bake from frozen, adding 1 to 2 minutes.
- Reheating: Warm a baked cookie in the microwave for 8 to 10 seconds if you want the chocolate soft again. Don’t overheat them or the peanut butter base can turn greasy and the edges get hard.
Questions I Get Asked About This Recipe
Monster Cookies
Ingredients
Equipment
Method
- Preheat the oven to 350°F and line two baking sheets with parchment paper.
- Beat the peanut butter, brown sugar, and granulated sugar together in a large bowl until combined.
- Add the eggs, vanilla, and baking soda and mix until smooth, looking glossy and fully incorporated.
- Stir in the quick-cooking oats until fully incorporated, then fold in the M&Ms and both kinds of chocolate chips so they’re evenly distributed.
- Scoop the dough into 2-tablespoon balls and place them 2 inches apart on the prepared baking sheets, flattening slightly with your palm so they spread evenly.
- Bake for 10–12 minutes at 350°F until the edges are set but the centers look slightly underdone, with a lightly golden rim.
- Let the cookies cool on the baking sheet for 5 minutes, then transfer to a wire rack where they firm up as they cool.