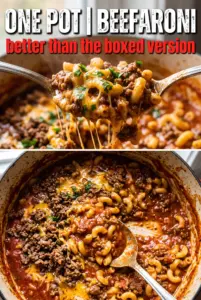
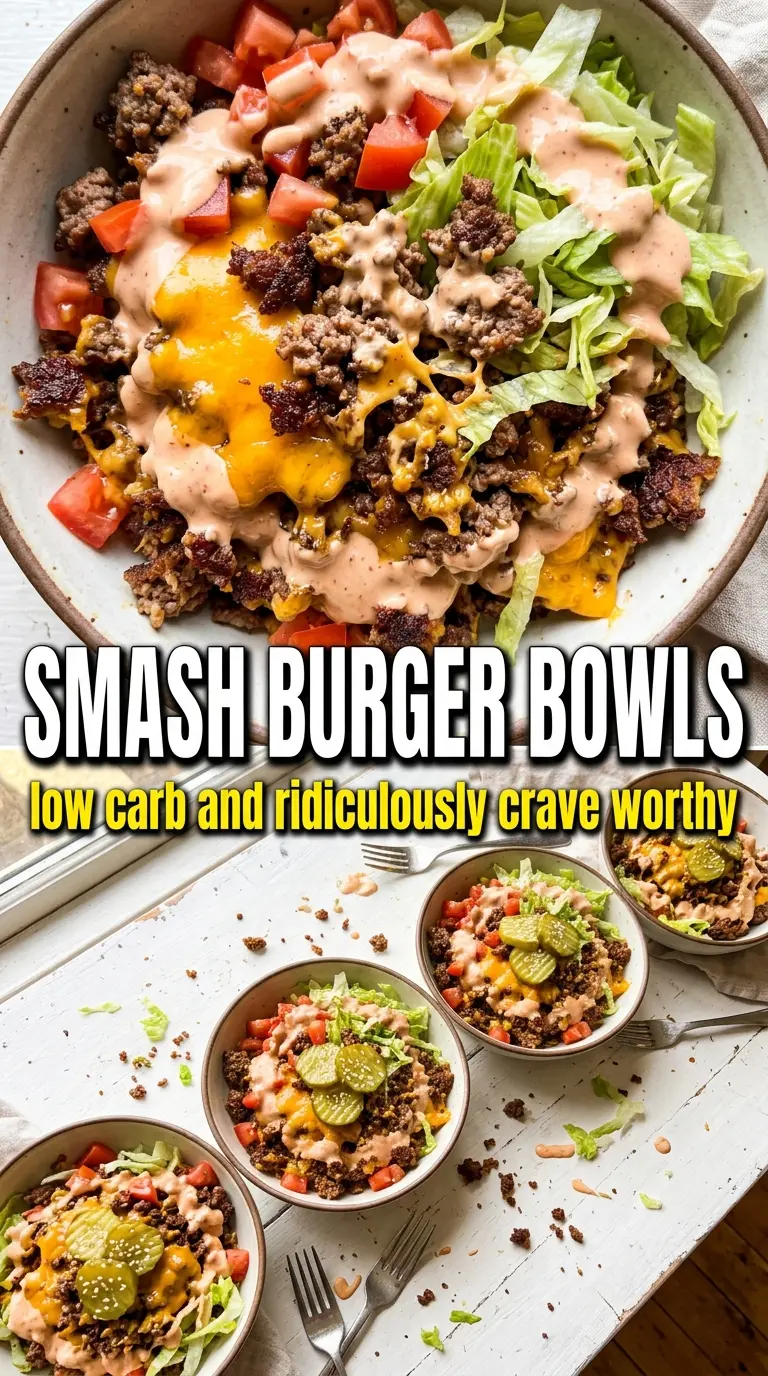
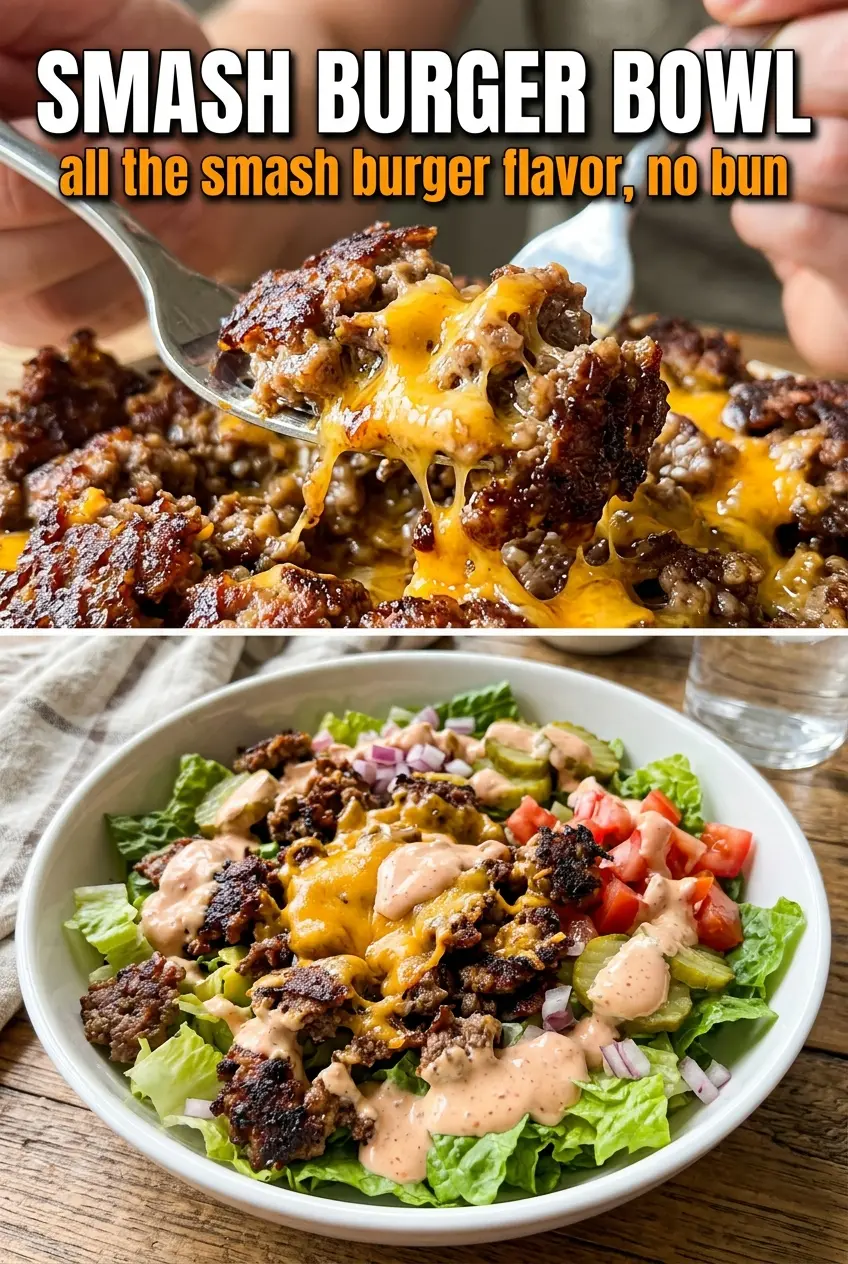
All the best parts of a smash burger hit the bowl here: crisp-edged beef, melted American cheese, cold shredded lettuce, pickles, onion, and that tangy special sauce tying everything together. It eats like a burger you can scoop with a fork, but nothing gets soggy if you build it in the right order.
The key is treating the beef like actual smash burgers, not loose crumbles. High heat gives you the browned edges and savory crust, and the cheese melts best when it goes on as soon as you flip the patties. The sauce gets a little more balanced after a short chill, which keeps the mayo from tasting flat and lets the pickle relish and mustard settle in.
Below, I’ve included the trick that keeps the patties from steaming, plus a few swaps if you want this more low-carb, dairy-free, or closer to a classic burger night plate.
The patties got those crispy little edges even in the bowl, and the sauce was spot on with the pickles and mustard. My husband said it tasted like a diner burger without the bun.
Save this smash burger bowl for the nights when you want crispy beef, special sauce, and a low-carb burger fix in one pan.
The part most bowls get wrong: the beef has to sear, not steam
If the pan isn’t screaming hot, this turns into browned ground beef instead of smash burger beef. That crust is the whole point. When the meat hits a smoking skillet and gets smashed thin right away, the edges lace up and crisp before the center has time to dry out. That’s what gives you the burger-shop texture even though everything ends up in a bowl.
The other mistake is crowding. Give the patties space in the pan so the moisture can evaporate fast. If the meat sticks a little when you smash it, that’s a sign you need a better preheated skillet, not more oil. A cast iron pan works best here because it holds heat when the cold beef goes in.
- 80/20 ground beef — This blend gives you enough fat for flavor and browning without leaving the bowl greasy. Leaner beef can work, but it cooks up drier and won’t give you the same savory crust.
- American cheese — It melts into that smooth, nostalgic burger layer that cheddar can’t quite match. If you swap it, choose a sliceable melting cheese and add it right after flipping so it softens from the residual heat.
- Iceberg lettuce — Don’t replace this with delicate greens if you want the same crunch. Iceberg stays crisp under the hot beef and sauce, which keeps the bowl from collapsing into a soft pile.
- Special sauce — The mayo base carries the ketchup, mustard, relish, and vinegar without breaking. If you use a thicker relish or very sweet ketchup, taste it after chilling and add a tiny splash more vinegar if it needs lift.
What Each Ingredient Is Actually Doing in This Recipe
- Primary ingredient (the star) — Quality matters most. Choose the best you can find.
- Cooking medium (oil, butter, or broth) — This carries flavors and prevents dryness.
- Seasonings (salt, pepper, spices, herbs) — Layer flavors so nothing overpowers. Build depth gradually.
- Aromatics (garlic, onion, herbs) — Cook with fat to bloom flavors. Become the foundation.
- Supporting ingredients — Complement the main ingredient without overpowering it.
- Sauce or liquid (if applicable) — Brings flavors together. Balance richness with acid.
- Acid (lemon, vinegar, wine, or other) — Brightens and prevents flat-tasting results.
- Final finish (garnish, glaze, or sauce) — Prevents one-dimensional taste and adds visual appeal.
Building the bowl so every bite tastes like a real burger
Start with the lettuce in the bottom of each bowl. It acts like a cold bed that catches the drips from the sauce and cheese without going limp right away. The tomatoes, onion, and pickles add brightness and crunch, but they work best when the hot beef is still the main event.
Cook the patties in two batches if your pan is smaller. The moment the patties are flipped, add the cheese so it softens while the second side finishes. Stack two patties per bowl for the full smash burger effect, then drizzle the sauce over the top instead of stirring it through everything; that keeps each forkful layered instead of muddy.
Whisking the special sauce
Mix the mayo, ketchup, mustard, relish, garlic powder, and vinegar until smooth, then chill it while you cook the beef. That short rest helps the sauce thicken and taste more balanced. If it tastes sharp at first, give it another minute in the fridge before judging it. Warm sauce will always seem looser and less finished than cold sauce.
Smashing the patties hard and fast
Divide the beef into loose balls and season them right before they hit the skillet. Put them in the pan, smash them immediately with a stiff spatula, and leave them alone until the edges go deeply browned. If you try to move them too early, you’ll tear off the crust before it sets. Flip once and only once.
Assembling while the cheese is still soft
Build the bowls fast so the beef stays hot and the cheese stays glossy. Add the patties over the lettuce, scatter the tomatoes, pickles, and onion around them, then finish with sauce. If you wait too long, the beef cools and the cheese loses that gooey burger feel that makes the bowl work in the first place.
How to adapt this bowl without losing the burger shop vibe
Low-Carb and Keto Version
This recipe already leans low-carb, so the main job is keeping the sauce in check and avoiding sweet add-ins. Use full-fat mayonnaise, keep the tomatoes modest, and choose dill pickles over bread-and-butter pickles for less sugar and a sharper burger flavor.
Dairy-Free Version
Swap the American cheese for a dairy-free melting slice or leave it out and lean harder on the sauce and pickles for richness. The bowl still works, but it will eat a little less like a classic diner burger and a little more like a loaded beef salad.
Swap in Ground Turkey
Ground turkey can stand in, but it won’t brown the same way unless you add a little extra oil and keep the heat high. Use 93/7 turkey for the best balance, and don’t overcook it or the bowl turns dry fast.
Storage and Reheating
- Refrigerator: Store the beef, vegetables, and sauce separately for up to 3 days. The lettuce stays crisp much longer when it isn’t dressed ahead of time.
- Freezer: The cooked beef patties freeze well for up to 2 months. Freeze them flat in a single layer first, then pack them into a bag so they reheat evenly.
- Reheating: Reheat the beef in a skillet over medium heat until hot through. Don’t microwave it with the lettuce or sauce or you’ll end up with wilted greens and a greasy bowl.
Questions I Get Asked About This Recipe
Smash Burger Bowl
Ingredients
Equipment
Method
- Whisk mayonnaise, ketchup, yellow mustard, pickle relish, garlic powder, and white vinegar until smooth. Refrigerate while you prep the beef and toppings.
- Divide ground beef into 8 loose balls and season with salt and black pepper. Heat a cast iron skillet over high heat until smoking.
- Add the beef balls to the hot skillet and smash flat immediately with a spatula. Cook for 2 minutes, until the edges are lacy and brown.
- Flip the patties and cook briefly until ready to finish. Add a slice of American cheese to 4 patties, then stack two patties per serving.
- Divide shredded iceberg lettuce among four bowls. Top each bowl with the stacked smashed beef patties.
- Add cherry tomatoes, dill pickle chips, and diced white onion over the beef. Drizzle generously with special sauce and serve immediately.