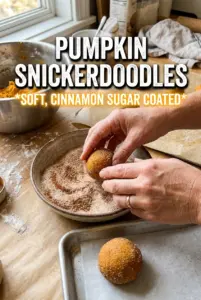
Soft pumpkin cookies with a thick vanilla-cinnamon glaze are the kind of dessert that disappears fast because they land between cake and cookie in the best possible way. The centers stay tender and cakey, the edges set just enough to hold their shape, and the glaze dries into a smooth shell that cracks lightly when you bite in. They look bakery-style without asking for much effort, which is exactly why they end up in my regular fall baking rotation.
What makes this version work is balance. There’s enough pumpkin for moisture and flavor, but not so much that the dough turns sticky or heavy. The butter and sugar are beaten first to give the cookies a little lift, then the dry ingredients go in just until combined so the texture stays soft instead of tight. The glaze is built thick on purpose; if it’s too thin, it slides off and never sets the way a proper glazed cookie should.
Below, I’ve included the small details that keep these cookies from spreading too much, plus the glaze consistency I look for every time so you can get that pretty finish without guesswork.
The cookies stayed soft and cakey after cooling, and the glaze set up just enough that it didn’t run all over the plate. I used a full spoonful on each one and they tasted like pumpkin bread in cookie form.
Glazed Pumpkin Cookies with that thick, set vanilla-cinnamon finish are the ones worth pinning for easy fall baking.
The Trick to Keeping Pumpkin Cookies Soft Instead of Puffy and Heavy
Pumpkin cookie dough is easy to get wrong because pumpkin brings moisture without much structure. If the dough is too wet, the cookies bake up cakey in a dense, bready way; if it’s overmixed, they turn tough around the edges before the centers set. The goal here is a soft, tender crumb that still holds a proper cookie shape.
Beating the butter and sugar first gives the dough a little air, which helps the cookies rise without spreading into flat puddles. Once the pumpkin goes in, the mixture may look a bit loose before the flour is added. That’s normal. The important part is stopping as soon as the dry ingredients disappear, because extra mixing develops gluten and knocks the texture from soft to rubbery.
- Pumpkin puree — Use plain pumpkin puree, not pumpkin pie filling. Pie filling is already sweetened and spiced, which throws off both the cookie texture and the glaze balance.
- Butter — Softened butter creams with the sugar and gives the cookies their lift. Melted butter won’t trap enough air, and the cookies will bake up flatter and heavier.
- Pumpkin pie spice plus cinnamon — The blend gives the cookies depth, while the extra cinnamon keeps the glaze from tasting flat. If you only have pumpkin pie spice, use it for both and reduce the cinnamon a bit.
- Flour — Spoon and level it. Too much flour dries out these cookies fast and mutes the pumpkin flavor, which is the main thing you want to taste.
What Each Ingredient Is Actually Doing in This Recipe
- Primary ingredient (the star) — Quality matters most. Choose the best you can find.
- Cooking medium (oil, butter, or broth) — This carries flavors and prevents dryness.
- Seasonings (salt, pepper, spices, herbs) — Layer flavors so nothing overpowers. Build depth gradually.
- Aromatics (garlic, onion, herbs) — Cook with fat to bloom flavors. Become the foundation.
- Supporting ingredients — Complement the main ingredient without overpowering it.
- Sauce or liquid (if applicable) — Brings flavors together. Balance richness with acid.
- Acid (lemon, vinegar, wine, or other) — Brightens and prevents flat-tasting results.
- Final finish (garnish, glaze, or sauce) — Prevents one-dimensional taste and adds visual appeal.
What the Glaze Needs to Do Before It Hits the Cookies
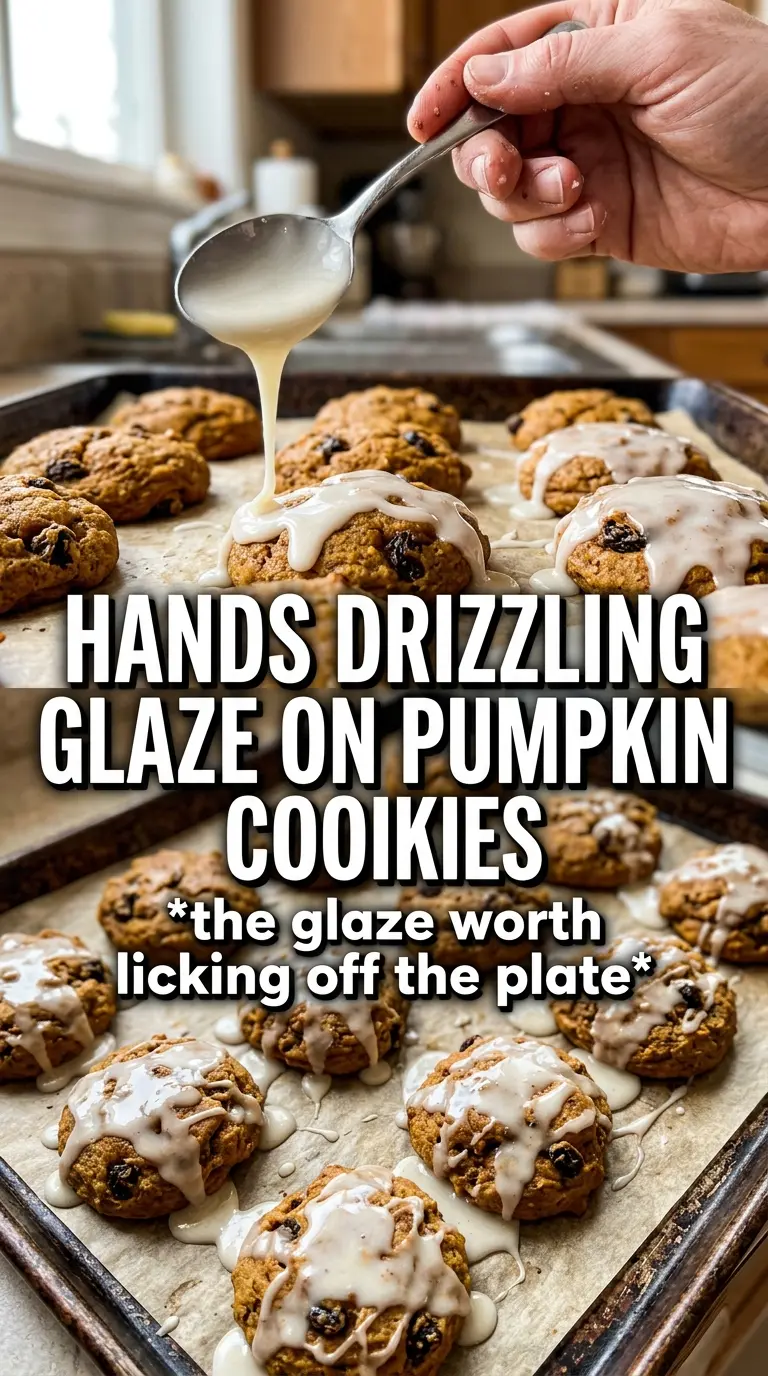
The glaze is just as important as the cookie base here. A thin glaze looks nice for about five minutes, then slides off the rounded tops and disappears into the crumb. A properly mixed glaze should spoon on thickly, spread on its own with a little help, and hold a soft finish once it sets.
Powdered sugar does the heavy lifting, but the melted butter gives the glaze a smoother mouthfeel and a little shine. Milk is the adjustment point: add only enough to make the glaze spreadable. If it runs off the spoon in a ribbon, it’s too thin. If it mounds and barely moves, that’s the texture you want for a neat coating that sets on top instead of soaking in.
- Powdered sugar — This is what makes the glaze set. Granulated sugar won’t dissolve the same way and will leave it gritty.
- Melted butter — It adds richness and helps the glaze stay glossy. If you skip it, the glaze tastes hollow and chalky.
- Milk — Start with the amount listed, then add a teaspoon at a time if needed. Different brands of powdered sugar absorb liquid differently, so the exact consistency matters more than the exact measurement.
- Vanilla and cinnamon — These pull the glaze into the same warm lane as the cookie. Don’t skip the cinnamon; it keeps the topping from tasting one-note sweet.
From Thick Dough to Set Glaze Without Losing the Soft Center
Creaming the Base
Beat the butter and sugar until the mixture looks lighter in color and a little fluffy. That step gives the cookies structure before the pumpkin goes in. Once you add the pumpkin, egg, and vanilla, the batter may look slightly curdled or loose, but it will come together once the flour is folded in. If the butter was too cold, you’ll see little bits instead of a smooth mixture, and the cookies won’t spread evenly.
Folding in the Dry Ingredients
Add the flour, leavening, spices, and salt in one go, then mix only until you stop seeing dry streaks. The dough will be thick and sticky, more like a soft drop cookie batter than a roll-and-cut dough. That’s what you want. If you keep mixing after the flour is incorporated, the cookies can turn bready and lose that tender middle.
Portioning for the Right Shape
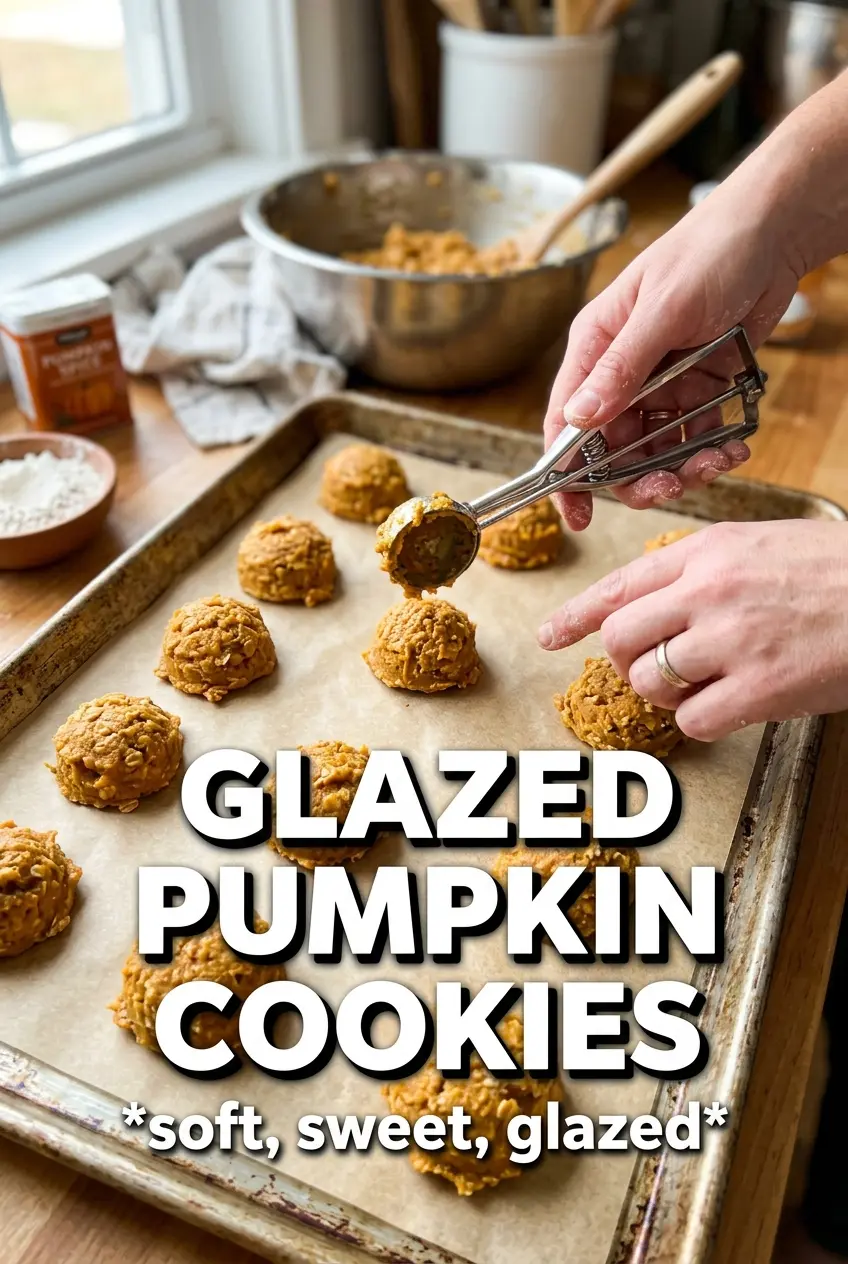
Drop the dough in 2-tablespoon rounds onto a lined baking sheet with room between each one. These cookies spread modestly, but crowding them can keep the edges from setting properly. If your dough looks too loose to scoop cleanly, chill it for 15 minutes. That small pause makes the mounds hold their shape better in the oven.
Baking Until Just Set
Bake at 350°F until the tops look puffed, the edges are set, and the centers still look slightly soft, about 10 to 12 minutes. They should not look deeply browned. If you wait for a dark color, they’ll go past tender and dry out as they cool. Let them rest on the pan for a couple of minutes before moving them, because the centers finish setting from residual heat.
Glazing at the End
Cool the cookies completely before glazing them or the topping will melt and disappear. Spoon the glaze over the center of each cookie, then nudge it toward the edges so some of it drips slightly for that bakery look. Give the glaze 20 to 30 minutes to set before stacking or serving. If you rush this part, the tops smudge and the cookies stick together.
Three Ways to Make These Pumpkin Cookies Fit the Day You’re Having
Dairy-Free Glazed Pumpkin Cookies
Use plant-based butter in both the cookies and glaze, then swap the milk for an unsweetened non-dairy milk. The cookies will still be soft and cakey, but the glaze may set a little less firmly depending on the butter you use, so keep it on the thick side.
Gluten-Free Version
A 1:1 gluten-free baking flour works best here because the recipe depends on a soft drop-cookie texture, not a chewy one. Let the dough sit for 10 minutes after mixing so the flour can hydrate, then bake as written. The cookies may spread a touch less, but the texture stays tender.
Maple Glaze Swap
Replace part of the milk in the glaze with pure maple syrup for a deeper, woodsy sweetness that plays nicely with the pumpkin spice. Don’t use all maple syrup or the glaze can turn sticky instead of setting cleanly. A partial swap keeps the finish glossy and firm enough to hold.
Storage and Reheating
- Refrigerator: Store in an airtight container for up to 5 days. The glaze stays intact, though the cookies soften a bit more by day two.
- Freezer: Freeze the unglazed cookies for up to 2 months. Thaw at room temperature, then glaze after they’re fully defrosted so the topping sets properly.
- Reheating: These are best served at room temperature. If you want a just-baked feel, warm an unglazed cookie for a few seconds in the microwave, then glaze it after it cools. Microwaving glazed cookies melts the topping and makes them sticky.
Questions I Get Asked About This Recipe
Glazed Pumpkin Cookies
Ingredients
Equipment
Method
- In a stand mixer, beat butter and sugar until creamy, then add pumpkin, egg, and vanilla and beat until smooth.
- Whisk together flour, baking soda, baking powder, pumpkin pie spice, cinnamon, and salt, then fold the dry ingredients into the pumpkin mixture until no dry streaks remain.
- Drop 2-tablespoon rounds onto a sheet pan, spacing them apart.
- Bake at 350°F for 10-12 minutes, until the edges look set and the centers still look soft.
- Let the cookies cool completely on the pan before glazing.
- Whisk powdered sugar, melted butter, milk, vanilla, and cinnamon until smooth, thick, and spoonable.
- Spoon a generous amount of glaze over each cooled cookie and spread slightly so it coats the top.
- Let the glaze set 20-30 minutes before serving so it becomes thick and holds its shape.