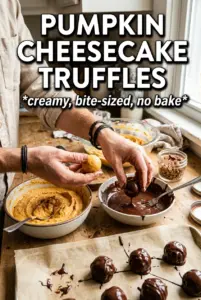
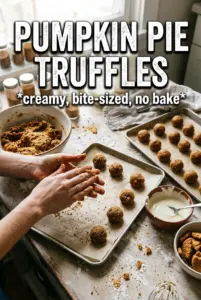
Pumpkin pie truffles taste like the best part of a holiday dessert tray in one neat, chocolate-dipped bite. The filling turns creamy and spiced, with just enough graham cracker crunch to echo a real pie crust, and the chocolate shell keeps everything tidy instead of soft and messy. They’re the kind of dessert people reach for first because they look polished, but the flavor is cozy and familiar the second you bite in.
The trick is managing moisture. Pumpkin puree carries a lot of water, and if you add it straight from the can, the filling turns loose and hard to roll. Blotting it dry first keeps the texture thick enough to chill into firm balls. Cream cheese gives the center that cheesecake-like richness, while graham cracker crumbs reinforce the pie-crust flavor and help the mixture hold its shape. A little coconut oil in the chocolate makes dipping smoother and helps the coating set with a clean finish.
Below, I’ve included the small details that matter most: how firm the filling should be before scooping, how to keep the chocolate from seizing, and a few swaps if you want to make these dairy-free or change the coating.
The filling chilled up beautifully and rolled without sticking, and the chocolate set fast enough that I could make a whole tray in one go. The graham cracker topping makes them taste like pumpkin pie instead of just pumpkin candy.
Save these Pumpkin Pie Truffles for a no-bake dessert that sets up creamy, dips cleanly in chocolate, and tastes like pumpkin pie in bite-size form.
The Moisture Step That Keeps These Truffles From Going Soft
The biggest mistake with pumpkin truffles is treating pumpkin puree like it behaves the same way as cream cheese. It doesn’t. Even a few extra spoonfuls of liquid can turn the mixture sticky, which means the balls slump before they ever reach the chocolate. Blotting the pumpkin dry gives you a filling that chills into a scoopable dough instead of a soft paste.
Once the graham cracker crumbs go in, the mixture should feel thick and slightly tacky, like a dense cheesecake batter that has enough body to mound on a spoon. If it looks glossy or loose, it needs more chilling time before scooping. That short rest is what makes the shaping stage calm instead of frustrating.
- Blotted pumpkin puree — This keeps the mixture from turning watery. Lay the puree on paper towels and press gently until the towels pick up moisture, then measure what’s left.
- Cream cheese — Full-fat cream cheese gives the center its rich, truffle-like body. Reduced-fat cream cheese works, but the filling won’t set as firmly.
- Graham cracker crumbs — These do double duty here: they add pie-crust flavor and help the filling hold together. Crumbs from a box are fine.
What Each Ingredient Is Actually Doing in These Pumpkin Pie Truffles
- Powdered sugar and brown sugar — Powdered sugar smooths the filling without graininess, while brown sugar brings the warm molasses note that makes these taste more like pie filling. You can’t swap both for granulated sugar and get the same texture.
- Pumpkin pie spice, cinnamon, and ginger — Pumpkin pie spice gives the familiar base, cinnamon rounds it out, and ginger keeps the flavor from tasting flat. If you only have pumpkin pie spice, use a little extra and skip the separate spices.
- Vanilla — Vanilla softens the spice and makes the filling taste more like dessert than filling. It’s small, but it matters.
- Milk or semi-sweet chocolate chips — Milk chocolate gives a sweeter, softer shell; semi-sweet makes the pumpkin center taste a little less candy-like. Use the chocolate you actually like eating, because it’s the first flavor you hit.
- Coconut oil — This loosens the melted chocolate just enough for dipping and helps it set with a smoother shell. If you skip it, the coating can get too thick and clumpy.
How to Roll, Chill, and Dip Without Losing the Shape
Build the Filling Until It Holds Its Own
Beat the cream cheese first until it’s smooth and completely free of lumps, then add the pumpkin, sugars, spices, and vanilla. The mixture should look uniform before the crumbs go in. If the cream cheese is still cold in little bits, those lumps stay in the finished truffles and make the texture uneven. Fold in the graham cracker crumbs last, then chill the bowl until the mixture feels firm enough to scoop cleanly.
Shape the Balls Before They Warm Up
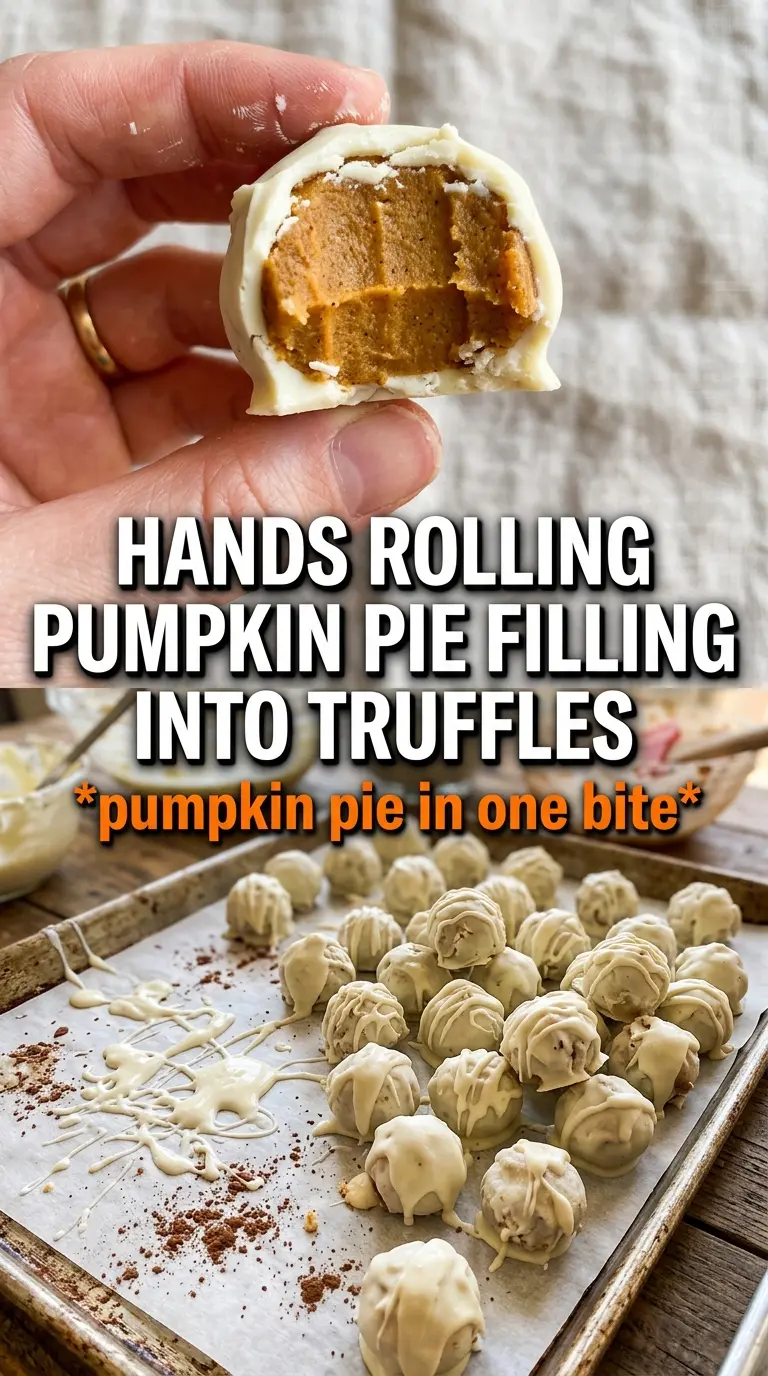
Use a small scoop or a spoon to portion the mixture into even mounds, then roll them between your palms quickly. Warm hands are enough to soften the filling, so work fast and return the bowl to the fridge if the mixture starts sticking. Once the balls are formed, freeze them briefly. That extra chill helps them survive the chocolate bath without slumping or cracking.
Dip in Thin, Smooth Chocolate
Melt the chocolate and coconut oil together until the mixture is glossy and fluid, not hot. If the chocolate runs thick, it coats unevenly and drags the truffles off shape. Dip one truffle at a time, let the excess drip off, and set it on parchment right away. Sprinkle the graham cracker crumbs and a pinch of pumpkin pie spice immediately, before the shell firms up.
Let the Shell Set Fully
These need a final chill in the refrigerator so the coating firms into a clean shell. If you try to move them too soon, the bottoms can smear and the toppings slide off. Once they’re set, they lift off the parchment with a neat edge and a creamy center that stays intact.
How to Adapt These When You Want a Different Finish
Dairy-Free Version
Use dairy-free cream cheese and dairy-free chocolate chips. The filling will still set, but it may be a touch softer, so give it the full chilling time before scooping and keep the balls cold until the last minute.
Gluten-Free Coating
Swap in certified gluten-free graham-style crumbs. The texture stays the same, and the flavor still reads like pumpkin pie crust, which is the whole point here.
White Chocolate Finish
White chocolate makes these sweeter and gives them a stronger pumpkin pie look, but it also sets a little softer than semi-sweet chocolate. Keep the coating thin and the truffles well chilled so they don’t drag when you dip.
Extra-Spiced Center
If you want a bolder pumpkin pie flavor, add a little more cinnamon and a pinch of ginger. Don’t overdo it, though, or the spice starts overpowering the cream cheese base and the truffles taste sharp instead of balanced.
Storage and Reheating
- Refrigerator: Store in an airtight container for up to 5 days. The chocolate stays firm, but the centers soften slightly as they sit.
- Freezer: Freeze in a single layer, then transfer to a container with parchment between layers. They keep well for about 2 months and thaw best in the refrigerator.
- Reheating: These don’t need reheating. Serve chilled or slightly softened from the fridge. The common mistake is leaving them at room temperature too long, which makes the coating tacky and the filling too soft.
Answers to the Questions Worth Asking
Pumpkin Pie Truffles
Ingredients
Equipment
Method
- Blot the pumpkin puree dry, then beat the cream cheese until smooth in a stand mixer.
- Add the blotted pumpkin puree, powdered sugar, brown sugar, pumpkin pie spice, cinnamon, ginger, and vanilla, and mix until fully combined.
- Fold in the graham cracker crumbs, then refrigerate for 30 minutes until the mixture firms up.
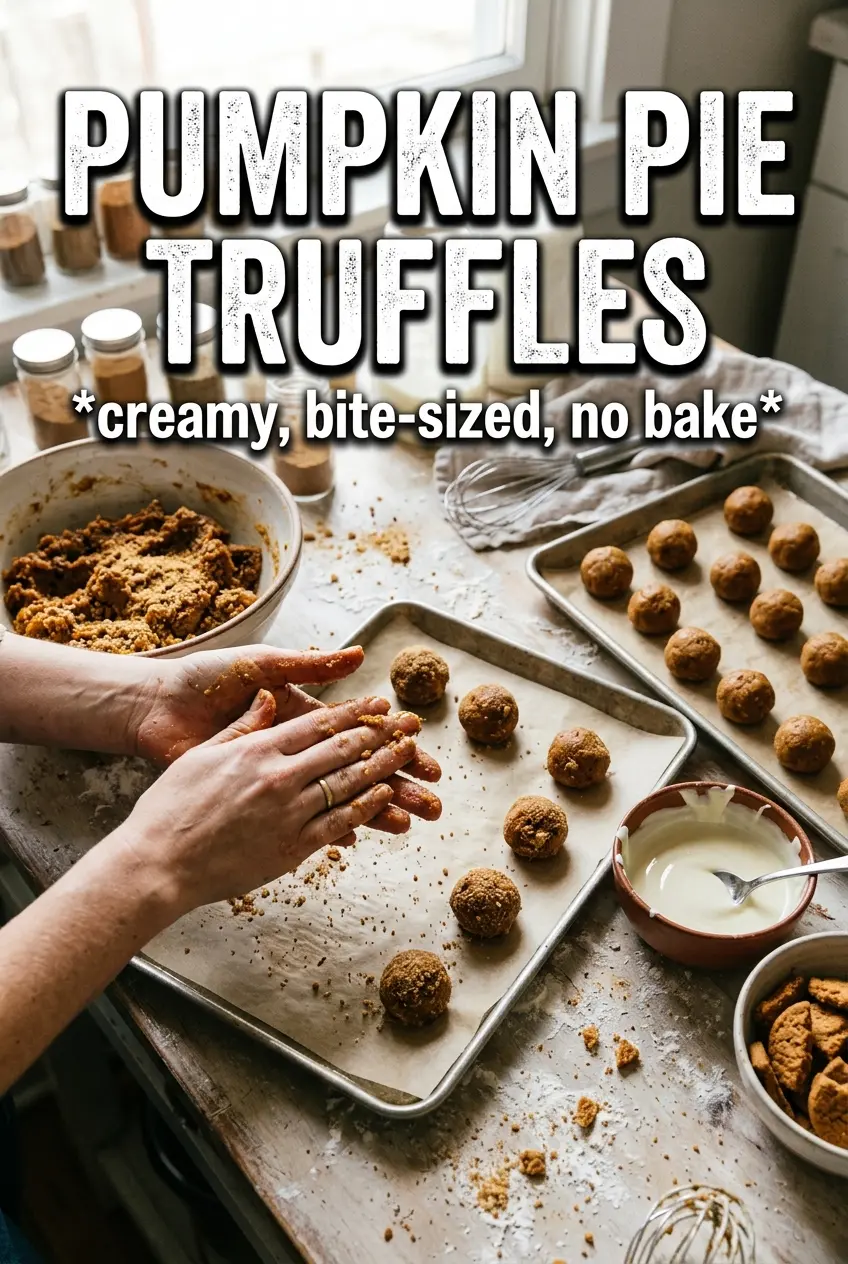
- Scoop and roll the mixture into 1-inch balls.
- Freeze the truffles for 20 minutes so they hold their shape during dipping.
- Melt the chocolate chips with coconut oil until smooth.
- Dip each truffle in the melted chocolate, then immediately sprinkle graham cracker crumbs and a pinch of pumpkin pie spice on top.
- Refrigerate the truffles until set.