Cool, creamy layers and a crisp graham cracker base make these No Bake Pumpkin Dream Bars the kind of dessert people keep going back for after the first square. The pumpkin filling tastes like a soft pumpkin pie mousse, but the chilled crust and whipped topping give it a lighter finish that slices cleanly and never feels heavy on the plate.
The key is balance: the cream cheese gets beaten smooth before the pumpkin goes in, which keeps the filling from turning lumpy, and the whipped topping is folded in instead of stirred hard so the mixture stays airy. A full chill gives the bars their clean edges and keeps the layers from sliding when you cut them.
Below, I’ve included the one crust detail that keeps it from crumbling, plus the easiest way to get neat squares if you’re serving these for a crowd.
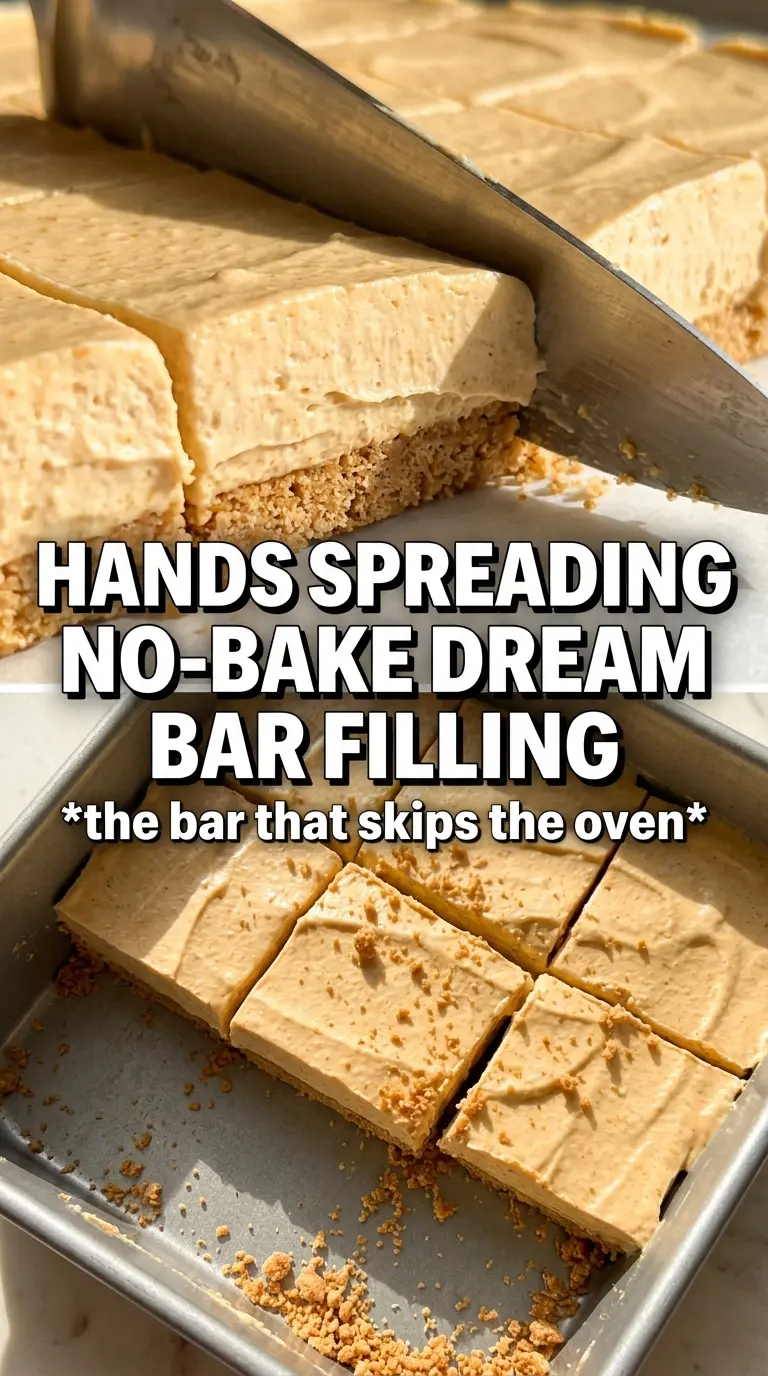
The filling set up beautifully after chilling overnight, and the gingersnap crumbs on top gave it just the right little crunch. Mine sliced into perfect squares without oozing everywhere.
Love the creamy pumpkin layer and cinnamon finish? Save these No Bake Pumpkin Dream Bars for the next time you need an easy chilled dessert with a gingersnap crunch.
The crust has to chill before the filling goes on
A no-bake bar lives or dies by the base. If the graham crust goes into the pan and the filling is spread on top right away, the butter is still soft and the crumbs slide around instead of setting into a clean layer. A short chill firms the crust just enough that the pumpkin layer can sit on top without sinking in or picking up crumbs.
The other thing that matters here is pressure. Pack the crust firmly into the pan with the bottom of a measuring cup or glass, paying attention to the corners and edges. A loose crust breaks apart the moment you lift the first bar, while a tightly pressed crust holds its shape and gives you that neat, bakery-style square.
What each layer is doing in these bars
- Graham cracker crumbs — These give the bars a familiar, sturdy base with just enough sweetness. Fine crumbs pack tighter than coarse ones, so pulse or crush them until they look like sand if you want clean slices.
- Cream cheese — This is what keeps the pumpkin layer from tasting flat. It has to be softened all the way through so it beats smooth; cold cream cheese leaves little lumps that never fully disappear once the whipped topping is folded in.
- Pumpkin puree — Use plain pumpkin puree, not pumpkin pie filling. Pie filling is already sweetened and spiced, which throws off the balance and can make the bars taste muddy.
- Whipped topping — This gives the filling its mousse-like texture and helps the bars set without baking. Fold it in gently so you keep the lightness; stirring hard deflates the mixture and makes it denser.
- Gingersnap crumbs — They add a sharp, snappy finish that plays against the soft filling. If you don’t have them, a light dusting of cinnamon works, but you’ll lose that spicy crunch on top.
Building the layers without smearing the filling
Pressing and chilling the crust
Mix the graham crumbs, sugar, and melted butter until every crumb looks evenly damp, then press the mixture into a 9×13-inch pan. The surface should feel compact and level, not sandy or greasy. Chill it for 20 minutes so the butter firms up and the crust stops shifting under the filling. If you skip this, the first spread of pumpkin mixture can pull the crust into streaks.
Whipping the pumpkin base smooth
Beat the cream cheese first until it looks completely creamy and no longer grainy at the edges of the bowl. Add the pumpkin, powdered sugar, pumpkin pie spice, cinnamon, and vanilla, and beat again until the mixture is silky and evenly colored. The failure point here is cold cream cheese; if you start with it straight from the fridge, the filling stays dotted with soft little lumps that show up in every slice.
Folding in the whipped topping
Use a spatula for this part and work in about two-thirds of the whipped topping until the mixture is light but still holds its body. Folding keeps the filling airy, which is what gives these bars their dream-like texture instead of a dense pumpkin layer. If you stir too aggressively, the filling loosens and takes longer to set.
Finishing and setting the bars
Spread the pumpkin filling over the chilled crust, then add the remaining whipped topping in an even layer. Dust with cinnamon and scatter the crushed gingersnaps over the top before the final chill. Refrigerate for at least 4 hours, and overnight is even better if you want very clean cuts. If the bars seem soft when you slice them, they just need more time cold; don’t rush them.
How to adapt these bars for different kitchens and cravings
Make them gluten-free
Swap the graham crackers for a gluten-free graham style cookie or gluten-free vanilla wafer crumbs. The texture stays close to the original, but some gluten-free crumbs absorb butter differently, so press the crust firmly and chill it well before adding the filling.
Use homemade whipped cream instead of Cool Whip
You can fold in 2 cups of softly whipped heavy cream in place of the whipped topping, but the bars will be a little less stable and best eaten within a day or two. Homemade whipped cream tastes fresher and richer, while Cool Whip gives the filling a firmer, longer-lasting set.
Dial the spice up or down
If you like a stronger pumpkin pie flavor, add another 1/2 teaspoon of pumpkin pie spice and a pinch of ginger. For a milder bar, cut the cinnamon a little and let the vanilla and cream cheese lead. The filling will still set the same way; you’re only shifting the spice balance.
Storage and Reheating
- Refrigerator: Store covered for up to 4 days. The crust softens a little after day one, but the bars still hold together well.
- Freezer: These freeze well. Cut into bars, wrap tightly, and freeze in a single layer before moving them to a container; thaw in the refrigerator so the topping doesn’t weep.
- Reheating: No reheating needed. Serve cold straight from the fridge, and wait to cut them until they’ve had enough time to firm up. Warm bars lose their clean layers and can slump when sliced.
Questions I Get Asked About This Recipe
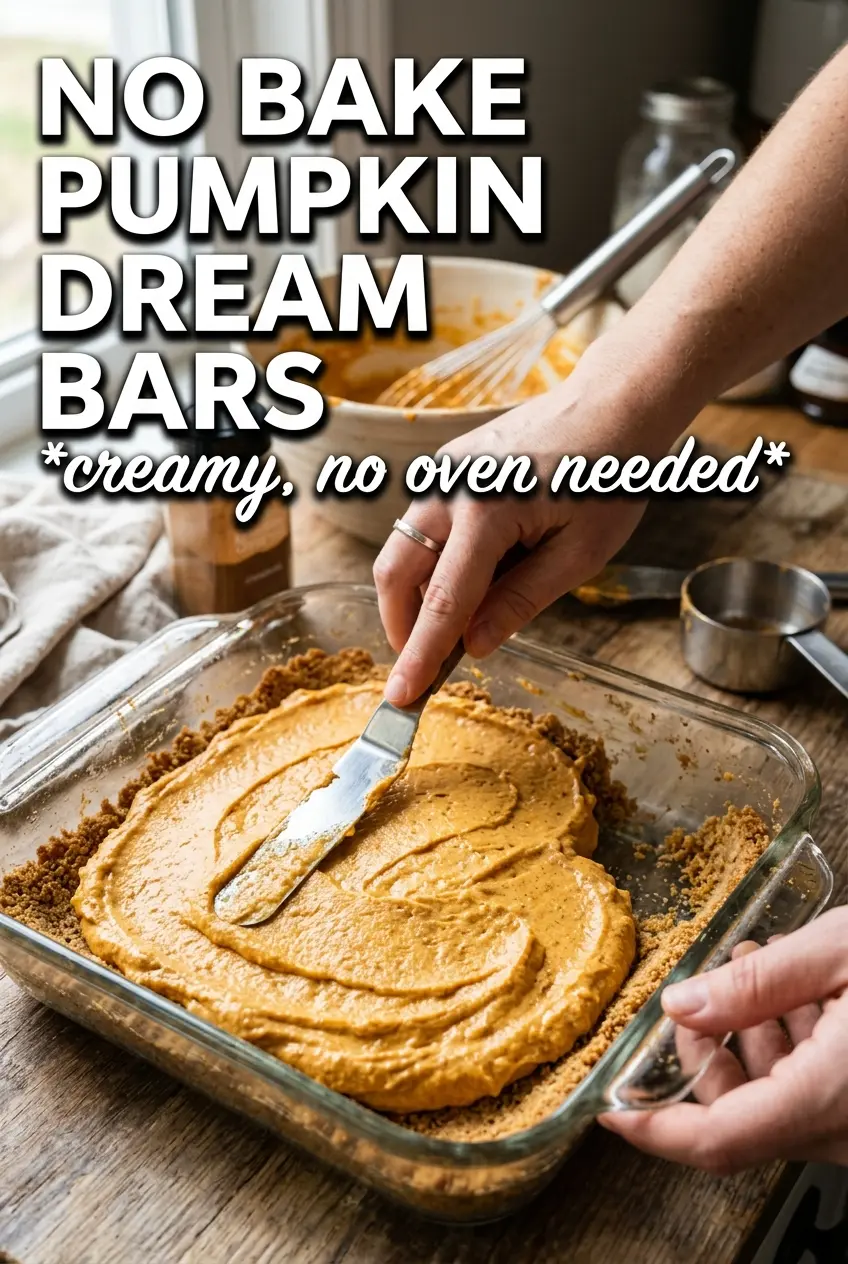
No Bake Pumpkin Dream Bars
Ingredients
Equipment
Method
- Press graham cracker crumbs, sugar, and melted butter into a 9x13 pan and press firmly into an even layer. Refrigerate for 20 minutes to set.
- Beat cream cheese until smooth. Add pumpkin puree, powdered sugar, pumpkin pie spice, cinnamon, and vanilla and beat until fully combined.
- Fold in 2/3 of the whipped topping until no streaks remain. Spread the pumpkin cream cheese layer over the chilled crust.
- Spread the remaining whipped topping over the pumpkin layer. Dust with cinnamon and scatter crushed gingersnap cookies.
- Refrigerate for 4 hours or overnight until firm. Cut into bars and serve.