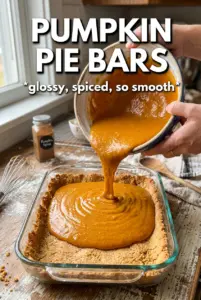
These pumpkin pie bars hit the sweet spot between a classic pie and an easy dessert you can cut into clean squares. The filling stays smooth and custardy, the oat crust bakes up buttery and crisp, and the crumble on top gives every bite a little extra texture instead of a plain pie top that can go soft by the next day.
The part that makes this version work is the two-stage bake. Pressing and pre-baking the crust first keeps the base from turning damp under the pumpkin filling, and reserving part of the oat mixture for the top gives you those toasted crumbles that stay pleasantly crisp. Cold butter matters here, too. It creates little pockets in the crust mixture that bake into a sturdy, tender base instead of a dense layer.
Below, I’ll walk through the crust, the filling, and the cooling time that makes the bars slice cleanly. That last part matters more than people think, and it’s the difference between neat dessert squares and a panful of pumpkin pudding.
The crust stayed crisp underneath and the filling set up beautifully after chilling. I loved that the crumb topping didn’t disappear into the pumpkin layer.
Love the buttery oat crumble and silky pumpkin filling? Save these pumpkin pie bars with oat crust for the next time you need an easy make-ahead dessert that slices cleanly.
The Crust Needs a Head Start, Not Hope
The biggest mistake with pumpkin bars is treating the crust like it can survive the filling without help. It can’t. Pumpkin filling is wet, and if you spread it over an unbaked oat base, the bottom layer turns soft before the center has a chance to set. That quick 12-minute pre-bake is what gives the bars their structure.
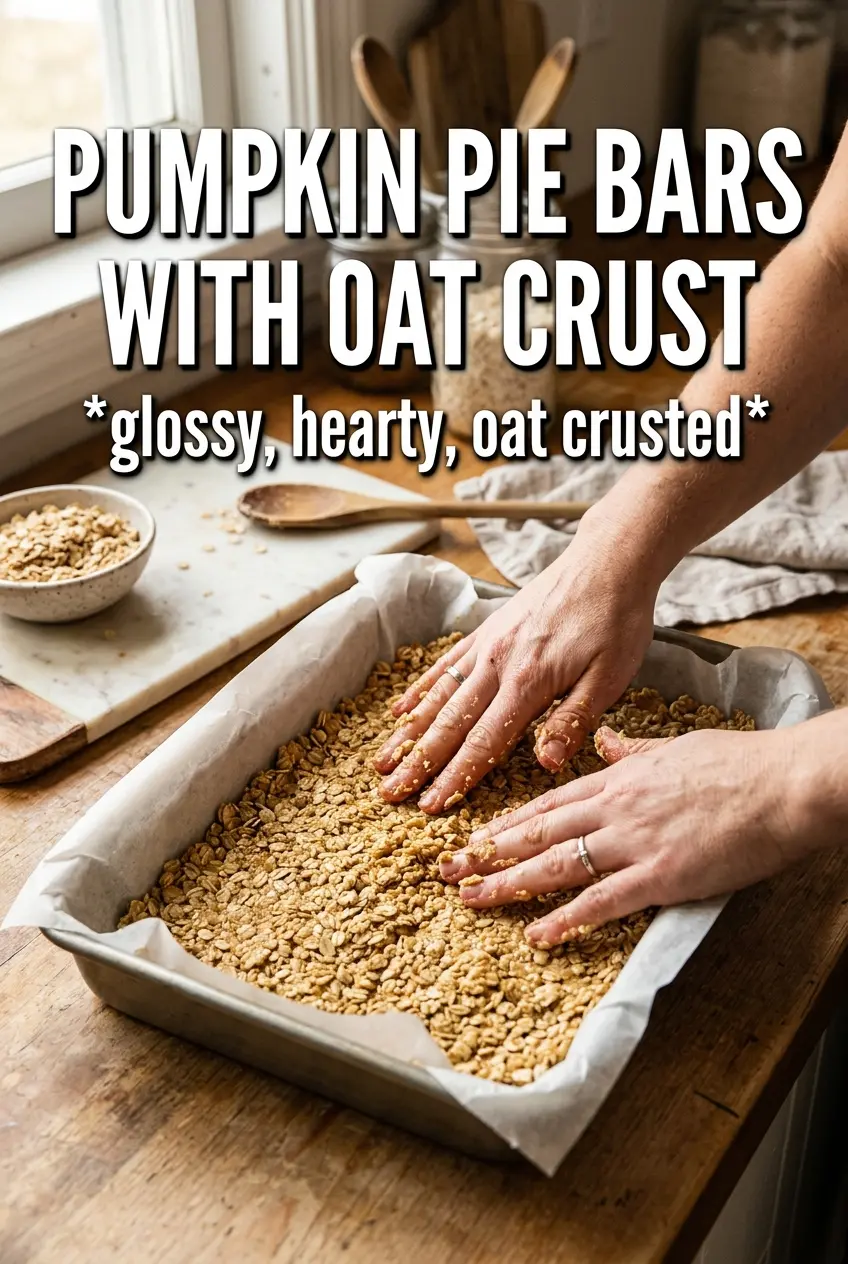
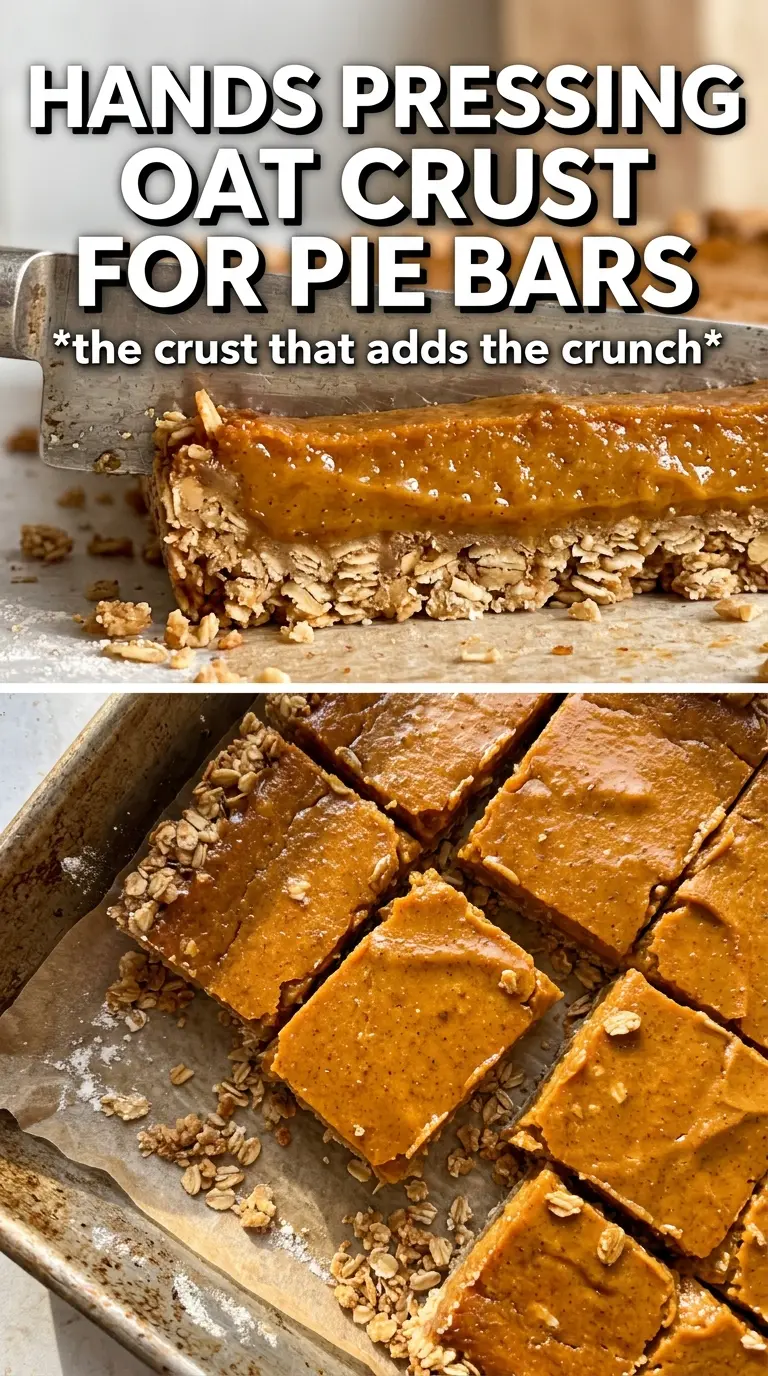
Press the crust in firmly enough that it holds together, but don’t pack it down like concrete. You want a compact base, not a brick. The reserved crumble on top should look loose and uneven, because those little ridges brown first and give you a better contrast against the smooth filling below.
- Cold butter keeps the crust tender and crumbly. Melted butter would make the mixture greasy and dense instead of sandy and crisp.
- Rolled oats give the base its chew and toasty edge. Quick oats can work in a pinch, but they bake into a softer, less textured crust.
- Parchment makes lifting and slicing much easier. These bars set firmly, and clean edges depend on being able to pull them out of the pan.
What the Filling Is Really Counting On
Pumpkin puree carries the flavor and body here, but evaporated milk is what makes the filling taste smooth and rich without turning heavy. It bakes into a custard that sets cleanly and stays sliceable after chilling. Regular milk will work only if you accept a looser set and a thinner texture.
The eggs are doing the setting, and the sugar keeps the pumpkin from tasting flat. Don’t skip the vanilla or the spice blend. The pumpkin alone is earthy and mild, and the cinnamon, ginger, and pumpkin pie spice keep the bars from tasting one-note.
Building the Bars So the Center Sets Cleanly
Mixing the Oat Crumble
Stir the oats, flour, brown sugar, cinnamon, and salt together first so the seasoning is distributed before the butter goes in. Cut in the cold butter until the mixture looks like damp gravel with some pea-size pieces left. If it turns into a paste, the butter got too warm and the topping will bake up flat instead of crumbly.
Pressing and Pre-Baking the Base
Use the back of a measuring cup or your hands to press most of the mixture into an even layer in the pan. Bake it until it looks set around the edges and just a little matte on top. This step gives the filling a stable landing spot and keeps the bars from collapsing when you cut them.
Whisking the Custard Filling
Whisk the pumpkin, evaporated milk, eggs, sugar, spices, salt, and vanilla until the mixture looks smooth and uniform. Scrape the bottom of the bowl so there are no streaks of egg hiding there. If the filling is lumpy before it goes into the oven, those lumps usually stay there.
Baking Until the Center Barely Moves
Pour the filling over the hot crust, scatter the reserved crumble over the top, and bake until the edges are set and the center has just a slight wobble. Don’t wait for the middle to feel firm in the oven. It keeps cooking as it cools, and overbaking is what makes pumpkin bars crack and turn dry.
How to Change These Bars Without Losing the Good Part
Gluten-Free Version
Use a 1:1 gluten-free all-purpose flour blend in place of the flour, and make sure your oats are certified gluten-free. The texture stays close to the original, though the crust may be a little more delicate when warm, so chilling before slicing matters even more.
Dairy-Free Swap
Replace the butter with a solid plant-based butter that bakes well, and use full-fat evaporated coconut milk if you can find it. The bars will still set, but the flavor gets a faint coconut note and the topping browns a little differently.
Maple-Sweetened Crumble
Swap part of the brown sugar in the crust for maple sugar if you want a deeper, less molasses-heavy sweetness. Don’t use liquid maple syrup here; it adds too much moisture and softens the crumble instead of helping it bake crisp.
Storing and Slicing Ahead
These bars are best after a full chill, so they’re a smart make-ahead dessert. Bake them the day before, cool completely, then refrigerate until firm enough to lift out and cut into neat squares.
Storage and Reheating
- Refrigerator: Store covered for up to 5 days. The crust stays best on day one and two, then softens a little under the filling.
- Freezer: Freeze the cut bars tightly wrapped for up to 2 months. Thaw overnight in the refrigerator so the filling doesn’t weep.
- Reheating: These are meant to be served chilled or at cool room temperature. If you want them slightly warm, heat only a single bar for a few seconds in the microwave; too much heat will loosen the filling and make the crust soggy.