These gluten-free pumpkin bars bake up soft, tender, and sturdy enough to hold a thick layer of cream cheese frosting without turning gummy or crumbly. The pumpkin stays front and center, but the bars still cut cleanly and taste like the kind of dessert people reach for twice because one piece never feels like enough.
The trick is using a gluten-free all-purpose blend with xanthan gum and keeping the batter straightforward. Pumpkin puree brings moisture, oil keeps the crumb plush, and the eggs give the bars enough structure to rise into a neat sheet instead of sinking in the middle. The frosting is built for balance, too: tangy cream cheese, a little butter for richness, and just enough spice to echo the bars underneath.
Below, you’ll find the one cooling step that keeps the frosting from melting, plus a few smart swaps for making these bars dairy-free or a little more spice-forward without losing that classic pumpkin-bar texture.
The bars stayed soft for days and the frosting set up thick enough to slice cleanly. I chilled them for 30 minutes like the recipe said, and that made all the difference.
Save these gluten-free pumpkin bars with cream cheese frosting for a tender, spiced dessert that cuts cleanly and tastes just like the classic version.
The Secret to Pumpkin Bars That Don’t Turn Dense or Gummy
Gluten-free pumpkin bars can go wrong fast if the batter gets overworked or the flour blend doesn’t have enough structure. The result is usually heavy in the middle, a little pasty at the crumb, or too delicate to lift from the pan without tearing. This version avoids that by leaning on a reliable gluten-free all-purpose blend with xanthan gum, which helps the bars hold together once they cool.
The other piece that matters is the balance of wet ingredients. Pumpkin puree adds moisture, but it doesn’t bring the same lift as eggs, so the four eggs in this batter aren’t just there for richness. They give the bars their lift and help set the crumb so the bars stay soft without collapsing. Stir the flour mixture in only until it disappears. Once the batter looks smooth, stop. Overmixing is the easiest way to get a tough, uneven bar.
What Each Ingredient Is Actually Doing in These Bars
- Gluten-free all-purpose flour blend with xanthan gum — This is the backbone of the bars. A blend that already includes xanthan gum helps trap air and hold moisture, which gives you a softer, less fragile crumb. If your blend doesn’t include xanthan gum, the bars may crumble when sliced.
- Pumpkin puree — Use plain pumpkin puree, not pumpkin pie filling. Pie filling has sugar and spices already added, which throws off the balance and can make the bars too wet or too sweet.
- Vegetable oil — Oil keeps these bars tender even after chilling. Butter can work, but it firms up more in the fridge and gives a tighter crumb. If you want the softest texture, stick with oil.
- Cream cheese and butter — The frosting needs both. Cream cheese gives the tang, while butter smooths out the texture so the frosting spreads instead of dragging across the bars.
- Cinnamon, pumpkin pie spice, and nutmeg — These spices don’t just flavor the bars; they carry the pumpkin note. The frosting gets its own spice layer, which makes each bite taste more complete instead of flat and sweet.
Building the Batter and Frosting So They Stay Light
Mix the dry ingredients first
Whisk the flour blend, baking powder, baking soda, pumpkin pie spice, cinnamon, and salt until the color looks even. That quick whisk keeps the leaveners from clumping in one spot, which matters more in gluten-free baking because you don’t have gluten to help smooth out uneven pockets. If you see little streaks of spice or flour, keep whisking.
Beat the wet ingredients until smooth
Eggs, sugar, oil, pumpkin, and vanilla should look glossy and fully combined before the flour goes in. The mixture will be thick and orange, with no visible ribbons of egg left behind. If it still looks streaky, keep mixing for another 20 to 30 seconds; uneven wet ingredients can give you patchy texture in the baked bars.
Fold, spread, and bake just until set
Once the flour goes in, fold only until the batter disappears. Spread it into the pan in an even layer, making sure it reaches the corners so the bars bake at the same rate. Pull them when a toothpick comes out clean or with a few moist crumbs; if the center still looks wet, give it a few more minutes, but don’t wait for the top to brown deeply or the bars will dry out.
Frost only after the bars are cool
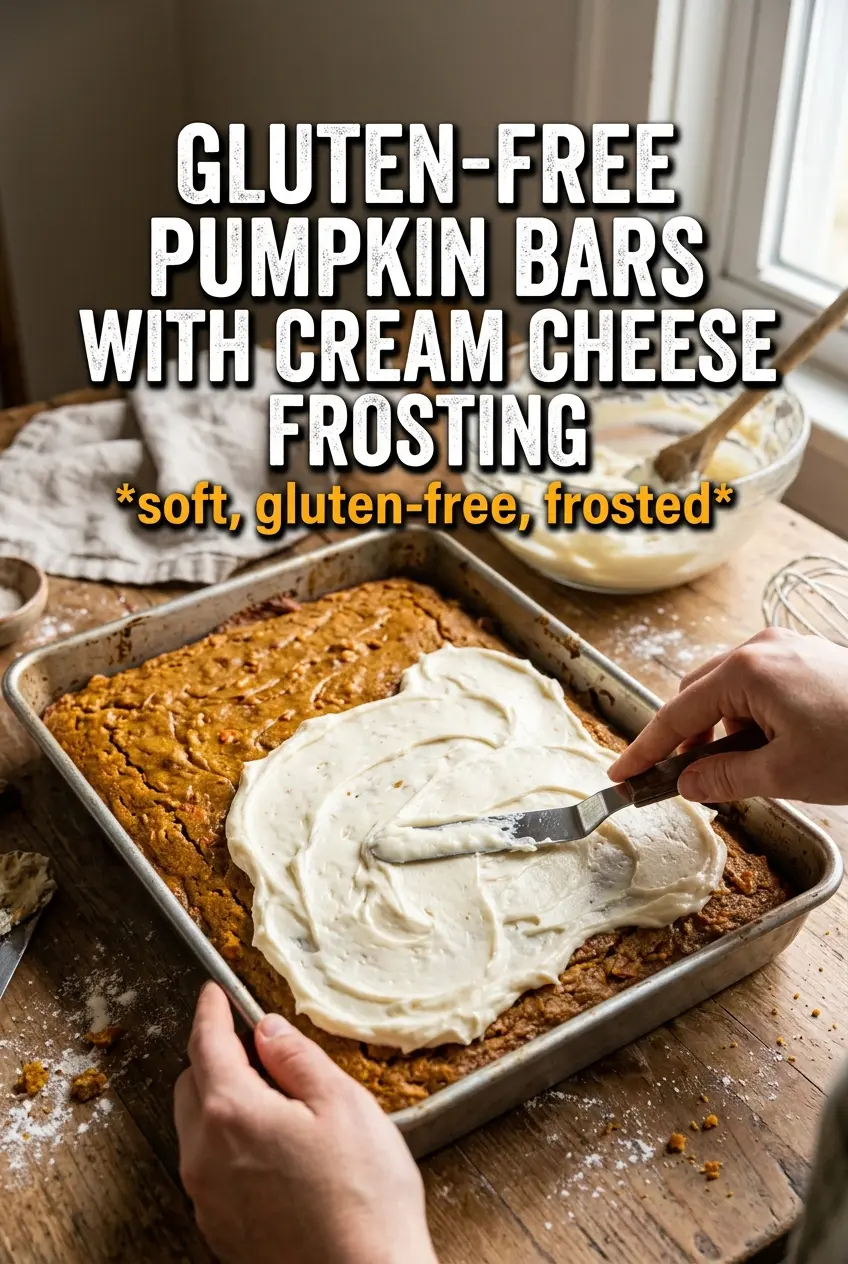
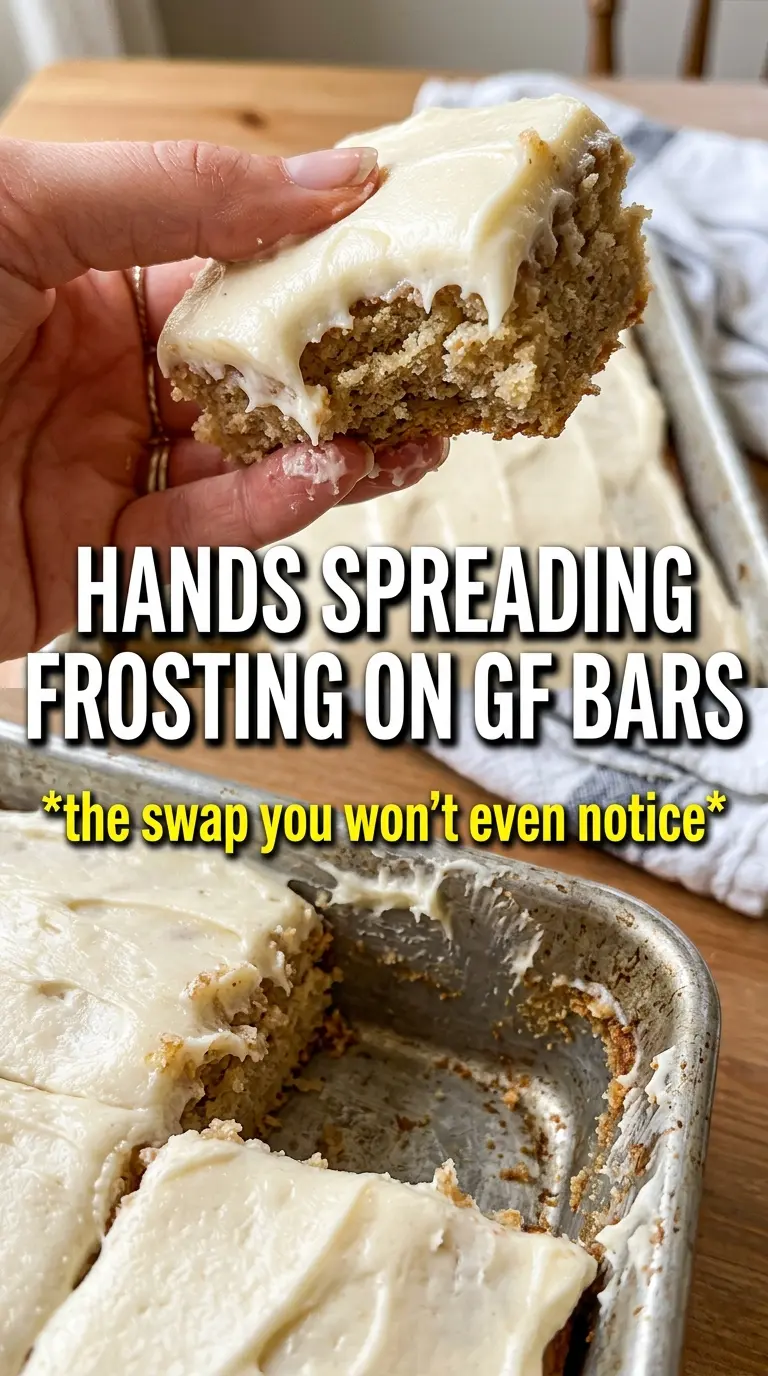
Beat the cream cheese and butter until completely smooth before adding the sugar. That keeps the frosting from turning lumpy, and the milk loosens it just enough to spread in a thick layer. The bars must be fully cool before the frosting goes on. Warm bars will melt the frosting into a greasy layer instead of giving you that thick, swipeable finish.
Make Them Dairy-Free
The bars themselves are already dairy-free, so the only swap you need is in the frosting. Use a dairy-free cream cheese and a plant-based butter that softens at room temperature. The texture will still be creamy, but the frosting may set a little softer, so chill the finished bars before slicing.
Turn Up the Spice
If you want a stronger pumpkin-spice flavor, add an extra 1/2 teaspoon cinnamon to the bars or a pinch of cloves to the frosting. Keep the change small. Too much clove takes over fast and makes the bars taste sharper than cozy.
Use a Different Gluten-Free Blend
A cup-for-cup gluten-free flour blend works best when it includes xanthan gum and is meant for baking. If yours doesn’t, add xanthan gum separately according to the package directions. Blends that are heavy on rice flour can bake up grainier, so the batter should be mixed gently and baked only until just set.
Storage and Reheating
- Refrigerator: Store covered for up to 5 days. The frosting stays firm and the bars hold their texture well.
- Freezer: These freeze well. Chill until firm, cut into bars, then wrap individually and freeze in an airtight container for up to 2 months. Thaw in the refrigerator so the frosting doesn’t weep.
- Reheating: These are best served cold or at cool room temperature, not warmed. Heat softens the frosting and can make the bars feel greasy, so let refrigerated bars sit out for 15 to 20 minutes before serving instead of microwaving them.