
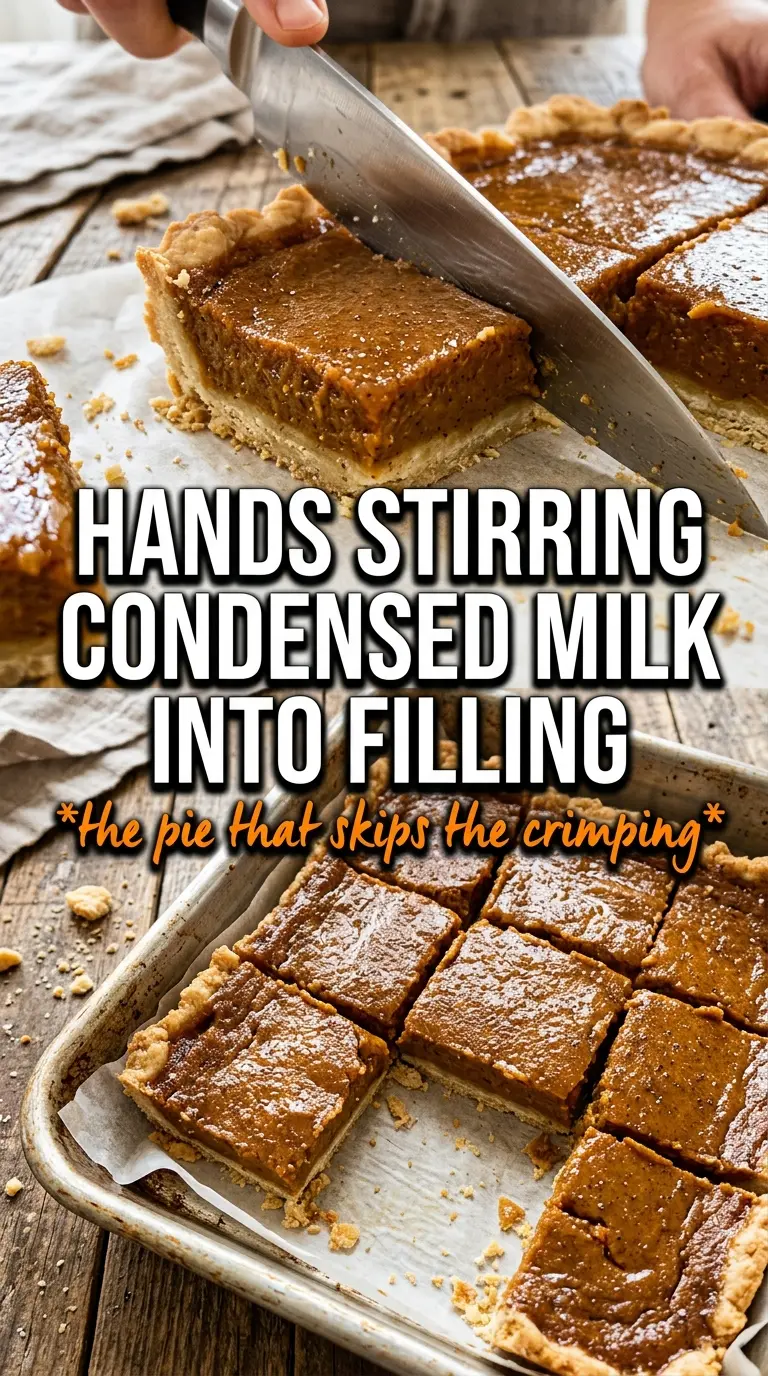
Pumpkin pie bars with sweetened condensed milk set up with a silky custard layer and a buttery shortbread base that cuts cleanly instead of collapsing the moment your knife hits it. The filling tastes like classic pumpkin pie, but the condensed milk gives it a deeper creaminess and a softer finish than evaporated milk ever does. Every square gets that same rich center, which makes this a much easier dessert to share than a full pie.
The shortbread crust matters here. It bakes first so it stays crisp under the custard, and the powdered sugar helps it stay tender without turning sandy. The filling also comes together in one bowl, but the key is whisking until the eggs disappear completely; any streaks left behind show up as little eggy ribbons after baking. I also like the quick blast at 425°F before lowering the heat, because it helps the filling set at the edges before the middle overcooks.
Below you’ll find the small details that keep the bars neat, creamy, and easy to slice, plus the best way to chill and serve them with whipped cream.
The crust stayed crisp under the filling, and the bars sliced cleanly after chilling overnight. The sweetened condensed milk made the center taste almost like pumpkin cheesecake pie.
Save these pumpkin pie bars with sweetened condensed milk for the dessert tray — the crisp shortbread and creamy custard slice beautifully after chilling.
The Custard Sets Because You Bake It in Two Temperatures
The biggest mistake with pumpkin bars is baking them like a single-temperature cake. That tends to overcook the edges before the center has time to set, which leaves you with a dry rim and a loose middle. Starting hot gives the filling a fast set around the perimeter, then the lower heat finishes it gently so the custard stays creamy instead of grainy.
The other thing working in your favor is the ratio of sweetened condensed milk to pumpkin puree. Condensed milk brings sugar, dairy solids, and a thick body all at once, which is why the filling feels richer and smoother than versions made with regular milk. Because of that, you don’t need extra thickeners here. The eggs do the setting, and the oven does the rest.
- Hot start, lower finish — that first burst of heat helps the bars hold their shape without drying out.
- Sweetened condensed milk — this is what gives the filling its dense, creamy finish. Evaporated milk won’t taste or set the same way.
- Par-baked crust — skipping this step is how you end up with a soggy bottom under a rich filling.
- Full cooling time — the bars finish setting as they chill, so cutting them early gives you a soft, messy center.
What Each Ingredient Is Actually Doing in These Pumpkin Pie Bars
- Flour, powdered sugar, and butter — this is a true shortbread base, not a flaky pie crust. Powdered sugar keeps it tender and compact, and cold butter gives it that sandy, buttery bite. You can use a food processor or cut the butter in by hand; either way, stop when the mixture looks like damp crumbs that hold together when pressed.
- Pumpkin puree — use pure pumpkin, not pumpkin pie filling. Pie filling already has sugar and spices added, and that throws the balance off fast.
- Sweetened condensed milk — this is the key ingredient. It makes the filling rich, smooth, and dense enough to slice, and there isn’t a clean substitute if you want the same texture.
- Eggs — they set the custard. Whisk until the mixture is completely uniform so you don’t get streaks or little baked egg bits in the finished bars.
- Pumpkin pie spice, cinnamon, ginger, and cloves — the spices build depth, but don’t overpower the pumpkin. If your blend is strong, lean slightly lighter on the cloves, since they can take over quickly.
- Vanilla and salt — vanilla rounds out the filling, and salt keeps the sweetness from tasting flat. Don’t skip the salt even though this is dessert.
The Shortbread Base and Custard Filling Need Different Attention
Pressing and Prebaking the Crust
Mix the crust until it just comes together, then press it firmly and evenly into the pan. Pay extra attention to the corners and edges, because thin spots there bake too fast and turn brittle. Bake until the surface looks pale golden and matte, not deeply browned. If the crust is underbaked, it softens under the custard and loses that clean bite.
Whisking the Filling Until It Goes Smooth
Combine the pumpkin, sweetened condensed milk, eggs, and spices until the mixture looks glossy and completely even. Scrape the bowl well, especially along the bottom, because any unmixed egg can bake into a layer that feels slightly rubbery. Pour the filling over the hot crust right away so the base and custard bond instead of sitting separately. That hot crust-to-cold filling contrast is part of what helps the bars slice neatly later.
Baking Until the Center Still Has a Little Jiggle
After the first hot bake, lower the oven and keep going until the edges are set and the middle wobbles just a little when you gently nudge the pan. If the center looks fully firm in the oven, it will almost always end up dry after cooling. Pull the pan when the filling is set around the perimeter but still has a soft tremble in the center. It finishes cooking from carryover heat as it cools on the counter.
Cooling and Chilling for Clean Squares
Let the bars cool all the way at room temperature before they go into the fridge. If you chill them while they’re still hot, condensation can make the top surface tacky and loosen the crust. After two hours in the refrigerator, the filling firms enough for tidy slices. Use a sharp knife wiped clean between cuts for the neatest edges.
How to Adapt These Bars Without Losing the Creamy Set
Gluten-Free Version
Swap the flour in the crust for a good 1:1 gluten-free baking blend. The crust will still need to be pressed firmly and prebaked, but it may brown a little faster, so watch the edges. The filling itself is naturally gluten-free as written.
Dairy-Free Adjustment
This one is tricky because sweetened condensed milk is doing a lot of the work. A dairy-free condensed milk can work in a pinch, but the filling may bake a little softer and taste slightly different. If you go this route, chill the bars overnight before cutting so the custard has time to firm up.
Extra Spice, Less Sweet
If you like a stronger spice bite, add a little more cinnamon or ginger instead of increasing the cloves. The condensed milk already brings plenty of sweetness, so more clove can tip the bars toward medicinal fast. A pinch of black pepper also works if you want warmth without more sweetness.
Storage and Reheating
- Refrigerator: Store covered for up to 4 days. The crust stays best in the first two days, but the bars keep their texture well.
- Freezer: These freeze well. Wrap individual bars tightly and freeze for up to 2 months, then thaw in the refrigerator overnight.
- Reheating: These are meant to be served cold or cool. If you want a softer bite, let a bar sit at room temperature for 10 to 15 minutes rather than microwaving it, which can make the custard weep.