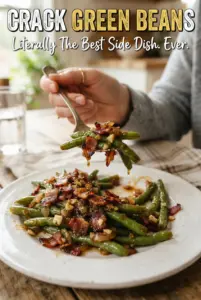
Crack green beans come out glossy, smoky, and just sweet enough to keep people going back for another forkful. The beans stay tender but still have a little snap, the bacon turns salty and crisp around the edges, and the brown sugar soy glaze bakes down into a sticky coating that clings instead of pooling in the pan. It’s the kind of side dish that disappears before the main course gets a second glance.
What makes this version work is the balance. Blanching the green beans first keeps them bright and prevents that dull, overcooked texture you get when they go into the oven raw. The glaze is built with melted butter, brown sugar, soy sauce, garlic, and a little pepper, which gives you sweetness, savoriness, and enough depth to keep the dish from tasting flat.
Below, I’ve included the detail that matters most: how to keep the glaze sticky without burning the sugar, plus a few smart swaps if you need to adjust the recipe for what’s in your kitchen.
The glaze baked down into this sticky, caramelized coating and the bacon stayed crisp on top instead of getting soggy. I stirred it once halfway through and it came out perfect at 35 minutes.
Love that sticky brown sugar glaze and crispy bacon? Save these Crack Green Beans for the side dish that steals the plate.
The Step That Keeps the Beans Crisp Under the Glaze
Most green bean casseroles and skillet sides fail the same way: the beans go soft before the sauce ever gets a chance to shine. Blanching the beans for just three minutes changes that. It sets the color, takes the raw edge off, and gives them enough structure to survive the oven without collapsing into mush.
The other mistake is skipping the stir halfway through baking. The glaze is thick and sugary, and without that quick turn, the bottom layer can darken too fast while the top stays loose. One stir is enough to coat everything again and keep the bacon from sinking into the syrupy sauce.
What Each Ingredient Is Doing in These Crack Green Beans
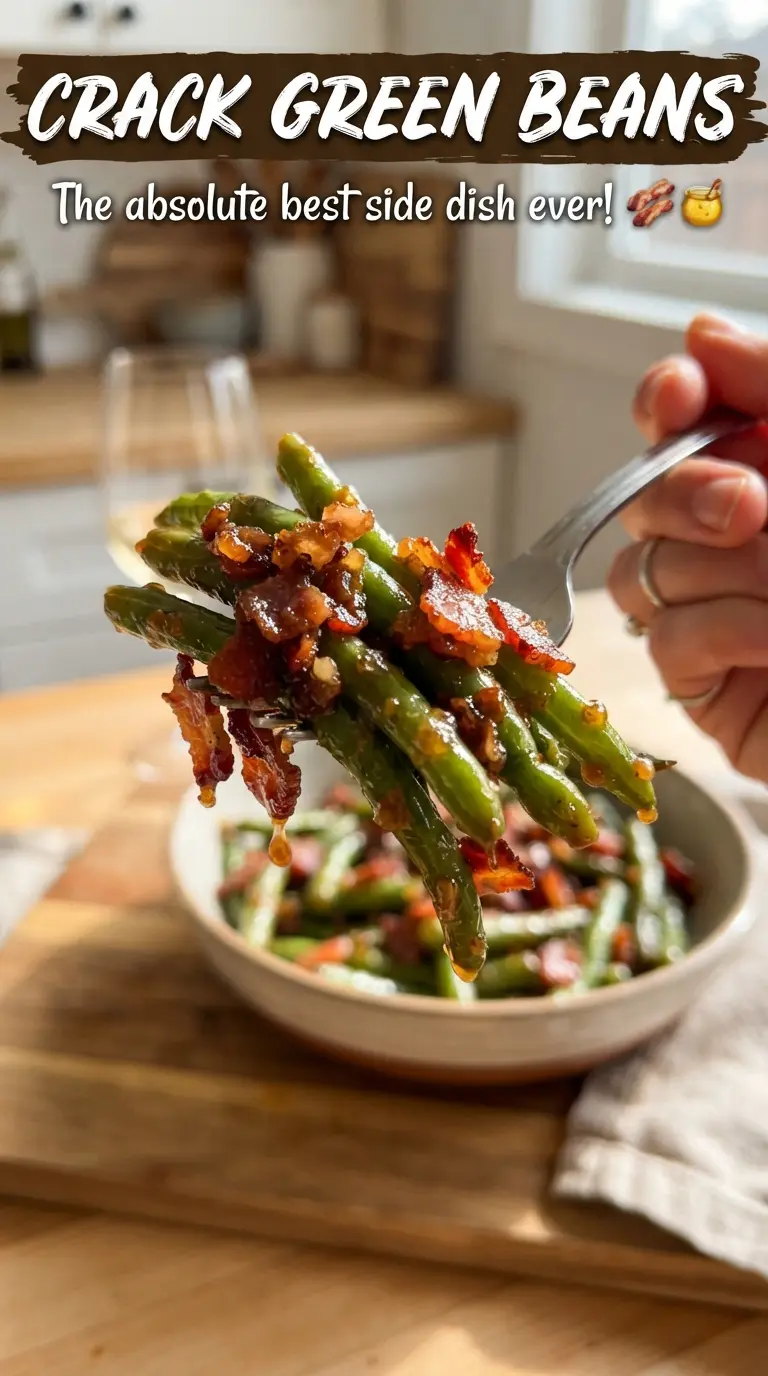
- Fresh green beans — Fresh beans hold their shape and give you that tender-crisp bite. Frozen beans can work in a pinch, but they need a full thaw and extra draining so the glaze doesn’t turn watery.
- Bacon — Bacon adds salt, smoke, and enough fat to make the whole dish taste richer. Cook it mostly crisp before baking so it stays meaty and textured instead of disappearing into the glaze.
- Brown sugar — This is what turns the sauce sticky and caramelized. Packed brown sugar matters here because loose sugar won’t give you the same gloss or depth.
- Butter — Melted butter helps the glaze coat evenly and gives the sauce a rounder finish. You can use salted or unsalted, but if you use salted butter, pull back slightly on the soy sauce.
- Soy sauce — This is the savory backbone. It keeps the dish from reading as candy-sweet and helps the glaze taste balanced once it bakes down.
- Garlic — Fresh minced garlic brings sharpness that cuts through the sugar. Garlic powder won’t give you quite the same punch, but it can work if that’s what you have.
How to Bake Them So the Glaze Turns Sticky, Not Burnt
Blanching the Beans
Bring a pot of salted water to a boil, drop in the trimmed green beans, and cook them for three minutes. They should turn a brighter green and still feel firm when you bite one. Drain them well right away; if they go into the baking dish dripping wet, the glaze thins out and never quite clings the way it should.
Building the Bacon Layer
Cook the chopped bacon until it’s mostly crisp but not brittle. It will continue cooking in the oven, so stopping a little early keeps it from drying out. Spread the beans in the baking dish first, then scatter the bacon over the top so every serving gets some smoky bits instead of leaving all the bacon at the bottom.
Pouring on the Glaze
Whisk the brown sugar, melted butter, soy sauce, garlic, and pepper until the sugar starts to dissolve and the mixture looks smooth and glossy. Pour it evenly over the beans, then give everything a gentle toss if needed to coat the top layer. If you dump it in one spot, the glaze settles unevenly and the bottom edge can overcaramelize before the rest catches up.
Baking Until It Clings
Bake uncovered at 350°F for 30 to 35 minutes. You’re looking for bubbling edges, a sticky sheen, and beans that are tender without falling apart. Stir once halfway through so the glaze coats the beans again and the bacon doesn’t dry out on the surface.
Three Ways to Adjust These Crack Green Beans Without Ruining the Texture
Make Them Without Bacon
Leave out the bacon and add a pinch of smoked paprika to the glaze for a little savory depth. You’ll lose the crisp salty bites, but the beans still bake up sticky and balanced. This is the cleanest vegetarian version, and it works well if you want the sauce to stay front and center.
Use Tamari for a Gluten-Free Version
Swap the soy sauce for tamari in a one-to-one amount. The flavor stays just as savory, but tamari is typically gluten-free and a little rounder in taste. Check your bacon label too, since some brands use gluten-containing flavorings.
Make It a Little Less Sweet
Cut the brown sugar back to 1/3 cup if you want a sauce that leans more savory than sticky-sweet. The glaze will still caramelize, just a little less aggressively, which helps if you’re serving it alongside other rich dishes.
Using Frozen Green Beans
Frozen beans work if you thaw them completely and pat them dry before blanching or baking. They won’t have quite the same crisp snap as fresh beans, but the glaze still coats them well. If they’re wet, the sauce turns loose and the dish gets soupy instead of sticky.
Storage and Reheating
- Refrigerator: Store leftovers in an airtight container for up to 4 days. The beans soften a little, but the flavor holds up well.
- Freezer: Freezing isn’t ideal. The beans and glaze lose their best texture after thawing, and the bacon turns soft.
- Reheating: Warm in a 325°F oven, covered loosely with foil, until hot. A microwave works for a quick reheat, but it makes the bacon less crisp and the glaze can separate if overheated.
Answers to the Questions Worth Asking
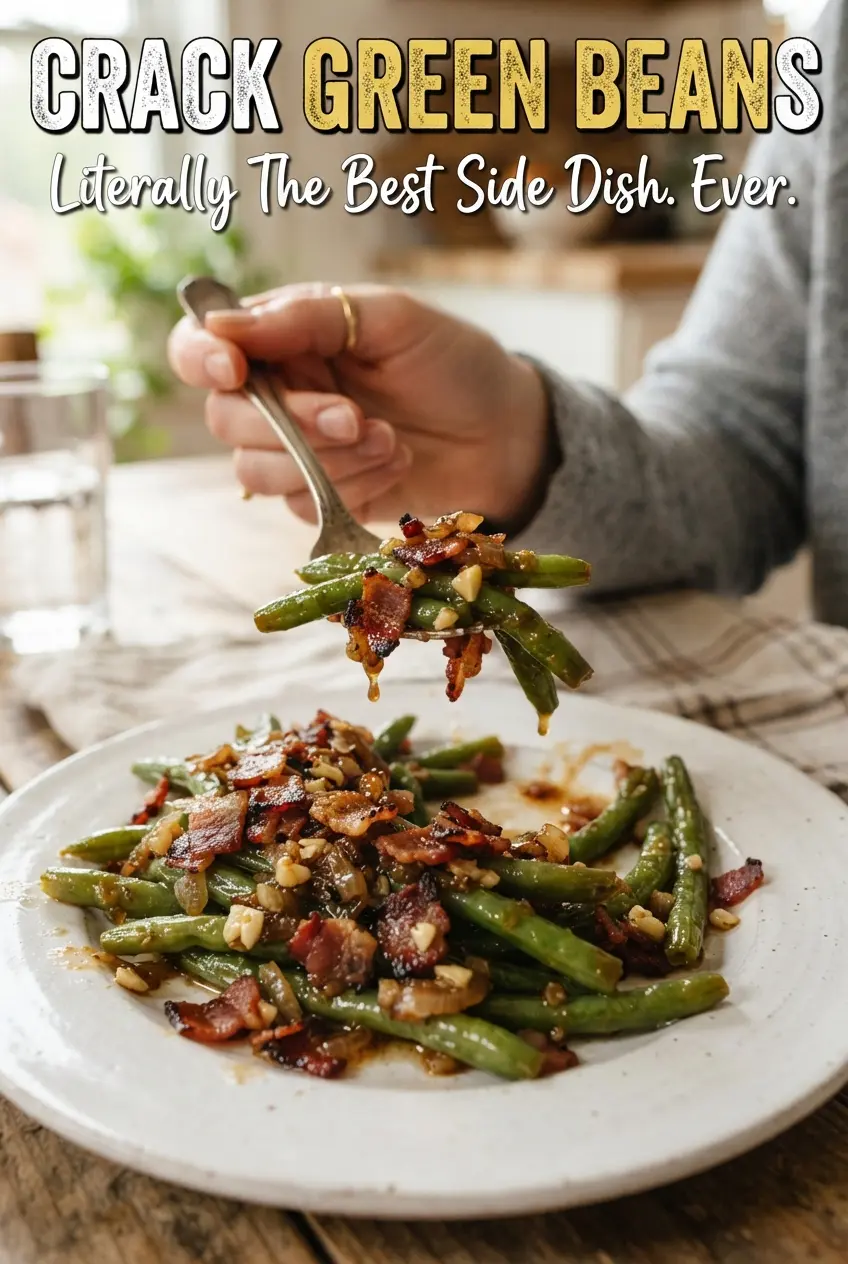
Crack Green Beans
Ingredients
Equipment
Method
- Preheat the oven to 350°F. Blanch the green beans for 3 minutes in boiling water, then drain.
- Cook the bacon until mostly crisp, then drain it on paper towels. Set aside the bacon while you prep the glaze.
- Place the green beans in a 9x13-inch baking dish and top with the cooked bacon. Spread the beans into an even layer so the glaze can cling.
- Whisk the brown sugar, melted butter, soy sauce, minced garlic, and black pepper until combined. Pour the glaze over the beans so they’re mostly covered.
- Bake uncovered for 30–35 minutes at 350°F, stirring once. Stop when the glaze is sticky and caramelized, with a glossy brown coating.