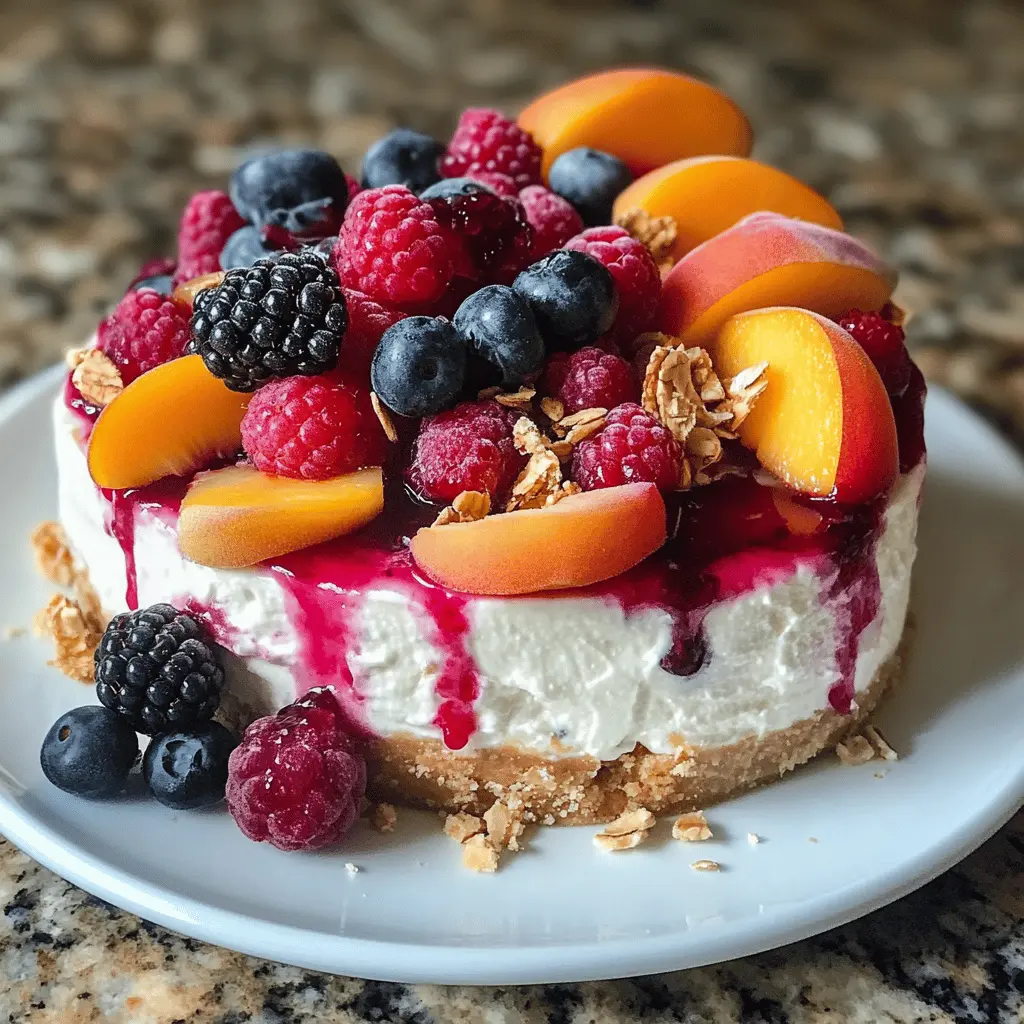
This summer berry and peach cheesecake is like a sunny day on a plate! With creamy cheese, fresh peaches, and juicy berries, it’s both fruity and smooth. Yum!
When I make this cheesecake, I can’t resist piling on extra berries. Who can blame me? They’re just too good! 🍑🍓 It’s simple—mix, bake, and enjoy a slice of summer!
Key Ingredients & Substitutions
Graham cracker crumbs: These create a lovely crust. If you can’t find them, you can use digestive biscuits or even crushed shortbread cookies for a different flavor. I sometimes mix in crushed nuts for added texture!
Cream cheese: This gives the cheesecake its rich and creamy texture. If you’re looking for a lighter option, try using Neufchâtel cheese or a dairy-free cream cheese for a similar consistency. I’ve found they work well too!
Greek yogurt: It adds tanginess and creaminess. If you don’t have Greek yogurt, regular yogurt can work, but it might make the filling a bit runnier. A good trick is to strain regular yogurt through a cheesecloth to thicken it up.
Heavy cream: This makes the filling luscious. If you’re in a pinch, you can substitute it with whipping cream, but make sure it has a high-fat content for the best results. I often use cold cream for easier whipping.
How Do I Get My Whipped Cream to Stiff Peaks?
Getting the perfect whipped cream to fold into your cheesecake can be tricky, but with a few tips, you’ll master it! The key is to start with cold heavy cream and a chilled bowl to help it whip more quickly.
- Use an electric mixer on medium speed to beat the cream until soft peaks form.
- Then, increase the speed to high and whip until stiff peaks form. This might take about 3-5 minutes.
- Be careful not to over-whip, as it can turn buttery.
Folding it into your cream cheese mixture should be gentle. Use a spatula to lift and fold the whipped cream instead of stirring, maintaining that fluffy texture!
How to Make Summer Berry and Peach Cheesecake
Ingredients You’ll Need:
For The Crust:
- 1 ½ cups graham cracker crumbs
- ½ cup unsalted butter, melted
- ¼ cup granulated sugar
For The Cheesecake Filling:
- 16 oz cream cheese, softened
- ½ cup granulated sugar
- 1 teaspoon vanilla extract
- 1 cup heavy cream
- 1 cup Greek yogurt
For The Topping:
- 1 cup raspberries
- 1 cup blackberries
- 1 large peach, sliced
- ¼ cup raspberry sauce (store-bought or homemade)
- Whipped cream for decoration
- Toasted almond slivers (optional)
How Much Time Will You Need?
This delicious cheesecake takes about 20 minutes of active prep time and at least 4 hours to chill in the fridge, though overnight is best for optimal results. Just prepare the crust, filling, and topping, then let it set for a refreshing dessert!
Step-by-Step Instructions:
1. Prepare the Crust:
First, preheat your oven to 350°F (175°C). In a medium bowl, combine the graham cracker crumbs, melted butter, and sugar. Mix it well until everything is evenly combined. Next, press this mixture firmly into the bottom of a 9-inch springform pan to form the crust. Bake it in the oven for 10 minutes, then take it out and let it cool completely.
2. Make the Cheesecake Filling:
In a large mixing bowl, beat the softened cream cheese and granulated sugar together until the mixture is smooth. Add the vanilla extract and mix until just combined. In another bowl, whip the heavy cream until it forms stiff peaks. Gently fold this whipped cream into the cream cheese mixture, then fold in the Greek yogurt. Keep mixing until everything is well blended and smooth.
3. Assemble the Cheesecake:
Now, pour the cheesecake filling over your cooled crust, spreading it evenly with a spatula. Tap the pan gently on the counter to release any air bubbles trapped in the filling. Cover the cheesecake with plastic wrap and refrigerate it for at least 4 hours, or preferably overnight, until it is set.
4. Prepare the Topping:
Once the cheesecake is nice and firm, carefully remove it from the springform pan. Arrange the fresh raspberries, blackberries, and peach slices over the top of the cheesecake. Drizzle the raspberry sauce on top and add dollops of whipped cream around the edges. If you like, sprinkle some toasted almond slivers for an extra crunch!
5. Serve:
Slice the cheesecake gently and serve it chilled for a wonderful treat. Enjoy the delightful flavors of summer berries and peaches in every bite!

Can I Use a Different Type of Crust?
Absolutely! If graham crackers aren’t your thing, you can substitute with crushed Oreo cookies for a chocolatey twist, or use a nut-based crust if you’re looking for a gluten-free option. Just remember to adjust the sugar in the crust accordingly since Oreos are already sweet!
How Do I Store Leftover Cheesecake?
Leftover cheesecake can be stored in the fridge for up to 5 days. Make sure it’s covered tightly with plastic wrap or in an airtight container to keep it fresh. If you want to store it for longer, you can freeze individual slices by wrapping them in plastic and then aluminum foil. They’ll keep in the freezer for about 2 months.
Can I Use Low-Fat Cream Cheese or Yogurt?
Yes, you can opt for low-fat cream cheese or yogurt to lighten up this dessert. Just keep in mind that it may slightly change the texture, making it less rich and creamy. Be sure to avoid non-fat options as they can make the cheesecake too watery.
How to Make this Recipe Gluten-Free?
To make this cheesecake gluten-free, use gluten-free graham crackers or another gluten-free cookie for the crust. When selecting other ingredients like yogurt and toppings, ensure they are labeled gluten-free as well.