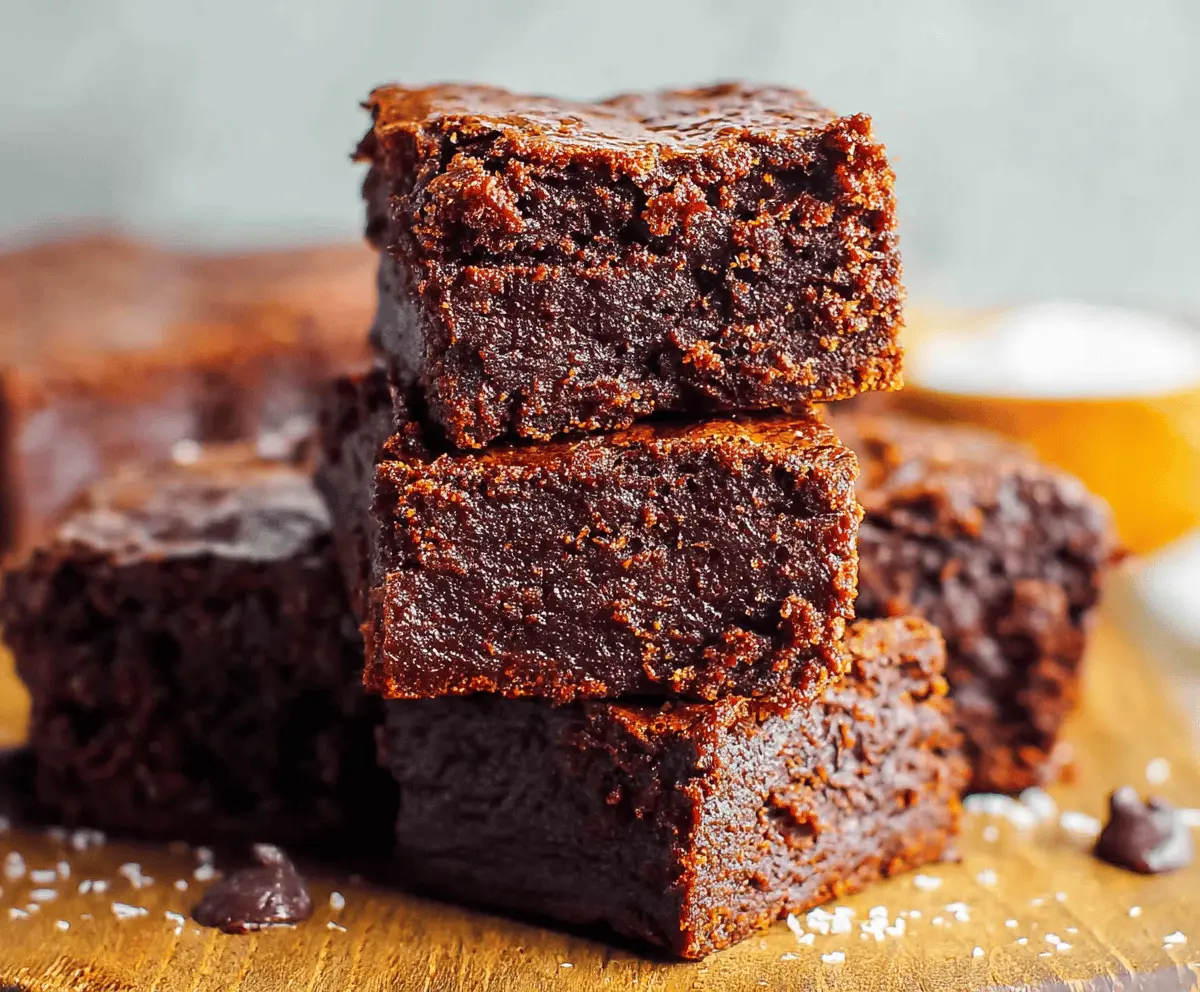
These sweet potato brownies are a tasty treat that feels good to eat! Made with wholesome sweet potatoes, they’re rich, fudgy, and naturally sweetened—what a combo!
Honestly, who knew sweet potatoes could become dessert magic? I love serving these at get-togethers, and everyone is amazed. You can’t taste the veggies, but they make these brownies super moist!
Key Ingredients & Substitutions
Sweet Potato Puree: Cooked sweet potatoes are the star here! You can use canned puree if you’re in a pinch—just check for no added sugars. I often roast my sweet potatoes for a more caramelized flavor, but boiling works too.
Cocoa Powder: Unsweetened cocoa gives the brownies their rich chocolate flavor. If you prefer a milder taste, you can try Dutch-process cocoa, but it may alter the final color slightly. Opt for organic if possible for the best quality.
Almond Flour: I love almond flour for its nutty taste and added protein. If you have a nut allergy, you can swap it for all-purpose flour or oat flour. Just adjust the amount slightly, as they absorb moisture differently.
Maple Syrup or Honey: Both sweeteners work great, but maple syrup adds a lovely depth. If you need a vegan option, stick with maple syrup. You can also use agave syrup for a similar sweetness.
Dark Chocolate Chips: These are optional, but I think they take it to the next level! If you’re avoiding sugar, look for sugar-free chocolate chips or swap with cacao nibs for a more intense chocolate crunch.
How Do I Make Sure My Brownies Come Out Fudgey?
Getting that perfect fudgy texture is all about the timing and mixing. Here are a few tips:
- First, don’t overmix the batter—just combine the wet and dry ingredients until you see no more dry flour.
- Check the brownies a few minutes before the timer goes off. They should look set around the edges but slightly undercooked in the center.
- Let them cool completely in the pan. This helps them firm up and enhances the fudginess.
- For an extra fudgy kick, add more chocolate chips or even peanut butter swirls before baking!
With these insights, making sweet potato brownies at home will be a breeze! Enjoy the process and the delicious treats!
Delicious Sweet Potato Brownies
Ingredients You’ll Need:
For the Brownies:
- 1 cup cooked sweet potato puree (about 1 medium sweet potato)
- 1/2 cup cocoa powder, unsweetened
- 1/2 cup almond flour (or all-purpose flour)
- 1/4 teaspoon salt
- 1/2 teaspoon baking powder
- 2 large eggs
- 1/3 cup maple syrup or honey
- 1 teaspoon vanilla extract
- 1/4 cup melted coconut oil or butter
- 1/2 cup dark chocolate chips (optional)
- Pinch of sea salt for sprinkling (optional)
How Much Time Will You Need?
This delightful recipe takes about 10 minutes of prep time and 25 to 30 minutes to bake. Allow some extra time for the brownies to cool, around 15-20 minutes, so they firm up nicely. In total, you’re looking at about 40-50 minutes from start to finish!
Step-by-Step Instructions:
1. Preheat Your Oven:
Start by preheating your oven to 350°F (175°C). While the oven is heating up, take an 8×8-inch baking pan and line it with parchment paper. Don’t forget to lightly grease the sides to help with easy removal later!
2. Prepare the Sweet Potato:
Peel and chop your sweet potato into smaller pieces. Boil or bake until they are soft, which should take about 15-20 minutes. Once cooked, mash or puree the sweet potatoes until smooth. Make sure to measure out 1 cup of the puree for your brownies.
3. Mix the Dry Ingredients:
In a large bowl, combine the cocoa powder, almond flour, salt, and baking powder. Whisk them all together until they are well combined. This step helps to evenly distribute the leavening agent, which is important for your brownies!
4. Mix the Wet Ingredients:
In another bowl, beat the eggs until they are fluffy. Next, add in the sweet potato puree, maple syrup (or honey), vanilla extract, and melted coconut oil (or butter). Mix until smooth and creamy.
5. Combine the Mixtures:
Now gradually add the dry ingredients to the wet ingredients, stirring gently until just combined. Be mindful not to overmix; it’s okay if there are a few small lumps!
6. Add Chocolate Chips:
If you’re using chocolate chips, fold them into the batter gently. They will melt while baking and add an extra layer of chocolatey goodness!
7. Bake Your Brownies:
Pour the brownie batter into your prepared baking pan. Spread it out evenly with a spatula. For that extra touch, sprinkle a pinch of sea salt over the top—this enhances the chocolate flavor!
8. Check for Doneness:
Place the pan in the oven and bake for about 25 to 30 minutes. Keep an eye on them; they’re done when a toothpick inserted in the center comes out mostly clean, with a few moist crumbs clinging to it.
9. Cool and Slice:
Once baked, let the brownies cool completely in the pan on a wire rack before slicing them into squares. This cooling time is essential for achieving that rich, fudgy texture.
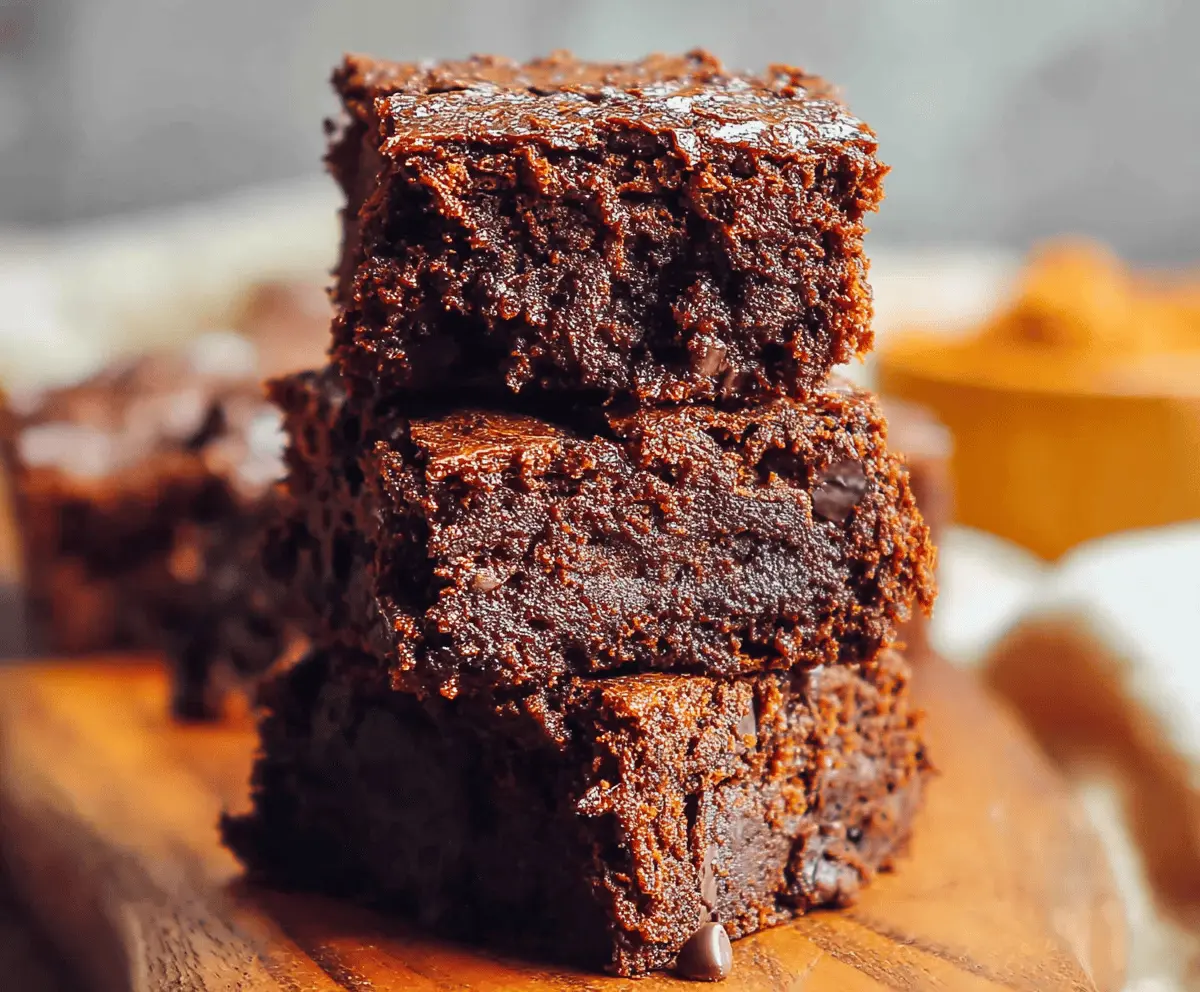
Enjoy your moist, rich, and fudgy sweet potato brownies! They’re perfect for a snack, dessert, or any time you want a delightful treat packed with hidden veggies!
Can I Use Fresh Sweet Potatoes Instead of Canned?
Absolutely! Fresh sweet potatoes work wonderfully. Simply peel, chop, and cook them until soft before mashing them into puree. You’ll need about one medium sweet potato to get the 1 cup needed for the recipe.
How Can I Store Leftover Brownies?
Store leftover brownies in an airtight container at room temperature for up to 3 days. If you want to keep them longer, you can refrigerate them for up to a week or freeze them for up to 3 months. Just make sure to wrap them tightly in plastic wrap before freezing!
Can I Substitute Ingredients?
Yes! You can use all-purpose flour instead of almond flour if needed. For the sweetener, feel free to substitute the maple syrup with honey or agave syrup. Just keep in mind that using a different sweetener may slightly affect the flavor and sweetness.
What If My Brownies Turn Out Too Dry?
If your brownies come out dry, it may be due to overbaking or not enough moisture in the batter. Make sure to check them a few minutes before the timer goes off. Next time, try underbaking slightly—remember, they’ll continue to cook a bit while cooling!