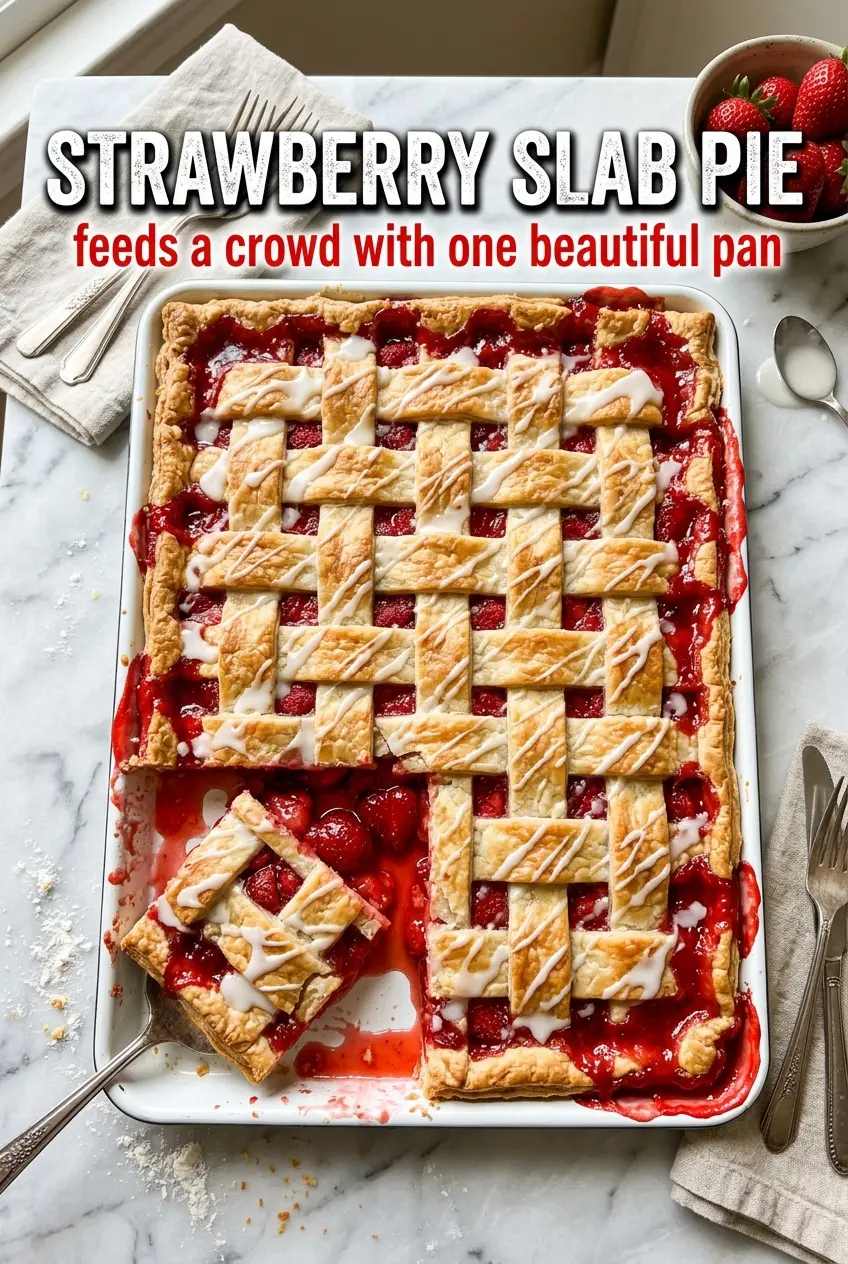
Golden pastry and a thick layer of juicy strawberry filling make this slab pie the kind of dessert people keep reaching for after the first slice. The crust bakes up crisp at the edges, the berries soften into a glossy filling, and the lattice top gives you just enough structure to keep every piece neat without losing that homemade look. It feeds a crowd without asking for much more effort than a regular pie.
The trick is using enough cornstarch to hold the berries together, but not so much that the filling turns pasty. Fresh strawberries bring the brightest flavor here, and a little lemon juice keeps the sweetness from going flat. The bottom crust also needs to be pressed firmly into the pan so it doesn’t lift or bake up with gaps once the juices start bubbling.
Below you’ll find the small details that matter most, from keeping the crust crisp to cutting clean slices once the pie has cooled. I also included a few smart variations and the storage notes I use when I know this pie won’t be gone in one sitting.
The filling set up beautifully and didn’t run all over the pan when I sliced it. The lattice came out golden and the strawberries still tasted fresh, not cooked down into jam.
Save this strawberry slab pie for the next time you need a big-batch dessert with juicy filling and a crisp lattice top.
The Part That Keeps Strawberry Slab Pie From Going Watery
Fresh strawberries release a lot of juice as they bake. That’s the main thing standing between a tidy slab pie and a soggy bottom crust. Cornstarch does the heavy lifting here, but it only works if the filling gets hot enough in the oven to activate it fully. If the pie is pulled too early, the juices stay loose and run when you cut it.
The other piece that matters is the pan itself. A half-sheet pan gives the filling enough room to spread into a thin layer, which means the berries cook evenly and the crust browns without trapping steam. If the crust isn’t pressed into the corners and seams are left open, the filling can sneak underneath before it sets.
- Let the berries sit with the sugar and starch just long enough to look glossy. That coating should cling to the fruit before it goes into the crust.
- Bake until you see bubbling at the edges. That bubbling tells you the filling has reached the temperature needed to thicken.
- Cool before cutting. The filling keeps setting as it rests, and slicing too early is the fastest way to lose the clean squares.
What Each Ingredient Is Doing in the Pan
The ingredient list is short, but each piece has a job. There isn’t much room for fluff in a slab pie, especially with fruit that already brings plenty of moisture.
- Refrigerated pie crusts — This is the fast path to a crisp base and lattice top. Homemade crust works too if you want a richer, flakier result, but the store-bought version handles this large-format pie well and saves time. Keep it cold until you need it so it doesn’t shrink in the oven.
- Fresh strawberries — Use ripe berries with good color and a strong strawberry smell. Soft berries can work, but they collapse faster, so this is the place where quality matters most. If strawberries are especially large, slice them evenly so the filling bakes at the same rate.
- Cornstarch — This thickens the juice into a sliceable filling. Flour won’t give the same clean set here, and tapioca can leave a slightly different texture. If you want the filling a touch firmer, add another tablespoon, but don’t overdo it or the fruit starts tasting gummy.
- Lemon juice and vanilla — Lemon wakes up the berries and keeps the filling from tasting flat. Vanilla rounds out the edges without turning this into a bakery-style dessert. Both are small additions that make the strawberries taste more like themselves.
- Cinnamon — Just a little gives the fruit warmth. It won’t make the pie taste like spice cake; it quietly deepens the filling.
- Egg wash and coarse sugar — The egg wash gives the crust shine and helps the sugar stick. Coarse sugar adds a light crunch that makes the top feel finished, not just baked.
Building the Layers So the Pie Bakes Evenly
Pressing in the Bottom Crust
Unroll the crusts and lay them into the half-sheet pan with a little overlap if needed. Press the seams together firmly so there aren’t weak spots where juice can slip through. Run your fingers along the corners and edges so the dough sits flat against the pan. If the crust is loose or folded over on itself, it puffs unevenly and the filling can’t settle cleanly.
Mixing the Berries with the Thickener
Stir the strawberries, sugar, cornstarch, lemon juice, vanilla, and cinnamon together until every slice looks lightly coated. You want the sugar starting to draw out moisture, not a puddle forming in the bowl. Spread the filling over the crust right away so the berries don’t keep shedding liquid while they sit. If the mixture looks dry at first, give it a minute; the strawberries will release enough juice to help everything blend.
Cutting and Laying the Lattice
Cut the top crust into even strips and weave them over the filling. The pattern doesn’t have to be perfect, but the strips should be close enough together to support the berries as they bubble. Don’t stretch the dough as you place it; stretched dough shrinks back and pulls the lattice apart in the oven. A relaxed, gentle placement gives you cleaner lines and a better finish.
Finishing for Shine and Color
Whisk the egg and water together until smooth, then brush it over the lattice and exposed crust. Sprinkle the coarse sugar while the wash is still wet so it sticks properly. Bake until the crust is deep golden and the filling is actively bubbling at the edges, not just steaming in the center. That bubbling is the sign the cornstarch has done its job.
How to Make It with Frozen Strawberries
Frozen berries can work if fresh strawberries aren’t in season, but they release more liquid and soften faster. Thaw them first and drain off the excess juice before mixing with the sugar and cornstarch, or the filling will be loose. The flavor is a little less bright, but the pie still slices well if you bake it until the center is bubbling.
Gluten-Free Crust Swap
Use a gluten-free pie crust that rolls well and holds together when transferred to the pan. The filling needs no other changes, but gluten-free dough often browns faster, so watch the lattice closely in the last 10 minutes. The texture will be a little more tender and less flaky, but it still gives you a good slice.
Lower-Sugar Filling
You can reduce the sugar to 3/4 cup if your berries are very ripe, but the filling will taste a little sharper and won’t glaze quite as much. Don’t cut the cornstarch when you lower the sugar; the thickener is still needed for a neat slice. If the berries are tart, a pinch more sugar is better than extra lemon.
Storage and Reheating
- Refrigerator: Store covered for up to 4 days. The crust softens a little after the first day, but the filling stays nicely set.
- Freezer: It freezes better after baking than before. Wrap individual pieces tightly and freeze for up to 2 months, then thaw in the refrigerator before reheating.
- Reheating: Warm slices in a 300°F oven for 10 to 12 minutes. The oven brings the crust back to life; the microwave makes the pastry limp and the filling runny.
Answers to the Questions Worth Asking
Strawberry Slab Pie
Ingredients
Equipment
Method
- Preheat the oven to 375°F and unroll the pie crusts to fit a half-sheet pan (13x18 inches), overlapping as needed and pressing to seal, until the base is evenly covered.
- Slice strawberries and mix strawberries, granulated sugar, cornstarch, lemon juice, vanilla extract, and cinnamon together until the fruit is evenly coated and looks glossy.
- Spread the strawberry filling evenly over the crust in an even layer so the thickness is consistent across the pan.
- Unroll the second batch of pie crusts, cut into strips, and arrange the strips in a lattice pattern over the filling, leaving some filling visible between the strips.
- Whisk together the egg and water, brush over the pastry, and sprinkle the coarse sugar over the lattice for a crisp, golden top.
- Bake for 30-35 minutes at 375°F until the crust is golden and the filling is visibly bubbly at the edges.
- Cool on a wire rack for 30 minutes before cutting so the filling sets and slice edges hold their shape.