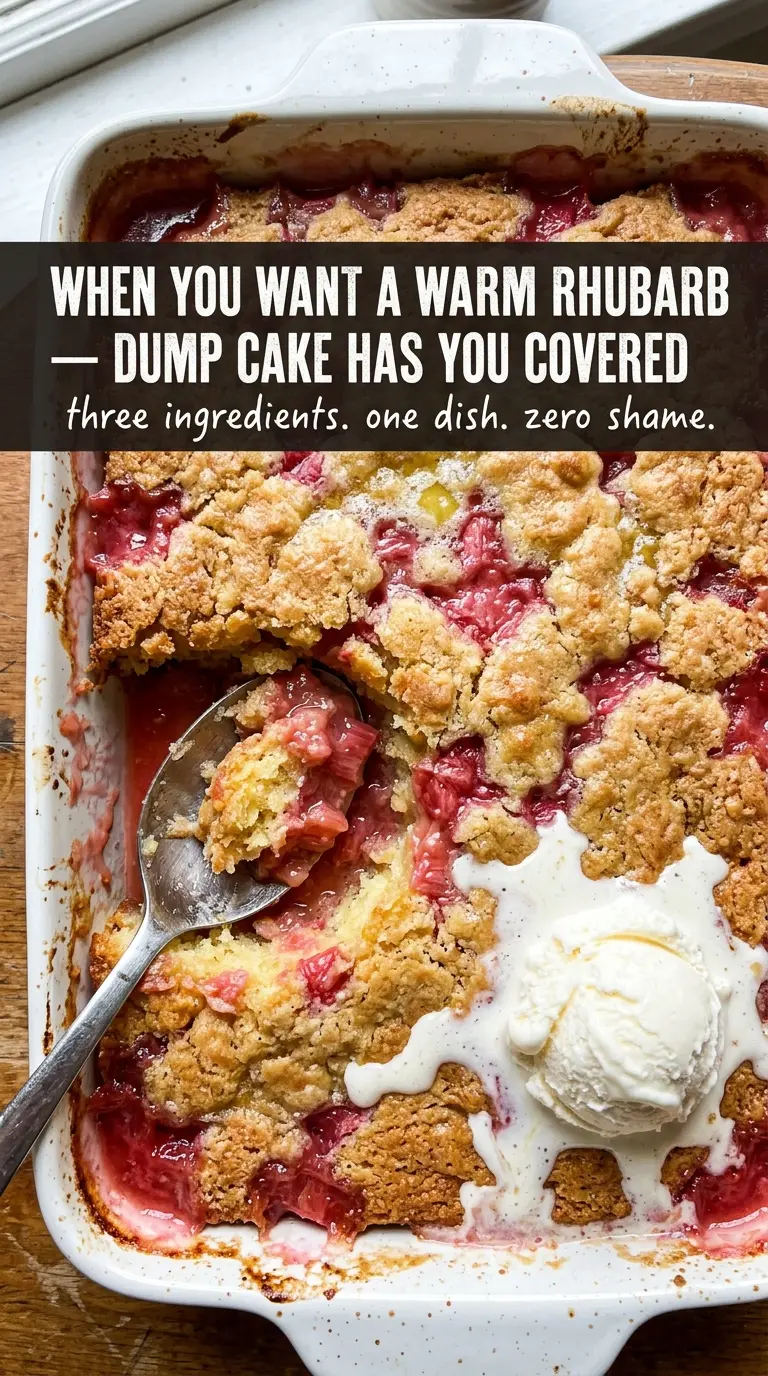
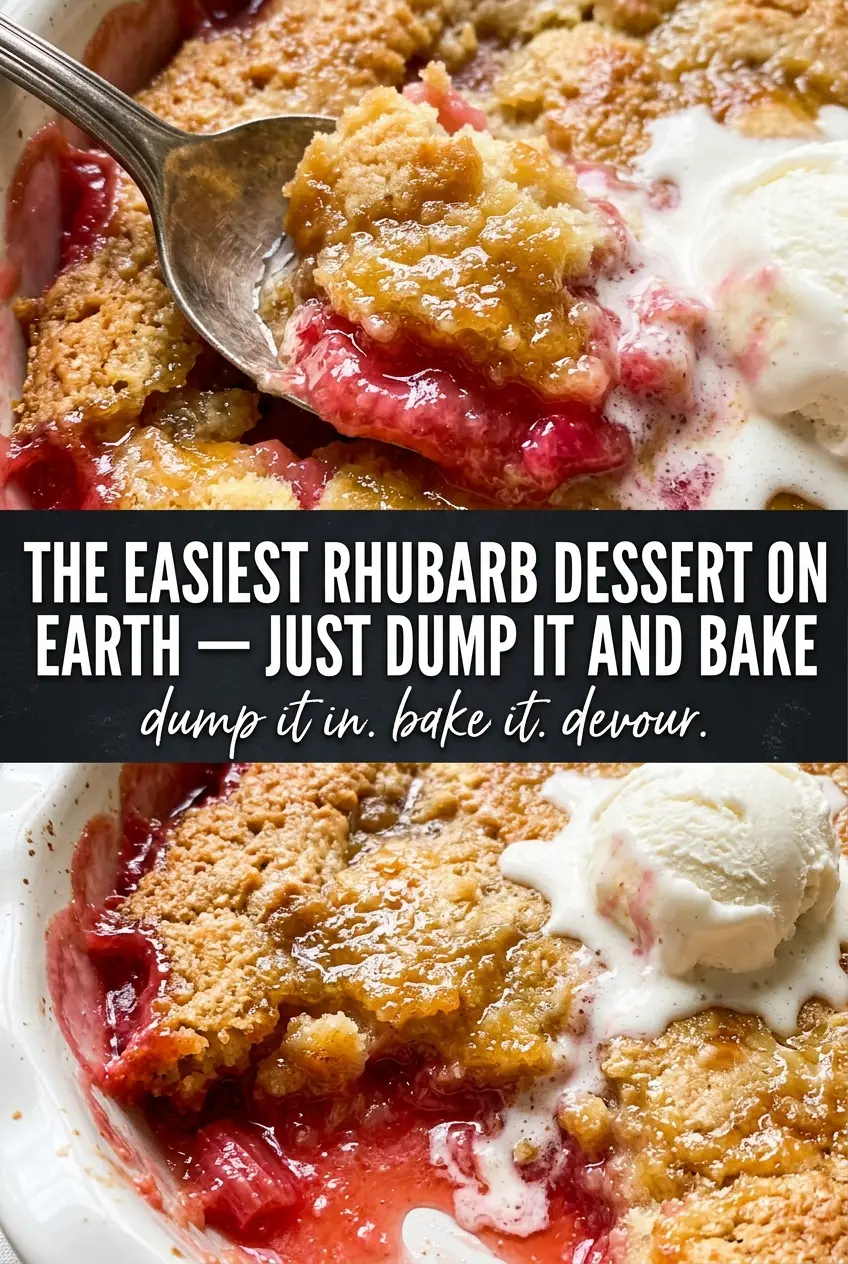
Golden buttery topping, bubbling rhubarb underneath, and crisp edges that crack a little when your spoon goes in — that’s what makes a good rhubarb dump cake worth repeating. It bakes up with a soft fruit layer at the bottom and a cake-like crust on top, all without any mixing bowls or fussy layering. The sweet-tart filling keeps the dessert from tasting flat, and the melted butter gives the top those sandy, toasted spots that everyone goes after first.
The part that matters most here is restraint. The dry cake mix stays dry, and the butter gets drizzled evenly enough to moisten most of the surface without stirring everything together. Rhubarb brings a lot of sharpness on its own, so the sugar isn’t just there for sweetness — it helps draw out juices and soften the fruit as the cake bakes. If you’ve ever ended up with a dry, powdery top on a dump cake, the fix is usually butter coverage, not extra mixing.
Below, I’ve included the little details that keep the texture right, plus the one swap I’d use if you want a slightly richer finish. The oven does most of the work here, but a few smart choices make the difference between patchy and deeply golden.
The rhubarb got perfectly tender and the topping baked up crisp instead of soggy. I used the pecans and served it warm with vanilla ice cream, and the contrast was spot on.
Save this rhubarb dump cake for the days when you want a bubbling fruit dessert with a crisp buttery top and almost no cleanup.
The Reason the Topping Stays Crisp Instead of Turning Soggy
A dump cake lives or dies by how the butter hits the dry mix. If you pour it in a few heavy streaks, you’ll get floury patches that never bake properly; if you flood the pan, the topping turns dense and pasty. The sweet spot is a thin, even drizzle across the entire surface so enough of the cake mix gets coated to bake into crumbs and crags.
Rhubarb is also pulling weight here. It releases a lot of juice as it bakes, and that steam helps cook the cake mix from below while the top browns. That’s why this recipe doesn’t need extra liquid. The fruit does the work, and the sugar helps keep the filling from tasting sharp or watery.
- Rhubarb — Fresh rhubarb gives the cleanest tart flavor and enough moisture to build the base. If yours is especially thick, slice it into even, bite-size pieces so it softens at the same rate.
- Yellow cake mix — The boxed mix is the shortcut that gives you structure without extra measuring. White or butter cake mix will work too, but yellow gives a deeper, more old-fashioned flavor.
- Melted butter — Butter is what turns the dry mix into a crisp, golden crust. Cold butter won’t distribute evenly, so melt it fully and drizzle it slowly for the best coverage.
- Pecans — Optional, but they add a toasted crunch that plays well with the soft fruit. Skip them if you want a smoother topping, or swap in chopped walnuts for a similar effect.
What Each Ingredient Is Actually Doing to Keep the Topping Crisp
- Topping components (crumble, biscuit, or crust) — These should be made just before baking so they’re dry. A wet topping will get soggy from the filling’s steam.
- Butter in the topping — Enough butter creates crispy, golden results. Too little butter and the topping is dense; too much and it’s greasy.
- Oats or nuts (if using) — These stay crisp longer than flour-based toppings. They also add texture that resists sogginess.
- Brown sugar (if using) — This caramelizes slightly and helps the topping brown and crisp. It also adds flavor.
- Baking temperature (400-425°F) — High heat crisps the topping quickly. Medium heat lets the filling release steam that makes the topping soggy.
- Baking time until topping is golden — Don’t underbake or the topping won’t crisp. The filling can bubble at the edges while the topping is still baking.
- Cooling before serving — The topping stays crisp longer if it cools slightly. Serving immediately keeps the crispness longer than letting it sit.
- Thin filling (not too much liquid pooling) — If the filling has too much liquid, the topping absorbs steam and gets soggy. A properly thickened filling keeps the topping dry.
Building the Layers So the Oven Can Do the Work
Setting Up the Fruit Base
Spread the diced rhubarb evenly in the bottom of the greased baking dish, then scatter the sugar over the top. You don’t need to stir it in; the sugar will draw out juice as the pan heats, which keeps the fruit from baking up dry. If your rhubarb pieces are wildly different sizes, the smaller ones will melt before the bigger ones soften, so aim for fairly even chopping.
Covering the Cake Mix Without Mixing It
Pour the dry cake mix over the rhubarb in an even layer and leave it alone. Stirring is the mistake that turns a dump cake into a gummy batter layer, and that’s not what you want here. A level layer matters because the butter will melt down through the mix, and any mounded spots tend to stay dusty on top.
Drizzling the Butter the Right Way
Pour the melted butter over the cake mix in a slow, steady pattern, covering as much surface area as you can. Dry pockets are normal with dump cakes, but if half the pan stays pale and powdery, those spots won’t crisp. The pecans go on last so they toast on top instead of sinking into the fruit.
Baking Until It Bubbles at the Edges
Bake at 350°F until the top is deeply golden and the rhubarb is bubbling around the edges, about 40 to 45 minutes. If the center still looks pale and dusty, give it a few more minutes. Let it cool for 10 minutes before serving so the juices thicken slightly; if you cut in too soon, it runs all over the plate.
How to Tweak This Rhubarb Dump Cake Without Losing the Texture
Make it nut-free
Leave out the pecans and the dessert still bakes up with a crisp top. You’ll lose a little of the toasted crunch, but the buttery cake layer stays the star.
Use a butter cake mix for a richer finish
Butter cake mix makes the top taste a little more plush and bakery-style, while yellow cake mix gives a more classic flavor. Either one works, but butter cake mix leans sweeter and a touch richer.
Make it gluten-free
Use a gluten-free yellow cake mix and keep everything else the same. The texture will be a little more delicate on top, but the fruit layer and buttery crumble still work well.
Swap in frozen rhubarb when fresh isn’t available
Use frozen rhubarb straight from the freezer and don’t thaw it first. Thawed rhubarb gives off too much water and can make the filling loose before the top has time to brown.
Storage and Reheating
- Refrigerator: Store covered for up to 4 days. The topping softens a bit as it sits, but the flavor holds well.
- Freezer: It freezes best in individual portions, tightly wrapped and stored in an airtight container for up to 2 months. The crust won’t stay as crisp after thawing, but it still reheats well.
- Reheating: Warm leftovers in a 325°F oven until hot, or use the microwave for a faster fix. The oven gives the top a better texture; the microwave is fine if you’re serving it under ice cream and don’t mind a softer crust.
Answers to the Questions Worth Asking
Rhubarb Dump Cake
Ingredients
Equipment
Method
- Preheat the oven to 350°F and grease a 9x13-inch baking dish.
- Spread the diced rhubarb evenly in the bottom of the prepared dish, then sprinkle sugar over the rhubarb.
- Pour the dry yellow cake mix evenly over the rhubarb layer (do not stir), covering as much surface area as possible.
- Drizzle the melted butter over the cake mix, trying to cover as much of the top as you can.
- Sprinkle with chopped pecans if using, leaving some dry cake mix visible for crisp edges.
- Bake at 350°F for 40-45 minutes, until the top is golden brown and the rhubarb is bubbling around the edges.
- Let the cake cool for 10 minutes so the juices thicken slightly and slices hold their shape.
- Serve warm with vanilla ice cream on top for a melting contrast.