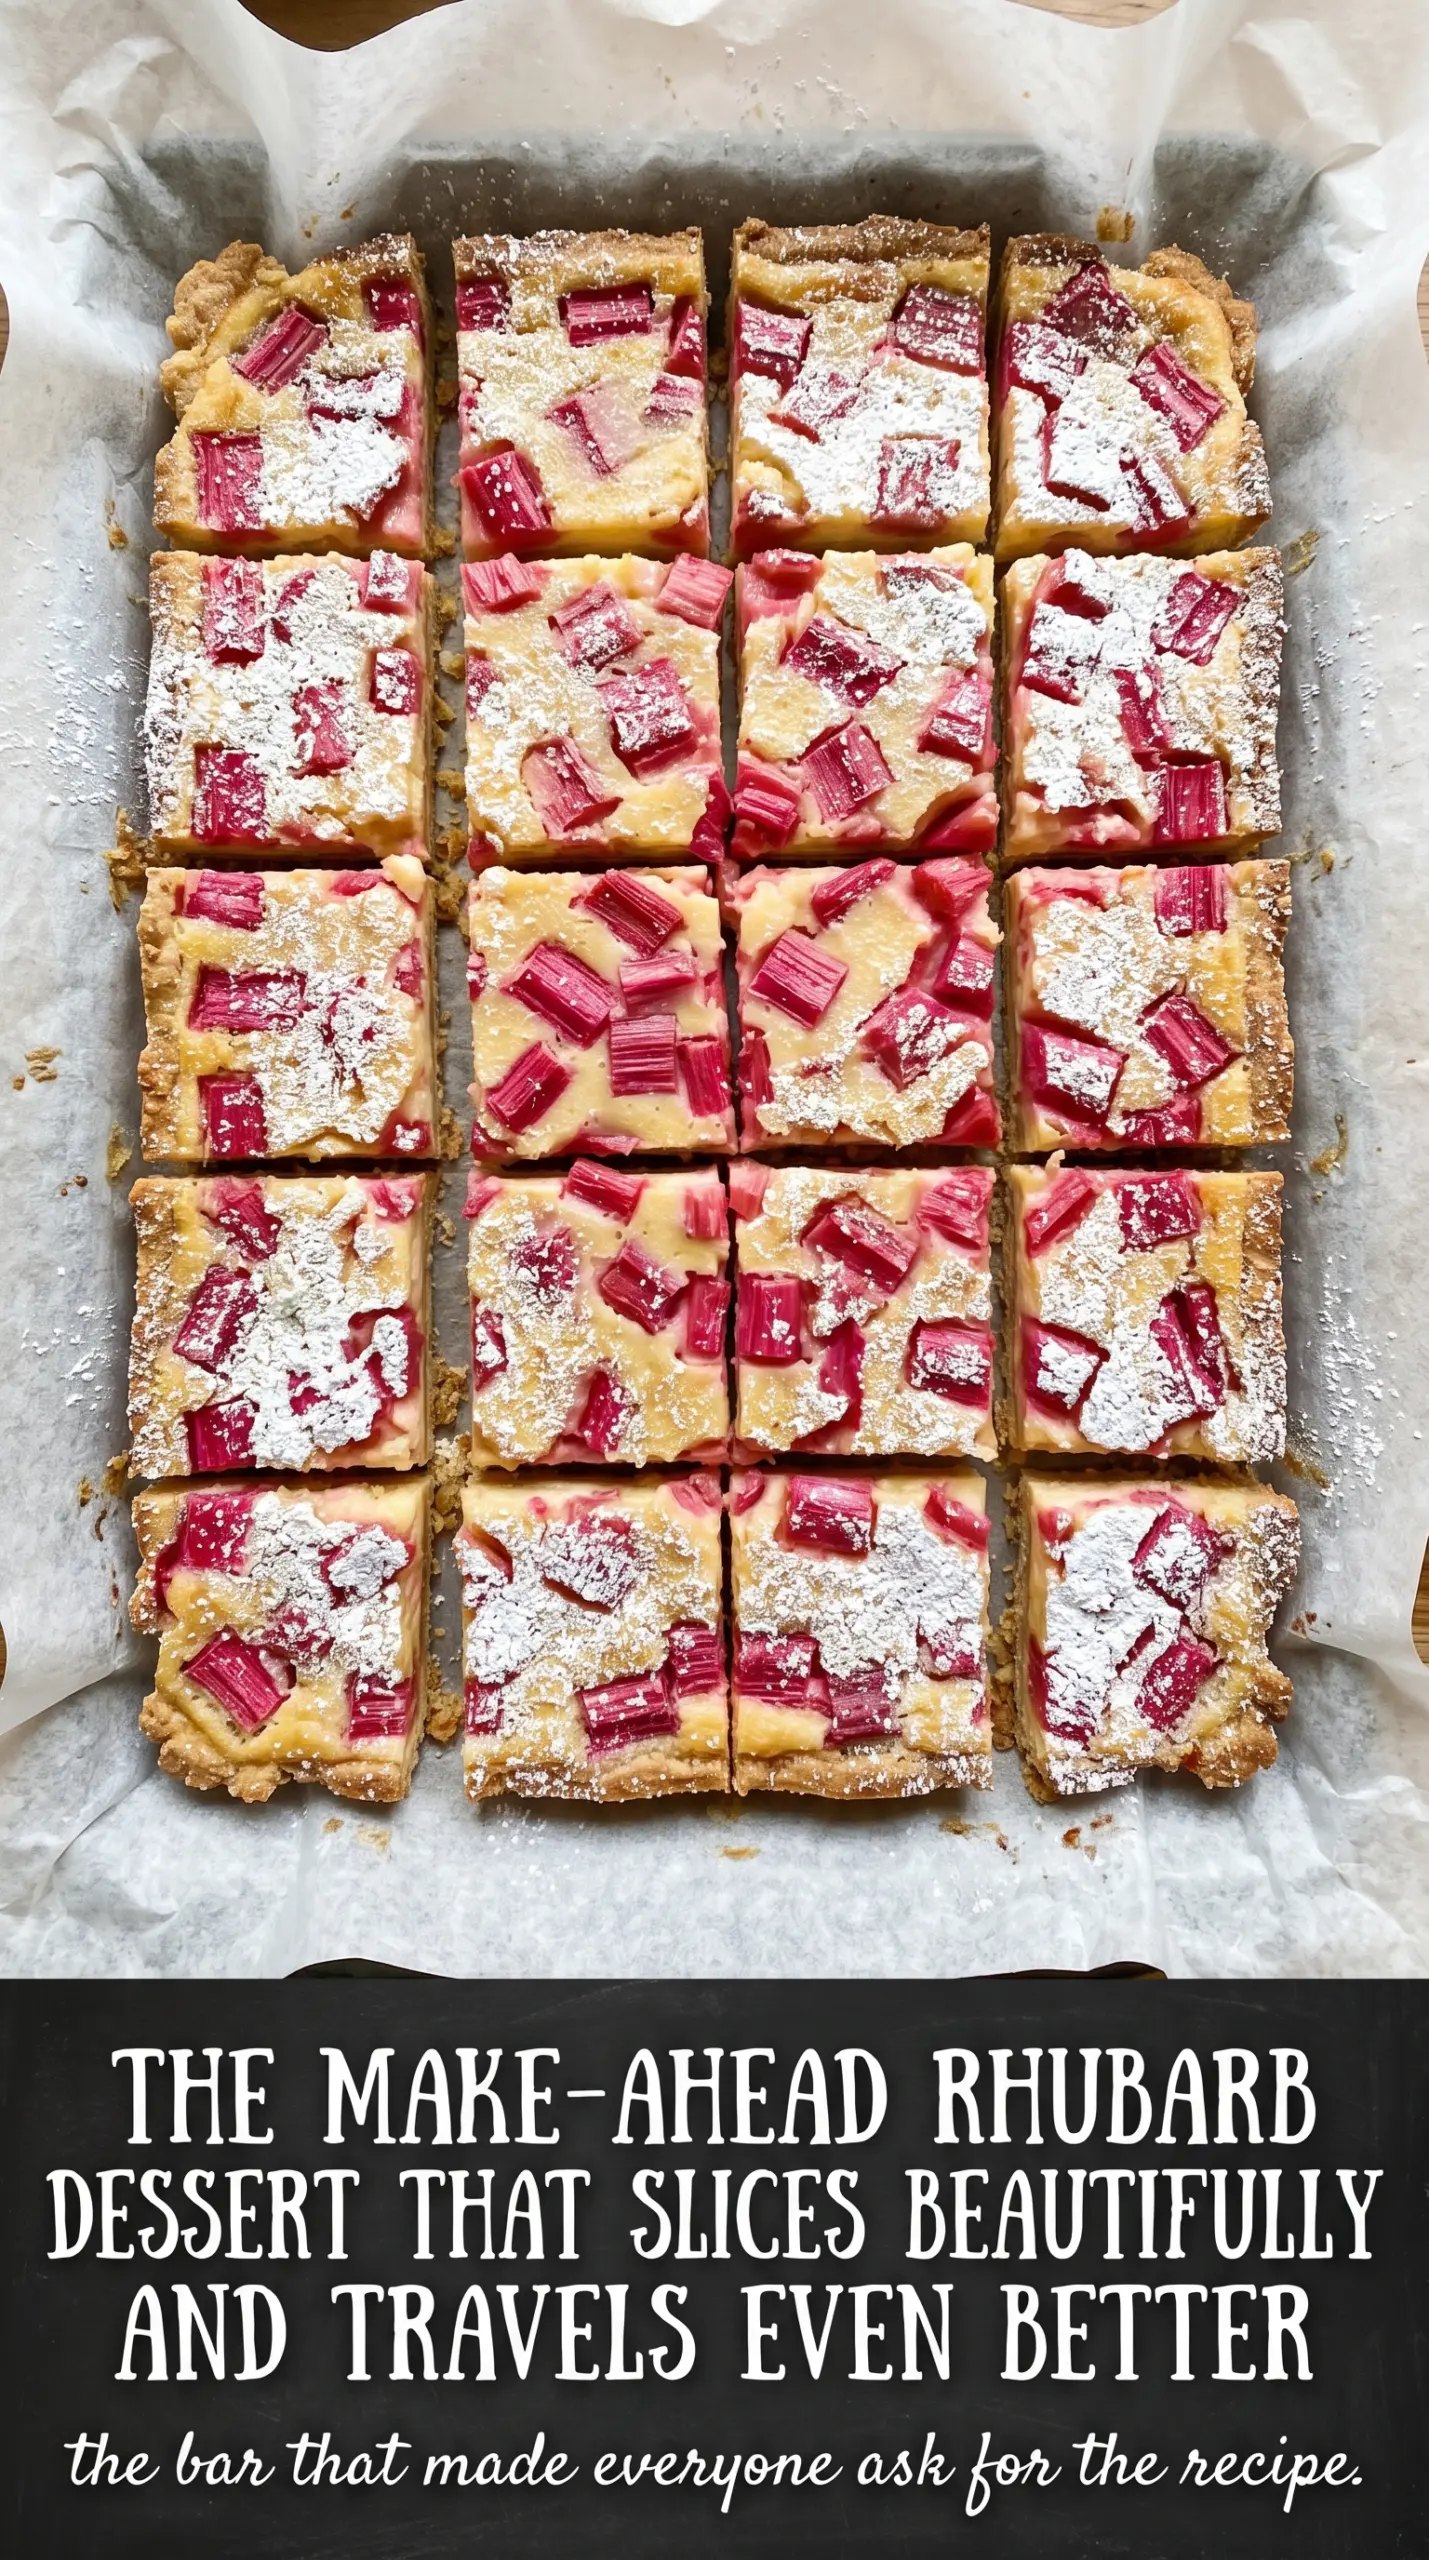
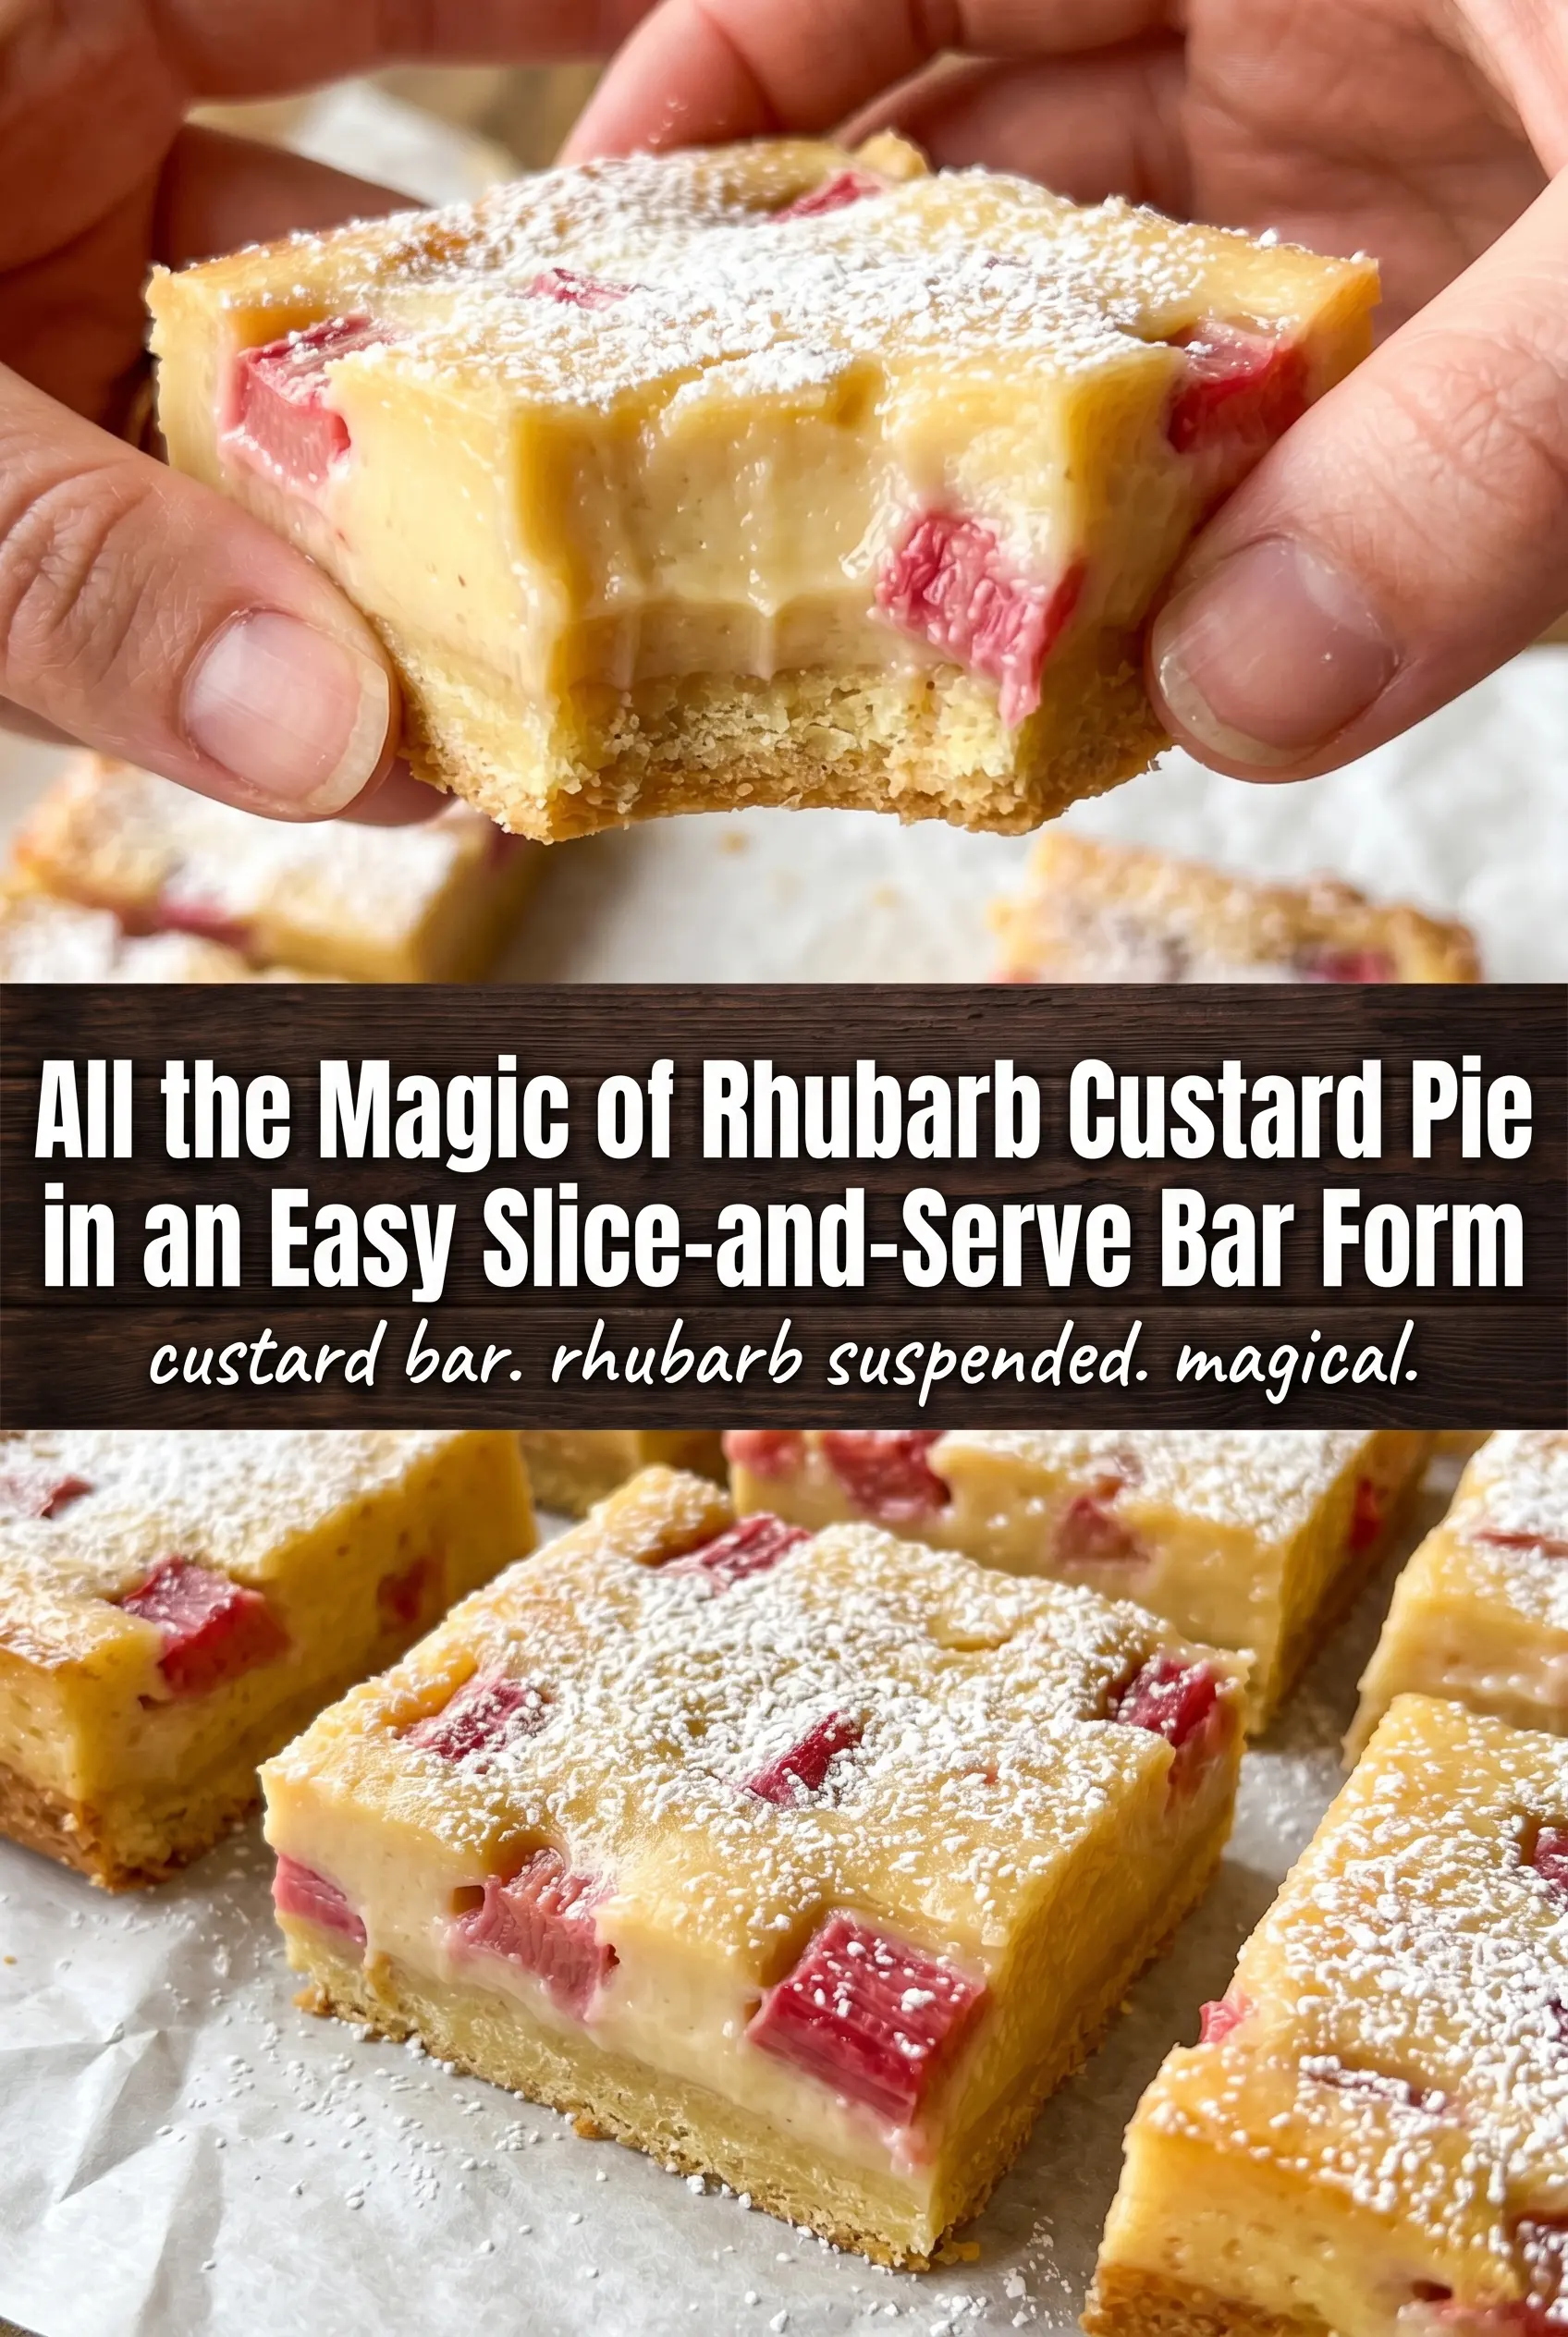
Creamy, tangy rhubarb custard bars hit that sweet spot between a pie and a traybake: buttery shortbread at the bottom, a soft set custard in the middle, and bright pink rhubarb running through every bite. They slice cleanly once chilled, which makes them the kind of dessert you can bring to a potluck without worrying that the filling will slump the second the pan is cut into.
The crust stays crisp because it gets a head start in the oven before the custard goes on. That hot crust helps the filling begin setting from the bottom instead of soaking downward, which is the difference between neat layers and a soggy base. The rhubarb is folded into the custard rather than piled on top, so the fruit softens evenly and leaves little tart bursts instead of one heavy layer.
Below you’ll find the one chilling step you can’t skip, plus a few smart swaps if your rhubarb is especially tart or you need to bake these a little ahead. The powdered sugar finish looks pretty, but it also takes the edge off the tang in the best way.
The custard set up beautifully and the crust stayed sturdy even after a full overnight chill. I loved getting those tart rhubarb bits in every slice instead of one big layer on top.
Save these rhubarb custard bars for the day you want a buttery shortbread base, a silky baked filling, and tart fruit in every slice.
The Trick to Keeping the Custard Set and the Crust Crisp
The failure point in bars like these is almost always the same: the bottom turns soft before the filling finishes baking. Prebaking the crust changes that. It gives the flour and butter enough structure to stand up to the custard, and because the crust is hot when the filling goes in, the layers start bonding immediately instead of separating into a wet base and a loose top.
The other thing that matters here is texture in the rhubarb itself. Finely diced pieces cook more evenly and disperse through the custard, so each square cuts cleanly without giant pockets of fruit tearing the bars apart. If you leave the rhubarb too chunky, the filling around it can set at a different pace and you end up with uneven slices.
- Hot crust, not cooled crust — pouring the filling onto a warm base helps the custard begin setting from below.
- Finely diced rhubarb — smaller pieces soften at the same rate and give you better slices.
- Full chill time — these bars need the fridge to finish the set; cutting them early gives you a soft, messy center.
What Each Ingredient Is Actually Doing in These Bars
- All-purpose flour — it does double duty in both the crust and the custard. In the base, it gives the butter enough structure to press and bake into a sturdy shortbread layer. In the filling, it thickens the eggs and sugar into a sliceable custard instead of a loose baked pudding.
- Cold butter — this is what gives the crust its crumbly, tender texture. Cold cubes cut into the flour keep the dough from turning greasy before it hits the oven. If your butter is soft, the crust will pack too tightly and bake up dense.
- Fresh rhubarb — fresh is the right call here because it brings that clean tartness and softens beautifully during baking. Frozen rhubarb can work, but it needs to be thawed and drained first or the filling can weep and take longer to set.
- Eggs — these build the custard. Beat them until smooth with the sugar and flour so the filling bakes evenly; streaky eggs can leave uneven texture in the finished bars.
- Powdered sugar — optional, but worth it. It softens the tart edge and gives the top a finished look without changing the structure of the bars.
Building the Layers So the Bars Slice Cleanly
Mixing the Shortbread Base
Stir the flour and sugar together first, then cut in the cold butter until the mixture looks sandy with some pea-size bits left. That uneven texture is what bakes into a crust that’s tender instead of tough. Press it firmly and evenly into the lined pan so the edges don’t bake faster than the center. If you pack it with wet hands or overwork it, the crust turns compact and less crumbly.
Giving the Crust Its Head Start
Bake the base until the top looks just lightly golden, not deeply browned. You’re not trying to finish it completely here; you’re setting the structure so it can support the custard. Pull it from the oven and move fast with the filling while the pan is still hot. A cooled crust tends to give the filling more time to sink in before the top starts setting.
Whisking the Custard
Whisk the sugar, flour, salt, and beaten eggs until the mixture is smooth and glossy, with no flour streaks hiding in the corners of the bowl. Fold in the rhubarb last so it stays evenly distributed. The filling should look loose and pourable before baking; if it seems too thick, it usually means the flour wasn’t fully whisked in. Spoon or pour it over the crust gently so you don’t break the baked base apart.
Baking Until the Center Holds
Return the pan to the oven and bake until the custard is set around the edges and only a slight wobble remains in the center. The top should look lightly golden, not blistered or dry. If the middle still sloshes when you move the pan, it needs more time; underbaked custard will collapse once cooled. Let the bars cool completely before chilling them, then refrigerate for at least 3 hours so the filling firms enough to cut into clean squares.
Three Ways to Make These Rhubarb Bars Work for Your Kitchen
Use frozen rhubarb when fresh isn’t available
Frozen rhubarb works, but thaw it fully and drain off excess liquid before folding it in. If you skip that step, the custard can bake up watery and the bars may take longer to set. The flavor stays bright, but the texture is a little softer than with fresh rhubarb.
Make them a little less tart
If your rhubarb is sharp, reduce the filling sugar by up to 1/2 cup. That keeps the bars balanced without flattening the custard. Don’t cut the sugar too aggressively, though; the filling needs enough sweetness to set with a clean, creamy texture.
Gluten-free version
A cup-for-cup gluten-free flour blend can replace the all-purpose flour in both the crust and the custard. The bars will still slice well, though the crust may be a touch more delicate. Press it carefully into the pan and chill the finished bars fully before cutting.
Storage and Reheating
- Refrigerator: Store covered for up to 5 days. The crust softens a little by day two, but the bars still hold their shape well.
- Freezer: These freeze well. Cut into bars, wrap tightly, and freeze in a single layer before moving them to a container. Thaw overnight in the fridge for the cleanest texture.
- Reheating: These are best served cold or lightly chilled. If you want to take the chill off, let a bar sit at room temperature for 10 to 15 minutes. Microwaving turns the custard soft and can make the crust soggy.
Questions I Get Asked About This Recipe
Rhubarb Custard Bars
Ingredients
Equipment
Method
- Preheat oven to 350°F (175°C) and line a 9x13-inch pan with parchment paper, leaving overhang for lifting later.
- Mix all-purpose flour and sugar, then cut in cold butter until crumbly and press evenly into the bottom of the pan.
- Bake crust for 15 minutes at 350°F (175°C) until lightly golden, with the edges setting and the surface looking dry.
- Whisk together sugar, all-purpose flour, salt, and beaten eggs until smooth and pourable.
- Fold in finely diced rhubarb until the mixture turns marbled with pink pieces.
- Pour the custard mixture over the hot crust and return to the oven.
- Bake for 35-40 minutes at 350°F (175°C) until the custard is set and lightly golden, with a slight jiggle in the center.
- Cool completely at room temperature until fully set and not warm to the touch.
- Refrigerate for at least 3 hours to firm up the custard for cleaner slicing.
- Cut into bars and dust with powdered sugar just before serving.