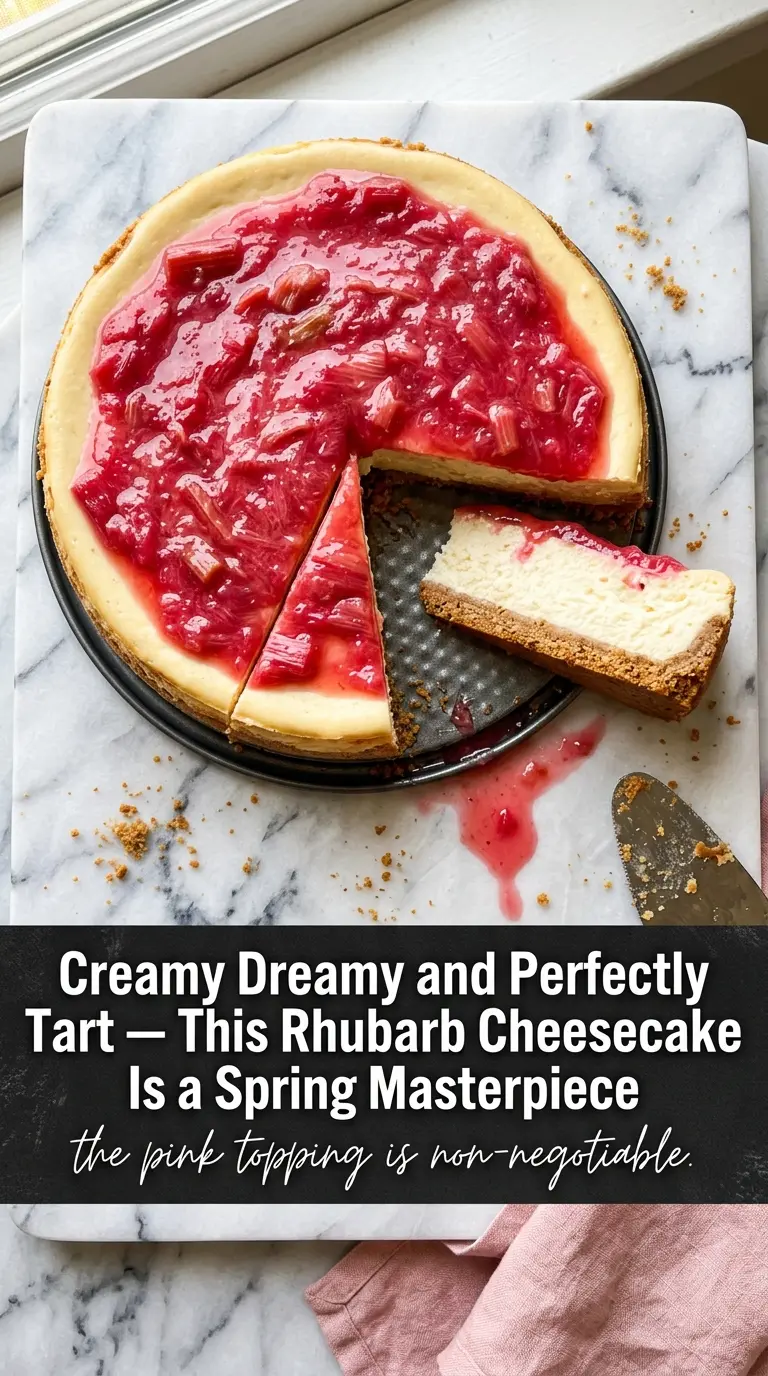
Creamy cheesecake and tart rhubarb make a dessert that lands somewhere between bright and luxurious. The filling stays smooth and dense without feeling heavy, the graham cracker crust gives each slice a clean, buttery crunch, and the glossy rhubarb topping cuts through the richness in the best way. It’s the kind of dessert that gets quiet at the table for a second, then has people asking for a second slice.
This version works because each layer is handled with a little restraint. The crust gets a quick bake so it stays crisp under the filling, the cream cheese is beaten only until smooth so the batter doesn’t turn airy and prone to cracking, and the cheesecake bakes in a water bath for gentle, even heat. The rhubarb topping is cooked separately and thickened just enough to mound over the top without running off the sides.
Below, I’ve included the small details that matter most, from keeping the cheesecake from overbaking to getting that topping glossy instead of gluey. If you’ve ever wanted a rhubarb dessert that looks as polished as it tastes, this is the one to make.
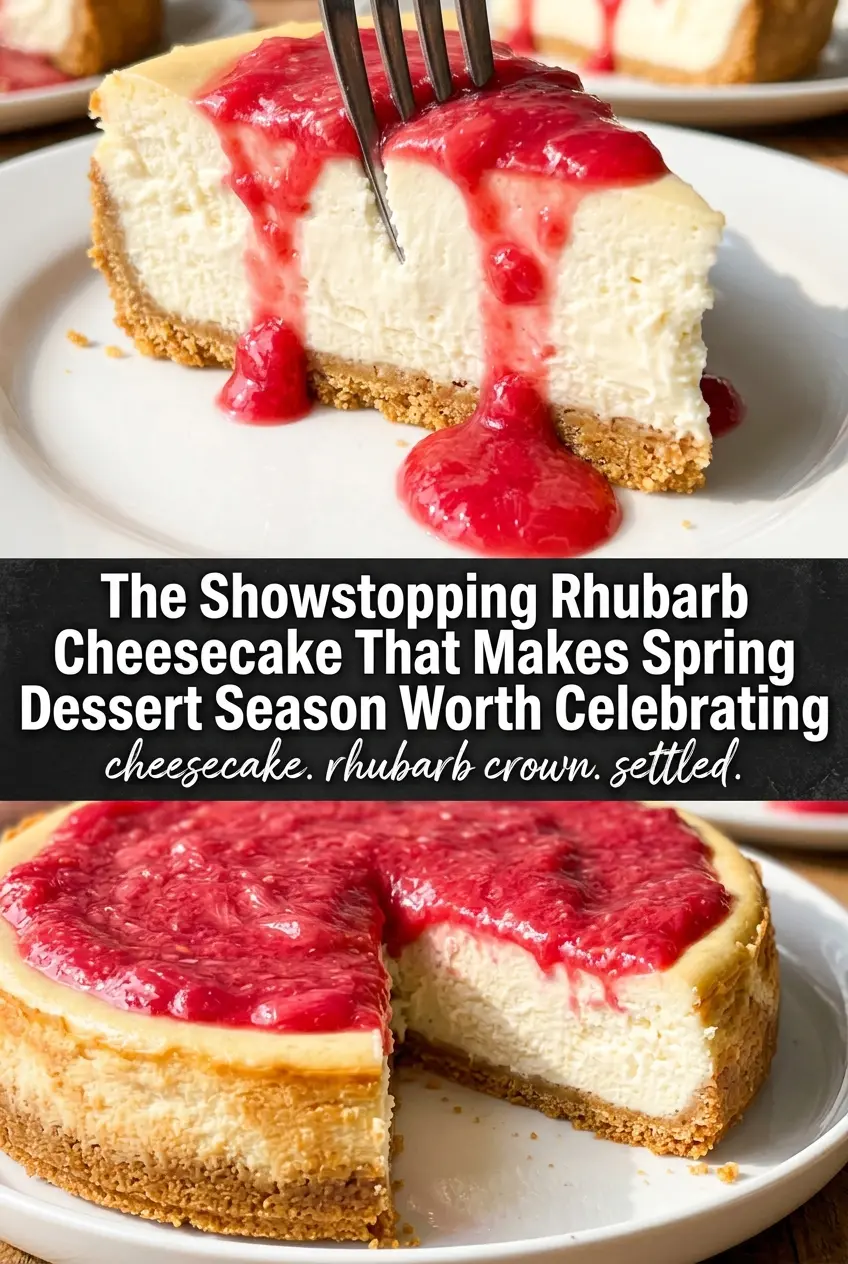
The cheesecake baked up perfectly smooth, and the rhubarb topping set just enough to slice cleanly without sliding off. My mom asked for the recipe after one bite.
Save this rhubarb cheesecake for the dessert table when you want a silky cheesecake with a tart pink topping that slices beautifully.
The part that keeps the cheesecake from cracking before the rhubarb goes on
The biggest mistake with cheesecake is rushing the bake. High heat, overmixing, or pulling it too soon all lead to a center that sinks or splits as it cools. This one relies on a water bath and a slow cooldown, which keeps the custard texture silky and gives the eggs time to set without tightening too fast.
The other detail that matters is what the center looks like when it comes out of the oven. You want the edges set and the middle still wobbling slightly, like firm Jell-O when you tap the pan. That last bit of carryover cooking finishes the job as it cools. If the whole cake looks firm in the oven, it’s already gone too far.
Why the rhubarb topping needs its own pot
- Cream cheese — Use full-fat blocks, not tub-style spreadable cream cheese. The block version has the structure you need for a dense, smooth slice that holds its shape after chilling.
- Sour cream — This loosens the batter just enough and gives the filling a subtle tang that keeps the cheesecake from tasting flat. Plain Greek yogurt can work in a pinch, but the texture turns a little less lush.
- Fresh rhubarb — Fresh rhubarb gives the topping its clean tartness and that gorgeous pink color as it cooks. Frozen rhubarb works too, but don’t thaw it first or you’ll end up with extra liquid to cook off.
- Cornstarch — This is what turns the rhubarb juices into a spoonable topping instead of a loose syrup. Mix it with water before adding it to the pan so it thickens evenly and doesn’t clump.
- Graham cracker crumbs — Pre-crushed crumbs are fine, but if you grind them yourself, aim for fine and even so the crust packs tightly. Larger crumbs can make the base crumble when you slice the cheesecake.
Building the layers without beating air into the filling
Pressing and pre-baking the crust
Mix the crumbs, melted butter, and sugar until the mixture looks like damp sand, then press it firmly into the bottom of the springform pan. A flat-bottomed measuring cup helps create an even layer that won’t crumble when sliced. Bake it for 10 minutes so the butter sets the crust before the filling goes in; if you skip that step, the bottom can soften under the cheesecake.
Mixing the filling just until it turns smooth
Beat the cream cheese and sugar until there are no visible lumps, then add the eggs one at a time. Stop the mixer as soon as the batter looks uniform, and fold in the sour cream and vanilla without whipping in extra air. Too much air causes the cheesecake to puff, then fall and crack as it cools.
Baking gently in a water bath
Set the foil-wrapped springform pan into a larger pan and pour in hot water around it, then bake until the edges are set and the center still has a slight jiggle. The water bath keeps the oven heat gentle and even, which is what gives you that custardy texture instead of a dry, grainy one. If the top starts to brown quickly, the oven is too hot and the cheesecake will overbake before the middle finishes.
Cooking the rhubarb topping to a glossy finish
Simmer the rhubarb, sugar, and water until the pieces break down and turn tender, then stir in the cornstarch slurry and cook just until thickened. The topping should look glossy and spoonable, not stiff like jam. Let it cool completely before spreading it over the cheesecake, or the heat will soften the chilled filling and make the layers slide.
How to adapt this cheesecake for a few different kitchens
Gluten-free crust swap
Use gluten-free graham-style crackers or finely ground gluten-free digestive cookies in place of the standard crumbs. The texture stays nearly the same, though some gluten-free crumbs need an extra tablespoon or two of butter to hold together cleanly.
Dairy-free version
A dairy-free cheesecake works best with a high-quality plant-based cream cheese and thick coconut-based yogurt in place of sour cream. The result will be a little softer and less tangy than the original, but it still slices well after a full chill.
Frozen rhubarb backup
Frozen rhubarb can stand in for fresh, especially when you’re making this out of season. Use it straight from frozen and simmer a minute or two longer so the extra moisture evaporates before the cornstarch goes in.
Storage and Reheating
- Refrigerator: Store covered for up to 5 days. The topping may loosen slightly, but the flavor holds beautifully.
- Freezer: Freeze the cheesecake without the rhubarb topping for best results. Wrap tightly, freeze up to 2 months, and thaw overnight in the refrigerator before adding the topping.
- Reheating: Don’t reheat this dessert. Cheesecake is meant to be served chilled, and warming it will soften the texture and make the topping run.
Answers to the questions worth asking before you bake it
Rhubarb Cheesecake
Ingredients
Equipment
Method
- Preheat the oven to 325°F and wrap the outside of a 9-inch springform pan with foil to prevent leaks.
- Mix graham cracker crumbs, melted butter, and sugar, then press the mixture into the bottom of the pan for an even layer.
- Bake the crust for 10 minutes until set and lightly fragrant.
- Beat cream cheese and sugar until smooth, scraping the bowl as needed.
- Add eggs one at a time and mix gently until fully incorporated.
- Mix in sour cream and vanilla extract until the batter looks thick and creamy.
- Pour the cheesecake filling over the crust.
- Bake in a water bath at 325°F for 55-65 minutes until the edges are set but the center jiggles slightly.
- Turn off the oven and let the cheesecake cool inside with the door cracked for 1 hour to reduce cracking.
- Refrigerate the cheesecake for at least 6 hours until fully chilled and firm enough to slice.
- Simmer fresh rhubarb, sugar, and water until the rhubarb is tender.
- Stir cornstarch mixed with water into the simmering rhubarb, then cook until thickened and glossy.
- Cool the topping completely, then spread it over the chilled cheesecake before serving.