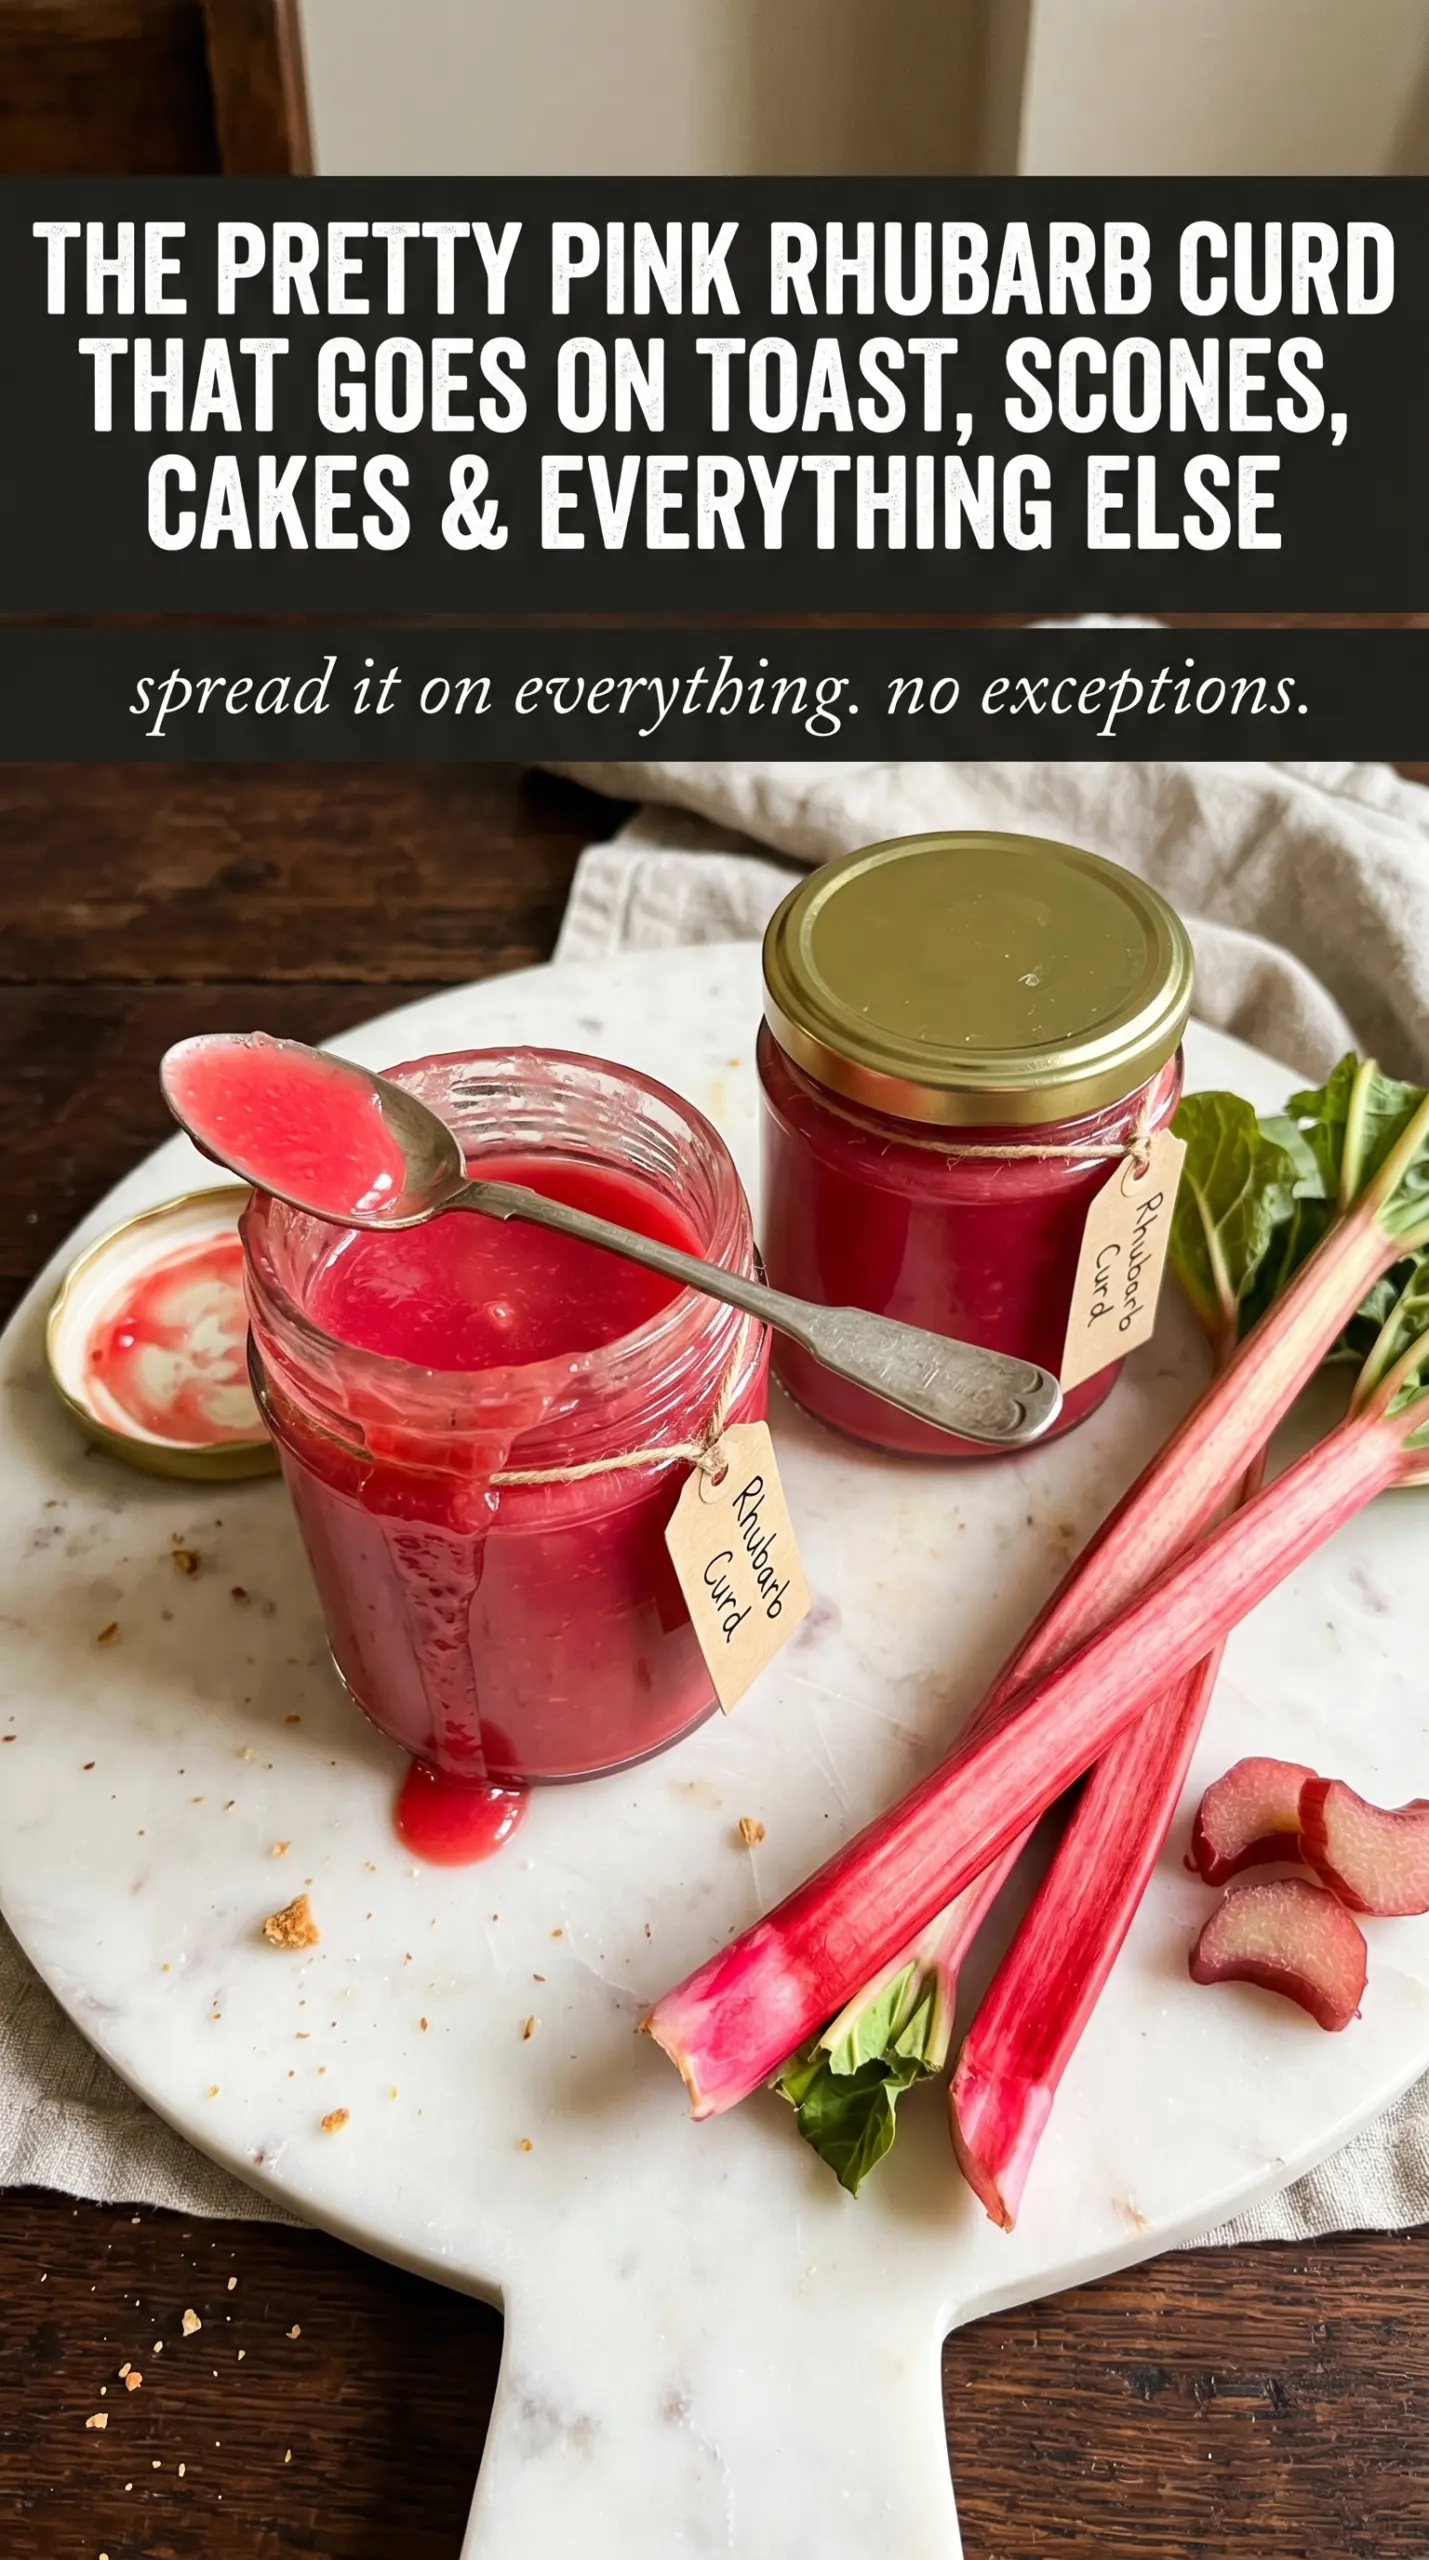
Silky rhubarb curd lands somewhere between jam and custard: bright, tangy, and smooth enough to spoon over toast without running everywhere. The rhubarb gives it that clean pink color and sharp edge, while the butter and egg yolks turn it into something lush and spreadable. It’s the kind of condiment that makes plain scones, yogurt, or pound cake taste like you planned ahead.
What makes this version work is the order of the cooking. First, the rhubarb softens with part of the sugar until it breaks down completely, which keeps the final curd from tasting stringy or watery. Then it gets blended smooth before the yolks go in, so the eggs thicken the base instead of fighting bits of fruit. The heat stays low enough to protect the eggs, and the butter goes in off the heat at the end for that glossy finish.
You’ll also find the small details that matter most with curd: how thick it should look before you stop cooking, when straining is worth the extra minute, and how to store it so the texture stays clean and spoonable.
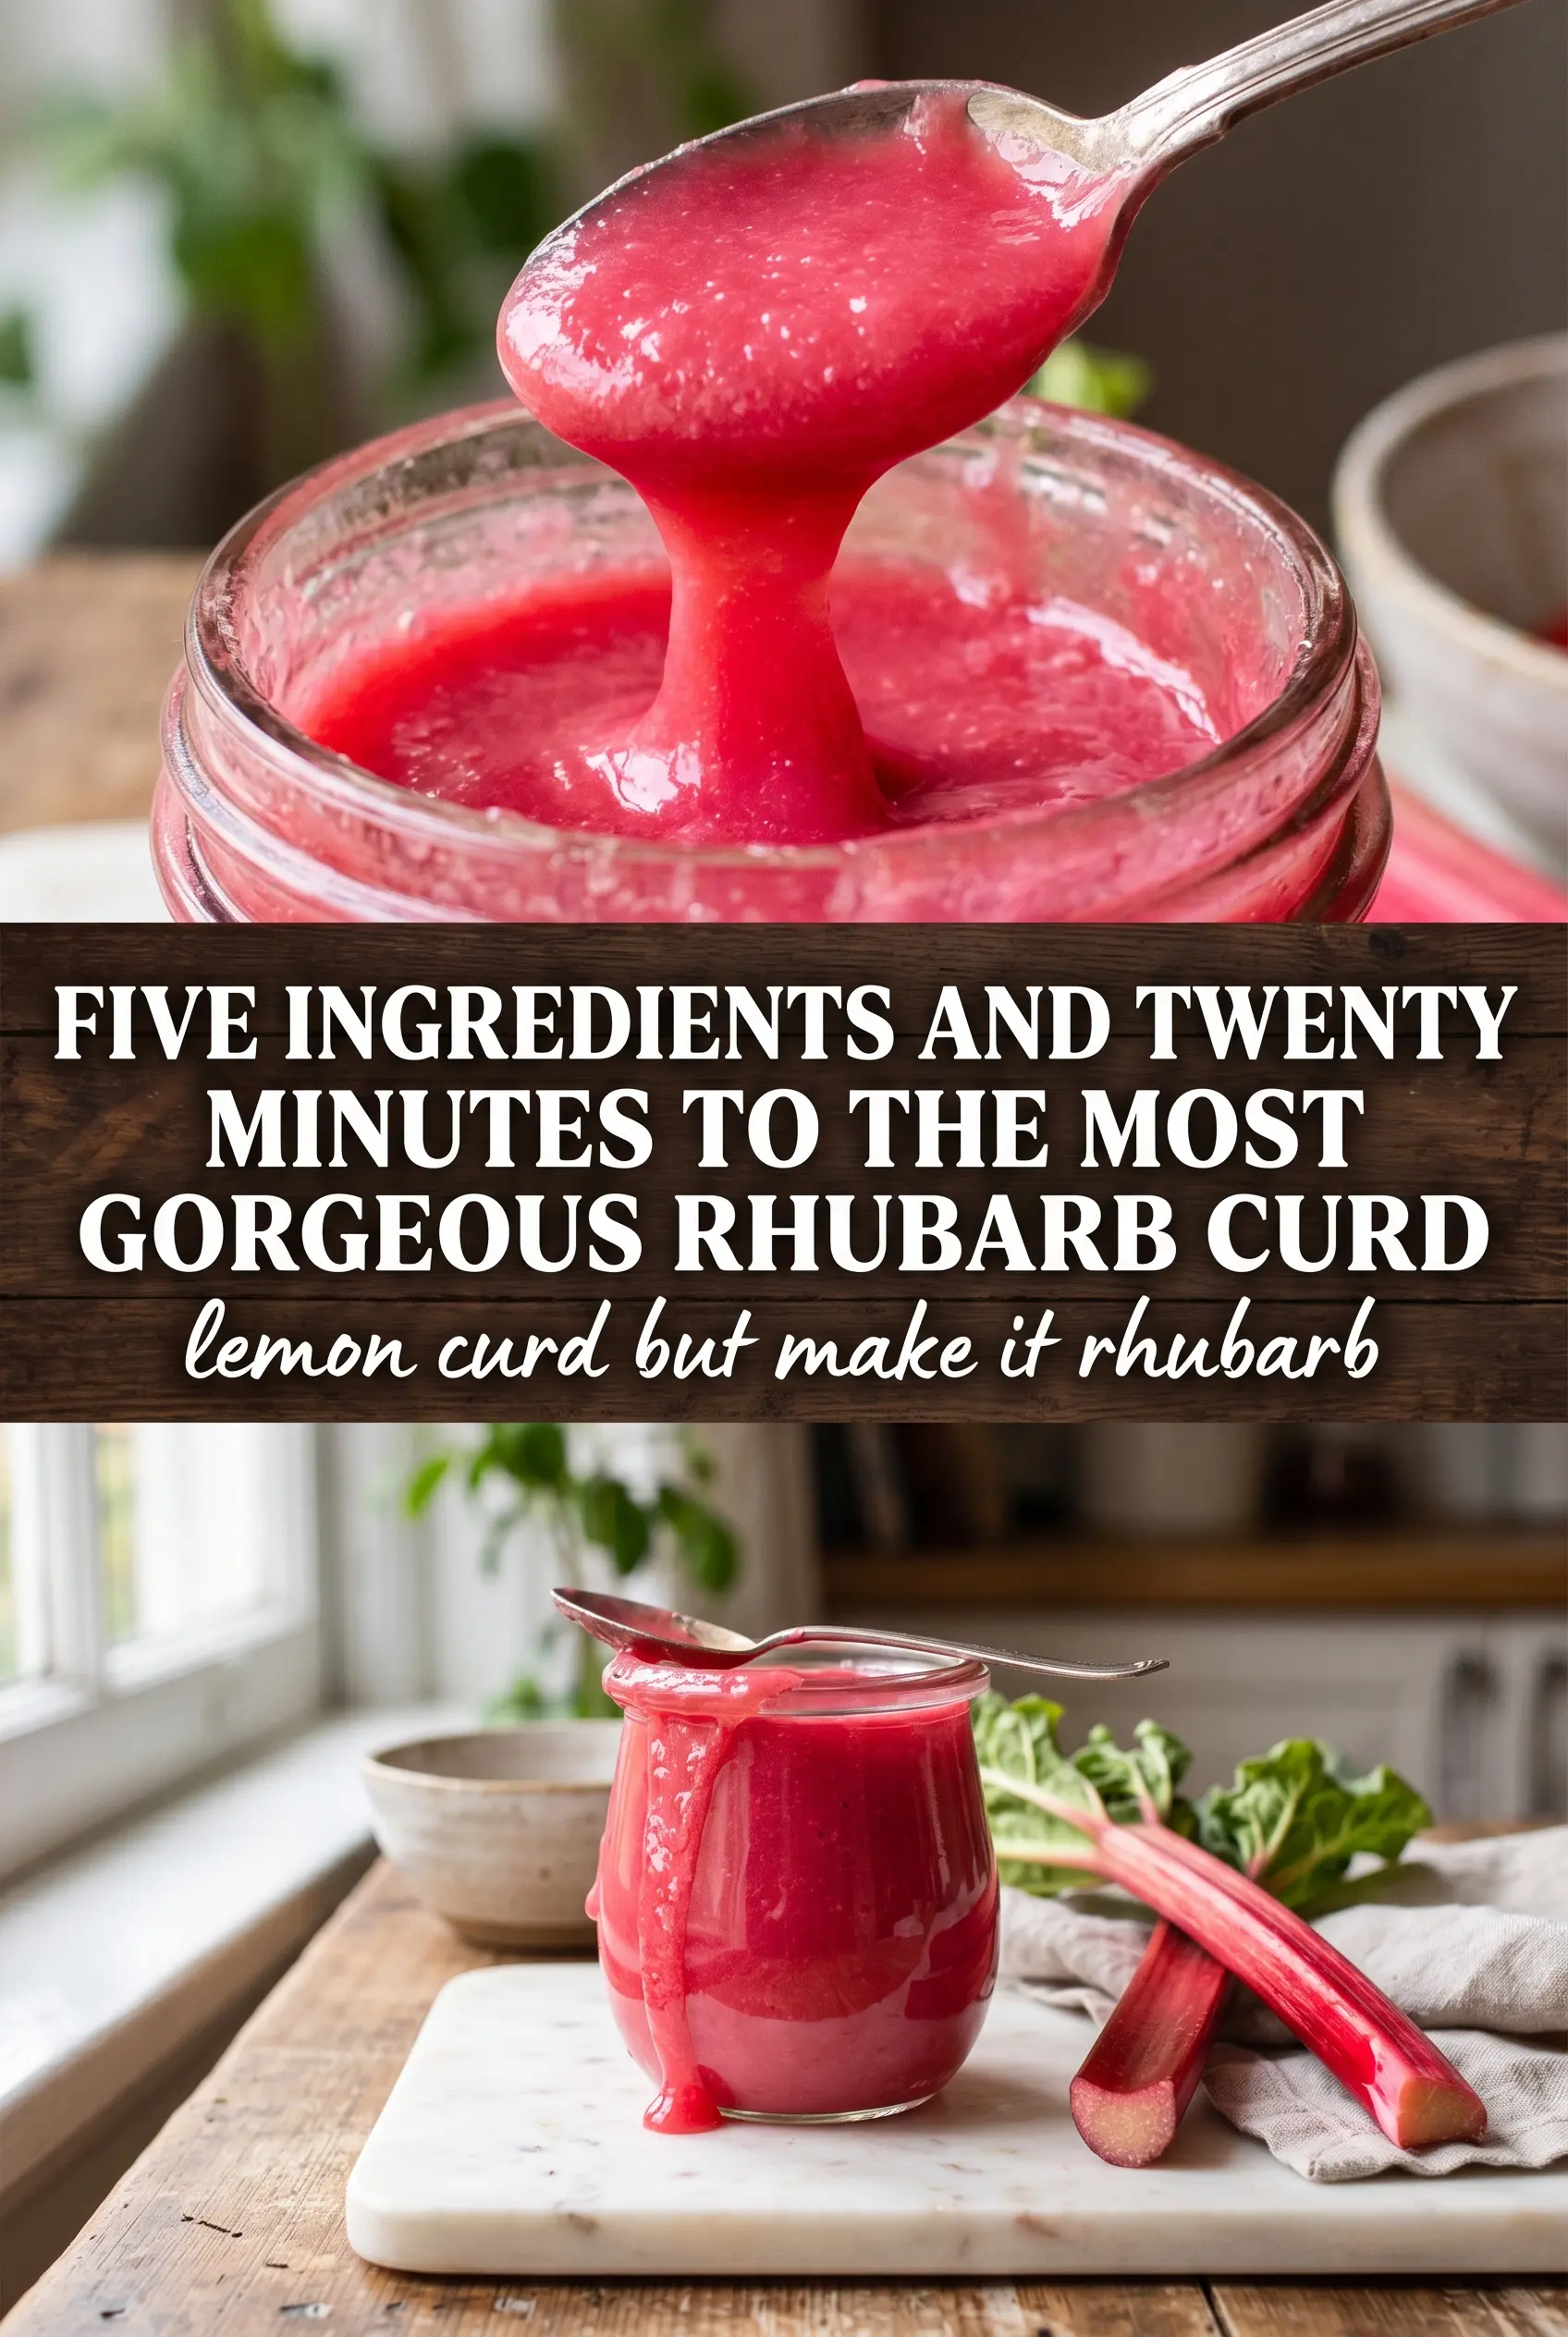
The curd set up with that perfect spoonable thickness, and the rhubarb stayed bright instead of turning muddy. I strained mine and it came out unbelievably smooth on scones.
Save this silky rhubarb curd for toast, scones, and any dessert that needs a bright tart spread.
The Part Most People Get Wrong: Cooking Rhubarb Before the Eggs Go In
Rhubarb curd can go grainy, thin, or oddly eggy if you rush the base. The fruit needs to collapse completely before the yolks join the pan, because raw rhubarb fibers can leave you with a curd that never turns fully smooth. Cooking the rhubarb with part of the sugar first also softens its edge and helps it break down into a puree that behaves like a proper curd base instead of a fruit sauce.
The other place people lose control is heat. Once the yolks are in, medium-low is the right range; anything hotter and the eggs tighten too fast. You want slow thickening and constant stirring, with the curd coating the spoon in a clean layer rather than bubbling hard. If it starts to look scrambled at the edges, pull it off the burner immediately and whisk like you mean it.
What the Butter, Yolks, and Lemon Juice Are Each Doing Here
- Rhubarb — This is the whole point of the curd. Fresh rhubarb gives the sharp, clean flavor and pink color that make the spread taste bright instead of flat. Frozen rhubarb works in a pinch, but thaw and drain it first so extra water doesn’t thin the curd.
- Egg yolks — Yolks thicken the mixture and give it that classic custard body. Whole eggs won’t give the same richness, and egg whites make the texture less smooth. If the curd turns lumpy, it usually means the yolks hit heat too fast.
- Butter — Butter is what turns the curd glossy and spoonable. Add it off the heat in cubes so it melts evenly and emulsifies instead of separating. Salted butter is fine if that’s what you keep around; it won’t change the texture.
- Lemon juice — The lemon sharpens the fruit and helps the final curd taste vivid rather than sweet. Don’t skip it, even though rhubarb is already tart. The acid keeps the flavor balanced once the butter goes in.
- Sugar — Sugar doesn’t just sweeten here; it helps the rhubarb soften and keeps the eggs from curdling too quickly. You can reduce it a little if your rhubarb is very mild, but cutting too much will throw off both texture and brightness.
How to Get a Smooth Curd Without Scrambling the Eggs
Softening the Rhubarb First
Start by cooking the chopped rhubarb with half the sugar in a saucepan until it breaks down completely and looks jammy, about 8 minutes. The fruit should collapse into a soft mound with very little visible structure left. If there’s still a lot of liquid sloshing around, keep cooking for another minute or two so the puree won’t come out thin. This first stage sets up the texture for everything that follows.
Blending Until the Base Is Fine
Puree the cooked rhubarb until smooth, then return it to the saucepan. A blender gives the cleanest texture here, but an immersion blender works too if you stop once the mixture looks velvety. If you skip this step, the finished curd can feel pulpy even after straining. Let the mixture cool for a minute or two before adding the eggs so it isn’t scorching hot.
Thickening Over Low Heat
Whisk in the remaining sugar, egg yolks, and lemon juice, then cook over medium-low heat while stirring constantly. The curd should move from loose and glossy to noticeably thicker, and it should coat the back of a spoon in a smooth layer. Don’t wait for a big simmer; by then the eggs are already overworked. If the mixture starts to steam heavily, lower the heat right away.
Finishing With Butter and Straining
Take the pan off the heat before you whisk in the butter cubes. The residual heat is enough to melt them and finish the emulsion without breaking it. If you want an ultra-silky curd, strain it through a fine mesh sieve while it’s still warm, then press it through with a spatula. Pour it into clean jars and chill for at least 2 hours so it can set properly.
How to Adapt This Curds for Different Kitchens and Different Crowds
Make It Dairy-Free With Coconut Oil
Replace the butter with refined coconut oil for a dairy-free version. The curd will still set, but it will taste a little less rich and the finish will be more fruit-forward. Use refined oil if you don’t want coconut flavor competing with the rhubarb.
Strain It for a Tighter, Glossier Spread
If you want the curd especially smooth for layering in desserts or spreading on scones, strain it after the butter melts. That removes any tiny cooked egg bits and any lingering rhubarb fiber. You lose a little yield, but the texture gets noticeably more polished.
Use Frozen Rhubarb When Fresh Isn’t Available
Frozen rhubarb works well if you thaw it first and drain off excess liquid before cooking. The flavor stays bright, but the mixture may need an extra minute on the stove to cook down properly. If you add it straight from frozen, the curd can take longer to thicken and may taste watered down.
Storage and Reheating
- Refrigerator: Store in clean jars for up to 2 weeks. The curd may firm up a little more as it chills.
- Freezer: It freezes well for up to 3 months. Leave a little headspace in the jar because the curd will expand, then thaw it overnight in the refrigerator.
- Reheating: Rhubarb curd is best served cold or at cool room temperature. If it gets too firm, let the jar sit out for 10 to 15 minutes before stirring; microwaving can make the eggs separate.
Questions I Get Asked About This Recipe
Easy Rhubarb Curd
Ingredients
Equipment
Method
- In a saucepan, cook the fresh rhubarb with 1/2 cup sugar over medium heat until very soft, about 8 minutes, stirring occasionally and watching for the fruit to break down.
- Blend the cooked rhubarb until smooth, then return the puree to the same saucepan and stir to fully combine.
- Whisk the remaining sugar, egg yolks, and lemon juice into the rhubarb puree until smooth and evenly colored.
- Cook over medium-low heat, stirring constantly, until the mixture thickens and coats the back of a spoon, about 6-8 minutes, and it should look glossy and slightly thicker with each minute.
- Remove from the heat and whisk in the butter cubes until completely melted and smooth, ensuring no visible streaks remain.
- Strain through a fine mesh sieve for extra smoothness if desired, using a spatula to press the curd through and leaving any thicker bits behind.
- Pour the rhubarb curd into clean jars, cover, and refrigerate for at least 2 hours until set and spoonable, with the texture turning silkier as it chills.
- Store the jars in the refrigerator for up to 2 weeks, keeping them sealed between uses.