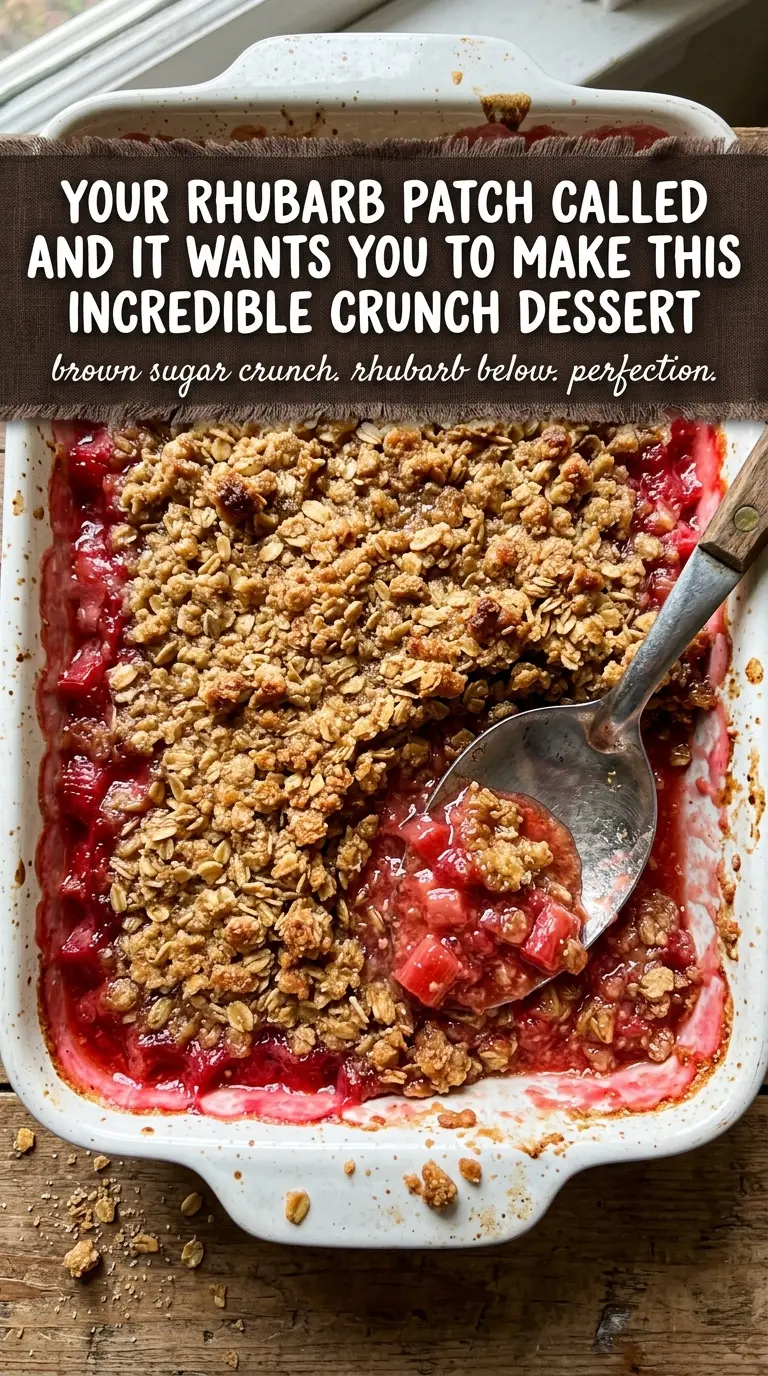
Sweet-tart rhubarb tucked under a thick oat crumble is the kind of dessert that disappears fast once it hits the table. The filling turns jammy at the edges while the center stays bright and tangy, and the topping bakes up into a deep golden layer with real crunch instead of a sandy, fragile crumble. Served warm, it has that old-fashioned, spoonable comfort that keeps people going back for one more bite.
This version works because the rhubarb is lightly thickened before baking, which keeps the juices from running all over the pan. The topping also uses melted butter, so every oat and flour particle gets coated and bakes into bigger, crisper pieces. That extra-thick layer matters here; it gives you a sturdy contrast to the soft fruit underneath instead of a thin lid that gets lost in the filling.
Below, I’ve included the small details that make a rhubarb crunch dependable, plus the easiest ways to adapt it if your pantry or preferences are a little different. If rhubarb is one of those ingredients you love but don’t use often, this is the dessert that makes it worth buying a few extra stalks.
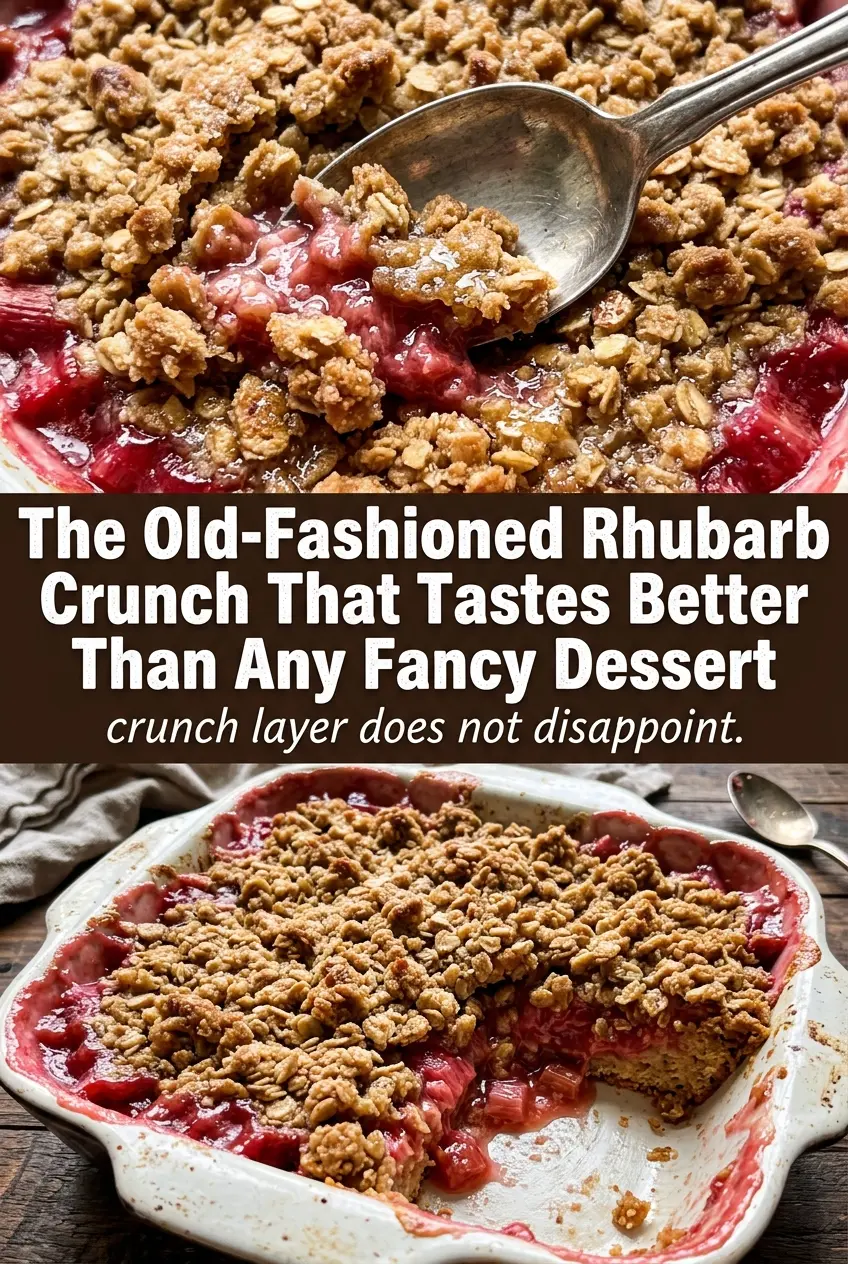
The topping stayed crisp even after sitting a few minutes, and the rhubarb baked down into a thick filling instead of turning watery. I served it with vanilla ice cream and everyone asked for the recipe.
Love that thick, crunchy oat topping? Save this Homemade Rhubarb Crunch for the next time you need a warm fruit dessert with a crisp, golden crown.
The Secret to a Crunch That Stays Crunchy
The biggest mistake with rhubarb crisps and crunches is a topping that turns soft before the fruit even finishes bubbling. Melted butter helps here because it coats the oats and flour evenly, which gives you those bigger, craggier bits that bake up crisp instead of dusty. Pressing the topping lightly over the fruit also matters; you want a thick blanket, not a packed layer that turns dense.
Rhubarb brings a lot of water to the pan, so the flour in the filling is doing real work. It thickens the juices as the dessert bakes, which keeps the bottom from turning soupy once it cools. If your rhubarb is especially juicy, the answer isn’t extra sugar. It’s giving the pan the full bake time until the top is deep gold and the filling is visibly bubbling at the edges.
What the Oats, Butter, and Rhubarb Are Each Doing Here
- Fresh rhubarb — Fresh stalks hold their shape better than frozen and give you a brighter, sharper filling. If you do use frozen rhubarb, thaw it first and drain off as much liquid as you can, or the dessert will bake up looser and take longer to set.
- All-purpose flour — A little flour in both the filling and topping is what keeps this dessert from collapsing into a puddle. There isn’t a perfect substitute for that thickening function, but a 1:1 gluten-free baking blend with xanthan gum works well in the topping if you need to avoid wheat.
- Old-fashioned oats — These give the topping its chew and structure. Quick oats will work in a pinch, but the crumble will be finer and less rustic, which means less crunch in the finished dessert.
- Brown sugar — This adds caramel depth and helps the topping brown. Dark brown sugar makes the topping taste a little richer and molasses-forward, while light brown sugar keeps the flavor cleaner and lets the rhubarb stay front and center.
- Melted butter — This is what turns the topping from dry crumbs into a cohesive layer that bakes into shards and clusters. Cold butter gives a different texture, so if you want the recipe to stay true, keep the butter melted and pour it in evenly.
Building the Filling and Baking It Until the Top Goes Deep Gold
Coating the Rhubarb
Stir the diced rhubarb with sugar, flour, and vanilla until every piece looks lightly coated, then spread it into the buttered baking dish. That flour needs direct contact with the fruit juices to thicken properly, so don’t leave dry pockets at the bottom of the bowl. The filling will look a little spare at first, but it loosens and becomes glossy in the oven.
Mixing the Crunchy Topping
Combine the oats, flour, brown sugar, cinnamon, salt, and melted butter until the mixture looks evenly moistened and clumps when squeezed. If it seems sandy, there wasn’t enough butter distributed through the dry ingredients. Stir until you’ve got coarse, damp crumbs with a few larger pieces; those bigger bits are what give the baked topping its crunch.
Baking Until the Fruit Bubbles
Spread the topping thickly over the rhubarb and bake at 350°F until the top is deep golden and the filling is bubbling around the edges, usually 40 to 45 minutes. If the topping browns before the fruit bubbles, the oven is running hot or the dish is too close to the top element, so move it to the middle rack and tent loosely with foil. Don’t pull it early; rhubarb needs that full bubbling stage for the flour to thicken the juices.
Letting It Set Before Serving
Give the pan at least 10 minutes to cool before spooning. That short rest lets the filling settle from loose and runny to thick enough to hold together on the plate. Serve it warm with vanilla ice cream if you want the classic contrast, but even on its own the texture lands where it should: soft fruit below, crisp topping above.
How to Adapt This Rhubarb Crunch Without Losing the Good Parts
Make It Gluten-Free
Use a good 1:1 gluten-free flour blend in both the filling and topping. The oats are naturally gluten-free if your brand is certified, and the dessert still bakes up with the same crisp top and thick fruit layer.
Reduce the Sugar Without Making It Tart
You can cut the sugar in the filling by about 1/4 cup if your rhubarb is on the milder side, but don’t slash it further or the fruit can taste aggressively sharp. The topping needs the brown sugar for structure and browning, so leave that amount alone unless you want a paler, less crisp finish.
Add Strawberries for a Sweeter Filling
Replace up to 2 cups of the rhubarb with chopped strawberries for a softer, sweeter filling that leans more classic spring dessert than sharp rhubarb bake. The fruit will release a little more liquid, so the dessert may need a few extra minutes in the oven before the center looks set.
Storage and Reheating
- Refrigerator: Store covered for up to 4 days. The topping softens a little as it sits, but the flavor holds up well.
- Freezer: Freeze baked rhubarb crunch in an airtight container for up to 2 months. Thaw overnight in the fridge before reheating; the topping won’t be quite as crisp as fresh, but it still works.
- Reheating: Warm in a 325°F oven until the filling is hot and the top perks back up, about 15 to 20 minutes for a full dish. The microwave softens the topping fast, which is the main mistake to avoid if you want to keep that crunchy texture.
Answers to the Questions Worth Asking
Homemade Rhubarb Crunch
Ingredients
Equipment
Method
- Preheat the oven to 350°F and butter a 9x13-inch baking dish.
- Combine fresh rhubarb, sugar, all-purpose flour, and vanilla extract, then spread the mixture into the prepared baking dish.
- In a separate bowl, mix old-fashioned oats, all-purpose flour, brown sugar, melted butter, cinnamon, and salt until well combined.
- Spread the oat topping thickly and evenly over the rhubarb filling.
- Bake for 40-45 minutes at 350°F until the topping is deep golden and crispy.
- Cool the rhubarb crunch for 10 minutes before serving warm so the filling sets slightly.
- Serve warm with vanilla ice cream.