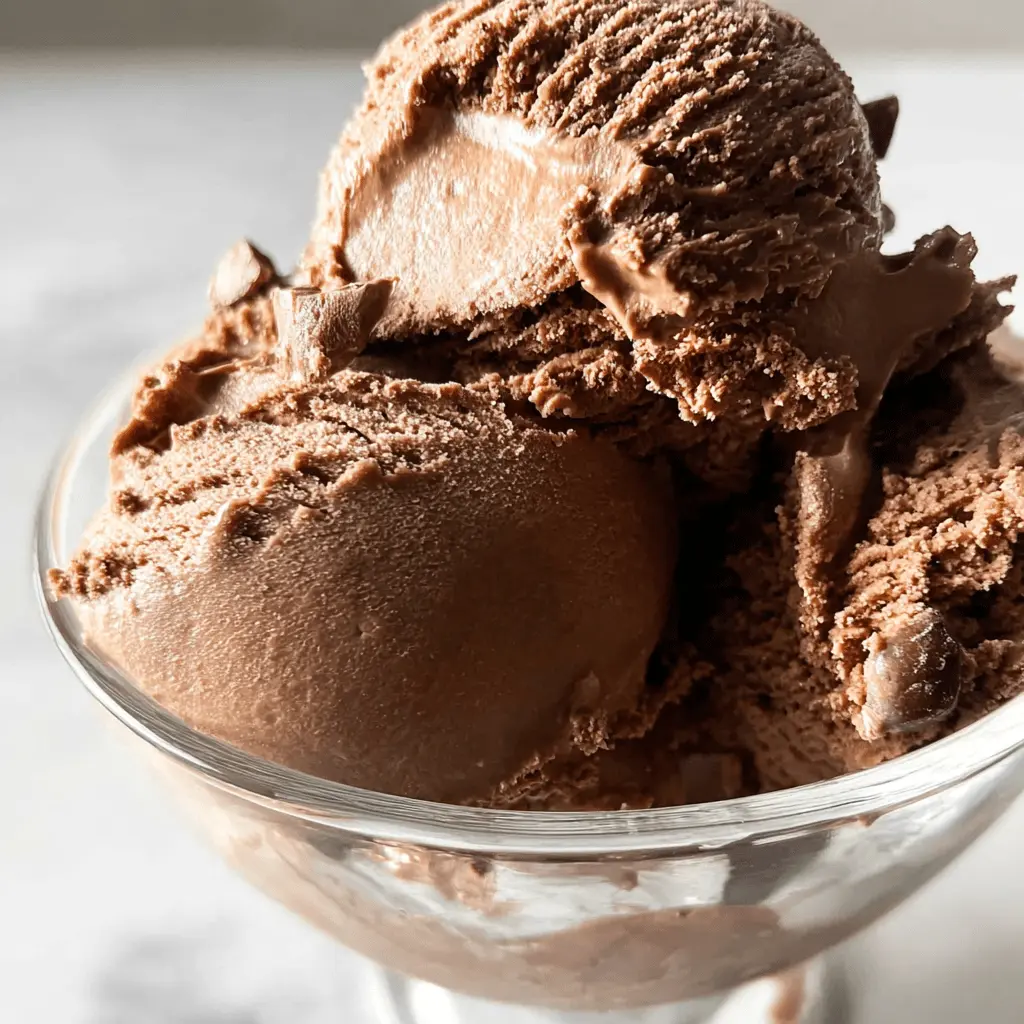
This easy chocolate ice cream is a true treat! Made with just a few simple ingredients, it’s rich, creamy, and full of chocolate goodness. You’ll want to keep it on hand all summer long!
Making ice cream at home is a blast! I love how I can sneak a taste before it’s fully frozen. What’s better than chocolate ice cream on a hot day? Grab a scoop (or two)! 🍦
Key Ingredients & Substitutions
Heavy Cream: This is crucial for a rich texture. If you want a lighter version, you can use half-and-half, but the creaminess will be reduced. I always choose the highest quality cream for the best flavor!
Whole Milk: Whole milk ensures that your ice cream is creamy and luxurious. If you need a dairy-free option, almond or coconut milk can work well too, though it might change the flavor slightly.
Granulated Sugar: This sweetens the mix. You can replace granulated sugar with brown sugar for a deeper flavor. Alternatively, granulated erythritol or stevia work for a reduced-calorie version, but adjust the quantity since they’re sweeter.
Unsweetened Cocoa Powder: Use a good quality cocoa powder for a rich chocolate flavor. If needed, Dutch-processed cocoa can be substituted, but it can make the ice cream slightly darker and change the acidity.
Chocolate: Bittersweet or semisweet chocolate adds depth. If you’re a fan of dark chocolate, opt for a higher cocoa percentage for a more intense flavor. White chocolate can also be fun if you want a different twist.
How Do I Make Sure My Ice Cream Is Creamy and Not Icy?
To create creamy ice cream, the chilling step is key. You want the mixture to be as cold as possible before churning. Follow these tips:
- Use cold ingredients – keep your cream and milk in the fridge until ready.
- Chill the mixture for at least 4 hours, or overnight for the best results.
- If you don’t have an ice cream maker, consider stirring the mixture every 30 minutes during freezing to break up ice crystals.
These simple steps will help ensure your chocolate ice cream is as smooth and creamy as possible! Enjoy every scoop! 🍦
Best Easy Chocolate Ice Cream Recipe
Ingredients You’ll Need:
- 2 cups heavy cream
- 1 cup whole milk
- 3/4 cup granulated sugar
- 1/2 cup unsweetened cocoa powder
- 100g (about 3.5 oz) bittersweet or semisweet chocolate, chopped
- 1 teaspoon pure vanilla extract
- 1/4 teaspoon salt
How Much Time Will You Need?
This delicious chocolate ice cream recipe takes about 10 minutes to prepare, plus at least 4 hours for chilling and an additional 4 hours to firm up in the freezer. So, you’re looking at around 8 hours total, but most of that time is waiting for it to set! Patience is key when it comes to ice cream.
Step-by-Step Instructions:
1. Mix the Base:
In a medium saucepan, combine the whole milk, granulated sugar, unsweetened cocoa powder, and salt. Whisk these ingredients together over medium heat. Keep stirring until everything is fully dissolved and the mixture is warm but not boiling. This helps develop the chocolate flavor!
2. Melt the Chocolate:
Once the mixture is hot, remove the saucepan from the heat. Add the chopped bittersweet or semisweet chocolate to the mixture. Stir well until the chocolate is completely melted and the blend is smooth. Don’t skip this step; it’s where all the chocolatey magic happens!
3. Combine Cream and Vanilla:
Now, gently stir in the heavy cream and vanilla extract until everything is fully combined. You’ll start to see that beautiful chocolate color come through.
4. Chill It Out:
Pour the mixture into a bowl, cover it, and chill in the refrigerator for at least 4 hours, or overnight if you can wait! This chilling step is vital as it cools the mixture down, preparing it for churning.
5. Churn Away:
Once the mixture is nice and cold, pour it into your ice cream maker. Churn according to the manufacturer’s instructions—this usually takes about 20-25 minutes. Your ice cream should be thick and creamy by the end of this step.
6. Freeze Until Firm:
Transfer the churned ice cream into an airtight container. Freeze for at least 4 hours to let it fully firm up. This will give you that satisfying scoopability!
7. Serve & Enjoy:
Your rich and creamy chocolate ice cream is now ready to scoop! Put it in bowls or cones, and savor every chocolaty bite. You can also add toppings like chocolate syrup or sprinkles if you’d like!
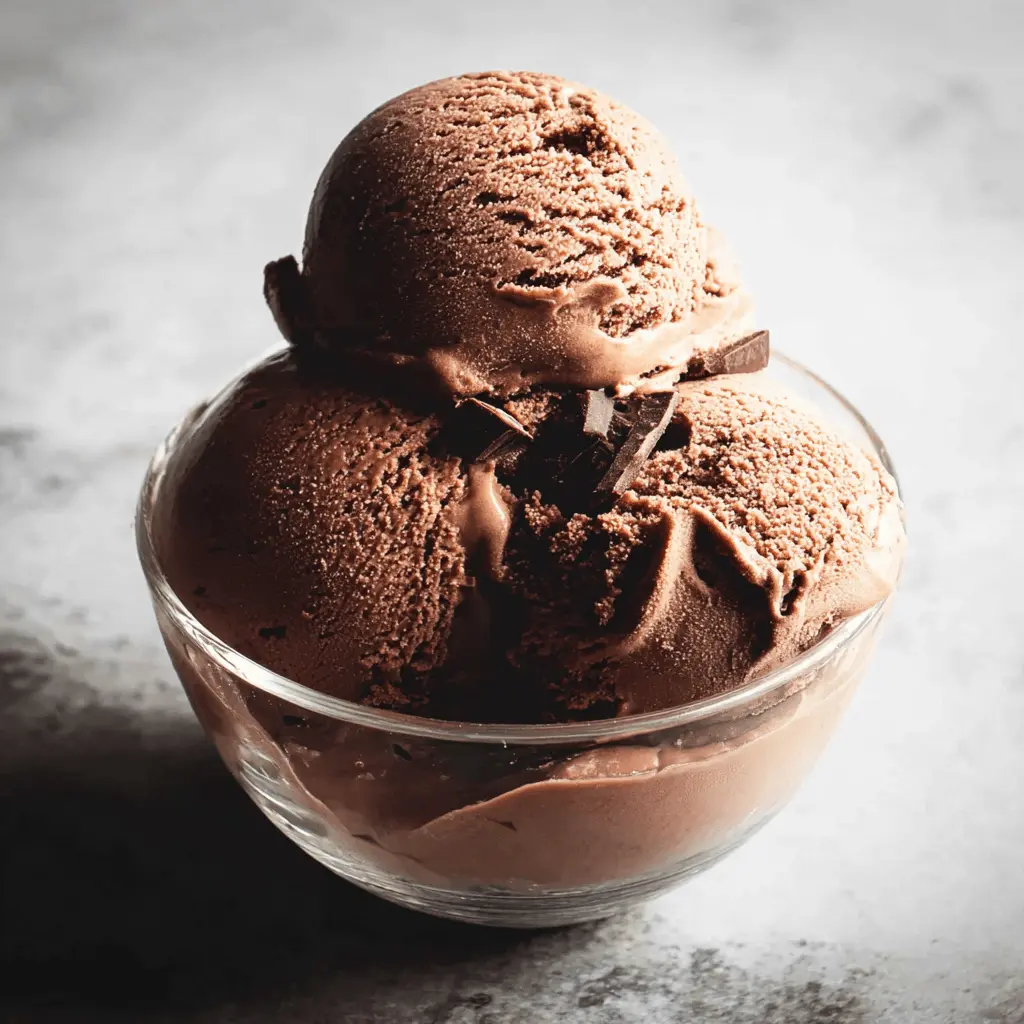
This recipe makes a smooth and decadent chocolate ice cream that is delightfully easy to prepare and perfect for any chocolate lover. Enjoy your homemade treat!
FAQ about Easy Chocolate Ice Cream Recipe
Can I Use Low-Fat Milk Instead of Whole Milk?
While you can use low-fat milk, it will result in a less creamy texture. For the best results, whole milk is recommended to provide that luscious creaminess we all love in ice cream!
How Long Can I Store This Ice Cream?
You can store your homemade chocolate ice cream in an airtight container in the freezer for up to 2-3 weeks. To maintain freshness, try to minimize exposure to air to prevent freezer burn.
What If I Don’t Have an Ice Cream Maker?
No worries! You can still make this ice cream by pouring the chilled mixture into a freezer-safe dish. Freeze it for about 2 hours, then stir vigorously with a fork every 30 minutes to break up ice crystals until it’s firm and creamy.
Can I Add Mix-Ins Like Nuts or Chocolate Chips?
Absolutely! During the last few minutes of churning, you can add in mix-ins like nuts, chocolate chips, or even crushed cookies. Just make sure not to overload it, as too many mix-ins can affect the texture of the ice cream.