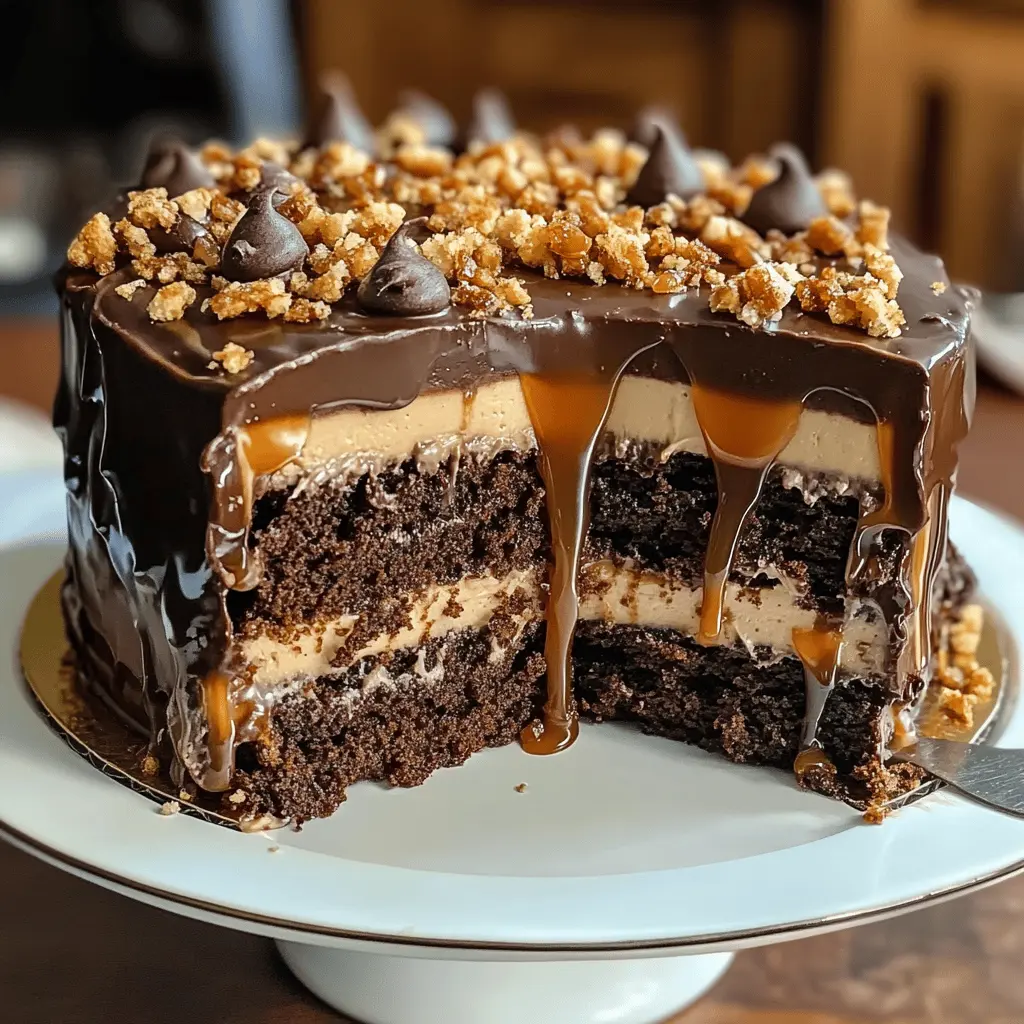
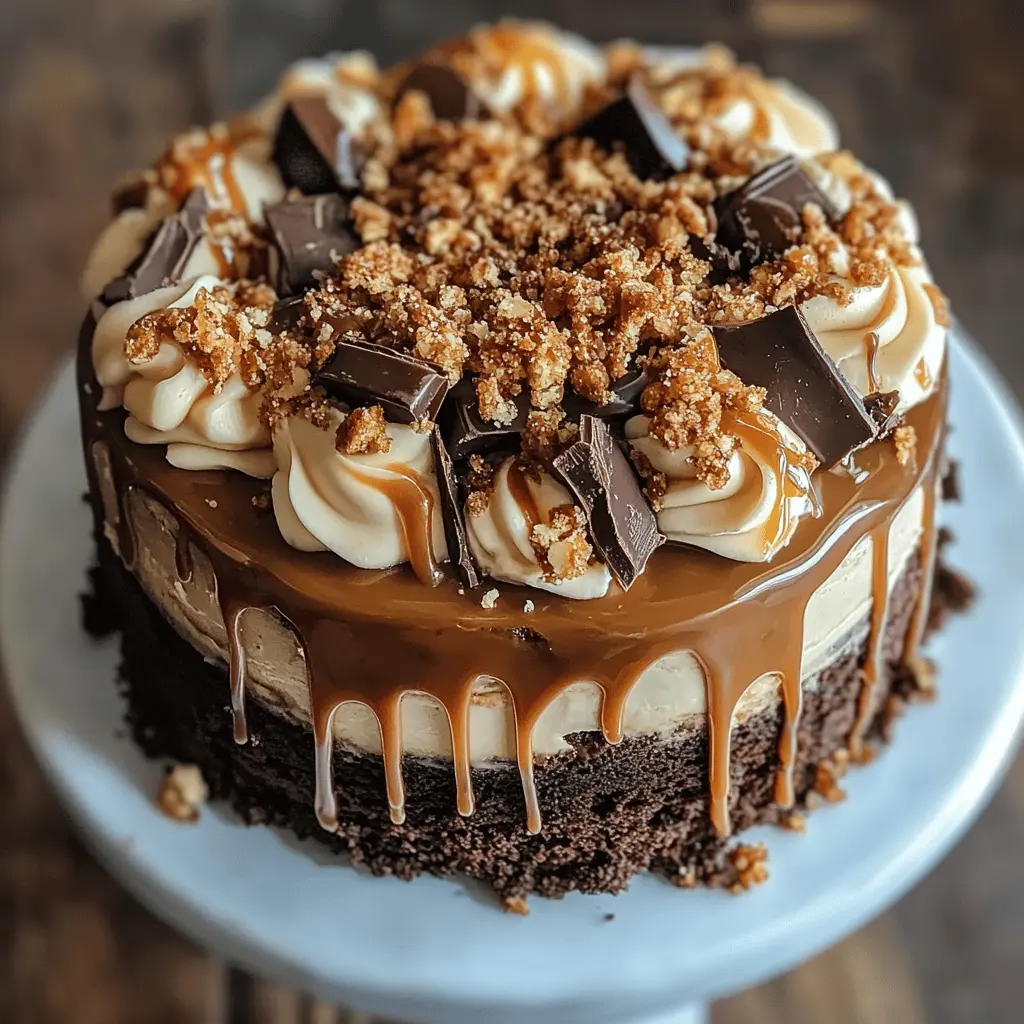
This Chocolate Caramel Toffee Crunch Cake is a dream for sweet lovers! With rich chocolate layers, creamy caramel, and crunchy toffee bits, it’s a treat that’s hard to resist.
You’ll be the superstar at any gathering when you bring this cake. Just wait for the compliments to pour in—it’s like a dessert party in every slice! 🎉
I love how the layers create such an exciting texture. Serve it with a scoop of vanilla ice cream, and you’ll have smiles all around. Who doesn’t love a cake like this?
Key Ingredients & Substitutions
All-Purpose Flour: This is the foundation for the cake. If you need a gluten-free option, use a 1:1 gluten-free flour blend. I’ve found that these blends work well in cakes without changing the taste too much.
Cocoa Powder: Unsweetened cocoa powder gives the cake that rich chocolate flavor. If you’re out of cocoa, you can use a dark cocoa for a more intense taste or even carob powder as a substitute, although it has a distinct flavor of its own.
Granulated Sugar: For sweetness, granulated sugar works best. You could swap it with brown sugar for a richer taste or use a sugar alternative like coconut sugar or a stevia blend if you’re looking for a low-calorie option.
Heavy Whipping Cream: This is crucial for a fluffy whipped topping. If you’re in a pinch, you can use non-dairy whipped toppings or coconut cream for a dairy-free version. Just chill it for a bit to get the right consistency.
Caramel Sauce: Store-bought caramel is super convenient, but homemade adds a special touch. If you’re short on time, a good quality store caramel is just fine. For a twist, try using a chocolate caramel sauce instead!
How Do You Get the Cake Layers Just Right?
Proper baking and layer cutting helps the cake turn out beautifully. Follow these steps to ensure success:
- Preheat your oven to the right temperature before you start mixing your batter. An accurate oven temperature is key!
- Grease and flour your cake pans thoroughly. You don’t want your cake sticking. Some people swear by using parchment paper at the bottom for extra security.
- When mixing in boiling water, do it carefully! This helps the cocoa bloom and enhances the chocolate flavor. The batter will be thin, but that’s normal.
- Check your cakes doneness by inserting a toothpick in the center. If it comes out clean, they are ready. Over-baking can dry your cake out.
- For cutting the layers, use a long serrated knife and do it while the cake is completely cool. This gives you a clean, even cut.
How to Make Chocolate Caramel Toffee Crunch Cake
Ingredients You’ll Need:
For the Chocolate Cake:
- 1 3/4 cups all-purpose flour
- 3/4 cup unsweetened cocoa powder
- 2 cups granulated sugar
- 1 1/2 teaspoons baking powder
- 1 1/2 teaspoons baking soda
- 1 teaspoon salt
- 2 large eggs
- 1 cup whole milk
- 1/2 cup vegetable oil
- 2 teaspoons vanilla extract
- 1 cup boiling water
For the Caramel Layer:
- 1 cup caramel sauce (store-bought or homemade)
For the Toffee Crunch Layer:
- 1 cup toffee bits (such as Heath or Skor)
For the Whipped Cream Topping:
- 2 cups heavy whipping cream
- 1/3 cup powdered sugar
- 1 teaspoon vanilla extract
For Garnish:
- Additional caramel sauce
- Extra toffee bits
- Chocolate chips
How Much Time Will You Need?
This delicious cake will take about 1 hour to prepare and with baking and chilling, plan for about 3 hours in total. It’s a fun process layering the cake and adding all the yummy toppings!
Step-by-Step Instructions:
1. Prepare the Cake:
First, preheat your oven to 350°F (175°C). Grease and flour two 9-inch round cake pans. In a large bowl, mix together the flour, cocoa powder, sugar, baking powder, baking soda, and salt until well combined.
2. Make the Batter:
Add in the eggs, milk, vegetable oil, and vanilla extract to the dry ingredients. Mix everything together until smooth. Then, carefully stir in the boiling water. The batter will be quite thin, which is perfectly okay!
3. Bake the Cakes:
Pour the batter evenly into your prepared cake pans. Bake for 30-35 minutes or until a toothpick inserted in the center comes out clean. Let the cakes cool in the pans for about 10 minutes. After that, transfer them to wire racks to cool completely.
4. Slice the Cakes:
Once the cakes are cool, take a serrated knife and carefully slice each cake in half horizontally. This will give you four layers to work with!
5. Start Layering:
Place the first layer of cake on a serving platter. Drizzle some caramel sauce over the top, then sprinkle a handful of toffee bits. Grab your heavy cream and whip it with powdered sugar and vanilla until soft peaks form, then spread some of that whipped cream over the toffee bits.
6. Repeat with Remaining Layers:
Continue layering with the second layer of cake, adding caramel, toffee bits, and whipped cream. Do the same for the third layer, and then place the fourth layer on top.
7. Frost and Garnish the Cake:
Now it’s time to frost! Use the remaining whipped cream to cover the top and sides of the cake. Drizzle with more caramel sauce and decorate with extra toffee bits and chocolate chips to make it look even more inviting.
8. Chill and Serve:
Finally, refrigerate the cake for at least 2 hours to let the layers set nicely. Once ready, slice into this fabulous Chocolate Caramel Toffee Crunch Cake and enjoy every bite!
Can I Substitute Unsweetened Cocoa Powder with Dutch-Processed Cocoa?
Yes, you can! Dutch-processed cocoa has a smoother flavor and darker color compared to regular unsweetened cocoa powder. Just make sure to use the same amount so that your cake still rises properly, as both types will work well in this recipe.
What If I Don’t Have Heavy Whipping Cream?
If heavy whipping cream is unavailable, you can use half-and-half or whipping cream, but the texture won’t be as rich. For a lighter version that’s still creamy, try using whipped topping like Cool Whip instead—just be aware that it may not hold up as well as homemade whipped cream.
How Should I Store Leftover Cake?
Store any leftovers in an airtight container in the refrigerator for up to 3 days. If you want to keep it for a bit longer, wrap individual slices in plastic wrap and place them in the freezer, where they will last for about a month. Just let them thaw in the fridge before serving!
Can I Make This Cake Gluten-Free?
Absolutely! To make a gluten-free version, simply substitute the all-purpose flour with a gluten-free all-purpose flour blend. Make sure the blend contains xanthan gum, or add about 1/2 teaspoon to help with the cake’s structure.