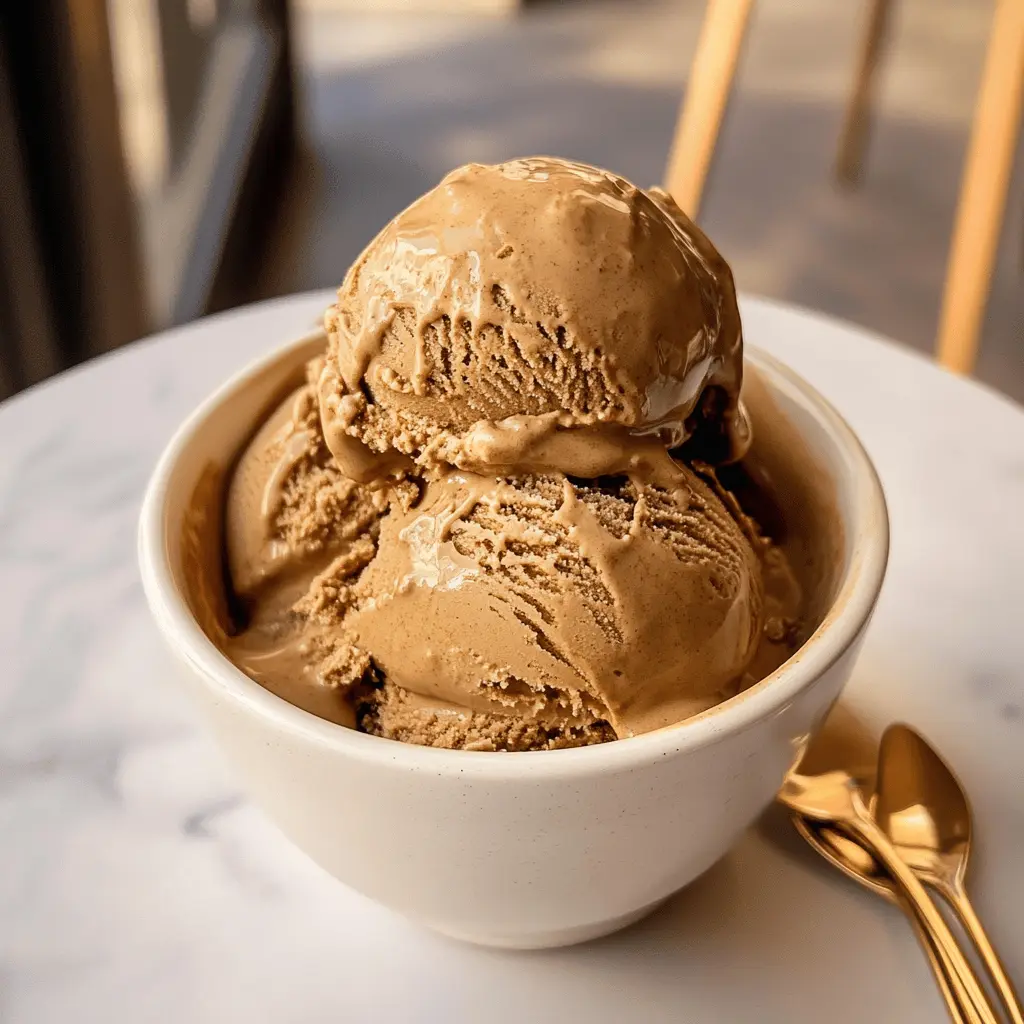
This easy bold coffee ice cream is a real treat for coffee lovers! With a rich coffee flavor and a creamy texture, it’s perfect for warm days or any time you crave a sweet pick-me-up!
Making this ice cream is a breeze! I just mix the ingredients, pop it in the ice cream maker, and enjoy. Trust me, every spoonful feels like a cozy hug! ☕️🍦
Key Ingredients & Substitutions
Whole Milk: Whole milk gives the ice cream a rich texture. If you’re looking to lighten it up, low-fat milk works too, but it may result in a less creamy end product. You could also use almond or oat milk for a dairy-free option, just make sure they’re unsweetened!
Sugar: Granulated sugar is standard, but you can swap it for brown sugar for a deeper flavor. Alternatively, using coconut sugar or a sugar substitute (like Stevia) is an option, though it may change the texture slightly.
Heavy Cream: The heavy cream is key for that luscious creaminess. If you prefer a lighter version, try using half-and-half, which will work but will be less rich. Coconut cream works for a dairy-free alternative and adds a hint of coconut flavor!
Instant Espresso Powder: This brings the bold coffee flavor to the ice cream. If you don’t have it, use strong brewed coffee instead, but make sure to cool it completely before adding to the mixture. For a twist, flavored coffee can be used.
How Can You Ensure the Best Texture for Your Ice Cream?
Getting that perfect creamy texture in coffee ice cream requires a few key steps. Let’s break it down:
- Be sure to whisk the sugar into the milk completely until it dissolves. This helps create a smoother base.
- Refrigerate the mixture long enough! Chilling it for at least 2 hours (or overnight) helps develop the flavors and allows for a smoother churn.
- When churning, keep an eye on the time. Churn until you reach soft-serve consistency but don’t overdo it, as it could become too hard when frozen.
- After churning, transfer the ice cream to a container and press plastic wrap directly onto the surface to avoid ice crystals while it freezes.
These tips will help you create a scoopable, delightful coffee ice cream every time! Enjoy making this treat!
Easy Bold Coffee Ice Cream
Ingredients You’ll Need:
- 1 cup whole milk
- 3/4 cup granulated sugar
- 2 cups heavy cream
- 2 tablespoons instant espresso powder or finely ground strong coffee
- 1 teaspoon vanilla extract
- A pinch of salt
How Much Time Will You Need?
This delicious coffee ice cream will take about 10 minutes to prepare, plus 2 hours of chilling time in the fridge and 25 minutes to churn in an ice cream maker. After that, it will need at least 4 hours in the freezer to become firm. So, plan for about 6.5 hours total, but most of that is just waiting!
Step-by-Step Instructions:
1. Whisking the Base:
In a medium bowl, whisk together the whole milk and granulated sugar. Keep whisking until the sugar is fully dissolved, so your ice cream is smooth and sweet.
2. Mixing in the Cream:
Add the heavy cream, instant espresso powder (or finely ground coffee), vanilla extract, and a pinch of salt to the bowl. Whisk everything together until the espresso powder is completely dissolved and the mixture looks nice and smooth.
3. Chilling the Mixture:
Cover the bowl with plastic wrap or a lid, and pop it into the fridge to chill. Let it sit for at least 2 hours, or even better, overnight. This chilling time helps the flavors blend nicely and makes a creamier ice cream.
4. Churning Time:
Once your mixture is chilled, pour it into your ice cream maker. Churn according to the manufacturer’s instructions, which typically takes about 20-25 minutes. Keep an eye on it until you reach a soft-serve consistency.
5. Freezing to Firm Up:
After churning, transfer the ice cream to an airtight container. Flatten the top with a spatula, covering it with plastic wrap to prevent ice crystals from forming. Freeze for at least 4 hours or until it’s firm.
6. Serve and Enjoy:
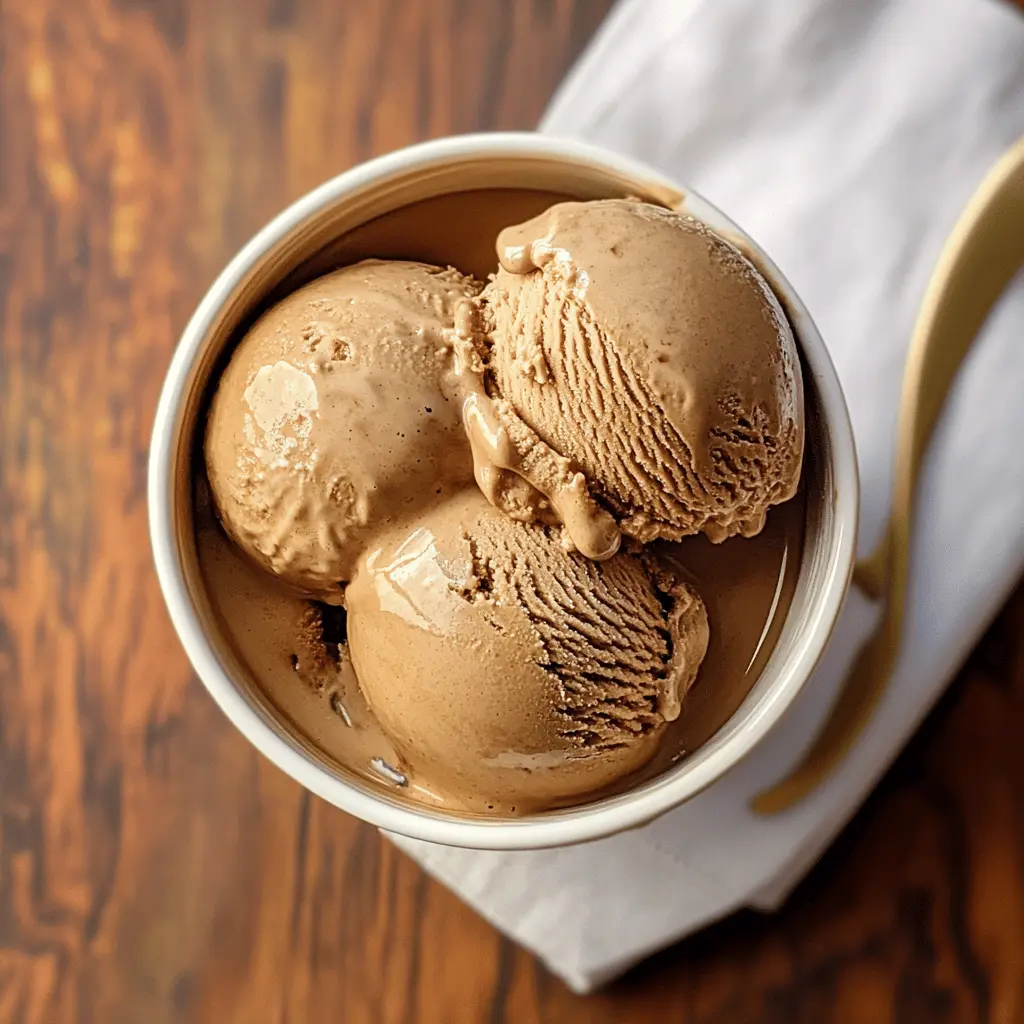
When you’re ready to enjoy your coffee ice cream, scoop it into bowls or cones. Take a moment to appreciate the rich coffee aroma before digging in. Enjoy every delicious bite!
This easy recipe yields a creamy, bold coffee ice cream that’s perfect for espresso lovers or anyone craving a refreshing homemade treat. Happy scooping!
FAQ for Easy Bold Coffee Ice Cream
Can I Use Decaf Coffee Instead?
Absolutely! If you’re looking to enjoy the flavor without the caffeine kick, feel free to use decaffeinated instant espresso or decaf coffee grounds. The taste will still be rich and delicious.
What If I Don’t Have an Ice Cream Maker?
No problem! You can make ice cream without an ice cream maker by pouring the chilled mixture into a shallow dish. Freeze it for about 30 minutes, then remove and stir vigorously with a fork. Continue to freeze and stir every 30 minutes for about 2-3 hours until it reaches your desired consistency.
How to Store Leftover Ice Cream?
Store any leftover ice cream in an airtight container, pressing plastic wrap against the surface before sealing the lid to prevent ice crystals. It will stay fresh in the freezer for up to 2 weeks. Just let it sit at room temperature for a few minutes before scooping to make it easier to serve!
Can I Add Mix-Ins to My Ice Cream?
Definitely! You can add mix-ins like chocolate chips, toffee bits, or crushed cookies just before the ice cream is finished churning. This adds an exciting twist and texture to your coffee ice cream!