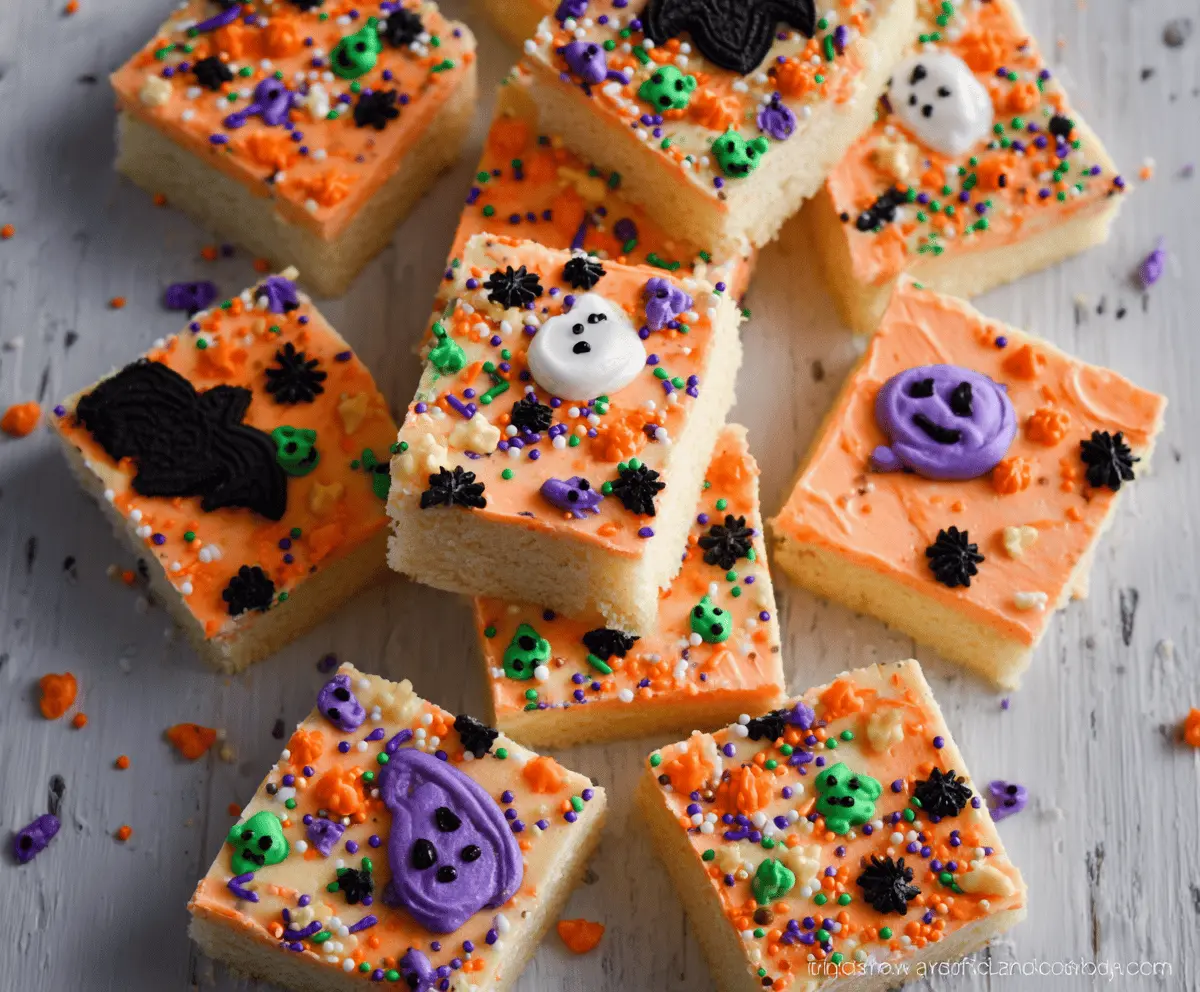
These Halloween Sugar Cookie Bars are a fun twist on classic cookies! They are soft, chewy, and topped with colorful frosting that makes them perfect for spooky celebrations.
Making these bars is a breeze! Just mix, bake, and frost—no fuss. I love cutting them into fun shapes and watching everyone smile while they enjoy a little sweet treat. 🎃
Key Ingredients & Substitutions
All-Purpose Flour: This is the base for your cookie bars, giving them structure. If you need a gluten-free option, you can substitute with a 1:1 gluten-free flour blend.
Butter: Unsalted butter helps control the saltiness in the recipe. If you only have salted butter, just reduce the added salt by half. You can also use coconut oil or margarine if you’re looking for dairy-free options.
Sour Cream: This adds moisture and a slight tang to the bars. Greek yogurt is a great substitute! It will keep your bars just as rich and creamy.
Gel Food Coloring: The colors add fun to your frosting. If you want to avoid artificial colors, try natural food colors made from plants or beet juice for red and purple hues.
How Can I Ensure My Cookie Bars Bake Evenly?
Baking evenly is key to getting that perfect texture. First off, make sure to preheat your oven to 350°F (175°C). Here are some tips:
- Use an oven thermometer to check if your oven is at the right temperature.
- Spread the batter evenly in the pan—an offset spatula can help with this!
- Rotate the pan halfway through baking for even cooking.
- Always perform the toothpick test by inserting a toothpick in the center; if it comes out clean, they’re done!
Cooling completely before frosting is also essential—this prevents the frosting from melting!
How to Make Halloween Sugar Cookie Bars
Ingredients You’ll Need:
For the Cookie Bars:
- 2 ¾ cups all-purpose flour
- 1 teaspoon baking powder
- ½ teaspoon salt
- 1 cup unsalted butter, softened
- 1 cup granulated sugar
- 1 large egg
- 2 teaspoons vanilla extract
- ½ cup sour cream
For the Frosting:
- 1 ½ cups powdered sugar
- ¼ cup unsalted butter, softened
- 1 to 2 tablespoons milk
- ½ teaspoon vanilla extract
For Decorating:
- Orange, purple, and black gel food coloring
- Halloween-themed sprinkles (ghosts, pumpkins, colored nonpareils, jimmies)
How Much Time Will You Need?
This delightful recipe takes about 15 minutes to prep and around 25-30 minutes to bake. After baking, you’ll need to let the bars cool completely before frosting, which takes about 1 hour. So, in total, you’re looking at about 2 hours including cooling time.
Step-by-Step Instructions:
1. Preheat and Prepare Your Pan:
Start by preheating your oven to 350°F (175°C). Take a 9×13-inch baking pan and grease it well, then sprinkle a little flour in, shaking it around to cover. This will help your cookie bars come out easily after baking!
2. Mix the Dry Ingredients:
In a medium bowl, whisk together the all-purpose flour, baking powder, and salt until combined. This step ensures your dry ingredients are evenly distributed.
3. Cream the Butter and Sugar:
In a large mixing bowl, beat the softened butter and granulated sugar with a mixer until it’s light and fluffy, about 3 minutes. This is the secret to soft, chewy bars!
4. Add Egg and Vanilla:
Next, add the large egg and vanilla extract to the creamed mixture. Mix until everything is well combined and smooth.
5. Combine with Dry Ingredients:
Now, alternate adding the dry ingredients and the sour cream into the butter mixture. Start with a bit of the dry mix, followed by some sour cream, and repeat, ending with the dry ingredients. Mix until just combined; don’t overmix!
6. Bake the Cookie Bars:
Spread the batter evenly into your prepared baking pan. Bake in the preheated oven for 25-30 minutes or until a toothpick inserted into the center comes out clean. Your kitchen will smell amazing!
7. Cool Before Frosting:
Once baked, let the bars cool completely in the pan on a wire rack. This is important so the frosting doesn’t melt when you apply it!
8. Make the Frosting:
While the bars cool, make your frosting! In a mixing bowl, beat the softened butter until it’s creamy. Gradually add in the powdered sugar, mixing well. Then, add the vanilla extract and 1 tablespoon of milk, mixing until smooth and fluffy. Add more milk if you need a thinner consistency.
9. Color Your Frosting:
Divide the frosting into three small bowls. Tint one bowl orange, another purple, and leave the last portion white or black, using gel food coloring for beautiful vibrant colors.
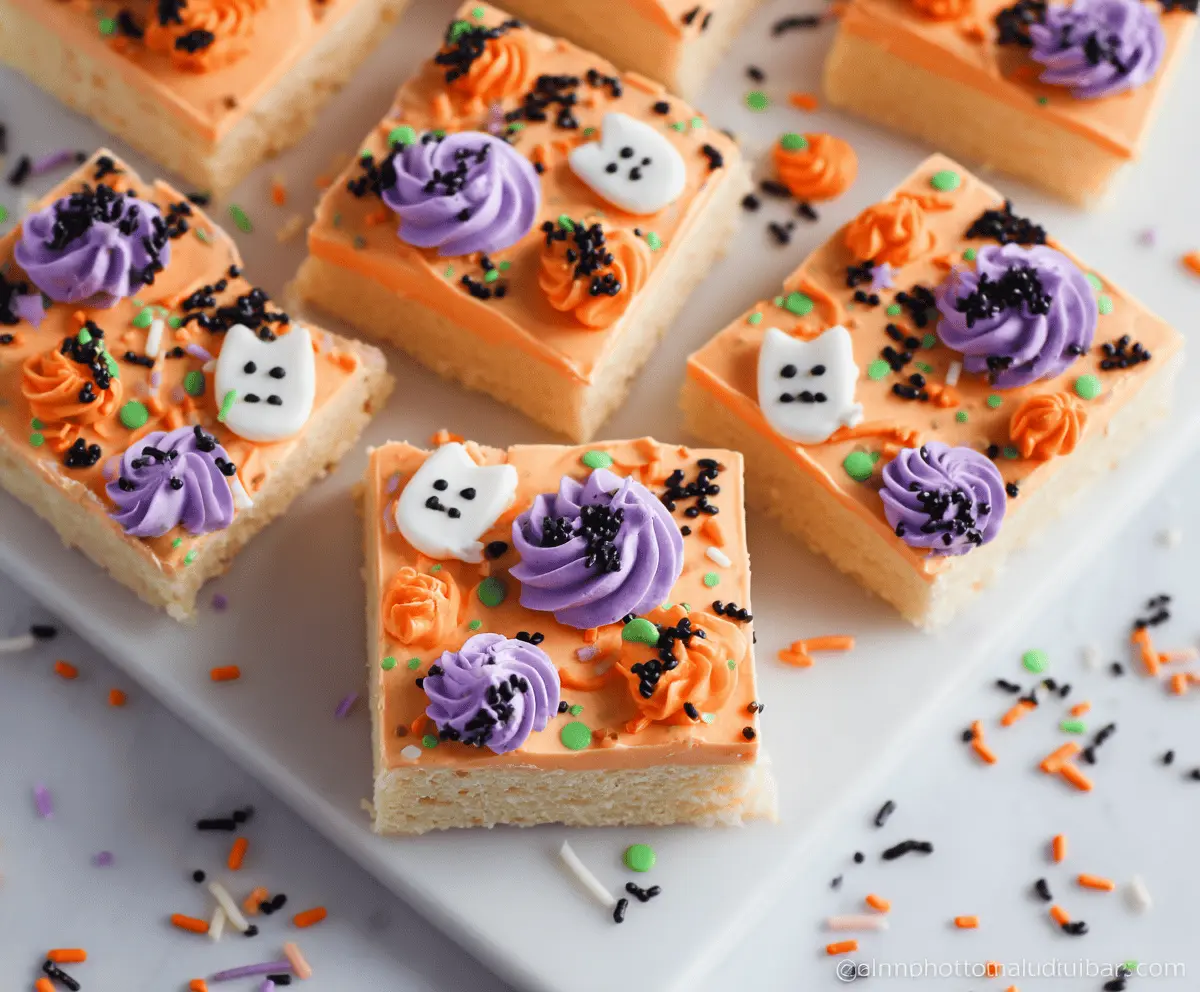
10. Frost the Bars:
Once the bars are cool, start by spreading an even layer of orange frosting over the top as a base. Then, use piping bags or spoons to pipe swirls of the purple and orange frosting on top!
11. Decorate with Sprinkles:
Add a sprinkle of Halloween cheer with your themed sprinkles like ghosts, pumpkins, and colorful nonpareils. Get creative and have fun with it!
12. Serve and Enjoy:
Cut your cookie bars into squares and enjoy! Store any leftovers in an airtight container at room temperature. These bars are sure to be a hit at your parties!
Happy Halloween and enjoy your spooky baking!
Can I Use Different Types of Flour?
Yes! While all-purpose flour works best for the texture, you can substitute with a 1:1 gluten-free flour blend if needed. Just be sure to check that it contains xanthan gum for the best results.
Can I Make These Cookie Bars Dairy-Free?
Absolutely! You can use dairy-free butter alternatives and substitute the sour cream with a dairy-free yogurt or applesauce for moisture. Both options work well!
How Should I Store Leftover Cookie Bars?
Store leftover cookie bars in an airtight container at room temperature for up to 3 days. For longer storage, you can refrigerate them for up to a week, or freeze them for up to 3 months. Just thaw in the fridge before enjoying!
Can I Freeze the Cookie Dough?
Yes, you can freeze the cookie dough before baking! Just scoop it into a ball, place it on a baking sheet, and freeze until solid. Then transfer the dough balls to a freezer-safe bag. When ready to bake, simply add extra time to the baking process since they’ll be frozen.