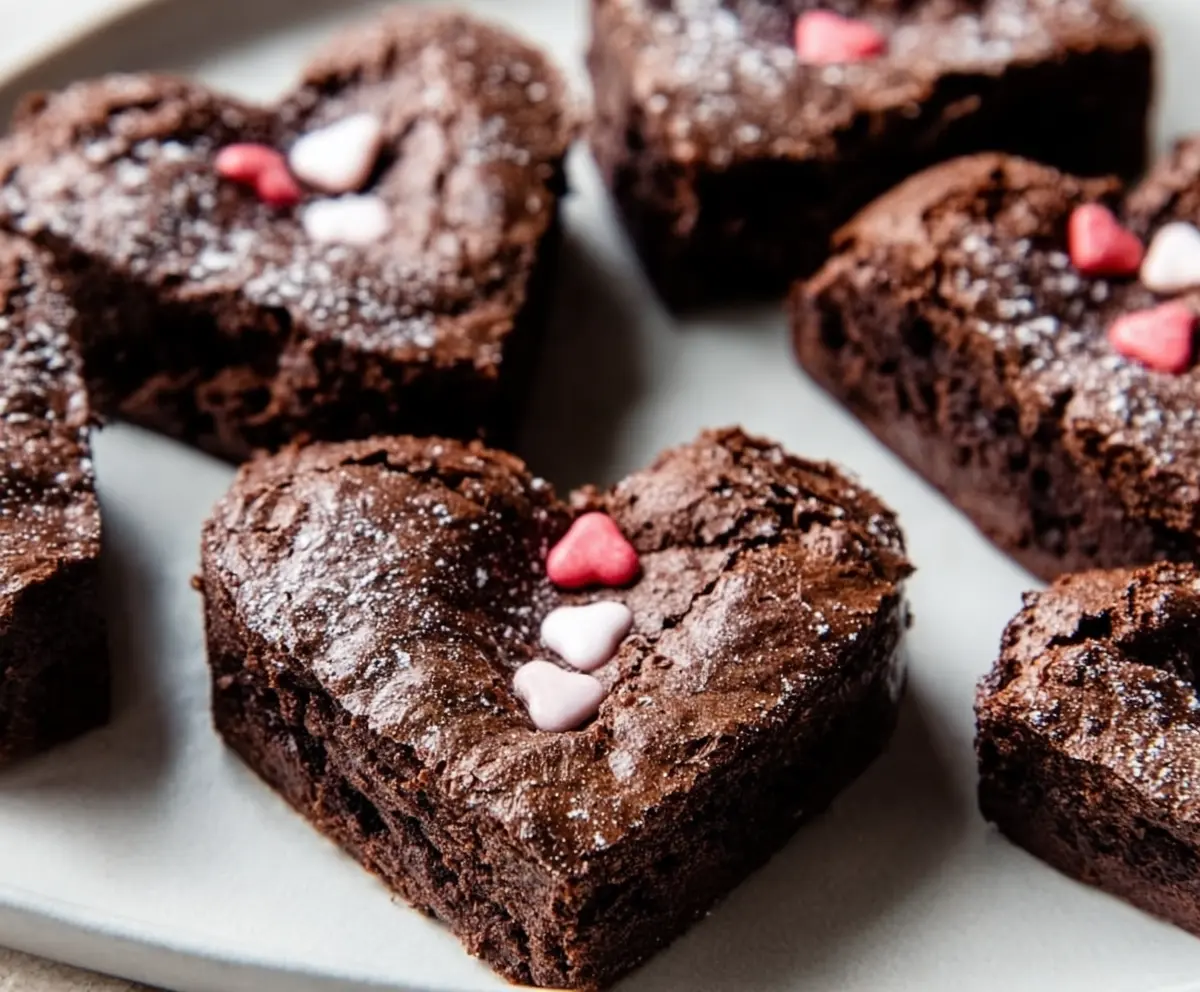
These heart-shaped brownies are a sweet treat perfect for sharing! Chewy, rich, and fudgy, they melt in your mouth and are easy to make.
Using a fun heart mold makes them special for your loved ones. I love adding sprinkles on top to make them extra festive—who can resist a little color? ❤️
Key Ingredients & Substitutions
Unsalted Butter: It’s important to use unsalted butter, so you can control the saltiness of your brownies. If you’re out, coconut oil or vegan butter works too for a dairy-free option.
Granulated Sugar: Regular sugar is great for sweetness, but for a deeper flavor, consider brown sugar. It adds a bit of moisture and richness.
Cocoa Powder: Unsweetened cocoa powder gives the brownies their chocolatey taste. If you want to switch it up, you can use Dutch-processed cocoa for a milder flavor.
All-Purpose Flour: While all-purpose flour is standard, you can use almond flour or gluten-free flour blends if you need gluten-free brownies. The texture may be slightly different, but still delicious!
Heart-Shaped Sprinkles: If you can’t find heart sprinkles, any colorful sprinkles or even chopped nuts can add a nice touch. It’s all about personal preference!
How Do I Make My Brownies Fudgy?
Achieving the perfect fudgy texture in brownies is key! Here are some tips to ensure you get that rich, gooey goodness:
- Use the right measurements. Too much flour can make them cakey. Stick to the recipe!
- Avoid overmixing the batter once you add the dry ingredients. This keeps the texture dense.
- Don’t overbake! Start checking around the 20-minute mark. You want a few moist crumbs on the toothpick.
- Let them cool completely before cutting. This helps them firm up and makes cutting easier!

Heart Shape Brownies
Ingredients:
- 1/2 cup (115g) unsalted butter
- 1 cup (200g) granulated sugar
- 2 large eggs
- 1 teaspoon vanilla extract
- 1/3 cup (35g) unsweetened cocoa powder
- 1/2 cup (65g) all-purpose flour
- 1/4 teaspoon salt
- 1/4 teaspoon baking powder
- Powdered sugar for dusting
- Small heart-shaped sprinkles for decoration (optional)
How Much Time Will You Need?
You’ll need about 15 minutes to prepare the batter and 20-25 minutes to bake the brownies. After that, let them cool completely before cutting, which takes a bit of patience but is totally worth it. All in all, you can enjoy these sweet treats in about an hour, including cooling time.
Step-by-Step Instructions:
1. Preheat the Oven and Prepare the Pan:
Start by preheating your oven to 350°F (175°C). Greasing and flouring a 9×9 inch baking pan is next—this will help the brownies come out easily later. You can also line the pan with parchment paper, which makes cleanup a breeze!
2. Melt the Butter:
In a medium saucepan over low heat, melt the unsalted butter. Watch it carefully to avoid burning it! Once it’s completely melted, remove the saucepan from the heat and stir in the granulated sugar until it’s well mixed.
3. Mix in the Eggs and Vanilla:
Add the eggs one at a time, beating well after each one. Next, stir in the vanilla extract, which will add a lovely flavor to your brownies. You’ll want everything to blend smoothly at this point.
4. Combine the Dry Ingredients:
In a separate bowl, whisk together your cocoa powder, flour, salt, and baking powder. This step ensures the dry ingredients are evenly mixed, which helps the brownies rise just right!
5. Mix Wet and Dry Ingredients:
Gradually add the dry mixture to the wet ingredients. Stir just until everything is combined. Be careful not to overmix, as this can make your brownies tough!
6. Bake the Brownies:
Pour the brownie batter into your prepared pan, smoothing it out with a spatula. Place it in the preheated oven and bake for about 20-25 minutes. Keep an eye on them, and when a toothpick inserted in the center comes out with a few moist crumbs, they’re ready!
7. Cool and Cut:
Once baked, let the brownies cool completely in the pan on a wire rack. Patience is key here! After they’ve cooled, use a heart-shaped cookie cutter to cut them into adorable heart shapes.
8. Dust and Decorate:
Finally, generously dust the brownies with powdered sugar, and if you like, add some small heart-shaped sprinkles to make them extra festive. They’re ready to be served!
9. Enjoy:
Dig in and enjoy your lovely heart-shaped brownies. Perfect for any celebration, or just to show someone you care!
Can I Use Gluten-Free Flour in This Recipe?
Absolutely! You can substitute the all-purpose flour with a gluten-free flour blend. Just make sure to use one that includes xanthan gum, which helps mimic the texture of regular flour.
Can I Make These Brownies Vegan?
Yes, you can make vegan substitutions! Replace the eggs with flax eggs (1 tablespoon of ground flaxseed mixed with 3 tablespoons of water per egg) and use a plant-based butter instead of regular butter.
What’s the Best Way to Store Leftover Brownies?
Store any leftovers in an airtight container at room temperature for up to 3 days. You can also refrigerate them to extend freshness, but let them come to room temperature or warm them slightly to bring back their fudgy texture!
Can I Add Mix-Ins to the Brownie Batter?
Definitely! You can add chocolate chips, nuts, or even chopped candy bars to the batter before baking for some extra flavor and texture. Just be careful not to add too much, as it may alter the baking time.