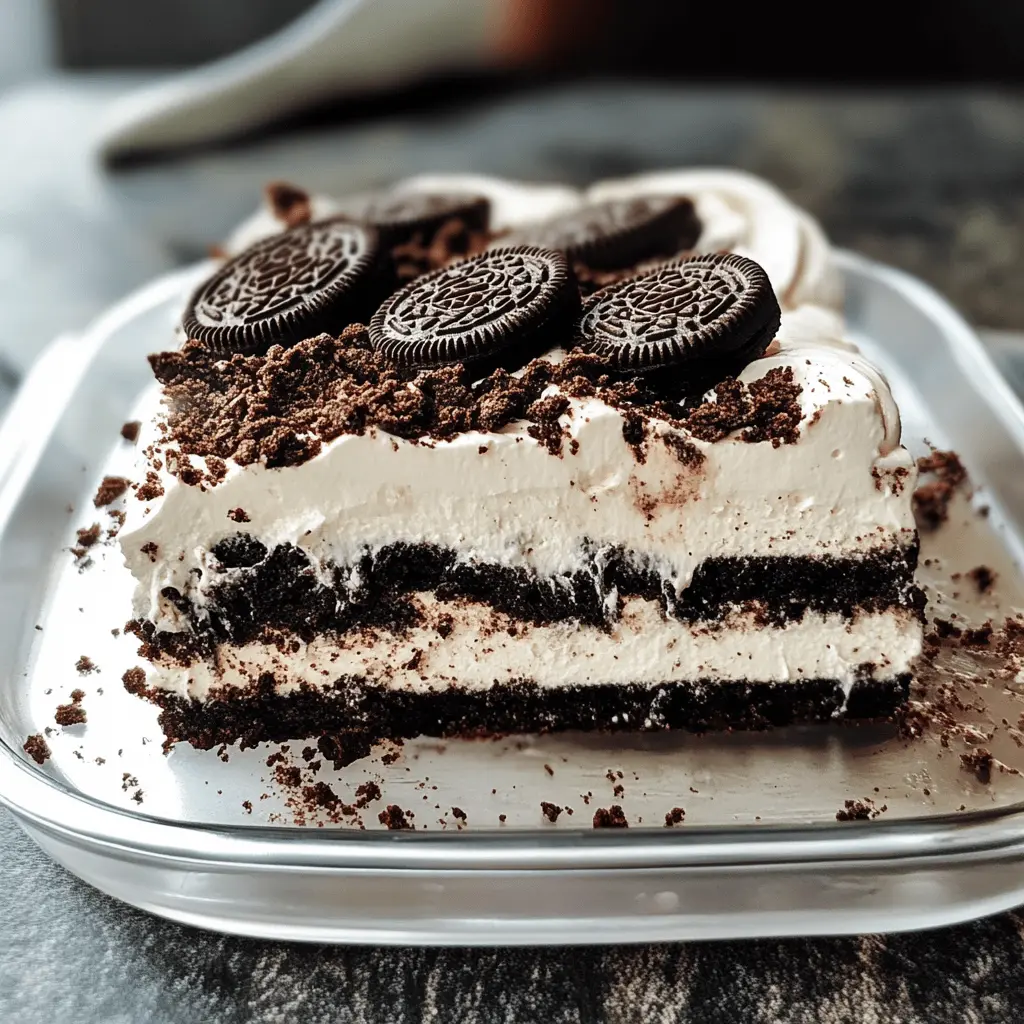
This Heavenly Oreo Dessert is a sweet treat that layers creamy goodness with crunchy Oreo cookies. It’s rich, chocolaty, and perfect for any dessert lover!
I can’t help but go for seconds when I make it. The mix of flavors feels like a little party in my mouth! Pair it with some whipped cream, and you’re all set! 🥳
Ingredients & Substitutions
Oreo Cookies: These are the star of the dessert! If you’re looking for a gluten-free option, try using gluten-free chocolate sandwich cookies. You can also use homemade cookie crumbs if you prefer to bake your own!
Cream Cheese: Full-fat cream cheese gives the best texture. For a lighter version, use reduced-fat cream cheese. Vegan cream cheese works as a great substitute for a dairy-free option. Just check the taste to make sure it fits your liking.
Cool Whip: If you want to skip the preservatives, you can use homemade whipped cream instead. Just whip heavy cream with a little powdered sugar until it forms peaks. It’s fresher and just as light!
Chocolate Pudding Mix: Instant pudding has an easy appeal. However, if you want a made-from-scratch version, you can make chocolate pudding using milk, cocoa powder, cornstarch, and sugar. It’ll take a bit more time, but can be more rewarding!
How Do I Make Sure My Layers Stay Distinct?
Creating beautiful distinct layers in your dessert can be tricky, but it’s doable! The key is to let each layer set properly before adding the next. After spreading the cream cheese layer, try chilling it for about 30 minutes before pouring in the chocolate pudding.
- Ensure your cream cheese layer is smooth and evenly spread. If it’s not level, your pudding layer may mix in a bit.
- When mixing the pudding, make sure to whisk it just enough to thicken but not too much, as excessive whipping can create air bubbles.
- After layering, chill the whole dessert for at least 4 hours. This helps everything to firm up nicely!
How to Make Heavenly Oreo Dessert
Ingredients You’ll Need:
For The Crust:
- 1 package (15.25 oz) Oreo cookies, crushed
- 1/2 cup unsalted butter, melted
For The Cream Cheese Layer:
- 1 package (8 oz) cream cheese, softened
- 1/2 cup powdered sugar
- 1 container (16 oz) Cool Whip, divided
For The Pudding Layer:
- 1 package (3.4 oz) instant chocolate pudding mix
- 3 cups milk
For Topping:
- Additional crushed Oreos for topping
How Much Time Will You Need?
This treat will take about 20 minutes to prepare, plus at least 4 hours of chilling time in the fridge (or overnight, if you can wait!). It’s a delicious dessert that’s easy to make and even better to enjoy!
Step-by-Step Instructions:
1. Prepare the Crust:
First, preheat your oven to 350°F (175°C). Then, in a medium bowl, combine the crushed Oreo cookies and melted butter. Mix everything together until all the crumbs are nicely moistened. Press this mixture firmly into the bottom of a 9×13 inch baking dish to create your crust. Bake in the preheated oven for about 10 minutes, then set aside to cool.
2. Make the Cream Cheese Layer:
While the crust cools, grab a large bowl and beat the softened cream cheese until it’s nice and smooth. Gradually add the powdered sugar while mixing until combined. Then, gently fold in 1 cup of the Cool Whip until everything is well blended. Spread this cream cheese mixture evenly over the cooled Oreo crust. Yum!
3. Prepare the Chocolate Layer:
In another bowl, whisk together the chocolate pudding mix and the milk. Keep whisking for about 2 minutes, until the mixture thickens. Now, pour this chocolate pudding over the cream cheese layer, spreading it out evenly. Finally, spread the remaining Cool Whip on top of the pudding layer, making it nice and fluffy!
4. Finish and Chill:
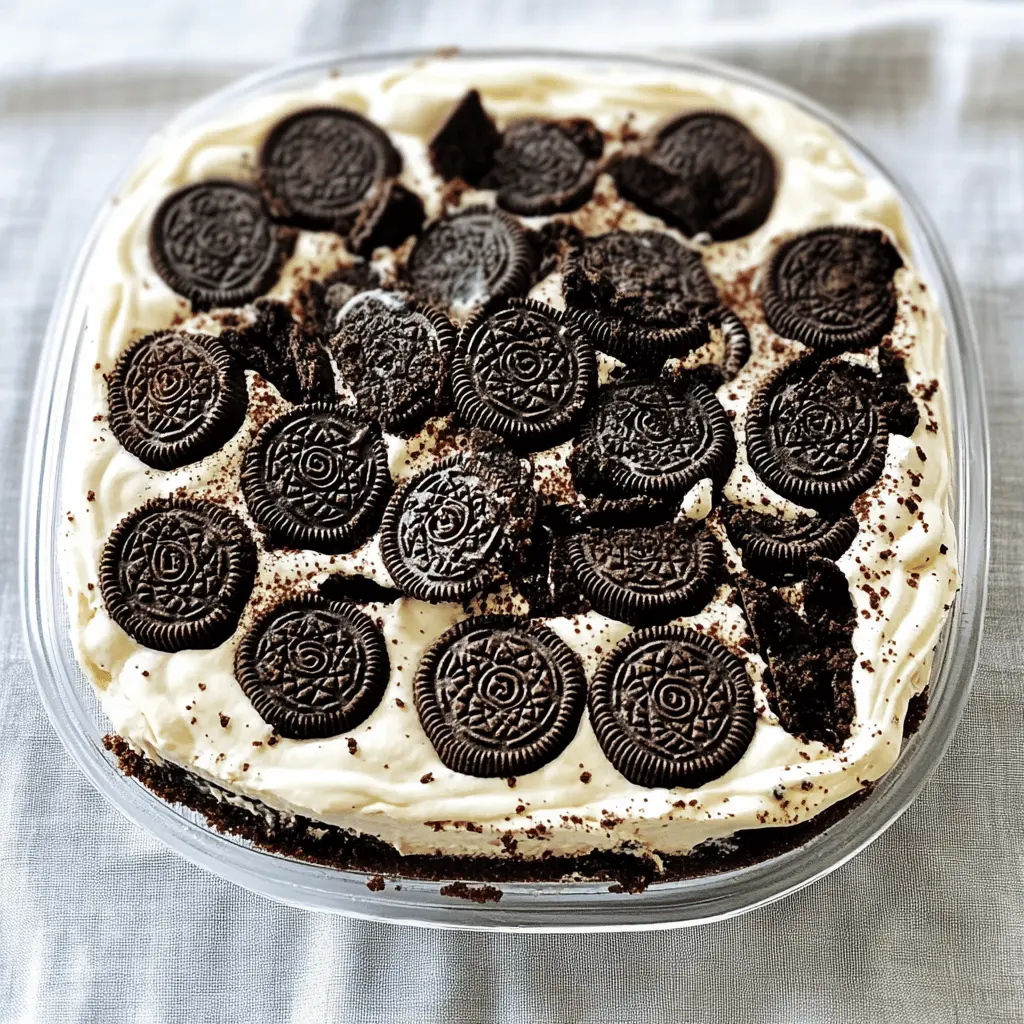
To add a delightful touch, crush some additional Oreos and sprinkle them on top for decoration. Now, cover the baking dish and refrigerate the dessert for at least 4 hours, or overnight if you want the flavors to really meld. When you’re ready to serve, just slice and enjoy your heavenly Oreo dessert!
Can I Use Regular Whipped Cream Instead of Cool Whip?
Absolutely! If you prefer fresh whipped cream, just whip 2 cups of heavy cream until stiff peaks form and use that in place of the Cool Whip. Keep in mind that you may want to add a bit of sugar to the whipped cream for sweetness, as Cool Whip is already sweetened.
How to Make This Dessert Gluten-Free?
To make a gluten-free version, substitute regular Oreo cookies with gluten-free Oreo cookies. Check the packaging to ensure they’re certified gluten-free, and follow the recipe as usual!
Can I Prepare This Dessert the Night Before?
Yes, this dessert can be prepared the night before! In fact, letting it sit overnight in the refrigerator helps the layers set and enhances the flavors. Just be sure to cover it well to keep it fresh!
What’s the Best Way to Store Leftovers?
Store any leftovers in an airtight container in the refrigerator for up to 3 days. If you’re serving it later, you might want to add fresh crushed Oreos on top right before serving to maintain that crunchy texture!