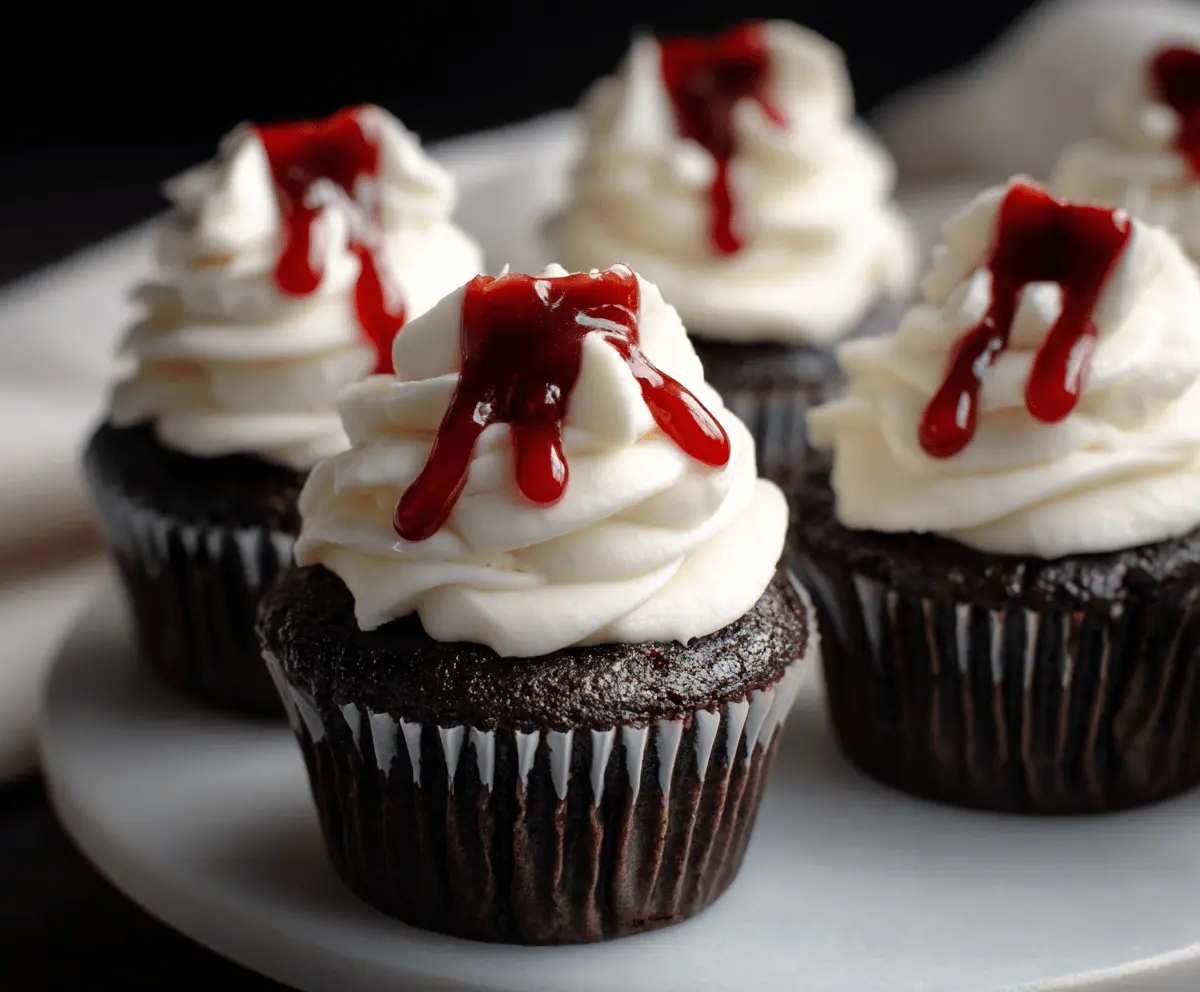
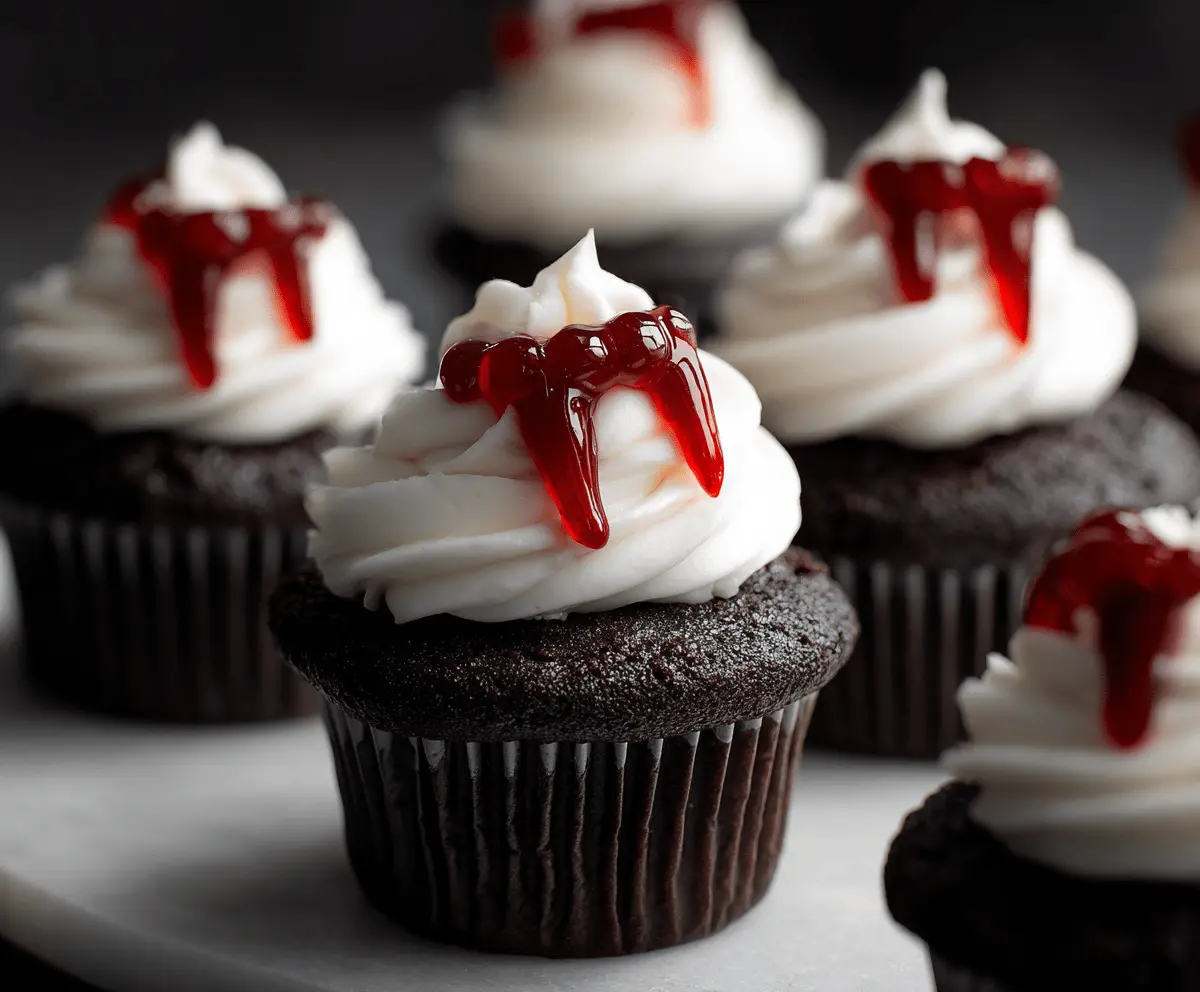
These spooky Vampire Bite Cupcakes are a fun way to celebrate Halloween! Topped with rich chocolate frosting, they are filled with a gooey raspberry filling that looks like blood—perfect for little monsters!
Making these cupcakes is a blast! I love watching the kids’ faces light up when they see the “vampire bites.” Just remember to keep extra napkins nearby; things can get a tasty bit messy! 😄
Key Ingredients & Substitutions
All-purpose flour: This is the base for your cupcakes. If you’re looking for a gluten-free option, you can use a 1:1 gluten-free flour blend. It works quite well in baking!
Cocoa powder: Unsweetened cocoa gives a deep chocolate flavor. If you want a different taste, try Dutch-processed cocoa for a milder taste or combine with carob powder for a unique twist.
Butter: I prefer unsalted butter for better control over the saltiness in my cupcakes. If you’re dairy-free, coconut oil or vegan butter can be used as substitutes.
Buttermilk: This ingredient adds moisture and richness. You can substitute with a mix of milk and vinegar (1/2 cup milk + 1/2 tsp vinegar) or use a dairy-free milk with a bit of lemon juice.
Red gummy worms: These give the iconic vampire vibe. If you’re looking for a different decoration, red licorice can also represent vampire fangs, or you could use cherry gummy snacks as a fun alternative!
What’s the Best Way to Get the Frosting Just Right?
Making frosting can be tricky, but it’s key to getting that perfect swirl on your cupcakes. Here’s how to do it:
- Start with softened butter—let it sit at room temperature for 30 minutes or so.
- Beat the butter until it’s smooth and creamy. This can take a few minutes, and it’s worth the time!
- Slowly add powdered sugar, mixing on a low speed to prevent a sweet cloud. Alternate with the heavy cream for a nice consistency.
- If the frosting is too thick, add a splash more cream. If too thin, add more powdered sugar.
- When frosting, use a piping bag with a star tip for decorative swirls. If you don’t have one, a ziplock bag with a corner snipped off works perfectly!
Getting your frosting just right will make your Vampire Bite Cupcakes look and taste amazing!
Vampire Bite Cupcakes
Ingredients You’ll Need:
For the Chocolate Cupcakes:
- 1 cup all-purpose flour
- 1/3 cup unsweetened cocoa powder
- 3/4 teaspoon baking soda
- 1/4 teaspoon salt
- 1/2 cup granulated sugar
- 1/4 cup unsalted butter, softened
- 1 large egg
- 1 teaspoon vanilla extract
- 1/2 cup buttermilk
- 1/2 cup hot water or hot coffee (coffee enhances chocolate flavor)
For the White Frosting:
- 1/2 cup unsalted butter, softened
- 4 cups powdered sugar
- 2 teaspoons vanilla extract
- 3-4 tablespoons heavy cream or milk
For the Vampire Bite “Blood” Decoration:
- Red gummy worms, cut in half
- Red gel icing or raspberry syrup
How Much Time Will You Need?
This recipe will take about 30 minutes to prepare and about 20 minutes to bake. Be sure to let the cupcakes cool completely before frosting them, which usually takes around 30 minutes. In total, you’ll be looking at about 1 hour and 20 minutes before you can enjoy your spooky treats!
Step-by-Step Instructions:
1. Preheat Oven and Prepare Pans:
Start by preheating your oven to 350°F (175°C). Line a 12-cup muffin pan with cupcake liners to make sure your cupcakes bake up beautifully and easily release from the pan.
2. Make the Cupcake Batter:
In a medium bowl, whisk together the all-purpose flour, cocoa powder, baking soda, and salt until combined. In a separate large bowl, beat the granulated sugar and softened butter together until light and fluffy. Next, add in the egg and vanilla extract, mixing until everything is well incorporated.
3. Combine Wet and Dry Ingredients:
Slowly add the dry mixture to the butter mixture, alternating with the buttermilk. Start and end with the dry mix. Stir gently just until everything is combined. Don’t worry if the batter is a little thin; that’s normal!
4. Bake the Cupcakes:
Divide the batter evenly among the lined cupcake slots, filling each about two-thirds full. Bake them in the preheated oven for 18-20 minutes. To test for doneness, insert a toothpick into the center of a cupcake—if it comes out clean, they’re ready! Let them cool completely on a wire rack.
5. Prepare the Frosting:
In a large bowl, beat the softened butter until creamy and smooth. Gradually add the powdered sugar, alternating with heavy cream and vanilla extract, until the frosting reaches a smooth and fluffy consistency.
6. Frost the Cupcakes:
Once the cupcakes are cool, pipe or spread the frosting generously on top of each cupcake in a delightful swirl.
7. Create Vampire Bite Decorations:
For that spooky effect, take two halves of the red gummy worms and place them into the frosting to look like vampire fangs. Finally, use red gel icing or raspberry syrup to create dripping “blood” around the fangs for added horror!
8. Serve and Enjoy:
Once decorated, serve them up and watch your guests’ eyes light up! These tasty, spooky Vampire Bite Cupcakes are sure to be a hit at your Halloween party or any festive occasion.
Enjoy baking and indulging in these delicious Halloween-themed cupcakes! 🎃🧛♂️
Can I Use a Different Type of Frosting?
Absolutely! While the vanilla frosting pairs wonderfully with these cupcakes, you could use cream cheese frosting for a tangy twist, or even chocolate frosting for extra chocolatey goodness. Just keep in mind that the color contrast may not be as striking for the vampire bite effect!
Can I Make These Cupcakes Gluten-Free?
Yes! To make this recipe gluten-free, simply swap the all-purpose flour for a gluten-free 1:1 flour blend. Ensure that all other ingredients are also gluten-free, such as the baking soda and any additives in your gummy candies.
How Should I Store Leftover Cupcakes?
Store any leftover cupcakes in an airtight container at room temperature for up to 3 days. If you prefer, you can also refrigerate them for up to a week. Just keep in mind that the frosting may lose some texture after refrigeration, so let them sit out for a bit before serving again!
Can I Prepare the Cupcake Batter in Advance?
You can make the batter ahead of time and store it in the fridge for up to 24 hours. Just give it a good stir before baking it to ensure everything is well combined. Note that the baking time may vary slightly if the batter is cold, so keep an eye on it as it bakes!