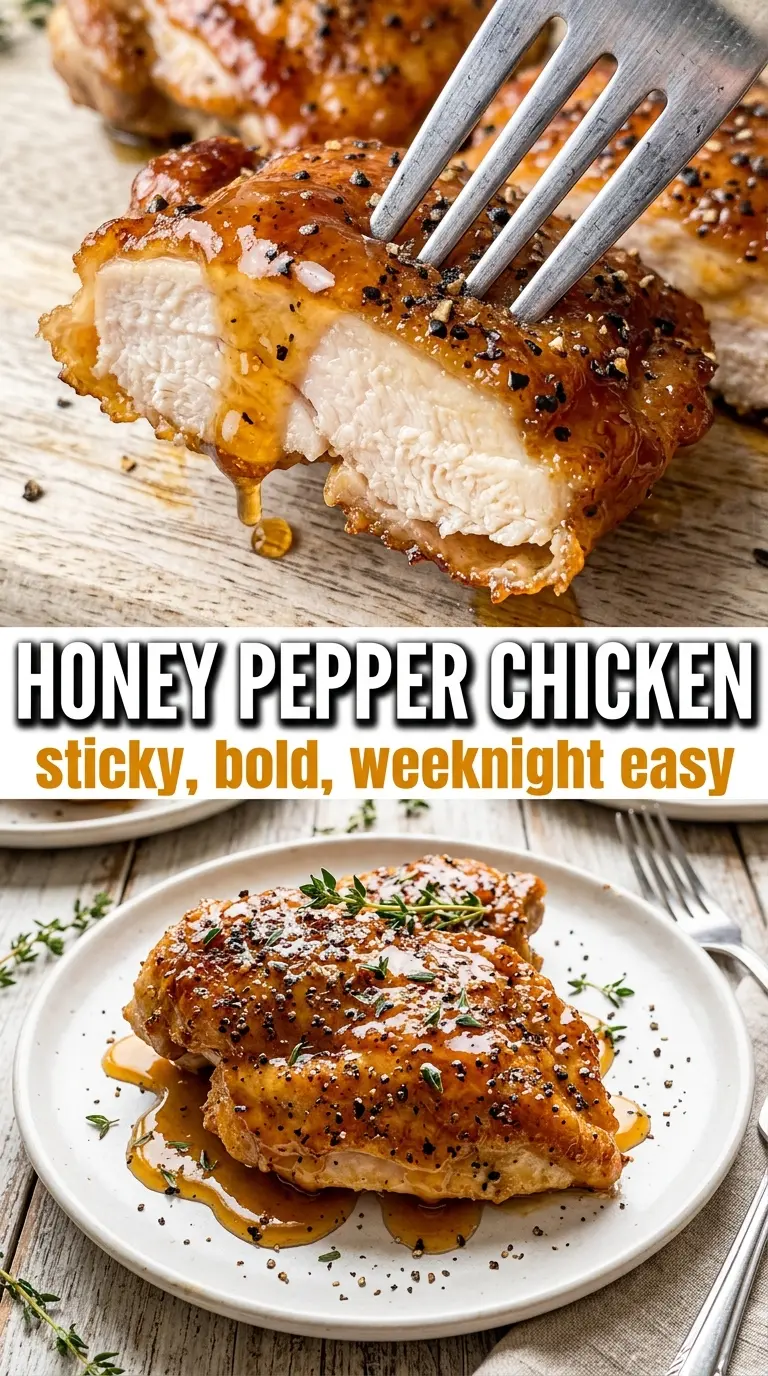
Glossy honey pepper chicken earns its spot in the regular dinner rotation because it hits that sweet spot between sticky, peppery, and fast. The chicken stays juicy under a lacquered amber glaze, and the sauce clings instead of sliding off the pan or turning watery on the plate. When the edges of the glaze catch just a little color, the whole dish tastes deeper and more finished than the short ingredient list suggests.
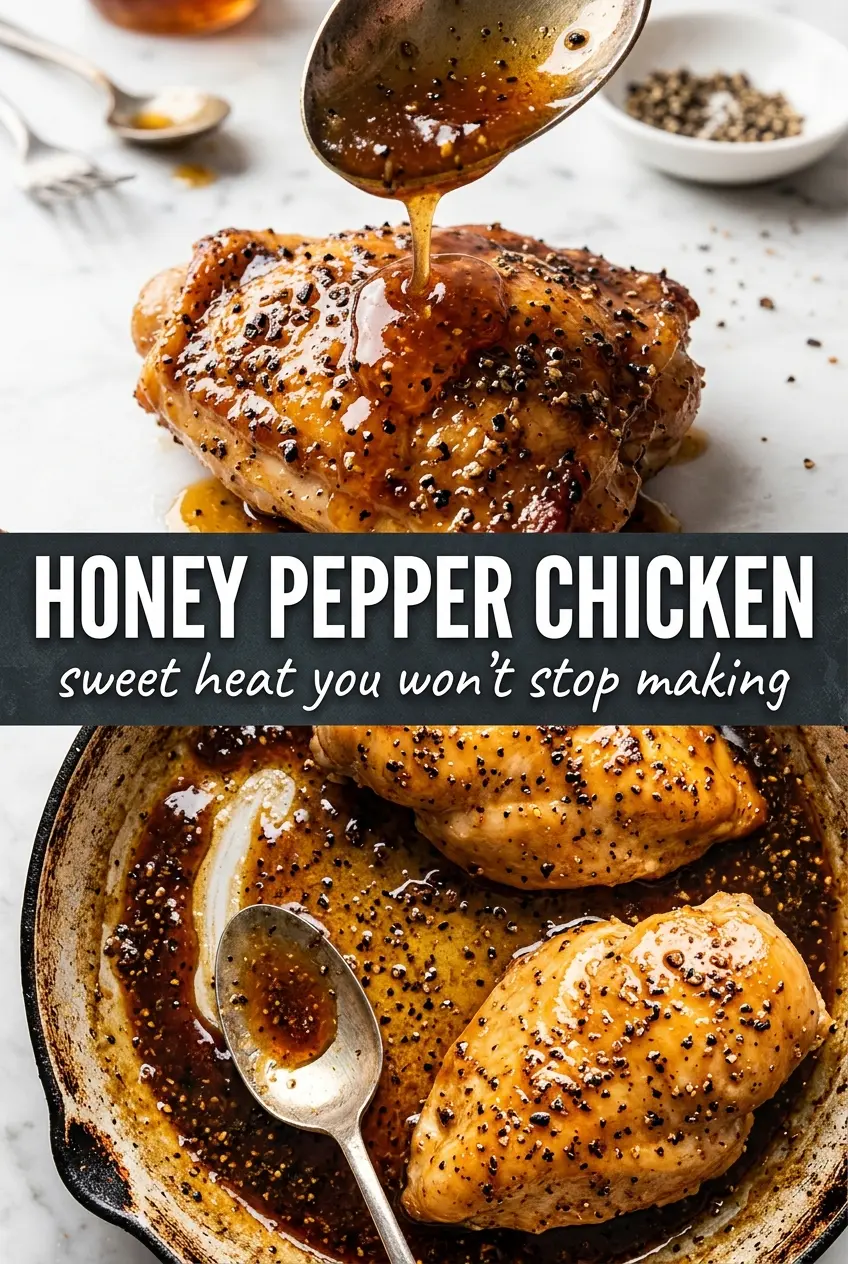
The trick is building the sauce in the same skillet you used for the chicken. Those browned bits at the bottom bring a lot of the savory backbone, and the vinegar keeps the honey from tasting flat or one-note. A quick cornstarch slurry tightens the sauce at the end, so it coats the chicken in a smooth layer instead of reducing into a sticky mess that burns before the meat is done.
Below you’ll find the small timing details that matter, plus a few smart swaps if you want to adjust the heat, make it gluten-free, or turn it into a meal-prep dinner that still reheats well.
The sauce thickened up into that shiny glaze I was hoping for, and the cracked pepper gave it just enough bite without overpowering the honey. I served it over rice, and there wasn’t a drop left in the pan.
Love the glossy honey pepper glaze and cracked pepper finish? Save this honey pepper chicken for the nights when you want a fast skillet dinner with sticky sauce and zero fuss.
The Mistake That Turns Honey Pepper Sauce Thin and Clingy
The sauce for this dish needs a short simmer after everything hits the pan. If you rush straight from whisking to coating the chicken, it stays loose and pools under the meat instead of glazing it. The cornstarch only does its job once the sauce reaches a gentle bubble, and the texture should shift from glossy and thin to visibly lacquered in about two minutes.
Another common problem is cooking the honey too hard. High heat can make the sugar darken before the sauce thickens, which gives you bitter edges instead of a clean sweet-and-peppery finish. Keep the simmer controlled, and pull the pan back from the burner if it starts reducing faster than you can stir.
- Even chicken thickness — Pound the breasts to an even shape so the thinner end doesn’t dry out before the thicker part cooks through. This matters more here than in a braise because the chicken finishes fast.
- Cracked black pepper — Use cracked, not finely ground, pepper for the sauce if you want those sharp little pops that stand up to the honey. Pre-ground pepper turns muddy fast in a sweet glaze.
- Apple cider vinegar — This keeps the sauce from tasting sticky-sweet. White vinegar works in a pinch, but apple cider vinegar gives a rounder edge.
- Cornstarch slurry — Mix it with cold water before it goes into the pan. If you add the starch dry, it clumps immediately and you’ll chase lumps the whole time the sauce is cooking.
What Each Ingredient Is Actually Doing in This Recipe
- Primary ingredient (the star) — Quality matters most. Choose the best you can find.
- Cooking medium (oil, butter, or broth) — This carries flavors and prevents dryness.
- Seasonings (salt, pepper, spices, herbs) — Layer flavors so nothing overpowers. Build depth gradually.
- Aromatics (garlic, onion, herbs) — Cook with fat to bloom flavors. Become the foundation.
- Supporting ingredients — Complement the main ingredient without overpowering it.
- Sauce or liquid (if applicable) — Brings flavors together. Balance richness with acid.
- Acid (lemon, vinegar, wine, or other) — Brightens and prevents flat-tasting results.
- Final finish (garnish, glaze, or sauce) — Prevents one-dimensional taste and adds visual appeal.
Building the Glaze in the Same Pan
Start by seasoning the chicken generously. The sauce is sweet, so the chicken needs enough salt and pepper up front to taste seasoned after it gets coated. Sear it in olive oil over medium-high heat until the surface is golden and the chicken releases easily from the pan; if it sticks hard, it needs another minute before you try to turn it.
Once the chicken is cooked through, move it to a plate and leave the pan drippings where they are. Whisk the sauce ingredients together in the same skillet, scrape up the browned bits, then bring it to a gentle simmer before adding the slurry. When the sauce looks thick enough to coat the back of a spoon, return the chicken and turn it through the glaze until every side shines.
Pounding and Seasoning the Chicken
Pound the chicken breasts to an even thickness so they cook at the same pace. If one end is much thicker, the outside will be overdone before the center is safe. Season both sides well with salt and cracked black pepper; the pepper on the chicken builds on the pepper in the sauce instead of getting lost under it.
Searing for Color Before the Sauce
Heat the olive oil until it shimmers, then lay the chicken in the skillet without crowding it. You want a steady sizzle, not loud sputtering or weak bubbling. Let the first side develop real color before turning it; pale chicken won’t give you the flavorful bits that make the glaze taste deeper.
Thickening the Honey Pepper Sauce
Whisk the honey, soy sauce, vinegar, brown sugar, pepper, garlic powder, and cayenne together in the same pan. Let it come to a bubble, then add the cornstarch slurry while stirring. The sauce should tighten fast and turn glossy; if it still looks thin after two minutes, give it another short simmer rather than adding more starch right away.
Coating and Finishing
Slide the chicken back into the pan and spoon the glaze over the top until every piece is well coated. Keep the heat low at this point so the sauce doesn’t catch or reduce into a sticky crust before it reaches the table. A final turn in the pan is enough; once the glaze looks shiny and clings in a thick layer, it’s ready.
How to Adjust the Heat, Salt, and Texture Without Losing the Glaze
Make it milder
Cut the cayenne in half or leave it out completely if you want the sauce to lean sweet and peppery instead of hot. The cracked black pepper still gives it enough edge, so you won’t lose the character of the dish.
Make it gluten-free
Swap in tamari or a certified gluten-free soy sauce. The rest of the recipe already works the same way, and the glaze will still thicken cleanly with the cornstarch slurry.
Use chicken thighs instead
Boneless skinless thighs give you a juicier, richer bite and handle a little more simmering without drying out. They take a few minutes longer to cook through, so go by temperature and not just the clock.
Storage and Reheating
- Refrigerator: Store leftovers in an airtight container for up to 4 days. The glaze thickens as it chills, so the sauce will look a little tighter the next day.
- Freezer: It freezes well for up to 2 months, though the sauce can lose a little shine after thawing. Freeze the chicken and sauce together in a sealed container and thaw overnight in the refrigerator.
- Reheating: Warm it gently in a skillet over low heat with a splash of water to loosen the sauce. The biggest mistake is blasting it in the microwave until the honey hardens and the chicken turns dry.
Answers to the Questions Worth Asking
Honey Pepper Chicken
Ingredients
Equipment
Method
- Pound the chicken breasts to an even thickness, then season generously with salt and cracked black pepper so every surface is speckled.
- Heat the olive oil in a skillet over medium-high heat until shimmering, then place the chicken in the pan.
- Sear the chicken for 5–6 minutes per side until golden and cooked through, using a visual check for a deep browning crust and clear juices.
- Remove the chicken from the skillet and set aside while you make the sauce in the same pan.
- In the same pan, whisk together the honey, soy sauce, apple cider vinegar, brown sugar, cracked black pepper, garlic powder, and cayenne until smooth.
- Bring the sauce to a simmer, then stir in the cornstarch slurry (cornstarch mixed with water) and cook about 2 minutes until thickened and glossy.
- Return the chicken to the pan and coat on all sides so the glaze clings and looks caramelized.
- Serve over mashed potatoes or rice with extra sauce drizzled on top for a shiny finish.