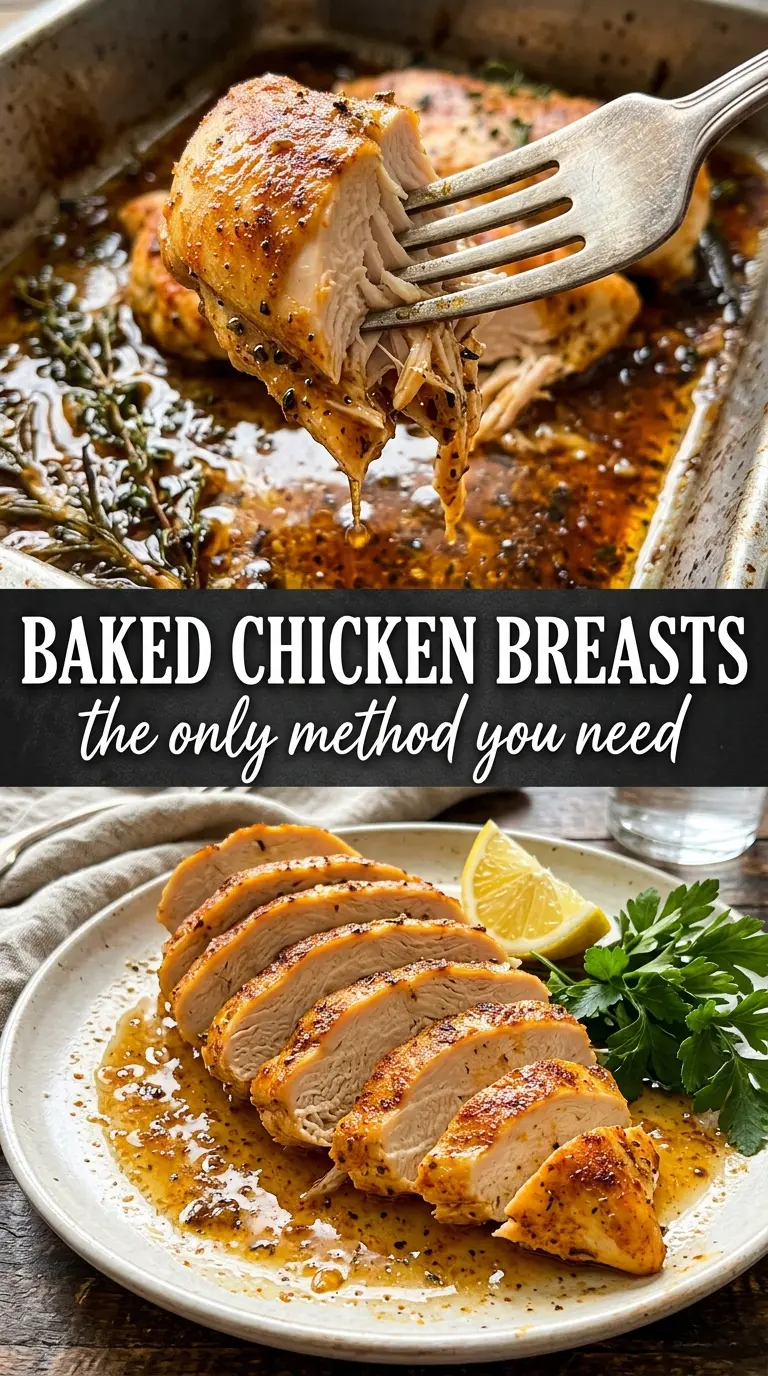
Juicy baked chicken breasts come from two things most people skip: even thickness and a hot oven. When those chicken breasts are pounded to the same level and coated with oil and a simple herb-spice blend, they bake up with a golden crust instead of turning dry and stringy. The outside gets fragrant and lightly caramelized while the center stays tender enough to slice cleanly.
425°F does the heavy lifting here. It cooks the chicken fast enough to keep the juices in check, but not so fast that the seasonings scorch before the meat is done. The olive oil helps the spices cling and promotes browning, and the short rest at the end gives the juices time to settle back into the meat instead of running out onto the cutting board.
Below, I’ve added the small details that make the difference between plain baked chicken and the kind you’ll want to use all week: how thick to pound it, what to watch for in the oven, and the easiest swaps if you need to work with what’s already in your pantry.
The chicken stayed unbelievably juicy, and pounding it to an even thickness kept the edges from drying out before the center was done. The herb crust got golden in the oven just like you said.
Save these baked chicken breasts for a fast weeknight dinner with a crisp herb crust and a juicy middle.
The Part That Keeps Baked Chicken Breasts Juicy Instead of Dry
The biggest mistake with baked chicken breasts is treating all breasts like they cook at the same pace. They don’t. One thick side and one thin side means the thin end dries out before the center catches up, which is why pounding the chicken to an even 3/4-inch thickness matters more than almost anything else in this recipe. That one move gives you a better result than adding more oil, more seasoning, or more bake time.
The second thing worth respecting is the oven temperature. A hot 425°F oven sets the crust quickly and helps the surface brown before the meat has time to overcook. If your chicken comes out pale, the oven probably wasn’t fully preheated. If it comes out chalky, it stayed in too long. Pull it the moment the thickest part reaches 165°F, then let it rest before cutting.
What the Seasoning Is Doing Here, Ingredient by Ingredient
- Chicken breasts — Boneless, skinless breasts work best here because the dry heat of the oven can brown the surface evenly. Look for pieces that are close in size so they finish together. If one breast is huge and another is small, cut the larger one in half horizontally after pounding.
- Olive oil — This helps the spice blend stick and keeps the top from drying out before the chicken is done. A neutral oil works in a pinch, but olive oil adds a little richness and better browning.
- Garlic powder, onion powder, smoked paprika, and Italian seasoning — This mix gives you a savory crust without needing a marinade. Garlic and onion powder bring depth, smoked paprika adds color and a little warmth, and Italian seasoning makes the whole dish taste finished. Fresh garlic is not the same here; it can burn at this temperature.
- Salt and cracked black pepper — The salt seasons the meat all the way through, not just the surface. Use cracked black pepper if you want a little more bite and texture on top.
- Parsley and lemon wedges — These aren’t decoration. Parsley brightens the finish, and a squeeze of lemon wakes up the spice rub right before serving.
How to Bake Chicken So the Crust Browns Before the Meat Dries Out
Getting the Thickness Right
Start by pounding the chicken breasts to an even 3/4-inch thickness if they vary. That keeps the thinner end from drying out while the thick end finishes. Use a meat mallet or rolling pin and work from the center outward so the breast stays in one piece. If you skip this, the shape of the chicken, not the oven, decides how it turns out.
Coating the Surface
Brush both sides with olive oil, then rub the spice mixture over every surface. You want a thin, even coat, not a thick layer that cakes up and falls off in the pan. The oil is what helps the herbs and paprika cling long enough to brown. If the chicken looks patchy, the seasoning was rushed.
Baking to Temperature
Place the chicken in a lightly greased baking dish and bake at 425°F for 18 to 22 minutes. The tops should be golden, and the thickest part should read 165°F on an instant-read thermometer. Don’t wait for deep browning if the temperature is already there; extra time is how chicken breasts go dry. A few juices in the pan are normal.
Resting Before Slicing
Let the chicken rest for 5 minutes before slicing. That short pause keeps the juices inside the meat instead of spilling onto the plate. If you slice too soon, even perfectly cooked chicken can seem dry. A sharp knife and a clean, steady cut will show off the juicy center.
Ways to Change the Seasoning Without Losing the Juicy Texture
Make It Dairy-Free and Gluten-Free Without Changing a Thing
This recipe is already both dairy-free and gluten-free as written, which makes it a useful back-pocket dinner. Keep the seasoning blend the same and avoid adding bottled marinades that can hide gluten or extra sugar. The texture stays the same because the crust comes from oil, spices, and high heat, not flour or cheese.
Swap the Italian Seasoning for a Different Finish
If you want a different direction, use poultry seasoning, dried thyme, or a mix of rosemary and oregano. The chicken will still bake the same way, but the flavor shifts from familiar herb-roasted to a more rustic, woodsy profile. Keep the total amount about the same so the seasoning doesn’t overpower the mild chicken.
Use Chicken Cutlets for a Faster Dinner
Thin chicken cutlets cook faster, usually in about 12 to 15 minutes depending on thickness. The benefit is speed; the tradeoff is less margin for error, so start checking early. They won’t need pounding, but they do need the same even coating and a full rest before slicing.
Add a Little Heat
A pinch of cayenne or red pepper flakes gives the crust a little kick without changing the cooking method. Add it to the spice mix so the heat spreads evenly instead of landing in one hot spot. The result is still the same juicy chicken, just with more edge.
Storage and Reheating
- Refrigerator: Store in an airtight container for up to 4 days. The crust softens a bit, but the chicken stays useful for lunches, salads, and sandwiches.
- Freezer: Freeze cooked chicken breasts for up to 2 months, wrapped tightly and then placed in a freezer bag. Slice before freezing if you want quicker thawing later.
- Reheating: Warm gently in a covered skillet over low heat with a splash of water or broth, or use a 300°F oven until just heated through. The biggest mistake is blasting it in the microwave, which drives out the last bit of moisture fast.
Questions I Get Asked About This Recipe

Baked Chicken Breasts
Ingredients
Equipment
Method
- Preheat the oven to 425°F and lightly grease a baking dish so the chicken can brown quickly.
- Pound the chicken breasts to an even 3/4-inch thickness if they vary in size to promote even cooking.
- Brush both sides of each chicken breast with olive oil for a golden, fragrant crust.
- Mix together garlic powder, onion powder, smoked paprika, Italian seasoning, salt, and cracked black pepper, then rub the mixture evenly over both sides.
- Bake at 425°F for 18-22 minutes until the internal temperature reaches 165°F and the tops are golden; do not overbake.
- Rest the baked chicken breasts for 5 minutes before slicing to keep the juices in the meat.
- Garnish with fresh parsley and lemon wedges for serving and slice to show the juicy interior.