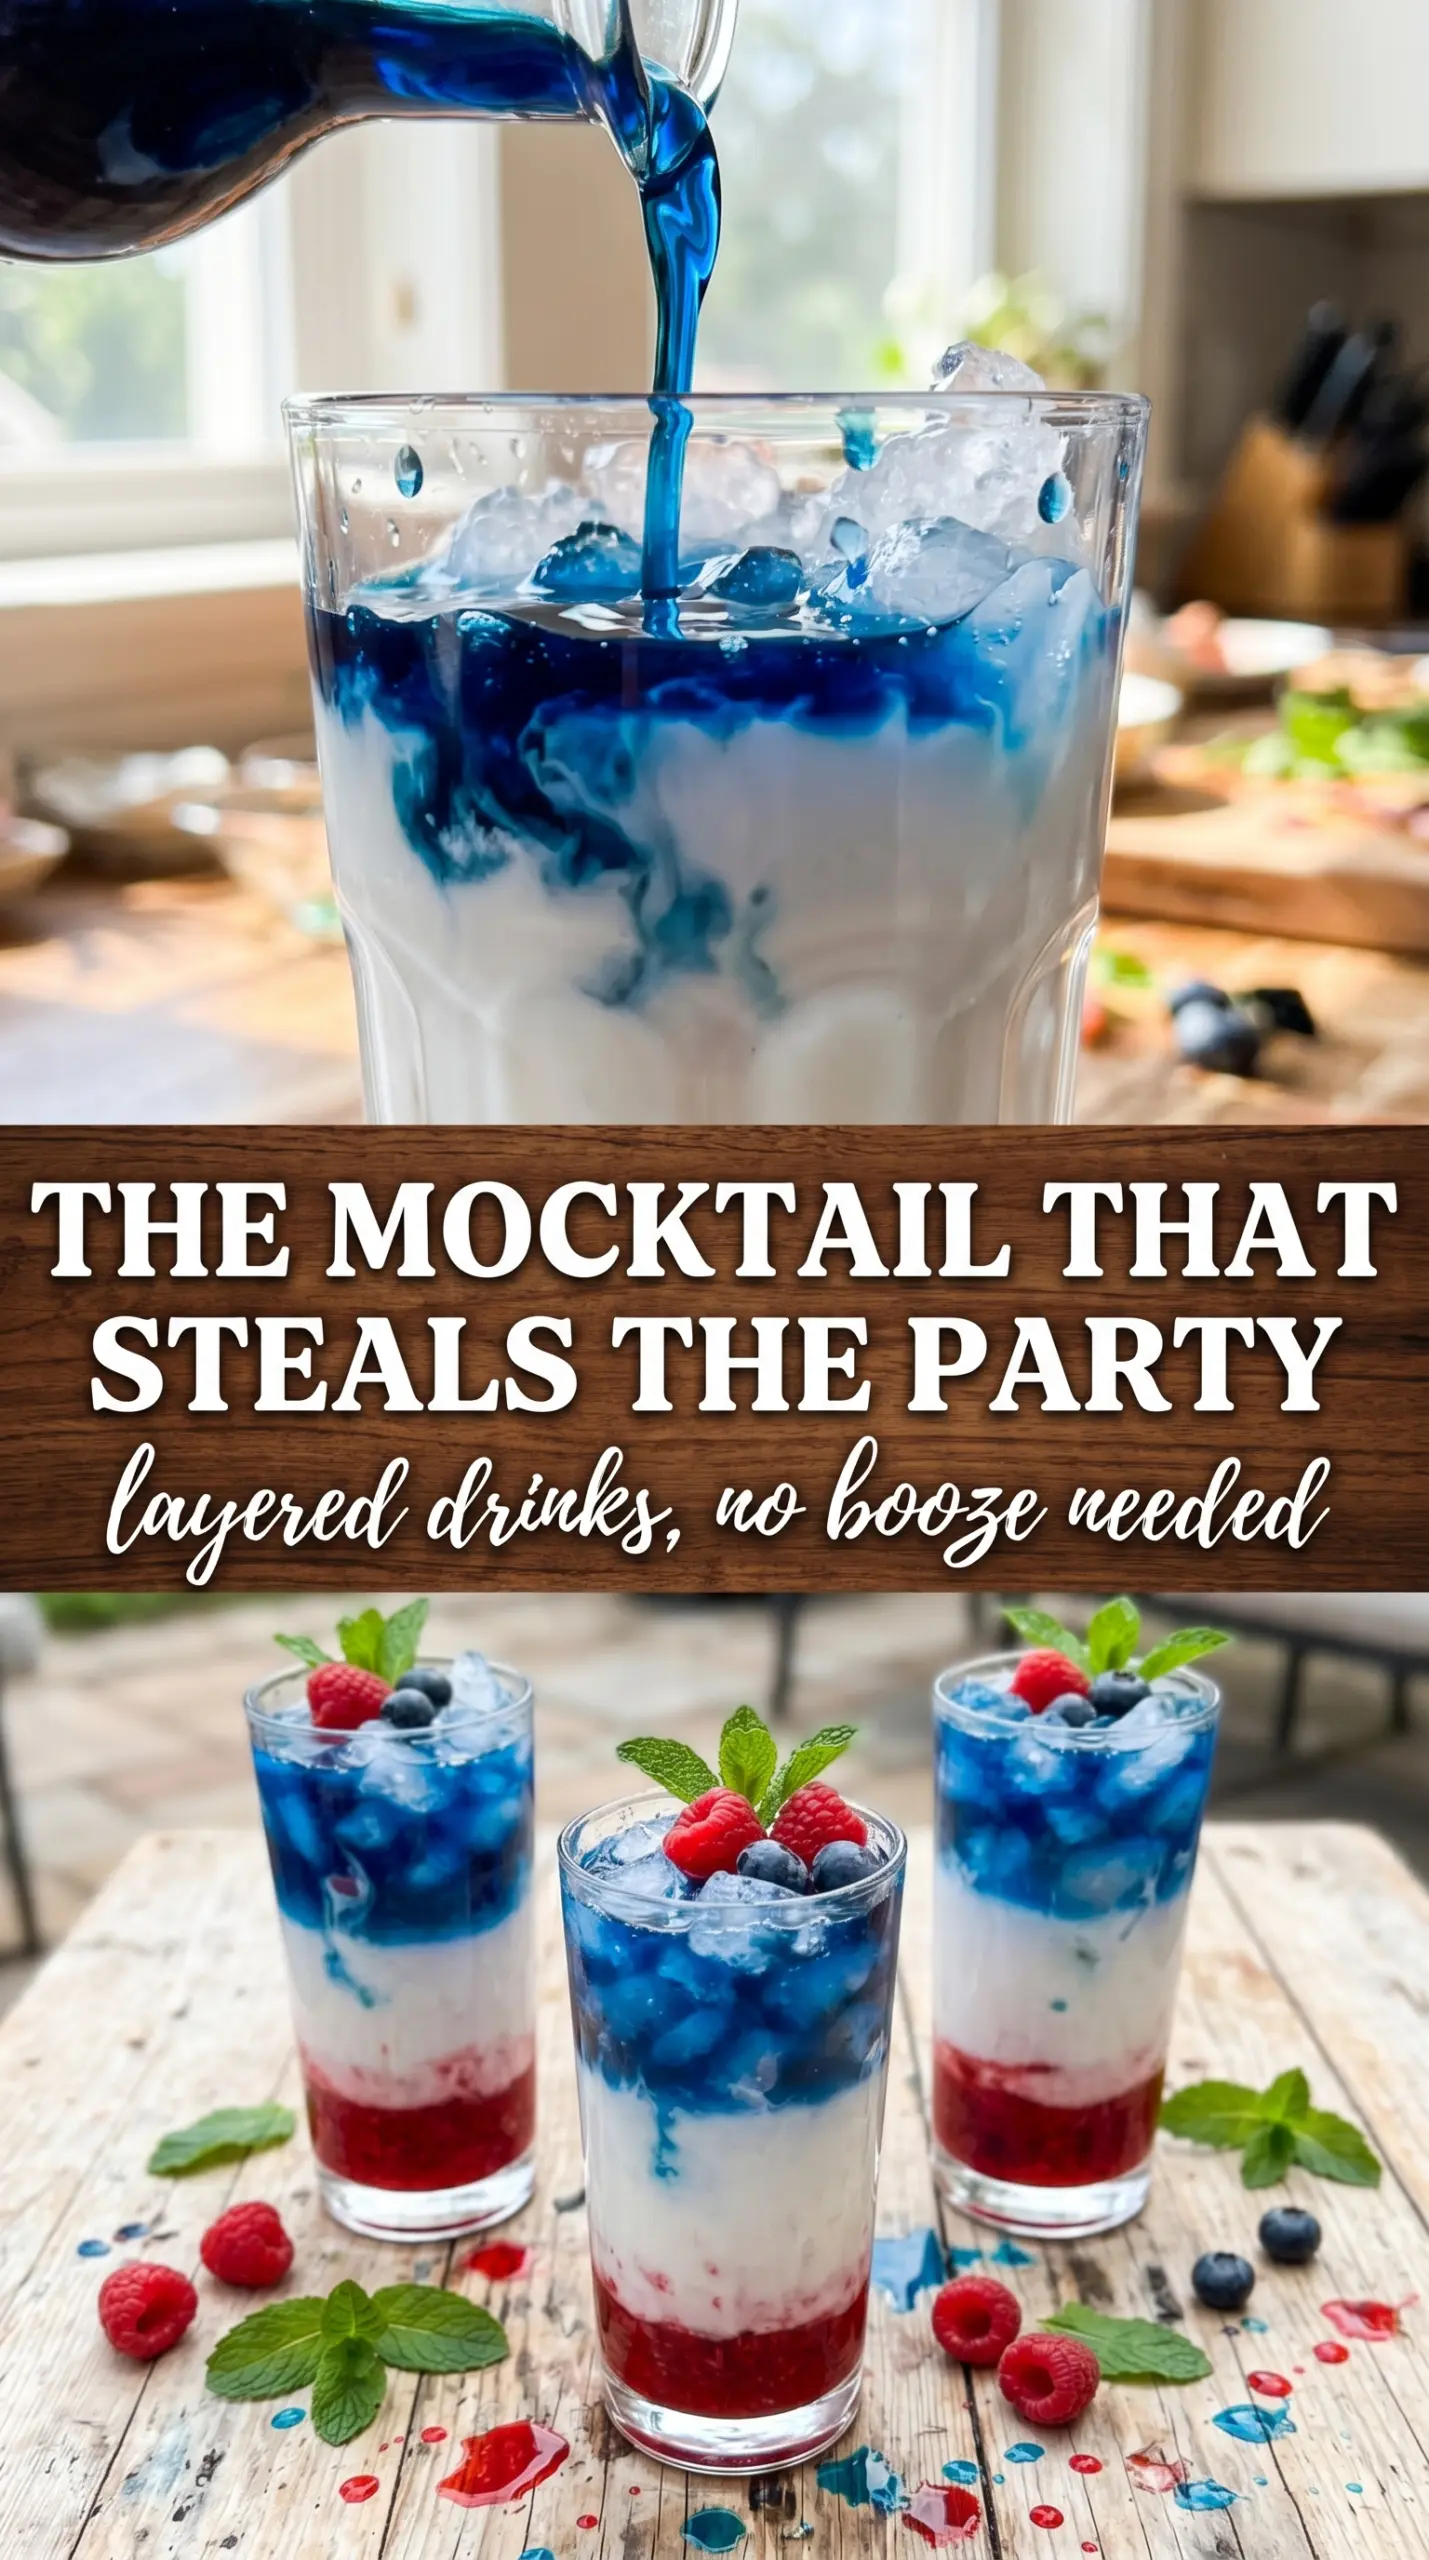
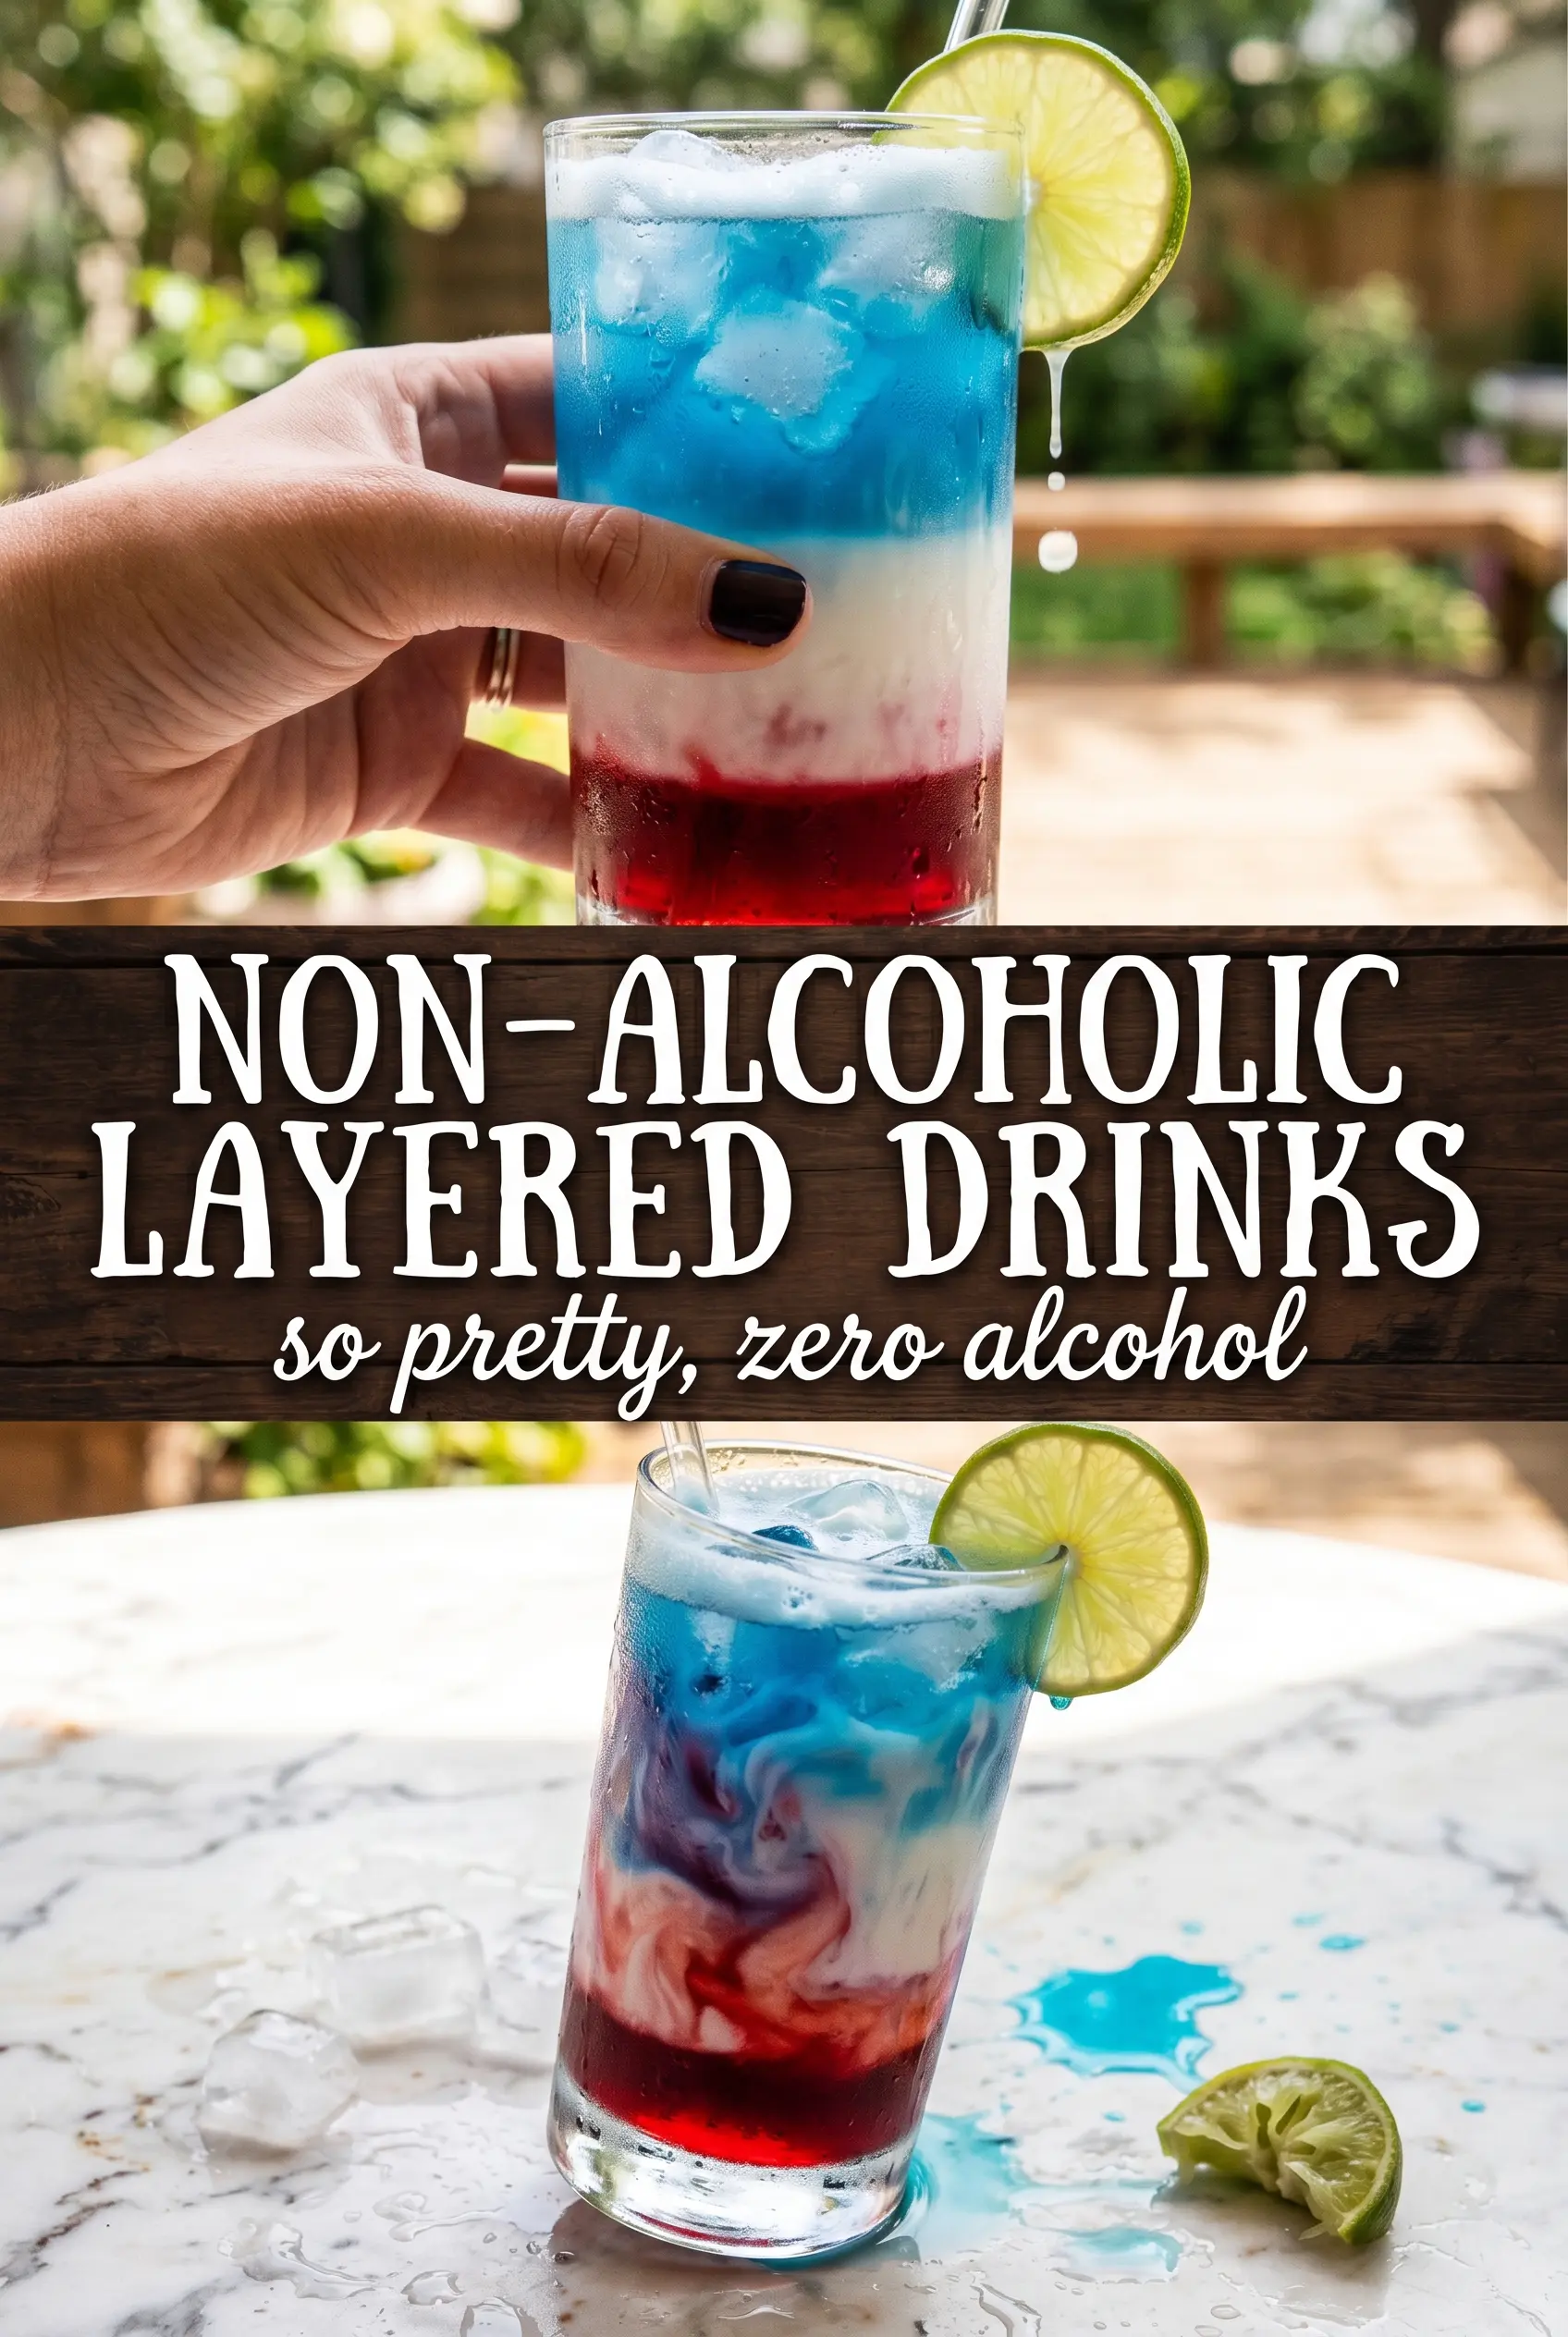
Three bright layers in one glass make this drink look like you spent far more time on it than you did. The grenadine settles into a ruby base, the lemonade sits in the middle like a clean band of sunshine, and the blue raspberry layer floats on top long enough to hand the glass over before the colors start to mingle. It’s the kind of drink that gets picked up first at a party because it looks festive before anyone even tastes it.
The trick is all in density and a light hand with the pour. Cold liquid holds its layers better, ice helps slow everything down, and pouring over the back of a spoon keeps the stream gentle enough that the drinks don’t crash through each other. If you rush any part of it, the colors blur and you lose the whole point.
Below, I’ve included the one detail that matters most when building the layers, plus a few smart swaps if you want to change the colors or make a bigger batch for a crowd.
I chilled everything first and poured each layer over the spoon like you said, and the colors stayed separate all the way to the table. My kids thought it was magic, and the cherry on top was a nice touch.
Like this layered mocktail? Save it for the next party when you want a three-color drink that looks impressive and pours fast.
Why the Layers Hold Instead of Blending
Layered drinks fail for one of two reasons: the liquids are too warm, or the pour is too aggressive. Warm drinks mix faster because the density differences matter less once everything is moving freely, and a hard pour drives the liquid straight through the ice and into the layer below. The fix is simple. Chill the components first, pack the glass with ice, and let each liquid slide in slowly so it has time to settle where it belongs.
- Grenadine first: It’s the heaviest of the three, so it naturally sinks to the bottom. Pour it directly over the ice, not down the side of the glass, or it can streak instead of forming a clean base.
- Lemonade in the middle: This layer needs the spoon because it has less density than grenadine but more body than the syrup once it’s been chilled. The spoon breaks the fall of the liquid and keeps the band clean.
- Blue raspberry on top: Any blue sports drink or blue raspberry lemonade works as long as it’s cold. If it’s flat and watery, the top layer is harder to keep distinct, so use a bottled drink with a little weight to it.
- Ice matters: Ice isn’t just for coldness here. It acts like a barrier that slows the pour and gives each layer something to rest on instead of collapsing straight into the one below.
What Each Ingredient Is Actually Doing in the Glass
- Grenadine syrup: This gives you the deep red base and the sweetest layer. There isn’t a true swap for the density and color together, so if you change it, pick another heavy syrup like cherry or raspberry and expect the bottom layer to taste a little different.
- Lemonade: This keeps the drink bright and balances the sweetness. Fresh or bottled both work, but it should be well chilled; room-temperature lemonade will muddle the layers faster.
- Blue raspberry sports drink or blue raspberry lemonade: This is mostly about color and the final pop of flavor. A sports drink gives a cleaner, lighter top layer, while blue raspberry lemonade brings a little more sweetness and body.
- Maraschino cherries and striped straws: These don’t affect the layers, but they finish the look. The cherry gives a classic party-drink cue, and the straw makes it easy to serve without stirring the glass into a single color.
Building the Glass So the Colors Stay Clean
Pack the Ice First
Fill the glass almost to the top with ice before you pour anything. You want the ice to create a tight path for the liquids to move through, which slows the flow and helps each one settle into a different zone. If you leave too much open space, the drinks drop too fast and the layers smear together.
Pour the Grenadine Without Chasing the Glass
Let the grenadine slide in slowly and settle at the bottom. It’s tempting to tip the glass and aim for the side, but that tends to drag the syrup along the inside wall instead of letting it sink cleanly. A straight, slow pour over the ice gives the best base layer every time.
Use the Spoon for the Middle and Top
Hold a spoon just above the ice and pour the lemonade over the back of it in a thin stream. Repeat the same method with the blue raspberry drink for the top layer. If the spoon is too low, the drink still hits too hard; if it’s too high, the stream can splash and disturb what’s already in the glass.
Serve Before the Ice Starts Melting Hard
This drink looks best right after it’s built. Once the ice starts melting more aggressively, the edges of the layers soften and the colors begin to blur. Garnish quickly, hand it over, and don’t stir unless you’re ready to give up the layers completely.
Three Ways to Change the Colors Without Losing the Look
Red, white, and blue party version
Swap the blue raspberry layer for clear or very pale lemonade and add a little extra grenadine at the bottom for a red-white-blue look. The drink will taste a little less sweet on top, but the visual effect is cleaner for holidays and themed parties.
Dairy-free and gluten-free as written
This recipe already fits both without any changes, as long as you use a gluten-free bottled lemonade or homemade lemonade made from juice, sugar, and water. The only thing to watch is the garnish and any add-ins from store-bought drinks, since some specialty beverages include extra stabilizers or flavoring blends.
Make it for a crowd
Build each glass individually instead of trying to batch the layers in a pitcher. Once the drinks sit together, the colors mix fast, and you lose the whole layered effect. If you need more servings, line up the glasses, chill everything ahead of time, and pour one drink at a time.
Slightly less sweet version
Use a tart lemonade and a less sugary blue sports drink to keep the final glass from tasting candy-like. You’ll still get the same layered look, but the drink will read more like a crisp punch than a dessert-style mocktail.
Serving and make-ahead notes
- Prep ahead: Chill all the liquids and set out the glasses before guests arrive. You can even pre-fill the glasses with ice, but don’t build the layers until just before serving.
- Best timing: Assemble within a few minutes of serving so the colors stay distinct.
- Leftovers: This one doesn’t hold as a layered drink once stirred or melted. If you have extra, combine it and keep it chilled as a fruity punch for later.
Answers to the Questions Worth Asking
Non-Alcoholic Layered Drinks (Jewel-Tone Mocktail)
Ingredients
Method
- Fill a tall clear glass with ice cubes almost to the top. Use a level, full glass so the layers have room to stack without mixing.
- Pour grenadine syrup slowly over the ice. Let it rest undisturbed so it sinks to the bottom as the first layer, forming a deep red base.
- Gently pour the chilled lemonade over the back of a spoon held just above the ice. Add it slowly in a thin stream to create a clean golden middle layer.
- Pour the blue raspberry drink over the spoon in the same way to float it as the top layer. Keep the spoon just above the surface so the blue layer stays distinct.
- Garnish with a maraschino cherry and a striped straw and serve immediately without stirring. Do not agitate the glass so the three layers remain stacked.