Baked chicken breasts turn out a lot better when they’re treated like the centerpiece they are, not something you toss in the oven and hope for the best. This version stays juicy because the chicken bakes under a garlic herb butter baste, so the surface turns golden and fragrant while the pan juices keep everything moist. The result is the kind of simple dinner that tastes like you paid attention, even though it barely took any time at all.
The trick is starting with evenly seasoned chicken and using melted butter as the carrier for the garlic, herbs, and lemon. That mixture slips over every part of the chicken and bakes into a glossy sauce instead of a dry coating. A quick baste halfway through helps the top stay coated, and pulling the chicken as soon as it hits 165°F keeps the meat tender instead of stringy.
Below, I’ve included the timing cue that keeps chicken breast from drying out, plus a few smart swaps for when you need to work with what’s in the kitchen.
The butter sauce turned out glossy and the chicken stayed juicy all the way through. I basted it once halfway like you said, and the garlic never burned.
Save this garlic butter baked chicken breast for the nights when you want juicy chicken with a glossy pan sauce and almost no cleanup.
The Part Most People Get Wrong With Baked Chicken Breast
The mistake with baked chicken breast usually isn’t the seasoning. It’s the timing and the heat. Breast meat dries out fast once it goes past done, so this recipe works because the butter mixture creates a protective coating while the oven does the rest of the work at a high enough temperature to brown the surface without leaving the middle underwhelming and pale.
Another thing that matters here is even thickness. If one breast is much thicker than the others, it will lag behind and tempt you to leave the whole pan in longer than necessary. If yours are especially thick, a quick pound to even them out pays off immediately in more consistent doneness.
- High oven heat gives you a lightly caramelized surface before the chicken has a chance to dry out.
- Butter carries the garlic and herbs across the chicken and also collects in the pan juices you’ll spoon over the finished dish.
- Fresh lemon juice keeps the butter from tasting flat and cuts through the richness at the end.
- Resting time lets the juices settle back into the meat instead of running onto the cutting board.
What Each Ingredient Is Doing In This Pan
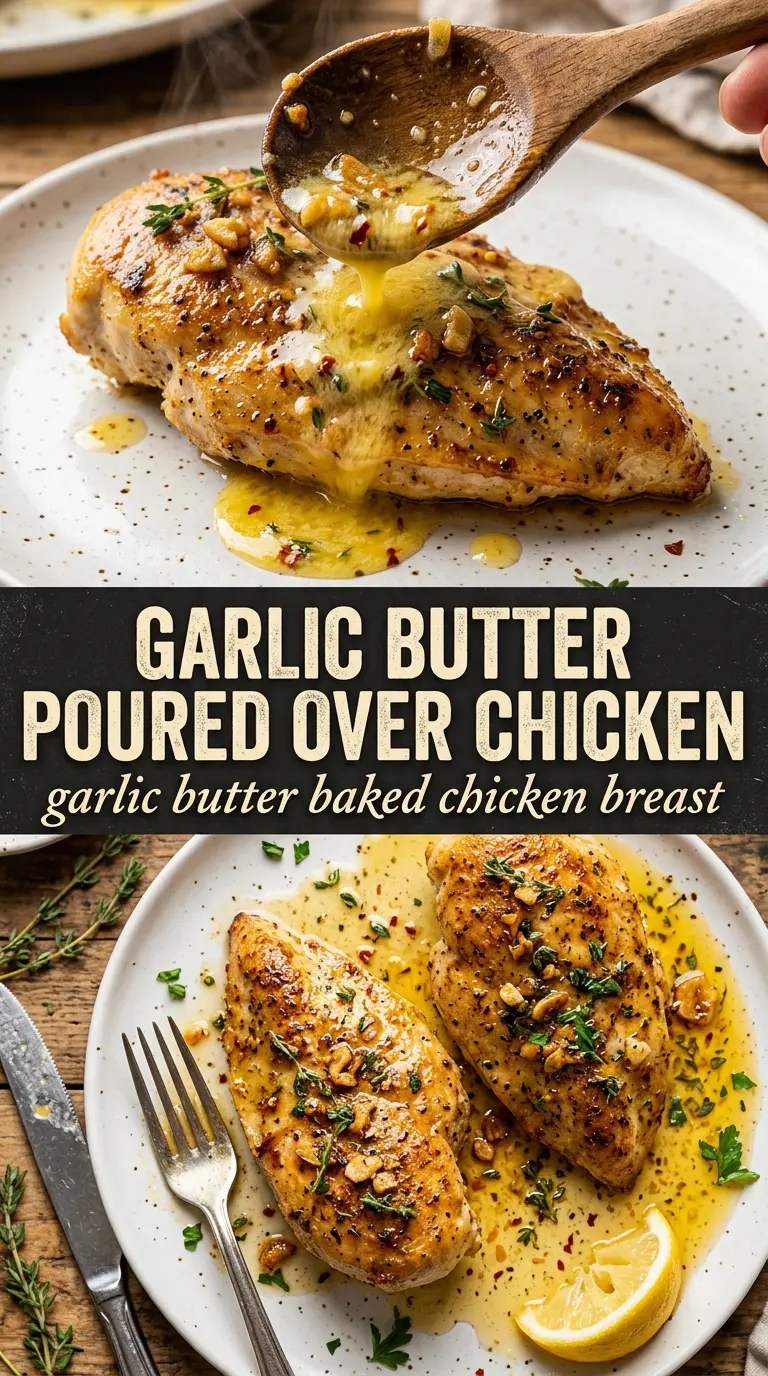
- Chicken breasts are the base of the dish, so look for pieces that are similar in size. If one is much larger, butterfly or pound it so it doesn’t turn dry before the others are done.
- Butter is not just for richness. It helps the garlic and herbs coat the chicken evenly and creates the pan juices that you’ll spoon over the top. If you need a dairy-free version, use a good olive oil, but the sauce will be thinner and less luxurious.
- Garlic needs to be minced fine so it softens in the butter and perfumes the chicken instead of sitting in raw chunks. Jarred garlic works in a pinch, but fresh gives the cleanest flavor.
- Parsley, thyme, and rosemary give the butter a classic herb profile. Rosemary is the strongest of the three, so keep it finely minced or it can dominate the pan.
- Lemon juice brightens the butter and keeps the finished chicken from tasting heavy. Bottled juice works if that’s what you have, but fresh lemon makes the pan sauce taste sharper and cleaner.
- Smoked paprika adds color and a little warmth without turning the dish spicy. It also helps the surface deepen more quickly in the oven.
Getting The Butter Baste To Coat Instead Of Pool
Season The Chicken First
Start by seasoning both sides of the chicken directly with salt, pepper, garlic powder, and smoked paprika. That layer matters because the butter on top won’t season the meat all the way through by itself. If the chicken is wet when it goes into the pan, pat it dry first so the butter clings instead of sliding off.
Mix The Herb Butter While The Oven Heats
Stir the melted butter with the garlic, parsley, thyme, rosemary, and lemon juice until the mixture looks evenly flecked. You want it fluid and spoonable, not separated. If the butter starts to firm up, warm it for a few seconds so the garlic stays suspended and doesn’t sink to the bottom of the dish.
Baste Halfway Through Baking
Pour the butter over the chicken so each breast gets coated, then bake until the tops start to turn opaque and lightly golden. At the halfway point, spoon the pan juices back over the chicken. That quick baste keeps the herbs from drying out and gives the top more color, but don’t overdo it with repeated opening of the oven or the temperature drops and the chicken cooks unevenly.
Rest Before Serving
Pull the dish when the thickest part of the chicken reaches 165°F, then let it sit for 5 minutes. That short rest gives the juices time to settle, which is the difference between a moist slice and one that floods the plate. Spoon the pan juices over the chicken right before serving and add lemon wedges on the side for a brighter finish.
How To Adapt This For Different Kitchens And Diets
Dairy-Free Version
Swap the butter for olive oil or a plant-based butter that melts cleanly. Olive oil gives you a lighter pan sauce and a less rich finish, while dairy-free butter keeps more of the original body. Either way, keep the garlic minced fine so it doesn’t scorch in the oven.
Using Chicken Thighs Instead
Boneless skinless thighs work well here and stay a little more forgiving if you’re not watching the clock closely. They usually need a few extra minutes in the oven, and the finished dish will be richer because thighs bring more fat of their own.
Extra-Lemony Finish
Add a little lemon zest to the butter if you want a sharper citrus note without thinning the sauce. This is the best move when serving the chicken with potatoes or rice, because the extra brightness cuts through starch nicely.
Storage and Reheating
- Refrigerator: Store leftovers in an airtight container for up to 4 days. The butter will firm up, but the flavor stays good.
- Freezer: Freeze cooked chicken breasts tightly wrapped or sealed for up to 2 months. The texture softens a little after thawing, so slice before freezing if you want quicker reheating.
- Reheating: Warm gently in a covered dish at 300°F or in a skillet with a spoonful of the pan juices. High heat is what makes leftover chicken go dry and stringy, so keep the reheating slow and stop as soon as the center is hot.
Answers To The Questions Worth Asking
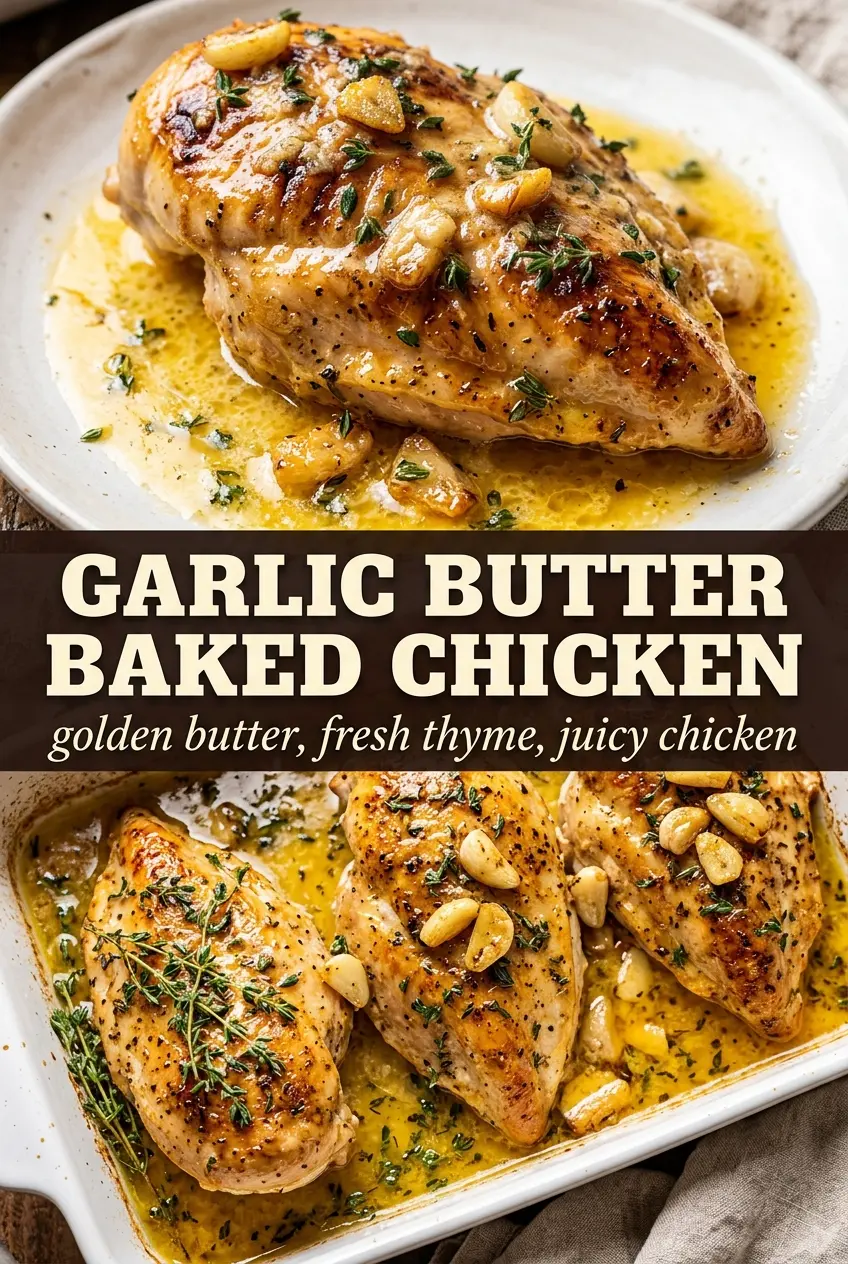
Garlic Butter Baked Chicken Breast
Ingredients
Equipment
Method
- Preheat oven to 425°F and lightly grease a baking dish.
- Season chicken breasts on both sides with salt, pepper, garlic powder, and smoked paprika.
- Melt butter and stir in garlic, parsley, thyme, rosemary, and lemon juice until combined, forming a fragrant herb-garlic mixture.
- Place chicken in the prepared dish and pour garlic herb butter over each breast, coating thoroughly so the butter pools around the base.
- Bake for 20 minutes, basting with the pan juices once at the halfway point until the surface looks golden and the glaze glistens.
- Continue baking for 5 minutes more, checking internal temperature until it reaches 165°F and the butter is caramelized and fragrant.
- Rest chicken for 5 minutes so the juices redistribute; spoon pan juices over the breasts before serving.
- Serve with lemon wedges alongside.