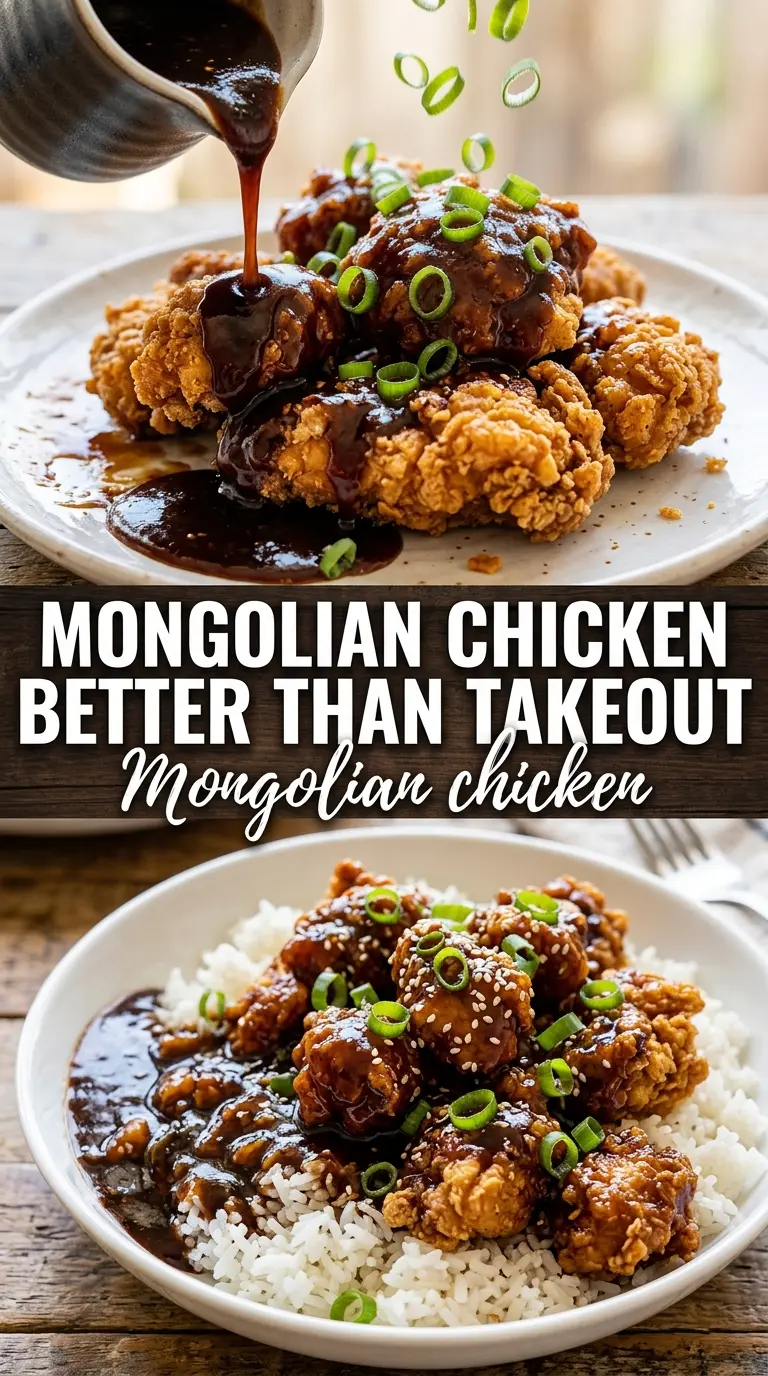
Crispy-edged chicken coated in a glossy, dark Mongolian sauce is one of those dinners that disappears fast because it hits every note at once: salty, sweet, garlicky, and just a little bit sticky in the best way. The chicken stays tender under the sauce instead of getting soggy, and the green onions keep enough bite to cut through the richness. Over rice, it feels like takeout with a little more backbone.
The trick is building a light cornstarch coating on the chicken before it hits the pan. That coating helps the pieces brown fast and gives the sauce something to cling to. The sauce itself only needs a short simmer before the slurry goes in, and that’s enough to turn it shiny and thick without cooking it down into syrup. High heat matters here, but only for the chicken and the quick stir-fry stage, not for the sauce once it’s in the pan.
Below, I’m walking through the part that matters most: how to keep the chicken crisp while the sauce turns glossy instead of thin, grainy, or overly sweet. There’s also a substitution note for the cut of chicken and a few practical variations if you want to adjust the heat or make it work with what’s already in the kitchen.
The sauce got glossy in minutes and coated every piece of chicken instead of pooling at the bottom. I used thighs, and they stayed tender with those crisp edges even after sitting on rice for a few minutes.
Keep this Mongolian Chicken handy for nights when you want sticky, glossy takeout-style chicken over rice in under 30 minutes.
The Reason the Sauce Stays Glossy Instead of Turning Thin
A lot of Mongolian chicken recipes go wrong in the same place: the sauce gets added too early, the pan cools down, and the chicken starts steaming instead of browning. Once that happens, you lose both the crisp edges and the deep savory flavor that makes this dish worth making. The cornstarch on the chicken is not just there to thicken the sauce later. It creates a light crust that protects the meat and helps the sauce cling.
The other thing that matters is the slurry. If you dump it into a sauce that never came to a real boil, it can turn a little flat and starchy instead of smooth and glossy. Let the sauce bubble for a moment, then stir in the slurry and give it a minute or two to thicken. That short cook time is what gives you the sticky coating without turning the whole pan into glue.
What Each Ingredient Is Doing in This Pan
- Chicken breasts — Thinly sliced breasts cook fast and stay tender if you don’t crowd the pan. If you slice them too thick, the outside will overbrown before the center is cooked.
- Cornstarch — This does two jobs at once: it helps the chicken crisp in the skillet and it gives the sauce body later. Flour won’t give the same clean, light coating.
- Soy sauce, brown sugar, and hoisin — These build the signature sweet-salty base. Soy gives depth, brown sugar gives the sticky finish, and hoisin adds a little roundness that plain sugar can’t replace.
- Fresh garlic and ginger — Use the fresh version here. Powder won’t give you the same sharp, fragrant hit when it hits the hot oil.
- Sesame oil and red pepper flakes — Sesame oil goes in the sauce, not the skillet, so it stays fragrant. The pepper flakes add warmth, not heat that dominates the dish.
- Green onions — Add them at the end so they soften just enough to take the edge off while still keeping a little char and crunch.
Getting the Chicken Crisp Before the Sauce Goes In
Coating the Chicken Evenly
Toss the sliced chicken with cornstarch, salt, and pepper until every piece looks lightly dusted, not clumped. You want a thin, even coat that disappears into the surface rather than a heavy breading. If the chicken looks pasty or wet, it won’t brown well, so let it sit for a minute after tossing and shake off any extra starch before it hits the pan.
Building Color in the Pan
Heat the oil until it shimmers, then add the chicken in a single layer. Don’t stir it constantly; let it sit long enough to develop deep golden patches before flipping. If the pan is crowded, the chicken releases steam and you lose the crisp edge, so cook in batches if needed. Pull it out as soon as it’s cooked through so it doesn’t dry out while the sauce is coming together.
Thickening the Sauce at the End
Use the same pan for the garlic, ginger, and sauce. Those browned bits left behind are part of the flavor, and they dissolve right into the liquid as it heats. Once the sauce boils, stir in the slurry and keep it moving until it turns shiny and coats the back of a spoon. If it gets too thick, a splash of water loosens it immediately, but if it looks thin, give it another minute rather than cranking the heat higher.
Bringing It All Together
Add the chicken back with the green onions and toss just until everything is coated. You’re looking for glossy pieces, not a pan of sauce with chicken floating in it. The green onions should soften at the edges and pick up a little char from the heat, which gives the whole dish that takeout-style finish.
How to Adapt This When You Want a Different Finish
Swap in chicken thighs for a richer result
Boneless skinless thighs work well if you want a juicier bite and a little more forgiveness in the pan. They take a minute longer to cook, but they stay tender even if the sauce sits on them for a bit. The flavor comes out a little deeper and less lean than breasts.
Make it gluten-free without losing the sticky sauce
Use a gluten-free soy sauce or tamari and check that your hoisin is certified gluten-free. The cornstarch coating stays the same, so you still get that crisp edge and glossy finish.
Turn down the heat without flattening the flavor
Leave out the red pepper flakes and the dish still tastes complete because the ginger, garlic, soy, and brown sugar carry the sauce. If you want just a hint of heat, add half the amount and taste after the sauce thickens.
Storage and Reheating
- Refrigerator: Store leftovers in an airtight container for up to 4 days. The chicken softens a little, but the sauce keeps its flavor.
- Freezer: It freezes better than a lot of stir-fries. Cool completely, pack tightly, and freeze for up to 2 months; the sauce may loosen slightly after thawing, but it comes back together.
- Reheating: Reheat in a skillet over medium-low heat with a splash of water to loosen the sauce. The mistake to avoid is blasting it on high heat, which dries out the chicken and makes the glaze sticky in the wrong way.
Questions I Get Asked About This Recipe
Mongolian Chicken
Ingredients
Equipment
Method
- Toss the thinly sliced chicken with cornstarch, salt, and pepper until evenly coated, with no dry spots left on the surface.
- Whisk together soy sauce, brown sugar, water, hoisin sauce, sesame oil, and red pepper flakes until the sugar dissolves and the mixture looks uniform and glossy.
- Heat vegetable oil in a large skillet or wok over high heat until shimmering, then add chicken in a single layer.
- Cook the chicken for 3-4 minutes per side until deeply golden and cooked through, flipping once for crisp edges, then remove to a plate.
- Add garlic and ginger to the same pan and stir-fry for 30 seconds until fragrant and lightly sizzling.
- Pour in the sauce and bring to a boil, watching for bubbling that thickens the color to dark amber.
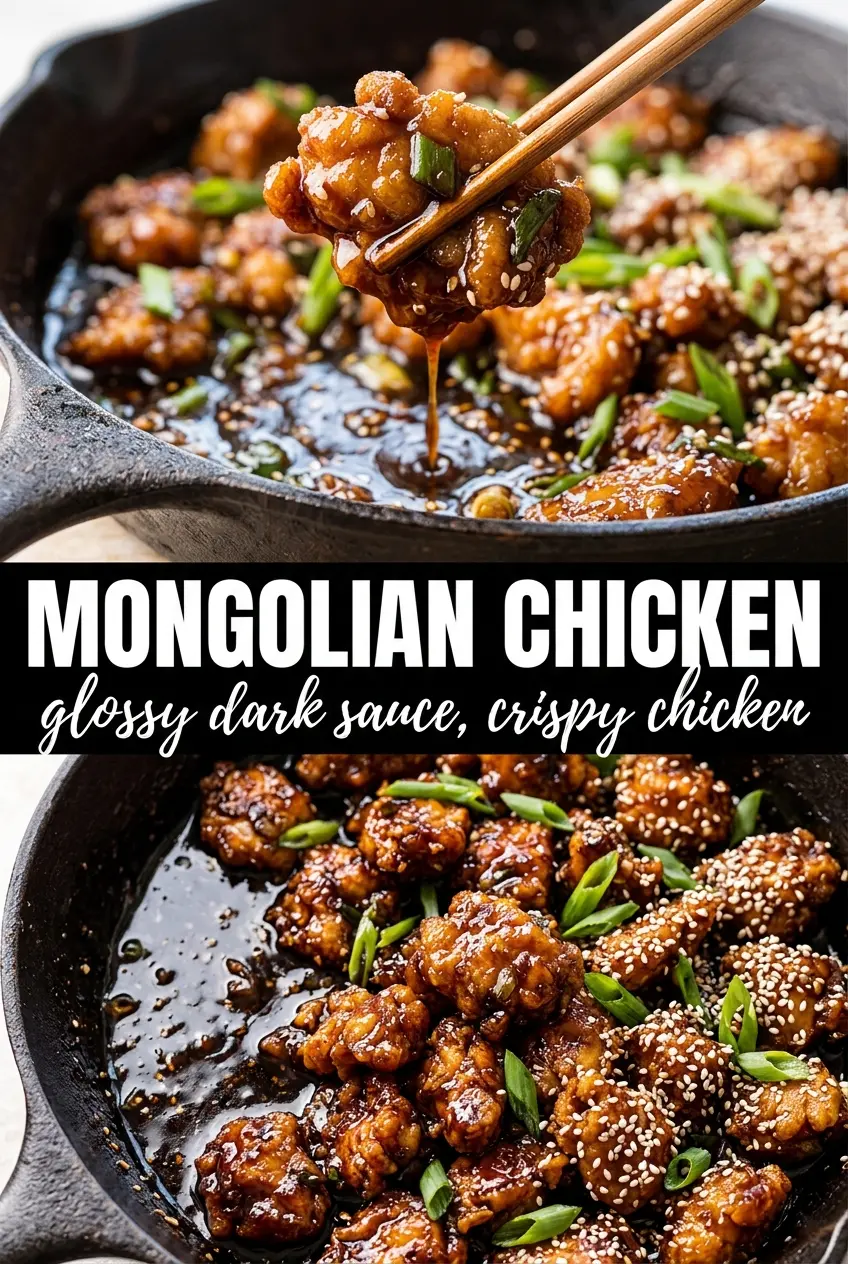
- Stir in the cornstarch slurry and cook for 1-2 minutes until the sauce is thickened and glossy, with a slow, syrupy drip off the spatula.
- Return the chicken and green onions to the pan and toss to coat, until green onion pieces look charred at the edges and cling to the sauce.
- Serve the sticky Mongolian chicken over steamed white rice with sesame seeds scattered on top for a final nutty finish.