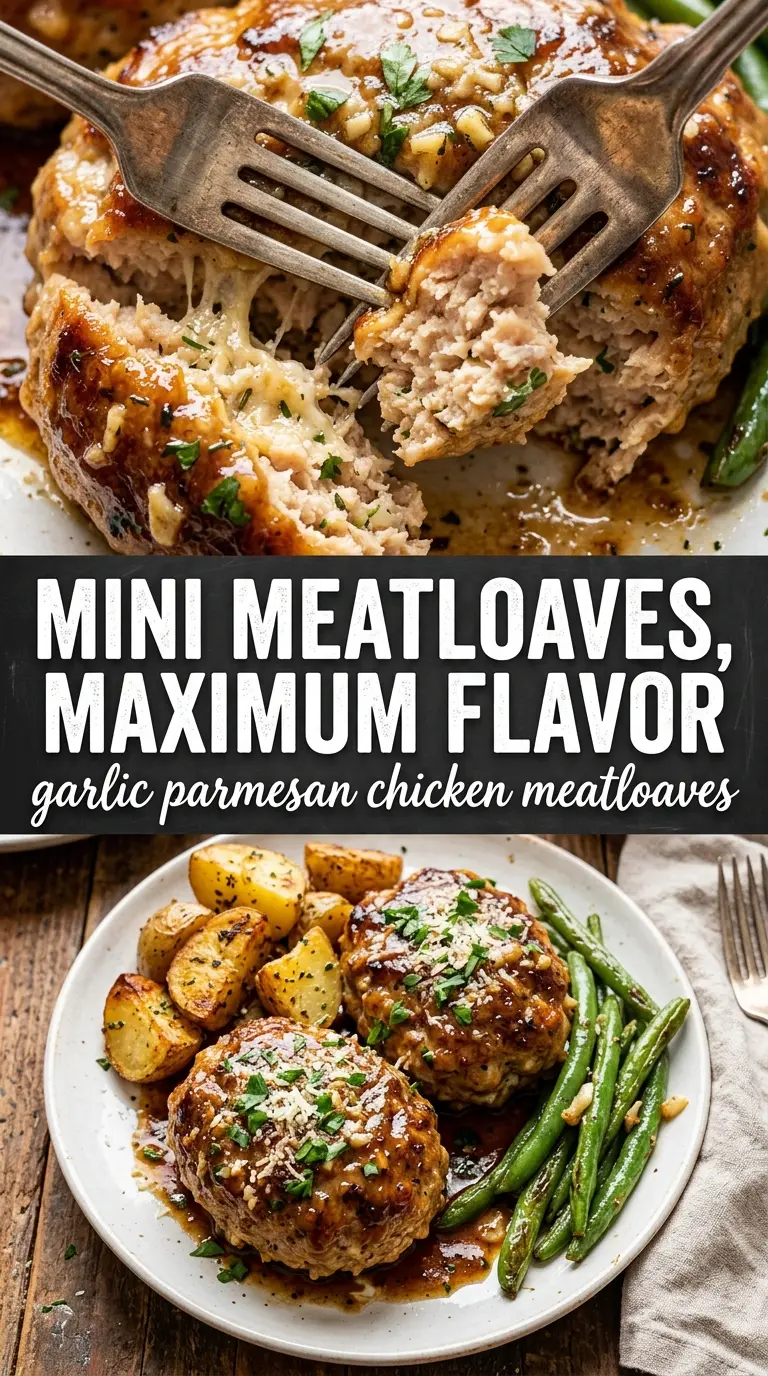
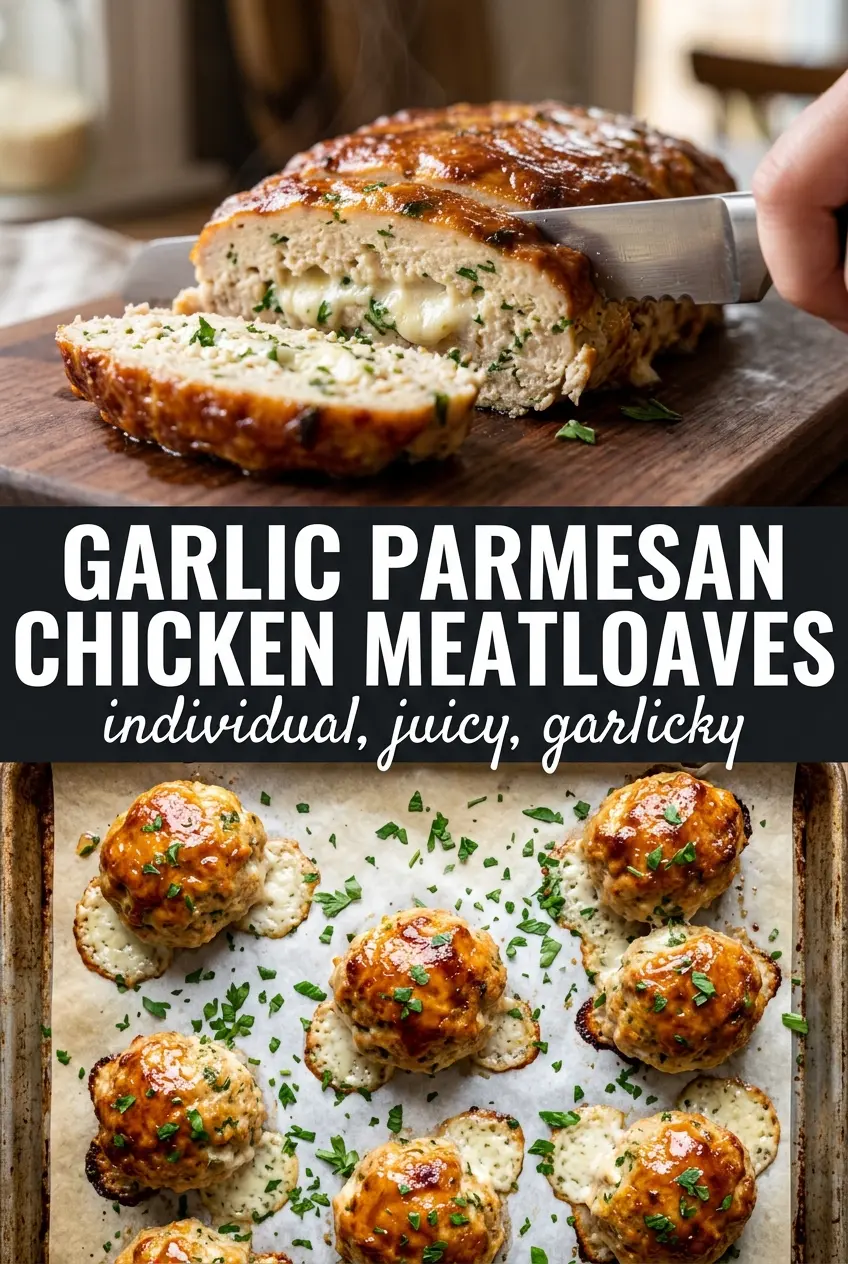
Garlic Parmesan Chicken Meatloaves bake up with a crisp, savory top and a tender middle that stays juicy instead of dry and crumbly. The individual shape gives you more browned edges than a standard loaf, which means more of that garlicky parmesan crust in every bite. They’re the kind of weeknight main dish that lands on the table looking intentional without asking much from you.
The trick is using just enough binder to hold the chicken together without turning the mixture dense. Panko keeps the texture light, parmesan adds salt and structure, and the egg does the job of binding everything while the butter brushed on top helps the loaves brown instead of steaming. I like shaping them on a sheet pan so the hot air can circulate all around each one.
Below, I’ve included the small details that matter most here: how to mix the chicken without making it tough, what to look for when the tops are properly browned, and a few easy swaps if you need to adjust for what’s in your kitchen.
The parmesan crust turned out golden and crisp, and the chicken stayed surprisingly juicy. I loved that they baked in just under 25 minutes and still tasted like something from a restaurant.
Love the crispy parmesan top on these garlic chicken meatloaves? Save them to Pinterest for the nights when you want a fast sheet-pan dinner with real flavor and barely any cleanup.
The Part That Keeps Chicken Meatloaves Juicy Instead of Dry
Ground chicken is lean, which is exactly why it can turn dry fast if you treat it like beef meatloaf. The fix is to keep the mixture light, shape it without packing it down, and pull it from the oven as soon as the center reaches temperature. If you wait for the tops to look deeply browned before checking the middle, you’ll overshoot the bake and lose the tenderness that makes these worth making.
Individual loaves also help here. Smaller portions cook faster and more evenly than a full loaf, so you get a better crust-to-center ratio without needing a long bake that dries out the meat. The parmesan in the mixture adds both salt and body, which helps the loaves hold their shape without becoming heavy.
- Ground chicken — Use regular ground chicken, not extra-lean if you have a choice. A little more fat means a juicier loaf and less risk of a chalky texture.
- Parmesan — Freshly grated parmesan gives the best melt and the sharpest flavor. The pre-shredded kind works in a pinch, but it won’t blend as smoothly or brown as cleanly on top.
- Panko — This keeps the texture soft instead of compact. Regular breadcrumbs work, but panko gives a lighter crumb.
- Garlic butter topping — This is more than garnish. It helps the tops brown, adds moisture, and carries the garlic flavor all the way through the crust.
What Each Ingredient Is Actually Doing in This Recipe
- Primary ingredient (the star) — Quality matters most. Choose the best you can find.
- Cooking medium (oil, butter, or broth) — This carries flavors and prevents dryness.
- Seasonings (salt, pepper, spices, herbs) — Layer flavors so nothing overpowers. Build depth gradually.
- Aromatics (garlic, onion, herbs) — Cook with fat to bloom flavors. Become the foundation.
- Supporting ingredients — Complement the main ingredient without overpowering it.
- Sauce or liquid (if applicable) — Brings flavors together. Balance richness with acid.
- Acid (lemon, vinegar, wine, or other) — Brightens and prevents flat-tasting results.
- Final finish (garnish, glaze, or sauce) — Prevents one-dimensional taste and adds visual appeal.
Shaping and Baking Them So the Tops Brown Before the Centers Dry Out
Mixing the meat just enough
Combine everything until the ingredients are evenly distributed, then stop. Overmixing makes chicken meatloaf tough and rubbery because the proteins tighten up fast. The mixture should hold together when you press it, but it shouldn’t look pasted together or glossy from being worked too much.
Forming the individual loaves
Divide the mixture into four equal portions and shape each one into a compact oval on the parchment-lined pan. Keep them roughly the same size so they finish at the same time, and leave space between them so the edges brown instead of steaming. If the loaves are too flat, they’ll dry out; if they’re too thick, the centers lag behind the tops.
Brushing on the garlic butter and baking
Brush the tops with the melted garlic butter before they go in, then press extra parmesan over each loaf so it sticks. Bake until the tops are golden and the centers are cooked through, about 22 to 25 minutes. The most common mistake here is waiting for a deep crust before checking doneness — chicken needs to come out as soon as it’s safe, not after it’s overbaked.
Finishing for the best texture
Brush on the remaining garlic butter as soon as the loaves come out of the oven and scatter over fresh parsley. That last swipe gives you shine and flavor without drying the surface further. Let them rest for a few minutes before serving so the juices settle back into the meat instead of running onto the pan.
How to Adapt These for Different Tables and Pantry Situations
Gluten-Free Version
Swap the panko for gluten-free breadcrumbs or crushed gluten-free crackers. The texture stays close to the original as long as you don’t add too much, because the goal is binding, not bulk.
Dairy-Free Adjustment
Use a dairy-free parmesan-style substitute in the mix and skip the butter topping, then brush the loaves with olive oil instead. You’ll lose some of the classic buttery finish, but the garlic and herbs still carry the dish well.
Using Ground Turkey Instead
Ground turkey works with the same method, especially if that’s what you have on hand. Choose turkey that isn’t extra-lean if possible, because the leanest version can dry out faster than chicken once it’s baked.
Making Them Ahead
Shape the loaves up to a day ahead and keep them covered in the fridge until you’re ready to bake. I don’t recommend adding the butter topping too early, since it can pool and soften the surface instead of helping it brown.
Storage and Reheating
- Refrigerator: Store leftovers in an airtight container for up to 4 days. The crust softens a little, but the flavor holds up well.
- Freezer: These freeze well. Wrap the cooled loaves individually and freeze for up to 2 months, then thaw in the fridge before reheating.
- Reheating: Warm in a 325°F oven, covered loosely with foil, until heated through. The biggest mistake is using the microwave on high, which can make the chicken tough and the parmesan topping greasy.
Questions I Get Asked About These Garlic Parmesan Chicken Meatloaves
Garlic Parmesan Chicken Meatloaves
Ingredients
Equipment
Method
- Preheat the oven to 400°F and line a sheet pan with parchment so the meatloaves bake without sticking.
- Combine ground chicken, parmesan, panko, minced garlic, egg, chopped parsley, Italian seasoning, garlic powder, salt, and black pepper, then mix until just combined.
- Divide the mixture into 4 equal portions and shape each into an oval loaf on the prepared sheet pan.
- Mix melted butter with minced garlic and brush over each meatloaf for a glossy start.
- Press extra parmesan on top of each loaf so it forms a golden crust as they bake.
- Bake at 400°F for 22–25 minutes, until the loaves are cooked through and golden on top.
- Brush with the remaining garlic butter, garnish with fresh parsley, and serve immediately while the topping glistens.