Queso chicken enchiladas come out with the kind of comfort that makes people go quiet for the first few bites. The tortillas soften just enough in the oven, the chicken stays juicy, and that thick, glossy queso sauce bakes into a bubbling layer that clings to every roll instead of sliding off the pan. It’s the sort of dinner that looks like you spent all afternoon on it, even though the real work is straightforward.
What makes this version work is the balance between the filling and the sauce. The chicken mixture needs just enough green chile and cheese to stay flavorful without turning pasty, and the sauce has to be built slowly so the Velveeta melts smooth before the Rotel goes in. If you rush the heat, the dairy can turn grainy or separate. Keep it gentle and the result stays creamy all the way through.
Below, I’ve broken down the part that matters most: how to keep the enchiladas from going soggy, how to get a sauce that actually stays silky, and the small swaps that still give you a proper Tex-Mex bake.
The queso sauce stayed smooth and thick, and the enchiladas held together perfectly instead of falling apart in the dish. My husband asked if I could make them again next week.
Love the creamy queso sauce and melty chicken filling? Save these queso chicken enchiladas for a weeknight Tex-Mex dinner that bakes up bubbly and golden.
The Part That Keeps Queso From Turning Grainy
The sauce in these enchiladas is forgiving, but only if the heat stays gentle. Velveeta melts smoothly because it’s built to stay emulsified, while the milk and broth help loosen it into a pourable sauce without making it thin. If the pan gets too hot, the dairy can seize into a greasy, broken mess before the Rotel even has a chance to blend in.
The other common mistake is overfilling the tortillas. A tight roll with a modest amount of chicken gives you enchiladas that hold their shape and soak up sauce without collapsing into the casserole. Once the sauce goes on, the tortillas soften in the oven instead of turning mushy, which is the line you want.
- Gentle heat — This is what keeps the queso smooth. Medium-low or low heat gives the cheese time to melt evenly instead of turning oily.
- Flour tortillas — They’re sturdier than corn here and handle the creamy sauce better. Corn tortillas can work, but they’re more likely to split unless you warm them first.
- Rotel — The tomatoes and green chiles add acidity and a little bite, which keeps the sauce from tasting flat. Drain it only if the can looks especially watery.
- Shredded chicken — Use chicken that isn’t overly dry. Rotisserie chicken is a smart shortcut because it stays tender and picks up the chile and cheese well.
What Each Ingredient Is Doing in the Filling and Sauce
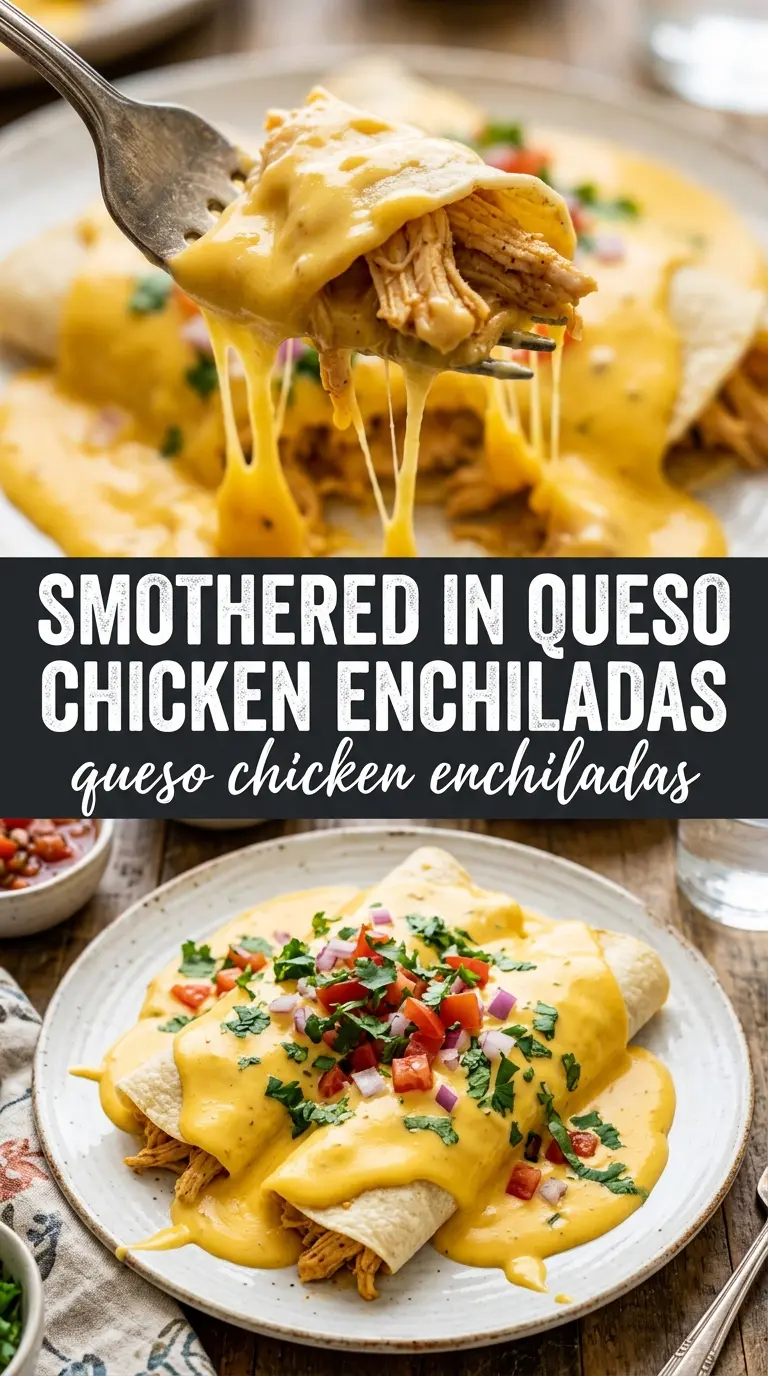
- Shredded chicken — This is the backbone of the filling. Freshly cooked or rotisserie chicken both work, but the meat should be tender enough to mix without turning stringy.
- Green chiles — They add a mild heat and a little brightness. Canned chiles are fine here because you want that gentle background flavor, not a smoky roasted note.
- Monterey Jack — It melts cleanly and gives the filling and topping a softer, stretchier finish than a sharper cheese would. If you swap it, choose another good melting cheese like mild cheddar or a Mexican blend.
- Velveeta — This is what gives the queso its smooth, stable texture. There isn’t a true substitute that behaves the same way, so if you want that classic creamy sauce, keep it in.
- Whole milk and chicken broth — The milk carries the cheese, while the broth keeps the sauce from feeling heavy. Lower-fat milk will work, but the sauce won’t be as plush.
- Flour tortillas — Their soft structure helps the enchiladas bake into neat rolls. If you only have corn tortillas, warm them first so they don’t crack when you roll them.
Building the Enchiladas So They Bake Up Neat, Not Soggy
Mixing the Filling
Combine the shredded chicken with the green chiles and a little cheese until everything looks evenly coated but not wet. The filling should hold together when you scoop it, not slump like a spread. If it looks loose, the tortillas will absorb too much moisture and the enchiladas will collapse under the sauce.
Rolling and Nestling the Tortillas
Spoon the filling down the center of each tortilla, then roll it tightly enough to keep the seam closed without squeezing the filling out the ends. Set each one seam-side down in the greased baking dish. That little detail matters because it keeps the tortillas from unrolling once the hot sauce goes over the top.
Making the Queso Sauce
Melt the butter and cook the garlic just until fragrant. Don’t let it brown, because burnt garlic shows up fast in a sauce this simple. Add the milk and bring it only to a gentle simmer before stirring in the Velveeta, Rotel, and broth. Keep stirring until the sauce looks glossy and fully smooth with no little cheese granules left behind.
Baking Until Bubbling at the Edges
Pour the sauce over the enchiladas and get it all the way to the corners of the dish. The top should be completely covered so the tortillas don’t dry out in the oven. Bake until the cheese on top is melted and the sauce is bubbling at the edges, then let it sit for a few minutes before serving so the sauce settles instead of running everywhere.
How to Adjust These Enchiladas for the Ingredients You Have
Make It Spicier Without Losing the Creamy Sauce
Use hot Rotel or stir in a few diced jalapeños with the garlic. That keeps the heat layered into the sauce instead of dumping a harsh pepper bite on top at the end.
Swap the Chicken for a Vegetarian Filling
Black beans, sautéed mushrooms, or roasted cauliflower all work well in place of chicken. Keep the filling fairly dry so the enchiladas don’t get watery, and add a little extra cheese to help the rolls stay together.
Make It Gluten-Free
Use certified gluten-free flour-style tortillas or sturdy corn tortillas if that’s what you trust. The sauce itself is naturally gluten-free as written, but always check the broth and canned tomatoes if cross-contamination matters in your kitchen.
Storage and Reheating
- Refrigerator: Store covered for up to 4 days. The tortillas soften a bit more as they sit, but the flavor holds well.
- Freezer: These freeze well if you bake them first, cool completely, then wrap tightly. Freeze in portions or as a whole casserole for up to 2 months.
- Reheating: Reheat covered in a 350°F oven until hot in the center. The most common mistake is microwaving too long, which can split the sauce and make the edges rubbery before the middle is warm.
Questions I Get Asked About This Recipe
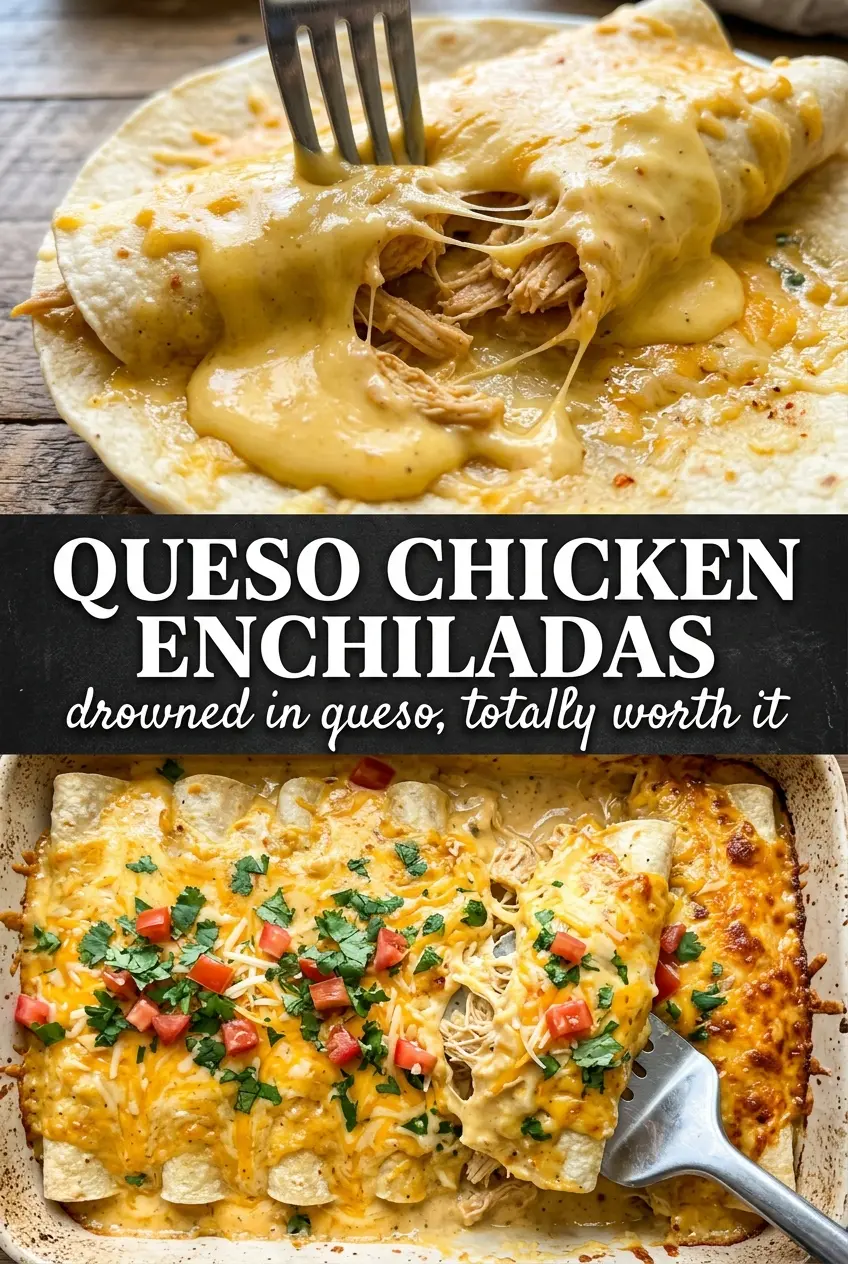
Queso Chicken Enchiladas
Ingredients
Equipment
Method
- Preheat oven to 375°F and grease a 9x13 baking dish, keeping the surface ready for rolling enchiladas.
- Mix shredded chicken with diced green chiles and 1/2 cup cheese, then fill each flour tortilla and roll tightly.
- Place rolled enchiladas seam-side down in the prepared baking dish, arranging them in a single layer.
- Melt butter in a saucepan over medium heat, then add minced garlic and cook for 1 minute until fragrant.
- Add whole milk and bring it to a gentle simmer, looking for small bubbles around the edges.
- Stir in Velveeta, Rotel, and chicken broth, mixing until fully smooth and creamy.
- Pour queso sauce over the enchiladas and sprinkle the remaining cheese on top so it covers the surface.
- Bake for 20–25 minutes at 375°F until bubbly and golden at the edges of the casserole.
- Top with sour cream, cilantro, and jalapeños, then serve immediately for the best creamy texture.