Shatteringly crisp chicken coated in a sticky honey garlic glaze hits that sweet-salty spot better than most takeout boxes ever manage. The outside stays craggy and golden long enough to toss in the sauce, and the sauce itself clings in a glossy layer instead of sliding off the chicken or turning watery on the plate.
What makes this version work is the double coating of cornstarch and flour, plus frying the chicken in batches so the oil stays hot enough to set the crust fast. The sauce is built separately and thickened with a quick slurry, which gives you that deep amber finish without having to reduce it until the garlic burns. A splash of rice vinegar keeps the honey from tasting flat, and the sesame oil goes in at the end so its flavor stays clear.
Below, I’ll show you the small timing details that keep the chicken crisp, how to adjust the sauce if you like it sweeter or sharper, and what to do if you want to make this with chicken breast instead of thighs.
The chicken stayed crispy even after I tossed it in the sauce, and the glaze thickened up in just a couple of minutes. I served it over rice with green onions and my husband said it tasted better than our usual delivery.
Save this crispy Chinese honey garlic chicken for the night you want sticky-sweet sauce, crunchy coating, and takeout-style comfort in one pan.
The Part That Keeps the Chicken Crispy After Saucing
The trick here is not the sauce. It’s the crust. If the coating is thin or the oil isn’t hot enough, the chicken will look golden in the pan and go soft the second it hits the glaze. A proper fry at 375°F gives you a shell that can stand up to the honey garlic sauce long enough to serve it still crisp at the table.
Chicken thighs handle this better than breast meat because they stay juicy through the fry, but the real insurance is batch cooking. Crowding the pan drops the oil temperature, and that’s when the coating starts absorbing oil instead of sealing. You want the chicken pieces to look deeply golden and feel light when you lift them out, not pale and heavy.
- Cornstarch — This is what gives the coating that brittle, craggy finish. Flour alone makes a softer crust, so don’t skip the starch if you want that takeout-style crunch.
- Chicken thighs — Thighs stay tender while the coating browns. Breast meat works, but it dries out faster and needs a shorter fry time, so cut the pieces evenly if you swap it in.
- White pepper — It adds a subtle heat that belongs in this style of dish. Black pepper works in a pinch, but you’ll taste it more sharply and it shifts the flavor.
What the Sauce Is Doing Before It Hits the Pan
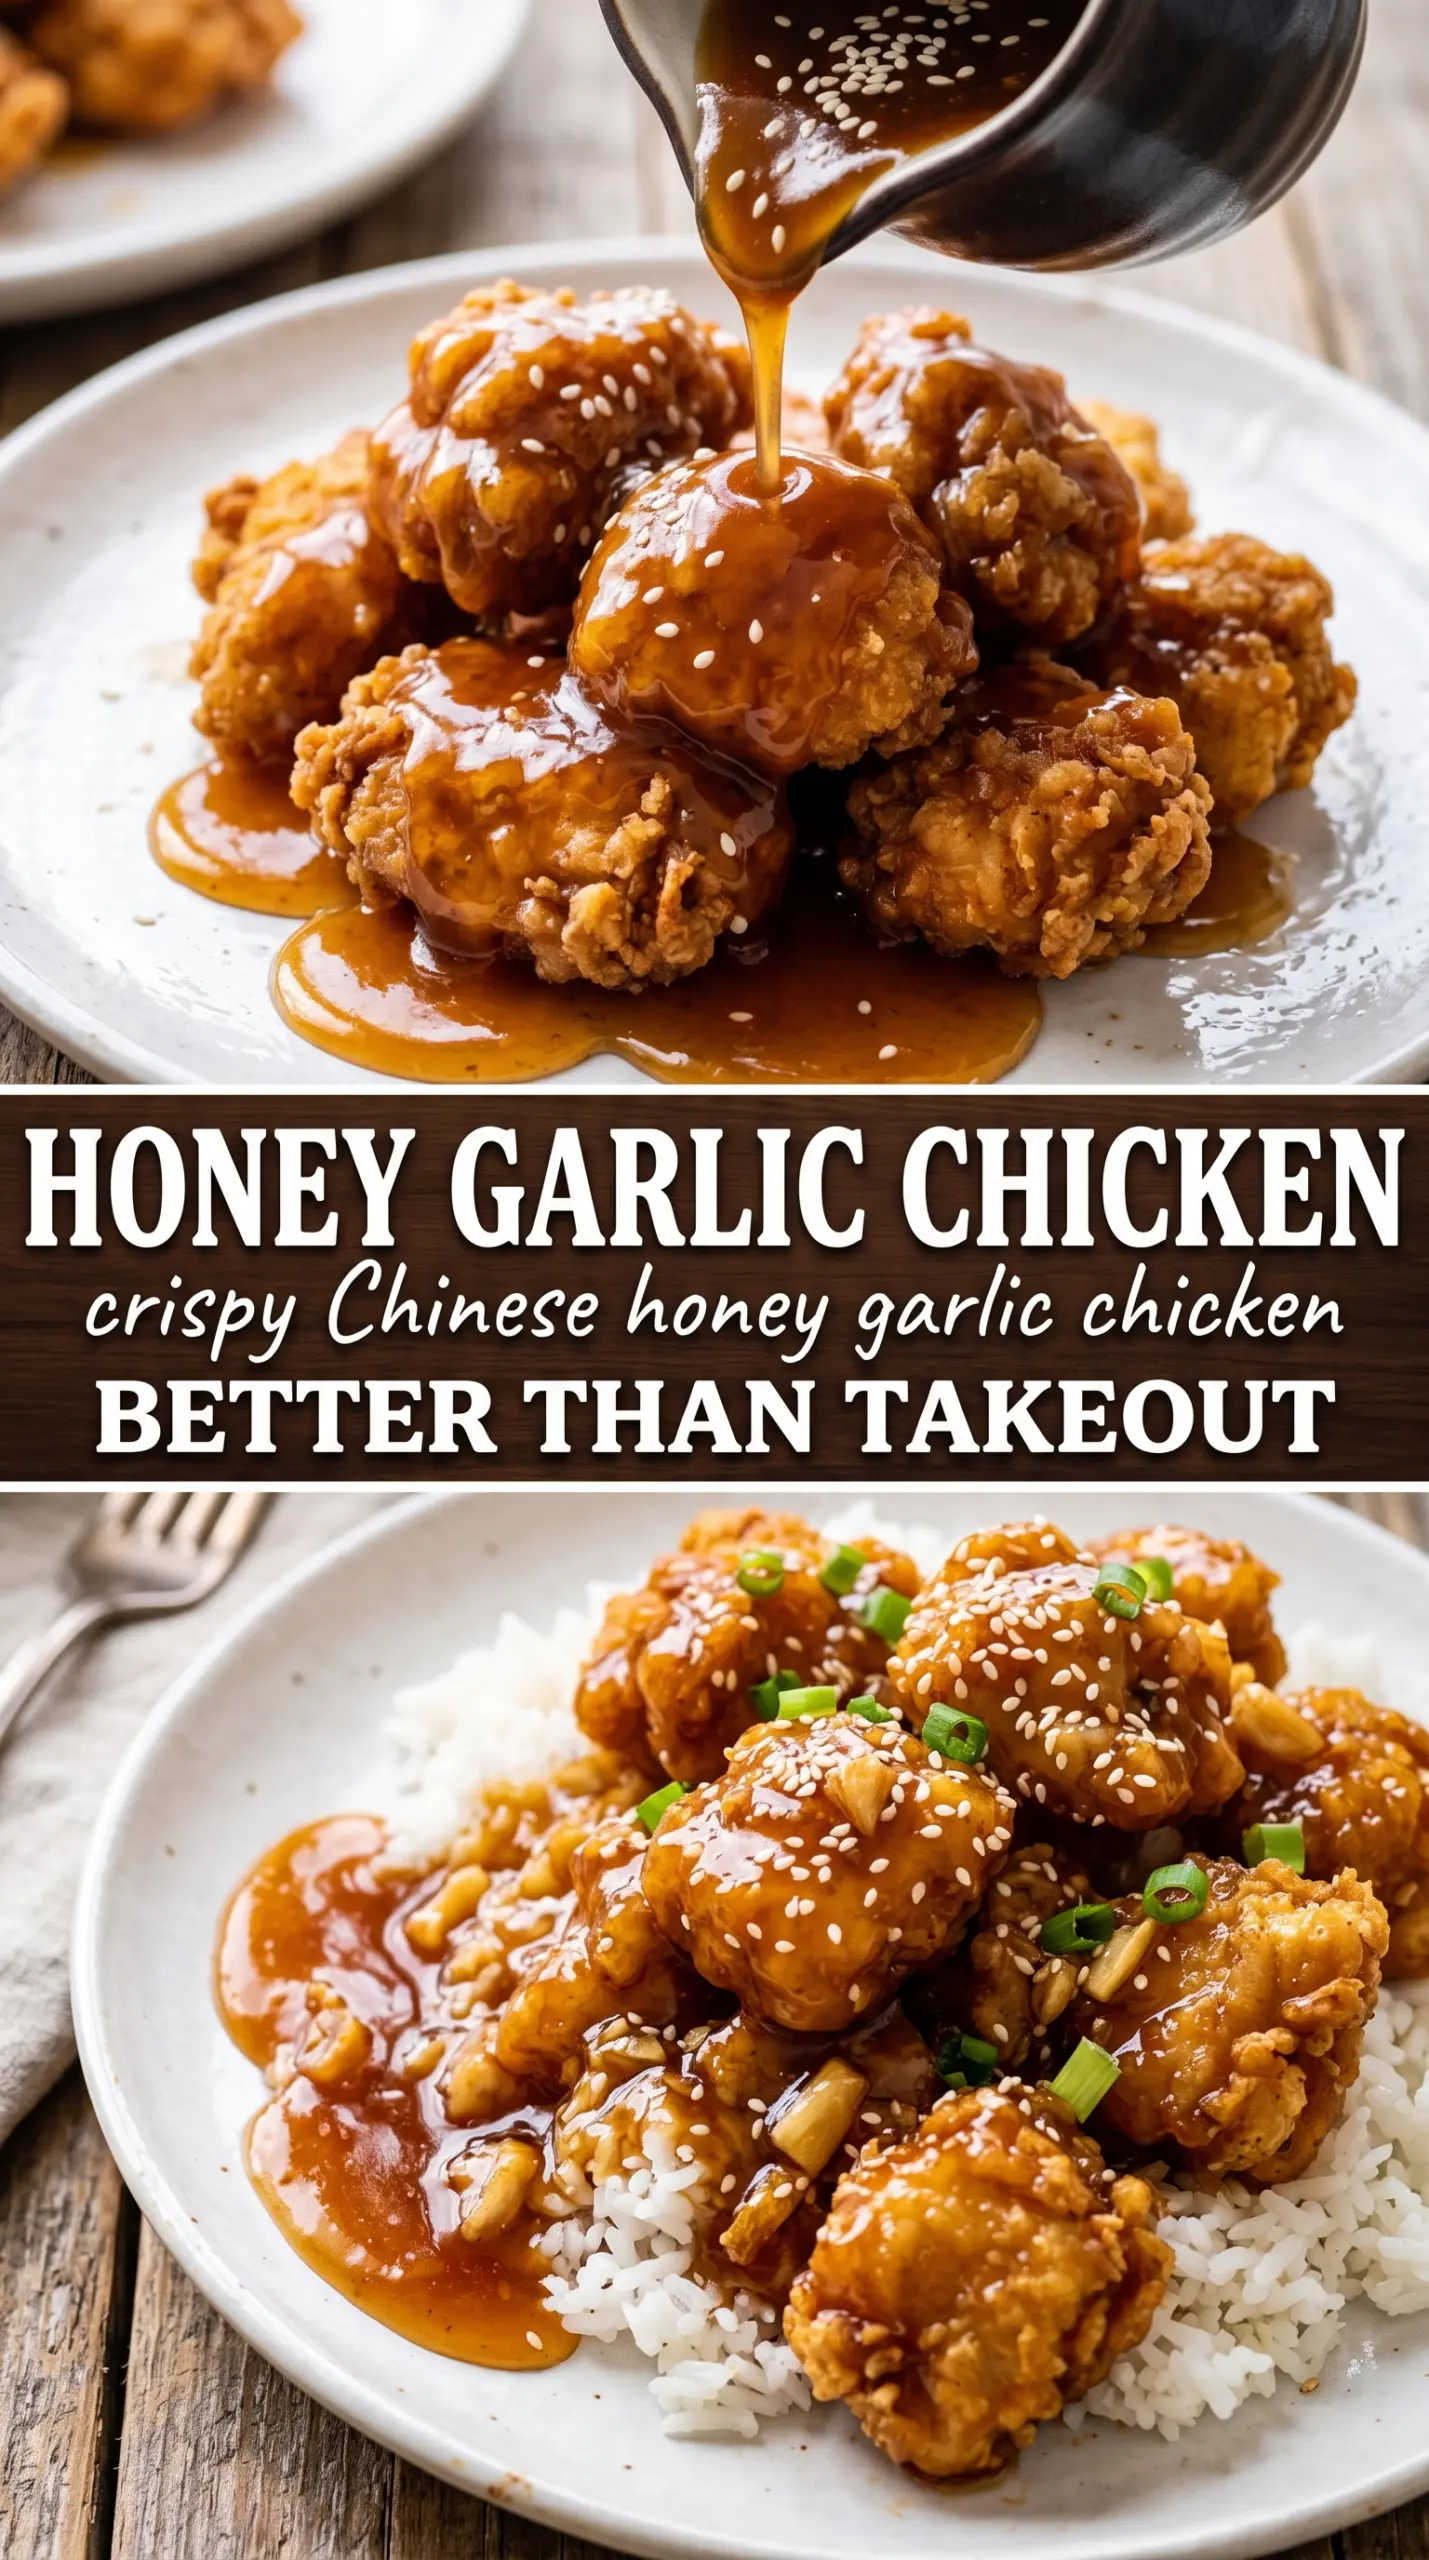
- Honey — This brings the sticky shine and the caramel note. Thin honey sauces can turn runny, so this recipe uses just enough liquid and then thickens it with slurry for a coating that actually clings.
- Soy sauce — This is the salty backbone. Use a standard all-purpose soy sauce here; low-sodium works if that’s what you keep, but the final sauce may need a touch more reduction.
- Rice vinegar — This keeps the glaze from tasting one-dimensional. If you leave it out, the sauce can taste heavy and flat, especially with the honey and sesame oil together.
- Sesame oil — Add it off the heat. It’s there for aroma, not cooking, and putting it in too early mutes the flavor.
- Cornstarch slurry — This is what turns the sauce from thin and glossy to properly clingy in a couple of minutes. Stir it in after the sauce simmers, not before, or it can turn pasty and gluey.
Building the Crust, Then Glazing Without Sogging It Out
Dredging for Texture
Whisk the cornstarch, flour, garlic powder, salt, and white pepper together before you touch the chicken. Dip each piece in beaten egg, then coat it thoroughly in the flour mixture and press lightly so the dry coating sticks in rough, uneven bits. Those little ridges fry into the best crunch. If the coating looks wet and gummy before frying, dust it with a little more flour mixture rather than trying to fix it in the oil.
Frying in Batches
Heat the oil to 375°F and keep the pieces moving gently so they don’t stick. The chicken should sizzle immediately when it goes in; if it doesn’t, the oil isn’t hot enough and the crust will drink oil instead of sealing. Fry until the outside is deep golden and the chicken is cooked through, about 5 to 6 minutes, then drain on a rack or paper towels. A rack keeps the bottom from steaming, which matters if you want the coating to stay crisp until serving.
Thickening the Honey Garlic Sauce
Simmer the honey, soy sauce, garlic, and rice vinegar until the garlic loses its raw edge and the sauce smells rounded, not sharp. Stir in the cornstarch slurry and cook just until the sauce turns glossy and lightly thick, usually 2 to 3 minutes. If it gets too thick, splash in a teaspoon of water at a time. Pull it off the heat before adding the sesame oil so the garlic and honey flavors stay clear.
Tossing and Serving
Add the chicken to the sauce and toss quickly, just until every piece is coated. Don’t let it sit in the pan longer than needed or the crust will start soaking through. Serve it over hot rice right away with sesame seeds and sliced green onions. That contrast between crunchy coating, sticky glaze, and soft rice is what makes the dish land.
How to Bend This Recipe Without Losing the Crunch
Make it gluten-free
Swap the all-purpose flour for a gluten-free flour blend and use tamari instead of soy sauce. The crust still gets crisp because the cornstarch is doing most of the heavy lifting, but the coating may brown a little faster, so watch the color closely.
Use chicken breast instead of thighs
Chicken breast works if that’s what you have, but cut it into even bite-sized pieces and pull it from the oil as soon as it’s cooked through. Breast meat dries out faster, so uneven pieces turn from juicy to stringy in a hurry.
Dial the sauce sweeter or sharper
Add another tablespoon of honey for a stickier, sweeter glaze, or add another teaspoon of rice vinegar if you want more bite. Change one direction at a time and taste after the sauce thickens, because honey tastes different once it’s hot and reduced.
Storage and Reheating
- Refrigerator: Store leftovers for up to 3 days. The coating softens in the fridge, but the flavor stays strong.
- Freezer: The sauced chicken doesn’t freeze well because the crust loses its texture. If you want to freeze ahead, freeze the fried chicken unsauced and make the glaze fresh.
- Reheating: Reheat in a 375°F oven or air fryer until hot and revived, then toss with freshly warmed sauce if possible. Microwaving makes the crust limp and chewy, which is the main way this dish loses its appeal.
Questions I Get Asked About This Recipe
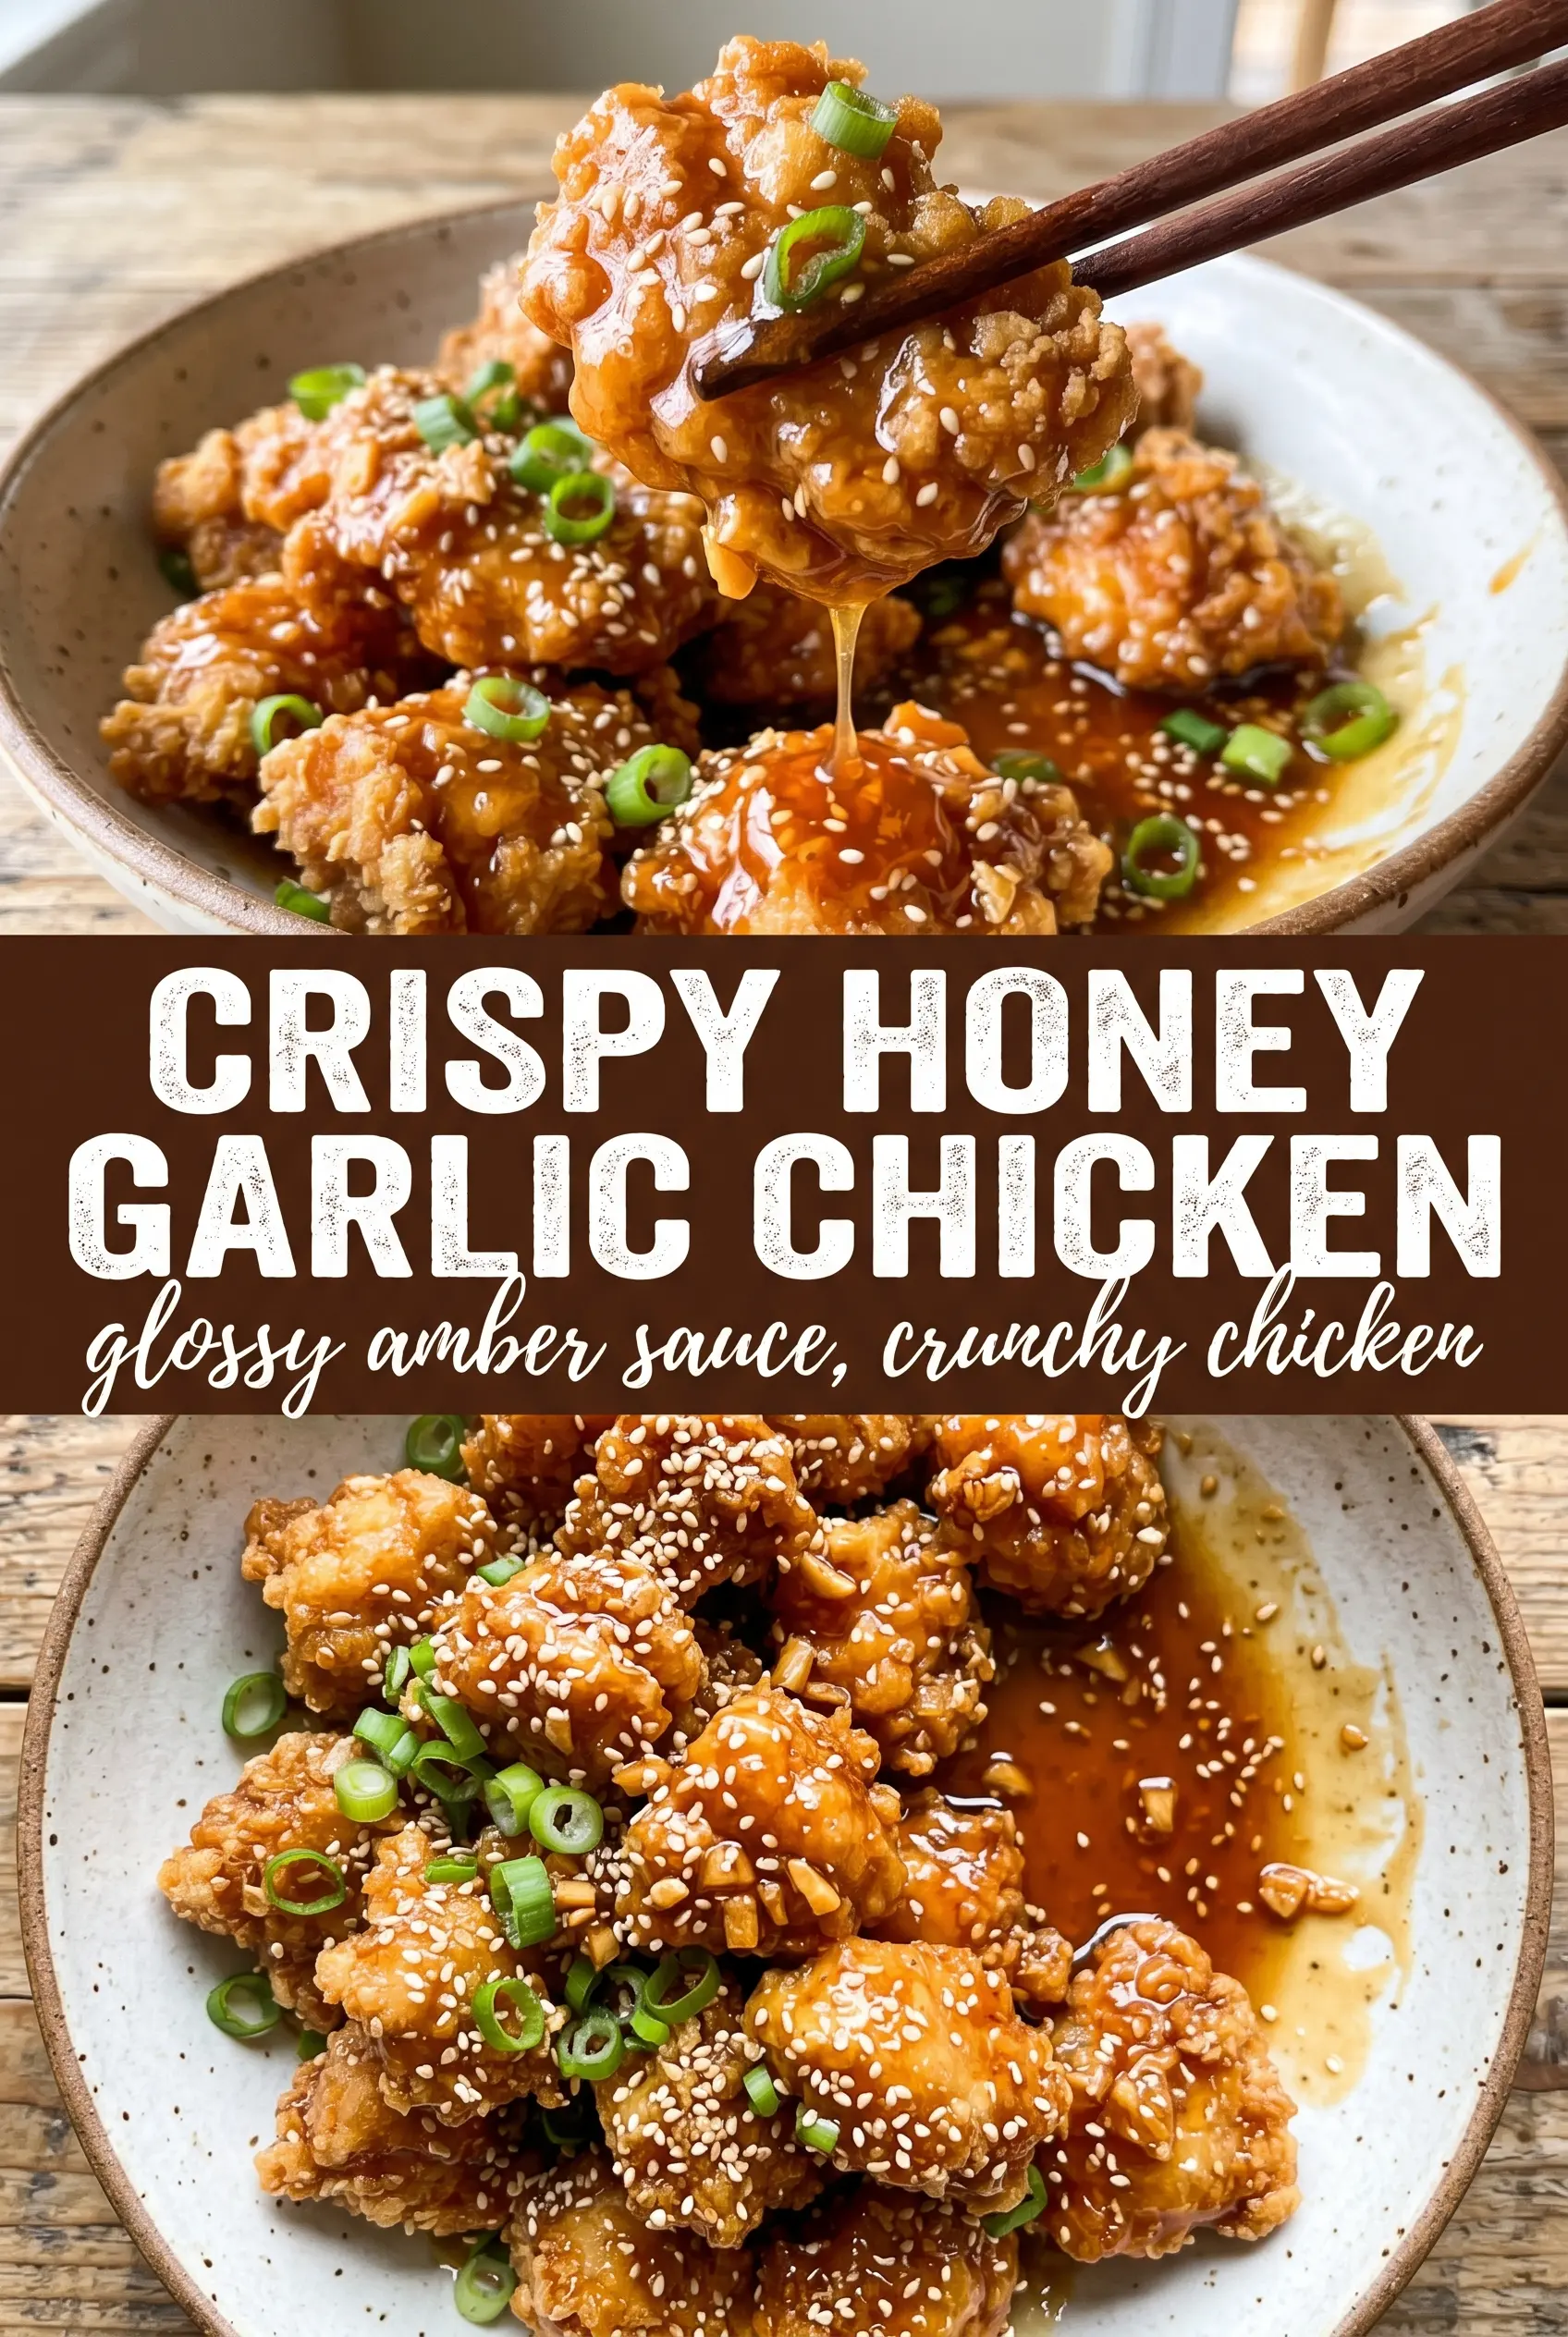
Crispy Chinese Honey Garlic Chicken
Ingredients
Equipment
Method
- Whisk together cornstarch, all-purpose flour, garlic powder, salt, and white pepper in a bowl until evenly combined.
- Dip the beaten egg into the flour mixture-dredge process by dipping each chicken piece in the beaten egg, then dredging in the cornstarch-flour mixture until coated.
- Heat about 2 inches of vegetable oil in a cast iron skillet to 375°F, keeping the oil at that temperature before adding chicken.
- Fry the chicken in batches for 5-6 minutes, turning if needed, until deeply golden and cooked through with a crisp surface.
- Transfer fried chicken to a sheet pan to drain briefly while you fry the remaining batches.
- Combine honey, soy sauce, garlic, and rice vinegar in a saucepan and bring to a simmer.
- Stir in the cornstarch slurry and cook for 2-3 minutes until the sauce thickens to a glossy consistency.
- Remove from the heat and stir in sesame oil until incorporated and fragrant.
- Toss the hot crispy chicken in the honey garlic sauce until every bite is fully coated and the sauce clings.
- Serve the sauced chicken over steamed rice with sesame seeds and green onions on top.