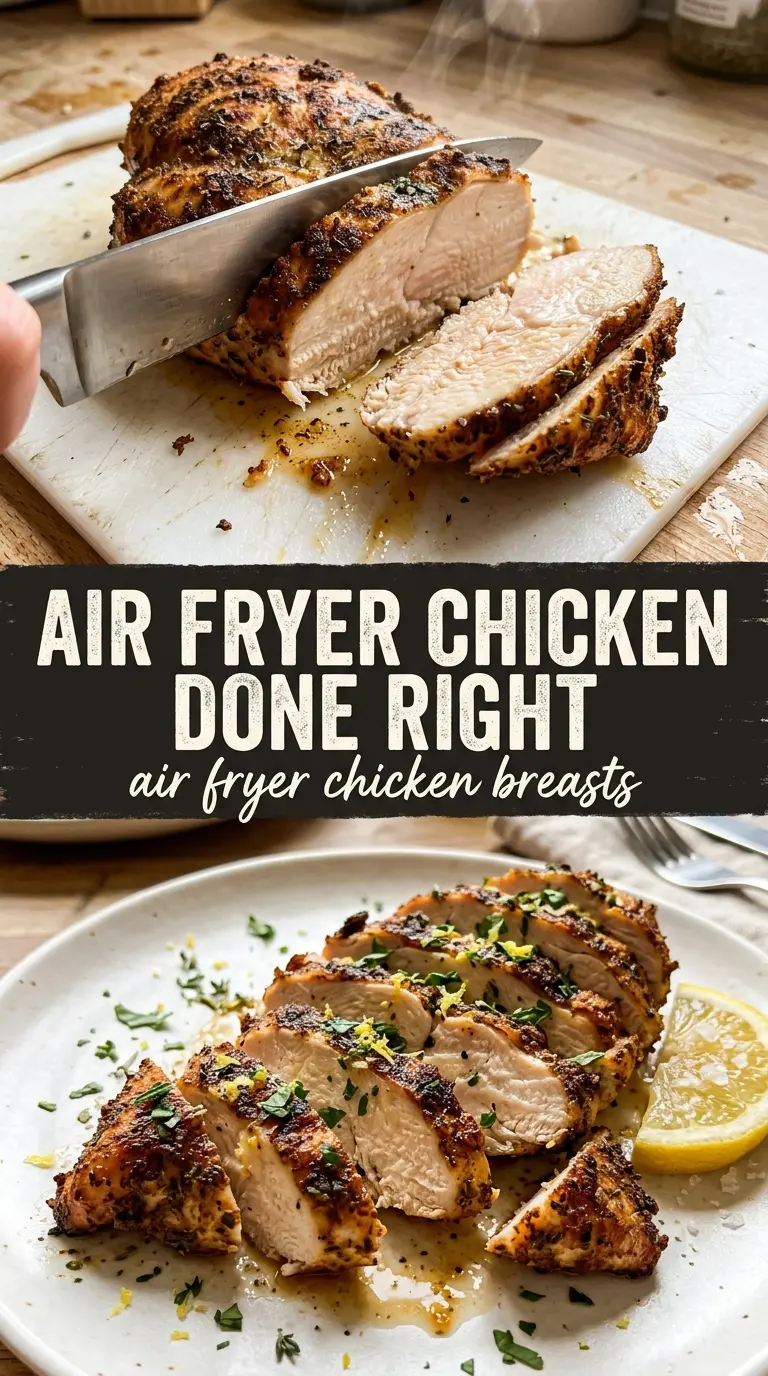
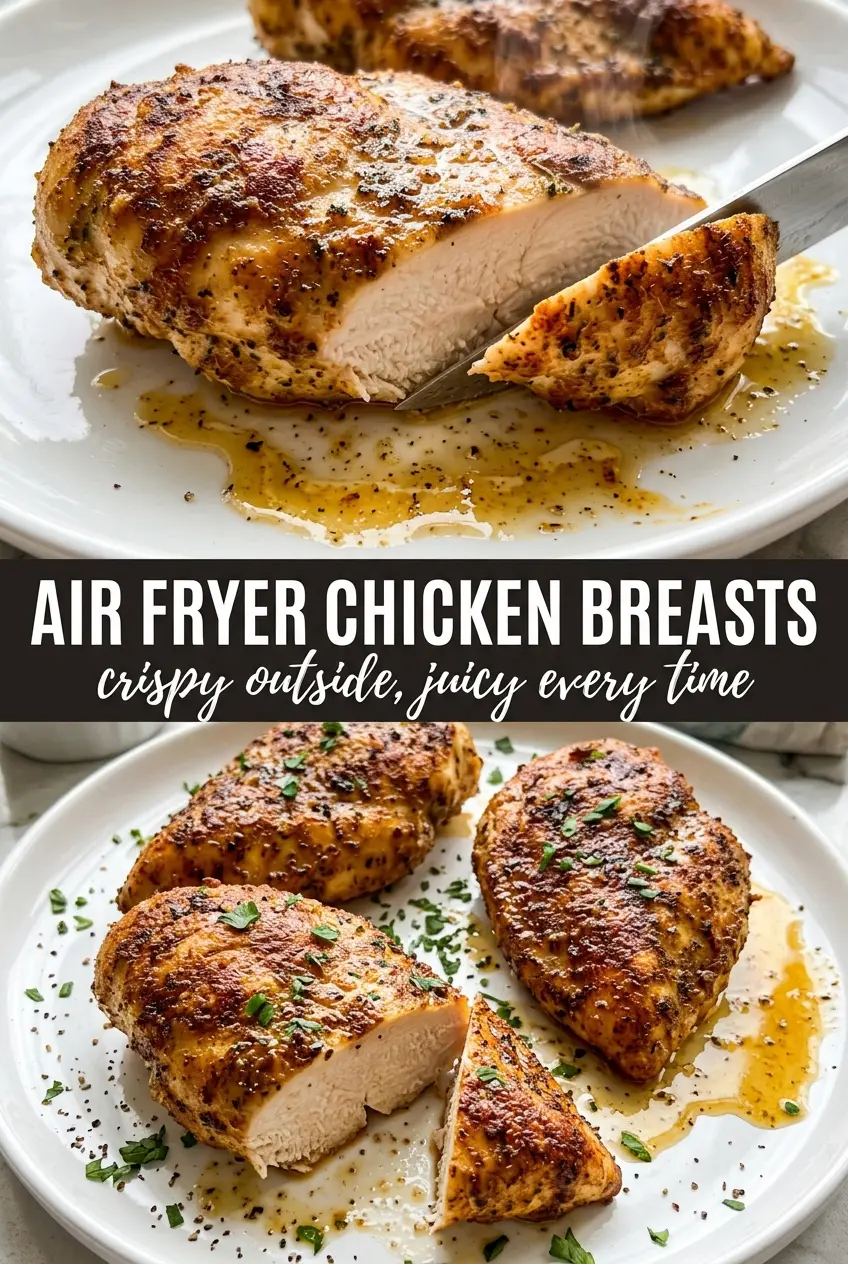
Golden, juicy air fryer chicken breasts earn a permanent spot in the dinner rotation when the outside picks up color before the inside has a chance to dry out. The air fryer does that part better than most ovens: it pushes hot air across the surface fast enough to build a seasoned crust, while the short cook time keeps the meat tender and sliceable.
The trick is simple, but it matters. Pounding the chicken to an even thickness keeps the thin end from overcooking while the thick end catches up, and the light coating of oil helps the spices cling and brown instead of dusting off into the basket. A 390°F cook gives you that caramelized edge without needing a long roast.
Below, I’ve included the one thing that changes the outcome most, plus a few smart swaps for different seasonings and meal-prep needs. If you’ve ever pulled chicken from the air fryer and found one end dry while the other was barely done, this method fixes that.
The chicken stayed unbelievably juicy, and the seasoning turned into a little crust on the outside instead of blowing off in the air fryer. I sliced it for salads all week and it never got dry.
Save these juicy air fryer chicken breasts for the nights when you want golden edges and tender slices in under 20 minutes.
The Difference Between Juicy Chicken and Dry Chicken Starts Before the Basket
Most dry air fryer chicken comes from uneven thickness, not the air fryer itself. A chicken breast with one skinny tail end and one thick center cooks at two different speeds, which is how you end up with chalky edges before the middle reaches temperature. Pounding them to an even 3/4-inch thickness keeps the whole piece on the same timeline.
Temperature matters too. At 390°F, the surface browns fast enough to get color before the meat loses too much moisture. If you cook chicken breasts at a lower temperature for too long, they can turn pale and get a little rubbery on the outside while they dry out inside.
- Even thickness — This is the part that changes the texture the most. A quick pound with a meat mallet or rolling pin is what gives you a juicy center without a dry perimeter.
- Olive oil — You need just enough to help the seasoning bloom and the surface brown. A dry rub alone can look good going in and taste dusty coming out.
- Smoked paprika — This gives the crust its deep color and a subtle grill-like note. Regular paprika works, but it won’t give you the same warmth.
- Italian seasoning — This adds herbiness without requiring a long ingredient list. If you swap it out, use a plain herb blend rather than a heavy spice mix.
What Each Spice Is Doing on the Chicken
- Garlic powder and onion powder — These build the savory base that tastes seasoned all the way through, not just on the surface. Fresh garlic isn’t a good substitute here because it can burn before the chicken finishes.
- Smoked paprika — This helps the chicken look and taste roasted even though it cooks quickly. If you only have sweet paprika, the flavor will be softer and the color a little lighter.
- Italian seasoning — A balanced dried herb mix works best because it holds up to the hot air and gives you oregano, basil, and thyme in one step. If yours is old and faded, replace it; stale herbs taste flat fast.
- Salt and pepper — Salt pulls the seasoning into the meat and keeps the chicken from tasting one-note. Cracked black pepper gives a better finish than very fine pepper, which can disappear into the coating.
Getting the Sear, the Flip, and the Resting Time Right
Preheating the Air Fryer
Preheat the air fryer to 390°F before the chicken goes in. That first blast of heat starts browning immediately instead of slowly warming the meat, which is how you protect the juices. If you skip preheating, the chicken can dry out before the exterior ever really colors.
Seasoning for an Even Crust
Brush both sides with olive oil, then rub the spice mix over the chicken so every surface is coated. You want a thin, even layer, not clumps of seasoning that can burn. Press the spices on lightly with your hands so they stick before the basket starts moving hot air around.
Cooking to Temperature, Not Just Time
Air fry for 16 to 18 minutes, flipping halfway through. The chicken is done when the thickest part hits 165°F and the outside is golden with a few darker edges. If your breasts are especially large, check early; the difference between juicy and dry can be just a couple of minutes.
Letting the Juices Settle
Rest the chicken for 5 minutes before slicing. This step matters because the juices need a moment to redistribute instead of running onto the cutting board. If you slice right away, even perfectly cooked chicken can seem drier than it is.
Make It Spicier Without Losing the Juicy Texture
Add 1/4 to 1/2 teaspoon cayenne or a pinch of chili flakes to the seasoning mix. Keep the oil amount the same so the spices still cling and brown evenly; too much dry heat with too little oil can make the surface taste harsh instead of crisp.
Dairy-Free, Gluten-Free, and Naturally Simple
This recipe is already dairy-free and gluten-free as written, which is part of why it works so well for weeknight cooking. Just check your Italian seasoning blend if you’re using a pre-mixed brand, since a few blends include anti-caking agents or added fillers.
Using Chicken Cutlets Instead of Full Breasts
Thin cutlets cook faster, usually in about 10 to 12 minutes total, and they’ll brown a little more aggressively. That’s handy when you want dinner fast, but the tradeoff is less forgiveness, so start checking early and pull them the second they hit temperature.
Storage and Reheating
- Refrigerator: Store in an airtight container for up to 4 days. The crust softens a little, but the chicken stays good for salads, sandwiches, and meal prep bowls.
- Freezer: Freeze cooked chicken breasts tightly wrapped for up to 2 months. Slice before freezing if you plan to use it in wraps or bowls later, since whole breasts thaw more unevenly.
- Reheating: Warm in the air fryer at 350°F for 3 to 5 minutes, just until heated through. The common mistake is blasting it too long, which dries out the edges before the center is warm.
Questions I Get Asked About This Recipe
Air Fryer Chicken Breasts
Ingredients
Equipment
Method
- Preheat the air fryer to 390°F so it’s hot for quick browning; set the basket in place to pre-warm if your model supports it.
- Pound the chicken breasts to an even 3/4-inch thickness to help them cook uniformly from edge to center.
- Brush both sides of the chicken with olive oil to encourage a caramelized, golden exterior.
- Mix together garlic powder, onion powder, smoked paprika, Italian seasoning, salt, and cracked black pepper, then rub evenly over both sides of the chicken.
- Air fry at 390°F for 16-18 minutes, flipping halfway through, until the internal temperature reaches 165°F and the outside is golden-brown.
- Rest the chicken for 5 minutes before slicing so the juices settle back into the meat for a juicy interior.
- Garnish with fresh parsley and serve with lemon wedges for bright, fresh flavor.