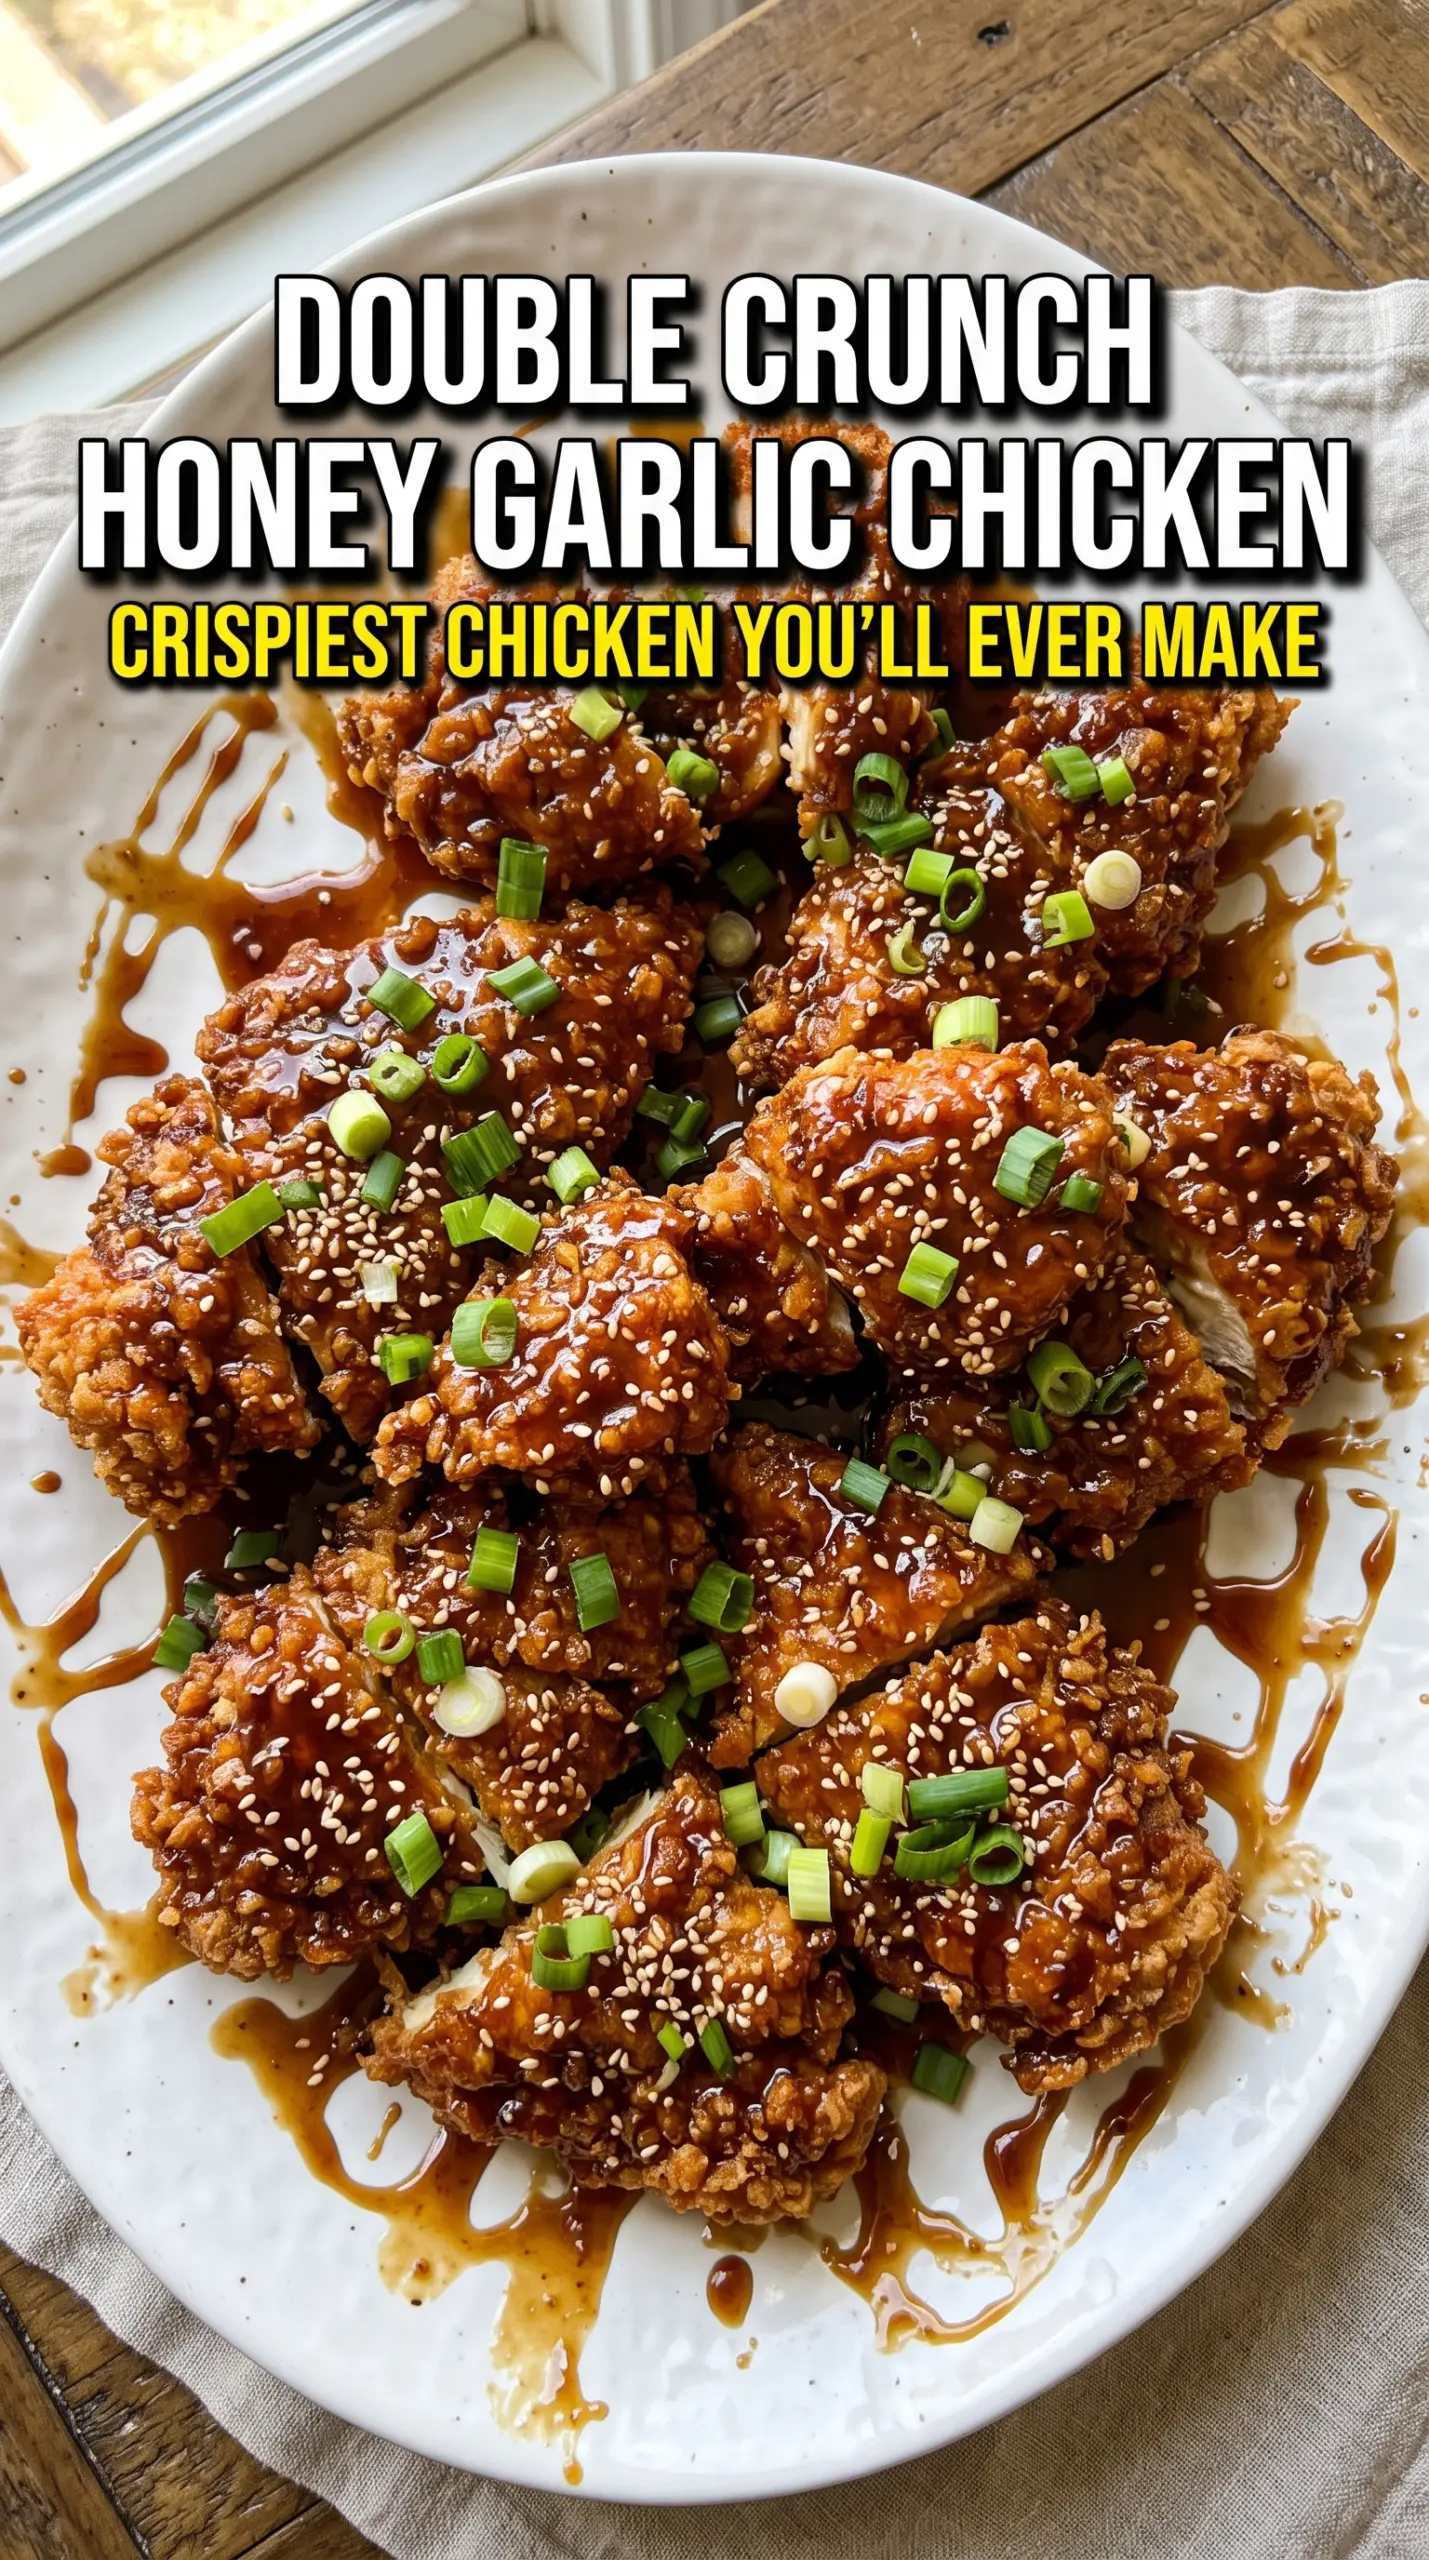
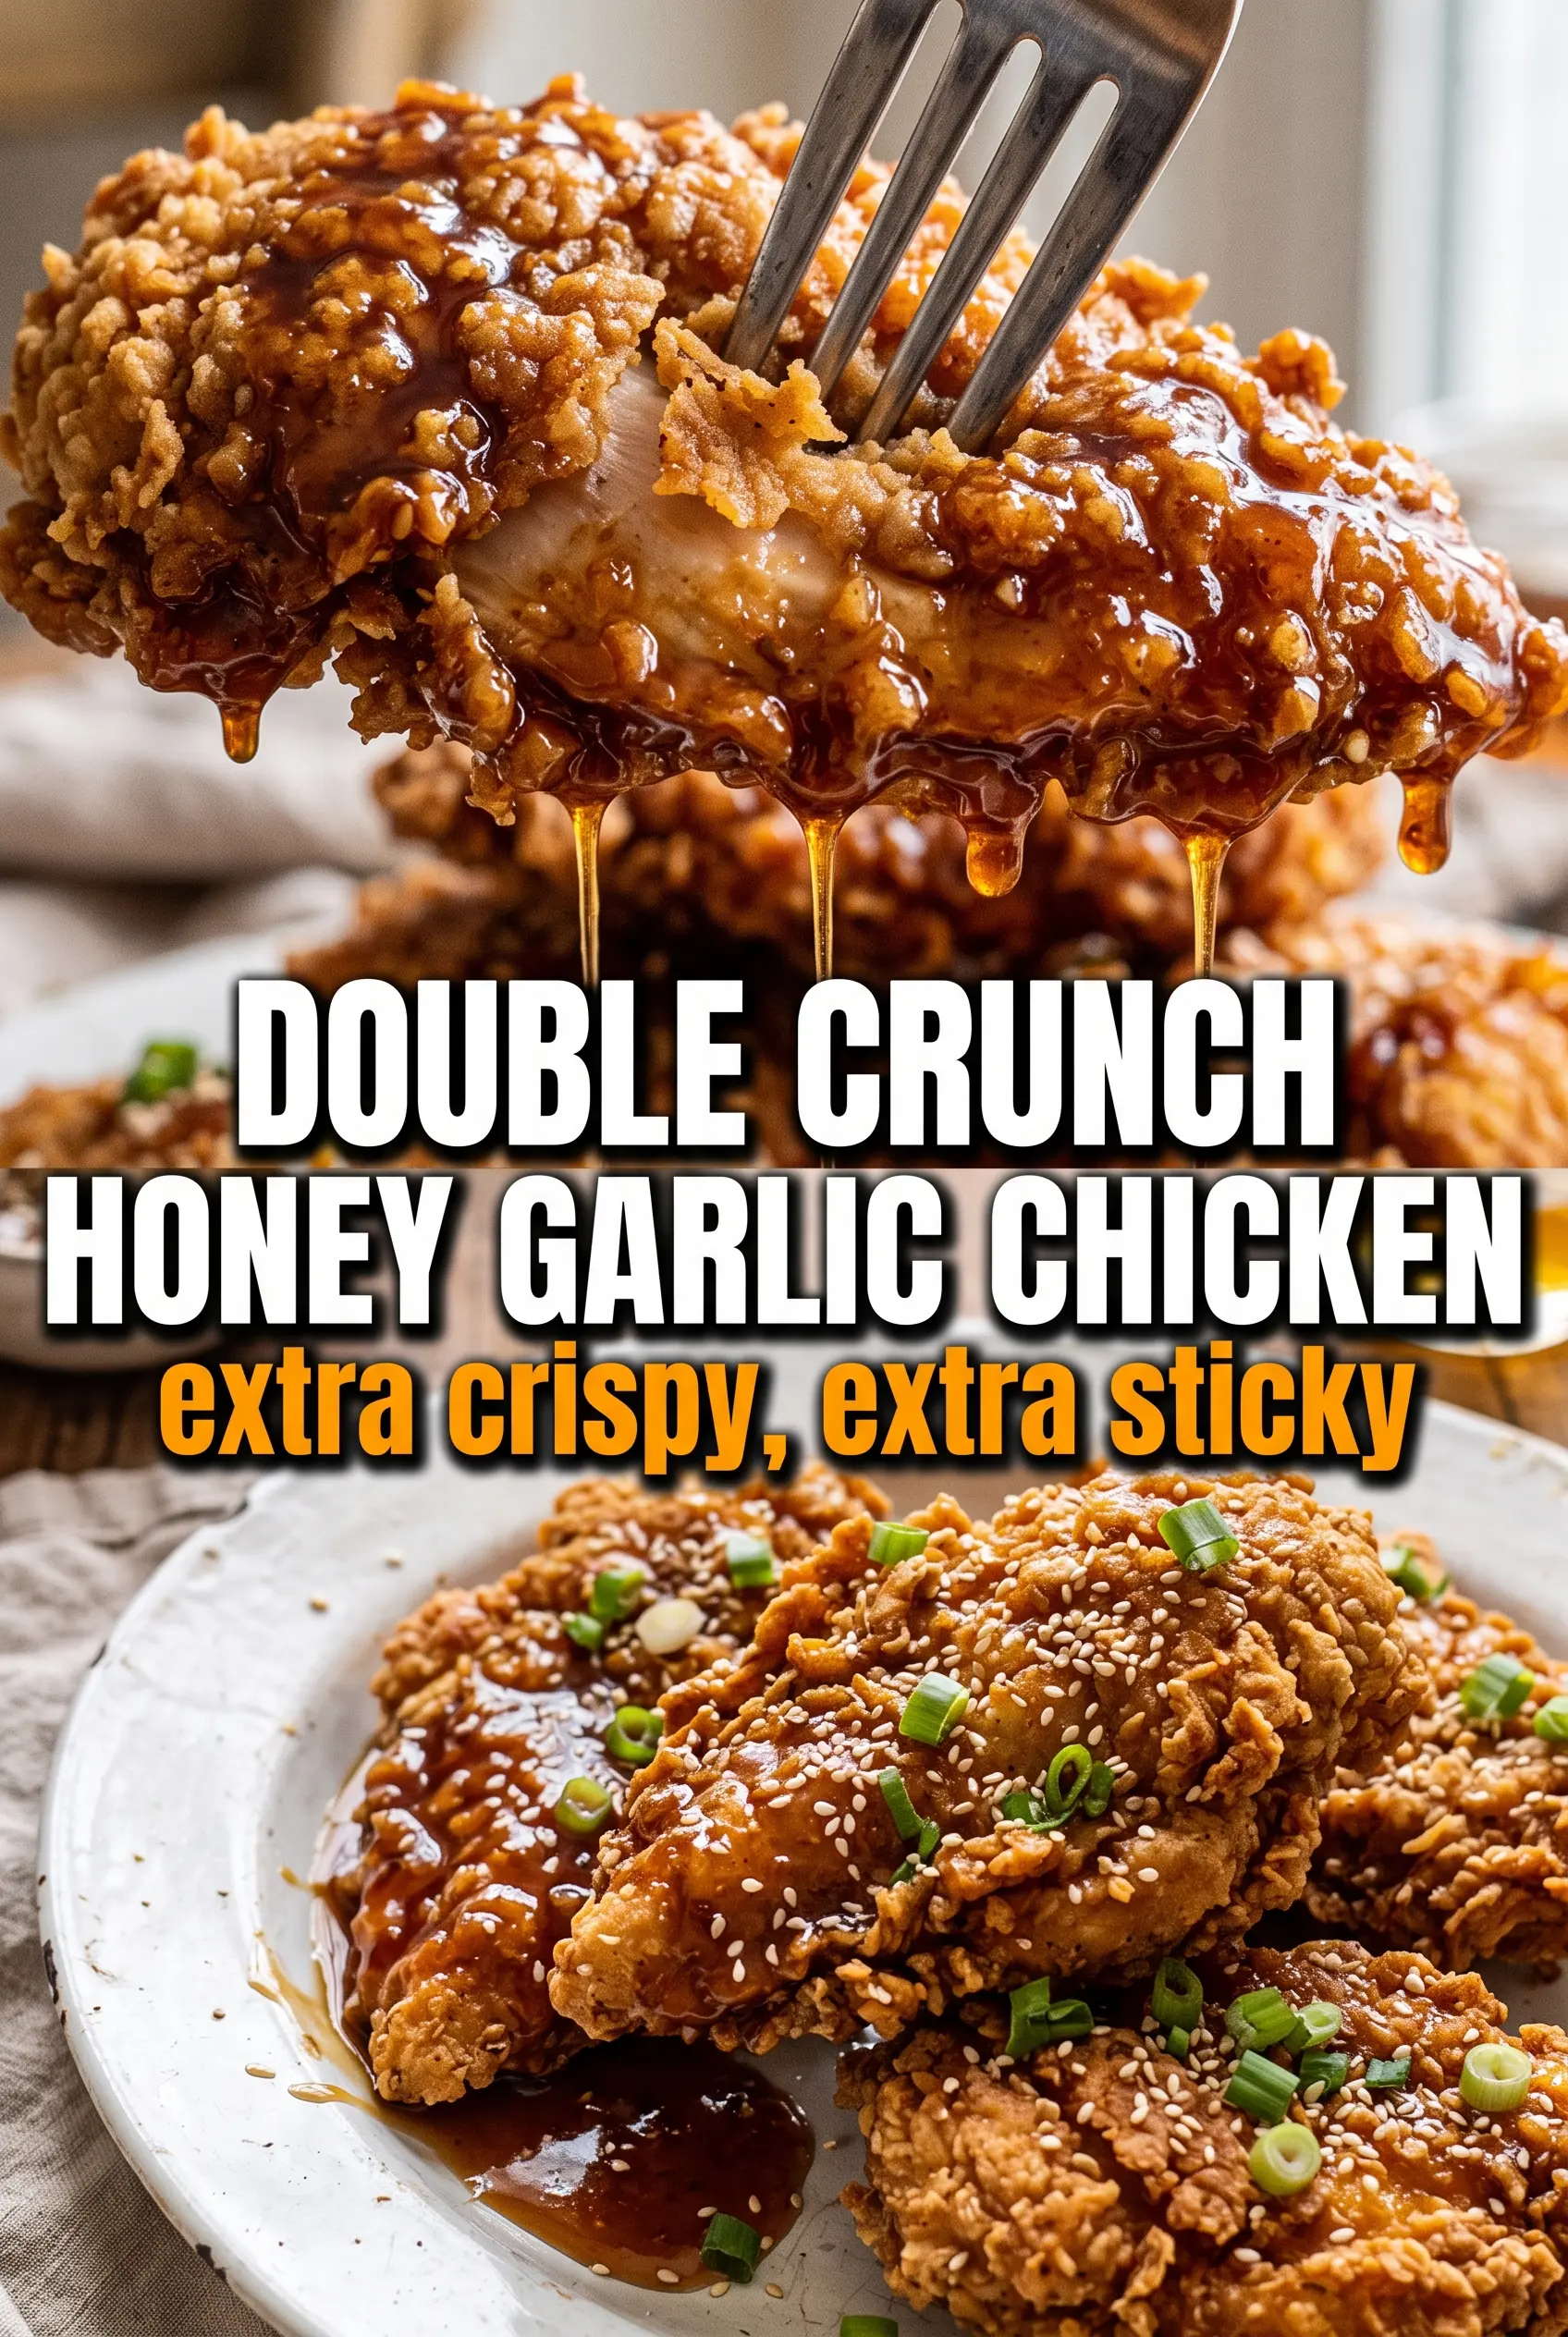
Double Crunch Honey Garlic Chicken Breasts deliver the kind of bite that makes people stop talking for a second. The coating stays thick and rugged, the chicken stays juicy, and that glossy honey garlic sauce clings to every craggy edge instead of soaking the crust into mush. It’s the rare fried chicken dinner that tastes bold enough to feel special but still lands on the table fast enough for a weeknight.
The double dredge is what gives this chicken its signature crunch. Flour, egg, and another pass through seasoned flour build a heavy coating that fries into a sturdy shell instead of a thin dusty crust, and pounding the breasts to an even thickness keeps them from drying out before the outside is done. The sauce is kept simple on purpose: honey for stickiness, soy sauce for salt, butter for body, and a little vinegar to keep the sweetness from getting flat.
Below, I’ll walk through the small details that matter most, including how to keep the breading attached and how to time the sauce so the chicken still crackles when it hits the plate.
The crust stayed thick and crunchy even after I added the sauce, and the honey garlic glaze had just enough tang to keep it from tasting heavy. My husband asked if I could make it again next week.
Save these double crunch honey garlic chicken breasts for the night you want shatteringly crisp chicken with a sticky garlic glaze.
The Reason the Coating Stays Thick Instead of Turning Soggy
The biggest mistake with breaded chicken is underestimating how much moisture the sauce brings to the party. If the chicken is thinly coated, the glaze hits it and the crust collapses. This recipe avoids that by building a heavy flour layer, then giving the chicken a second coat after the egg so the exterior has enough structure to stay crisp under the sauce.
Even thickness matters just as much. Chicken breasts with a thick taper on one end and a skinny tail on the other cook unevenly, and that usually leads to either a dry center or a pale, underdone patch. Pounding them to a steady thickness lets the breading fry at the same pace all the way across, which is what gives you that deep, even crunch.
What the Sauce and Seasoned Flour Are Each Doing Here
- Chicken breasts — Boneless, skinless breasts are ideal here because they fry quickly and give you a big surface area for all that crunchy coating. Pound them to even thickness so the outside doesn’t overcook before the center reaches 165°F.
- All-purpose flour — This is the backbone of the crust. A lower-protein flour like cake flour won’t give you the same sturdy shell, and a gluten-free blend can work only if it’s made for breading and fries well.
- Garlic powder, onion powder, smoked paprika — These season the coating itself, which is important because the sauce only lives on the outside. Smoked paprika adds warmth and color without making the crust taste smoky in an aggressive way.
- Eggs — The egg layer is the glue. Don’t rush this part; let the flour coat look fully moistened before the second dredge, or you’ll end up with bare patches that fry up patchy and thin.
- Honey, garlic, soy sauce, butter, vinegar — Honey gives the glaze its shine and stickiness, soy sauce brings salt and depth, butter rounds everything out, and vinegar keeps the sauce from tasting one-note sweet. If you swap the vinegar, use apple cider vinegar or rice vinegar rather than skipping acidity altogether.
Frying the Chicken Before the Sauce Comes Together
Building the Double Dredge
Mix the flour with the seasonings first so every part of the crust tastes like something. Dredge each piece of chicken in flour, press it into the egg, then go back into the flour again and really pack it on. The second coat is what gives you those rough edges that fry up into a loud, crunchy shell. If the coating feels wet and gummy, shake off the excess egg before the final flour pass.
Keeping the Oil at Frying Temperature
Heat the oil to 350°F and keep an eye on it between batches. If the temperature drops too far, the coating drinks up oil and turns greasy instead of crisp; if it runs too hot, the crust browns before the chicken cooks through. A cast iron skillet helps steady the heat, and the chicken should sizzle immediately when it hits the pan without smoking hard.
Finishing the Chicken Without Drying It Out
Cook the breasts for 5 to 6 minutes per side, depending on thickness, until they’re golden and the internal temperature reaches 165°F. Pull them to a rack or paper towels to drain for a minute, but don’t let them sit long enough to steam under themselves. The crust is at its best in the short window right after frying, before any sauce goes on.
Making the Honey Garlic Glaze
Simmer the honey, garlic, soy sauce, butter, and vinegar in a small saucepan just until slightly thickened, about 3 to 4 minutes. You want it glossy and pourable, not reduced into a sticky candy. If the garlic starts browning fast, lower the heat; burnt garlic turns bitter and takes over the whole sauce.
Bake Instead of Frying
Set the breaded chicken on a rack over a sheet pan, spray it generously with oil, and bake at 425°F until crisp and cooked through. You’ll lose some of the rugged crunch from frying, but you still get a satisfying crust and a lighter finish. Spoon the sauce over just before serving so the coating stays as crisp as possible.
Make It Gluten-Free
Use a gluten-free all-purpose flour blend that’s meant for frying and swap in tamari for the soy sauce. The coating won’t be quite as shattery as the wheat version, but it still fries up with a solid crust and catches the sauce well.
Turn It Into Chicken Tenders
Cut the chicken into tenders before breading, then shorten the fry time and watch the color closely. This version cooks faster and gives you more crunchy edges per bite, which is a good trade if you want maximum sauce coverage.
Storage and Reheating
- Refrigerator: Store leftovers in an airtight container for up to 3 days. The crust softens once the sauce sits on it, so expect less crunch after chilling.
- Freezer: Freeze the fried chicken before saucing if you want the best texture later. Reheat from frozen in the oven until hot and crisp, then add fresh sauce after warming.
- Reheating: Reheat in a 375°F oven or air fryer until the coating crisps back up and the center is hot. Skip the microwave if you can; it steams the breading and turns the glaze sticky in the wrong way.
Questions I Get Asked About This Recipe
Double Crunch Honey Garlic Chicken Breasts
Ingredients
Equipment
Method
- Mix all-purpose flour, garlic powder, onion powder, smoked paprika, salt, and pepper in a dredging bowl.
- Dredge each pounded chicken breast in the seasoned flour until fully coated.
- Dip the floured chicken into the beaten eggs, letting excess drip off.
- Dredge the chicken in flour again to form an extra-crisp, double-coated layer.
- Heat 1/2 inch of vegetable oil in a large cast iron skillet over medium-high heat to 350°F.
- Pan-fry chicken for 5-6 minutes per side until golden, crunchy, and an internal temperature reaches 165°F.
- Drain the chicken briefly on a rack or paper towels to remove excess oil.
- Simmer honey, minced garlic, soy sauce, butter, and apple cider vinegar in a saucepan over medium heat for 3-4 minutes until slightly thickened and glossy.
- Pour the honey garlic sauce over the hot crispy chicken so it drips and glazes immediately.
- Garnish with sesame seeds and sliced green onions.
- Serve immediately over rice.