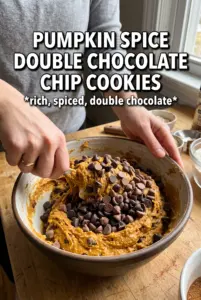
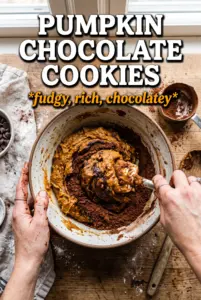
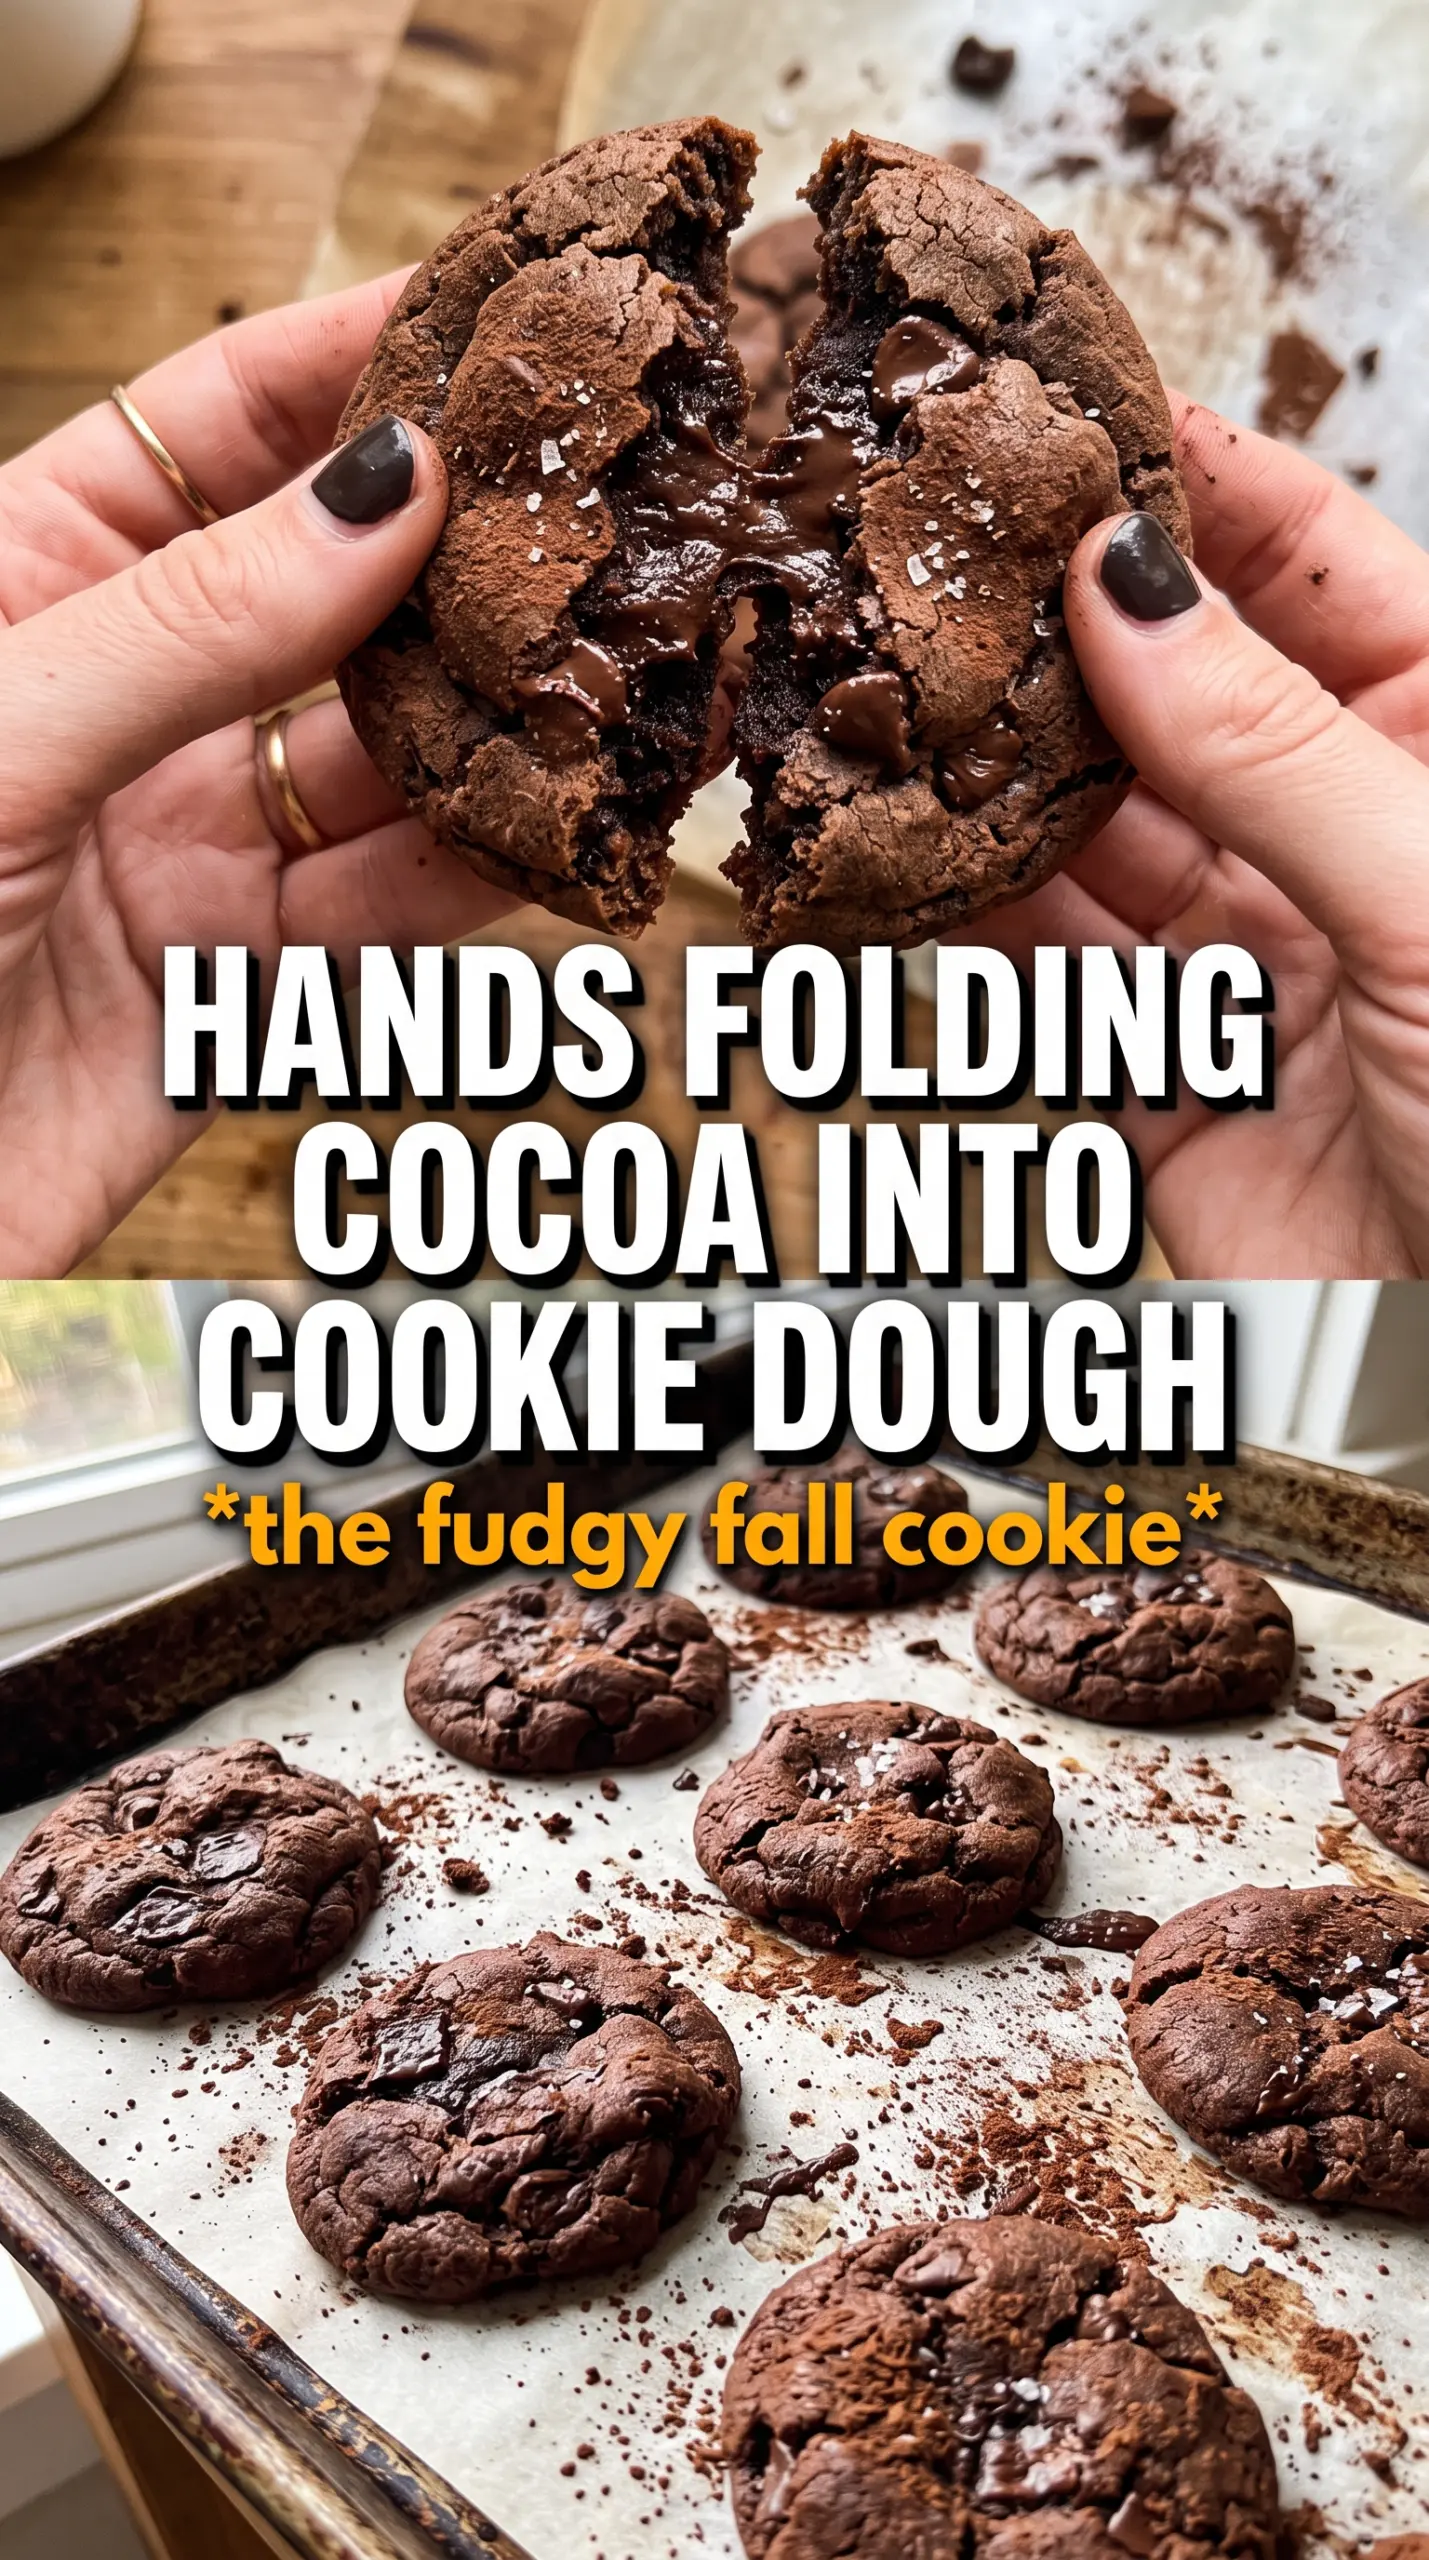
Pumpkin chocolate cookies land in that sweet spot between fudgy brownie cookie and soft-spiced pumpkin bake, with edges that set just enough to give you a little chew and centers that stay tender. The cocoa keeps the pumpkin from tasting cakey or muted, and the dark chocolate chips melt into pockets that make every bite feel a little richer than the last. A pinch of flaky salt on top pulls the whole cookie into focus.
What makes this version work is the restraint. Pumpkin puree adds moisture, but too much turns cookies soft and muddy, so the puree gets blotted first. That small extra step matters. The dough also leans on brown sugar for depth and chew, while just enough baking soda helps the cookies spread into those crinkled edges without losing their soft middle.
Below, I’ve included the one texture trick that keeps the dough from going too wet, plus a few smart swaps if you want to make these dairy-free or adjust the chocolate level.
I blotted the pumpkin like you said and the cookies baked up thick with those fudgy centers instead of turning cakey. The sea salt on top was the best part with the dark chocolate.
Like these pumpkin chocolate cookies? Save them to Pinterest for the fudgy, salty-sweet version that keeps the pumpkin flavor rich instead of cakey.
The Pumpkin That Keeps These Cookies from Turning Cakey
The biggest mistake with pumpkin cookies is using the puree straight from the can without drying it first. Pumpkin carries a lot of water, and in a cookie dough that extra moisture pushes the texture toward soft cake instead of chewy, fudgy centers. Blotting the pumpkin on paper towels takes a minute, but it changes the whole bake.
These cookies also rely on cocoa for structure and flavor, which keeps the pumpkin from taking over. The dough should feel thick, scoopable, and a little sticky, not loose. If it looks shiny or pourable, the pumpkin was too wet or the butter was too warm.
- Pumpkin puree — Use plain pumpkin puree, not pumpkin pie filling. Pie filling already has sugar and spice added, and it throws off both the texture and the balance of the cookie dough.
- Cocoa powder — Unsweetened cocoa gives these cookies their deep color and brownie-like base. Natural cocoa is fine here; Dutch-process will taste a touch smoother and darker, but either works.
- Brown sugar — This does the heavy lifting for chew and moisture. If you swap in all white sugar, the cookies bake drier and spread less evenly.
- Dark chocolate chips — Dark chocolate keeps the cookies from tasting overly sweet. Semi-sweet chips work too, but the final cookie will read a little softer and sweeter.
What Each Ingredient Is Actually Doing in This Recipe
- Primary ingredient (the star) — Quality matters most. Choose the best you can find.
- Cooking medium (oil, butter, or broth) — This carries flavors and prevents dryness.
- Seasonings (salt, pepper, spices, herbs) — Layer flavors so nothing overpowers. Build depth gradually.
- Aromatics (garlic, onion, herbs) — Cook with fat to bloom flavors. Become the foundation.
- Supporting ingredients — Complement the main ingredient without overpowering it.
- Sauce or liquid (if applicable) — Brings flavors together. Balance richness with acid.
- Acid (lemon, vinegar, wine, or other) — Brightens and prevents flat-tasting results.
- Final finish (garnish, glaze, or sauce) — Prevents one-dimensional taste and adds visual appeal.
Building the Dough Without Overmixing the Pumpkin
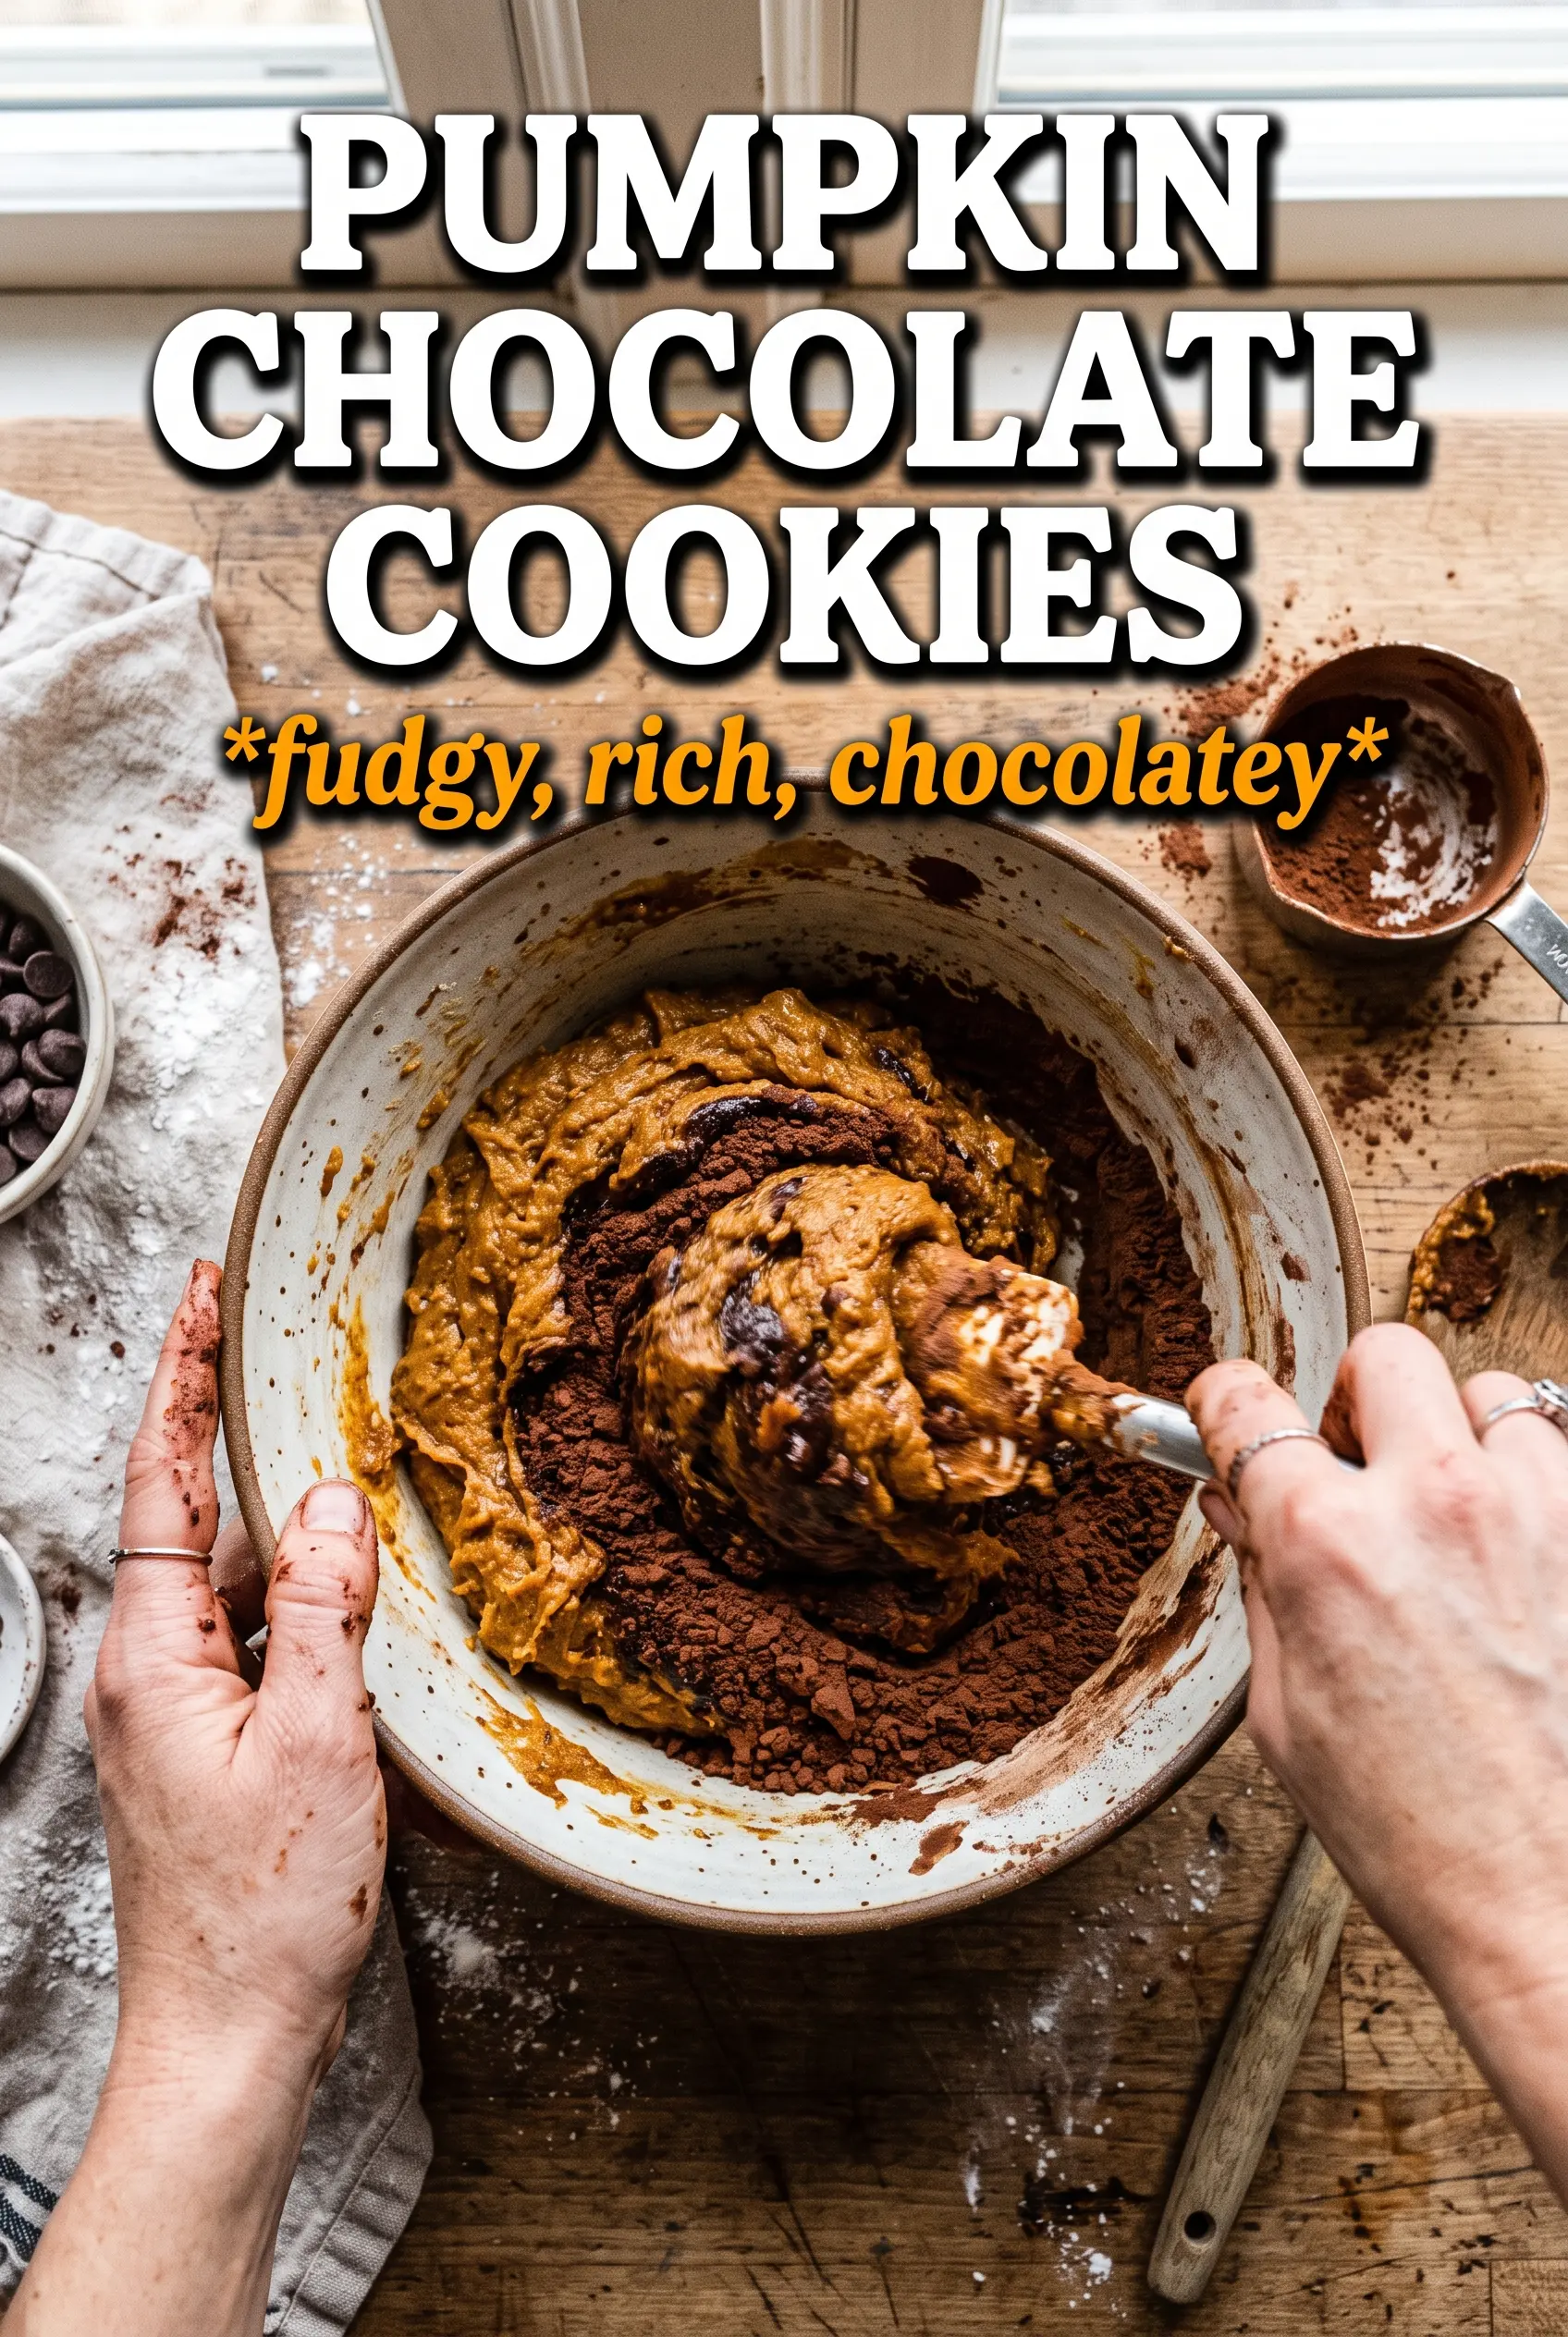
Start by whisking the dry ingredients together so the cocoa and spices distribute evenly. Cocoa likes to clump, and if it isn’t broken up before the wet ingredients go in, you’ll end up with streaks in the finished dough. In a separate bowl, beat the butter and sugars until they look lighter and a little fluffy, then mix in the blotted pumpkin, eggs, and vanilla.
At that point the dough may look a little curdled. That’s normal. The flour mixture pulls it together, and the moment it turns cohesive, stop mixing. Overworking the dough makes these cookies tough instead of tender, and it can also make the chocolate chips sink into the batter rather than stay evenly distributed.
Whisking the Dry Base
Whisk the flour, cocoa powder, baking soda, pumpkin pie spice, cinnamon, and salt until the mixture looks even and no cocoa streaks remain. This gives the leavening and spice a head start so every cookie tastes the same. If you see little cocoa lumps now, they’ll show up as bitter pockets later.
Blending the Butter and Sugars
Beat the softened butter with the brown sugar and granulated sugar until the mixture looks smooth and slightly paler. You’re not trying to whip air into it the way you would for cake; you just want the sugar to start dissolving into the fat. If the butter is melting around the edges, the dough will spread too fast in the oven.
Adding the Pumpkin and Eggs
Mix in the blotted pumpkin, then add the eggs and vanilla. The dough may look separated for a moment, but it will come together once the dry ingredients go in. Keep the mixing low and brief here, because once the flour hits the bowl, every extra turn works against that soft, fudgy texture.
Folding in the Chocolate Chips
Fold in the chocolate chips by hand or on the lowest mixer speed. You want them evenly scattered without smashing them into the dough. Scoop the cookies into 1 1/2-tablespoon rounds so they bake at the same rate, and pull them when the edges are set and the centers still look slightly underdone; they finish on the pan.
Small Changes That Keep the Texture Right
Dairy-Free Version
Swap the butter for a plant-based stick butter that’s meant for baking. Soft tub spreads usually have too much water, which makes the dough looser and the cookies puffier. Keep the pumpkin blotted dry so the texture stays as close to the original as possible.
Less Sweet, More Chocolate
Use bittersweet chocolate chunks instead of chips and reduce the granulated sugar by 2 tablespoons. The cookies will taste deeper and a little less candy-like, but they’ll still spread and stay tender because the brown sugar is doing most of the texture work.
Gluten-Free Swap
A good 1:1 gluten-free baking flour works here if it includes xanthan gum. The cookies may spread a little less and bake up slightly softer, but the cocoa and chocolate keep the texture satisfying. Don’t swap in almond flour alone; it won’t hold the dough in the same way.
Make-Ahead Dough
You can chill the scooped dough for up to 24 hours before baking. Chilling gives the flour time to hydrate and helps the cookies bake thicker, with a little more chew at the center. If the dough comes straight from the fridge, give it a minute or two on the tray before baking so it isn’t rock hard.
Storage and Reheating
- Refrigerator: Store in an airtight container for up to 5 days. The cookies stay soft, and the chocolate flavor deepens a little by day two.
- Freezer: Freeze baked cookies for up to 2 months, or freeze the portioned dough balls and bake from frozen with 1 to 2 extra minutes.
- Reheating: Warm baked cookies in a 300F oven for 3 to 4 minutes or microwave one cookie for about 8 to 10 seconds. Too much heat dries out the edges fast, so just warm them until the chocolate softens.
Answers to the Questions Worth Asking
Pumpkin Chocolate Cookies
Ingredients
Equipment
Method
- Preheat the oven to 375°F and line baking sheets.
- Blot the pumpkin puree dry, then whisk the all-purpose flour, cocoa powder, baking soda, pumpkin pie spice, cinnamon, and salt together.
- Beat the softened unsalted butter, brown sugar, and granulated sugar until combined.
- Add the blotted pumpkin puree, eggs, and vanilla, and beat until smooth.
- Fold in the flour mixture just until no dry streaks remain.
- Fold in the dark chocolate chips.
- Scoop 1-1/2 tablespoon dough rounds onto the baking sheets.
- Bake for 10-12 minutes at 375°F, until the edges look set and the centers stay slightly soft.
- Immediately sprinkle the cookies with flaky sea salt while still warm.