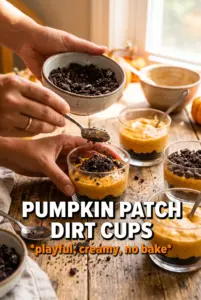
Pumpkin Patch Dirt Cups always disappear fast because they hit that sweet spot between playful and genuinely good. The mousse is light and creamy, the Oreo crumbs stay crunchy on top, and the whole thing looks like a tiny edible garden with candy pumpkins tucked into the “soil.” It’s the kind of dessert people keep coming back to for just one more spoonful.
What makes this version work is the balance in the filling. Cream cheese gives the mousse enough body that it doesn’t slump in the cup, while pumpkin puree and whipped topping keep it fluffy instead of dense. The spice mix matters too: pumpkin pie spice brings warmth, cinnamon sharpens it, and vanilla softens the edges so the pumpkin tastes rounded, not flat.
Below, I’ve included the little details that keep the layers neat and the topping looking like an actual pumpkin patch instead of a muddled mess. The layering order, chill time, and decorating tricks all matter more than they look at first glance.
The mousse set up perfectly after chilling, and the Oreo crumbs stayed crisp on top instead of getting soggy. My kids had a blast adding the candy pumpkins and pretzel stems.
Save these Pumpkin Patch Dirt Cups for a no-bake dessert with creamy pumpkin mousse, crunchy Oreo dirt, and candy pumpkins that make every cup look party-ready.
The Part That Keeps the Dirt Layer Crunchy
The biggest mistake with dirt cups is assembling them too early and burying the crumbs under filling. Oreo crumbs pick up moisture fast, and once they go soft, the whole dessert loses the contrast that makes it fun. This recipe keeps the dirt layer on top right before chilling, which helps the surface stay intact long enough to look like a real patch of soil.
Another thing that matters is the mousse texture before it goes into the cups. If the cream cheese isn’t fully smooth at the start, you’ll get little lumps that never disappear later because the whipped topping won’t fix them. Beat the cream cheese first until it looks silky, then add the pumpkin and spices so everything blends without overworking the final mixture.
What Each Ingredient Is Actually Doing in This Recipe
- Primary ingredient (the star) — Quality matters most. Choose the best you can find.
- Cooking medium (oil, butter, or broth) — This carries flavors and prevents dryness.
- Seasonings (salt, pepper, spices, herbs) — Layer flavors so nothing overpowers. Build depth gradually.
- Aromatics (garlic, onion, herbs) — Cook with fat to bloom flavors. Become the foundation.
- Supporting ingredients — Complement the main ingredient without overpowering it.
- Sauce or liquid (if applicable) — Brings flavors together. Balance richness with acid.
- Acid (lemon, vinegar, wine, or other) — Brightens and prevents flat-tasting results.
- Final finish (garnish, glaze, or sauce) — Prevents one-dimensional taste and adds visual appeal.
What Each Ingredient Is Actually Doing in This Dessert
- Cream cheese — This is what gives the filling structure. Full-fat cream cheese sets up best and gives the mousse that cheesecake-like body. Lower-fat versions can work, but they tend to make the filling looser and a little less rich.
- Pumpkin puree — Use plain pumpkin puree, not pumpkin pie filling. Pie filling already has sugar and spices mixed in, which throws off the balance and can make the mousse taste muddy. If the puree looks watery, stir it first or blot off excess moisture so the cups don’t get loose.
- Whipped topping — Cool Whip folds in more smoothly than homemade whipped cream for this particular dessert and holds its shape longer after chilling. If you swap in homemade whipped cream, use a stabilized version or the mousse will soften faster.
- Oreos — The chocolate cookie crumbs are the dirt and the flavor contrast against the pumpkin. Crush them finely for the base layer, but leave a few slightly larger crumbs so the top doesn’t look dusty. Double-stuffed cookies aren’t necessary here; standard Oreos work best.
- Pretzel sticks, candy pumpkins, and gummy worms — These are decoration, but they also add the whole pumpkin-patch look. Pretzel sticks give you the little vine stem effect, and the candy pumpkins press in best when the top layer of crumbs is loosely packed rather than compressed hard.
Building the Cups So They Look Like a Tiny Pumpkin Patch
Smoothing the Pumpkin Mousse
Beat the cream cheese first until there are no visible lumps and the bowl looks creamy all the way through. Add the pumpkin puree, powdered sugar, pumpkin pie spice, cinnamon, and vanilla, then mix until the color is even and the filling looks thick but soft. If you rush this part, the cream cheese lumps stay behind and the mousse feels gritty instead of smooth. Fold in the whipped topping gently so you keep the filling airy.
Layering with Purpose
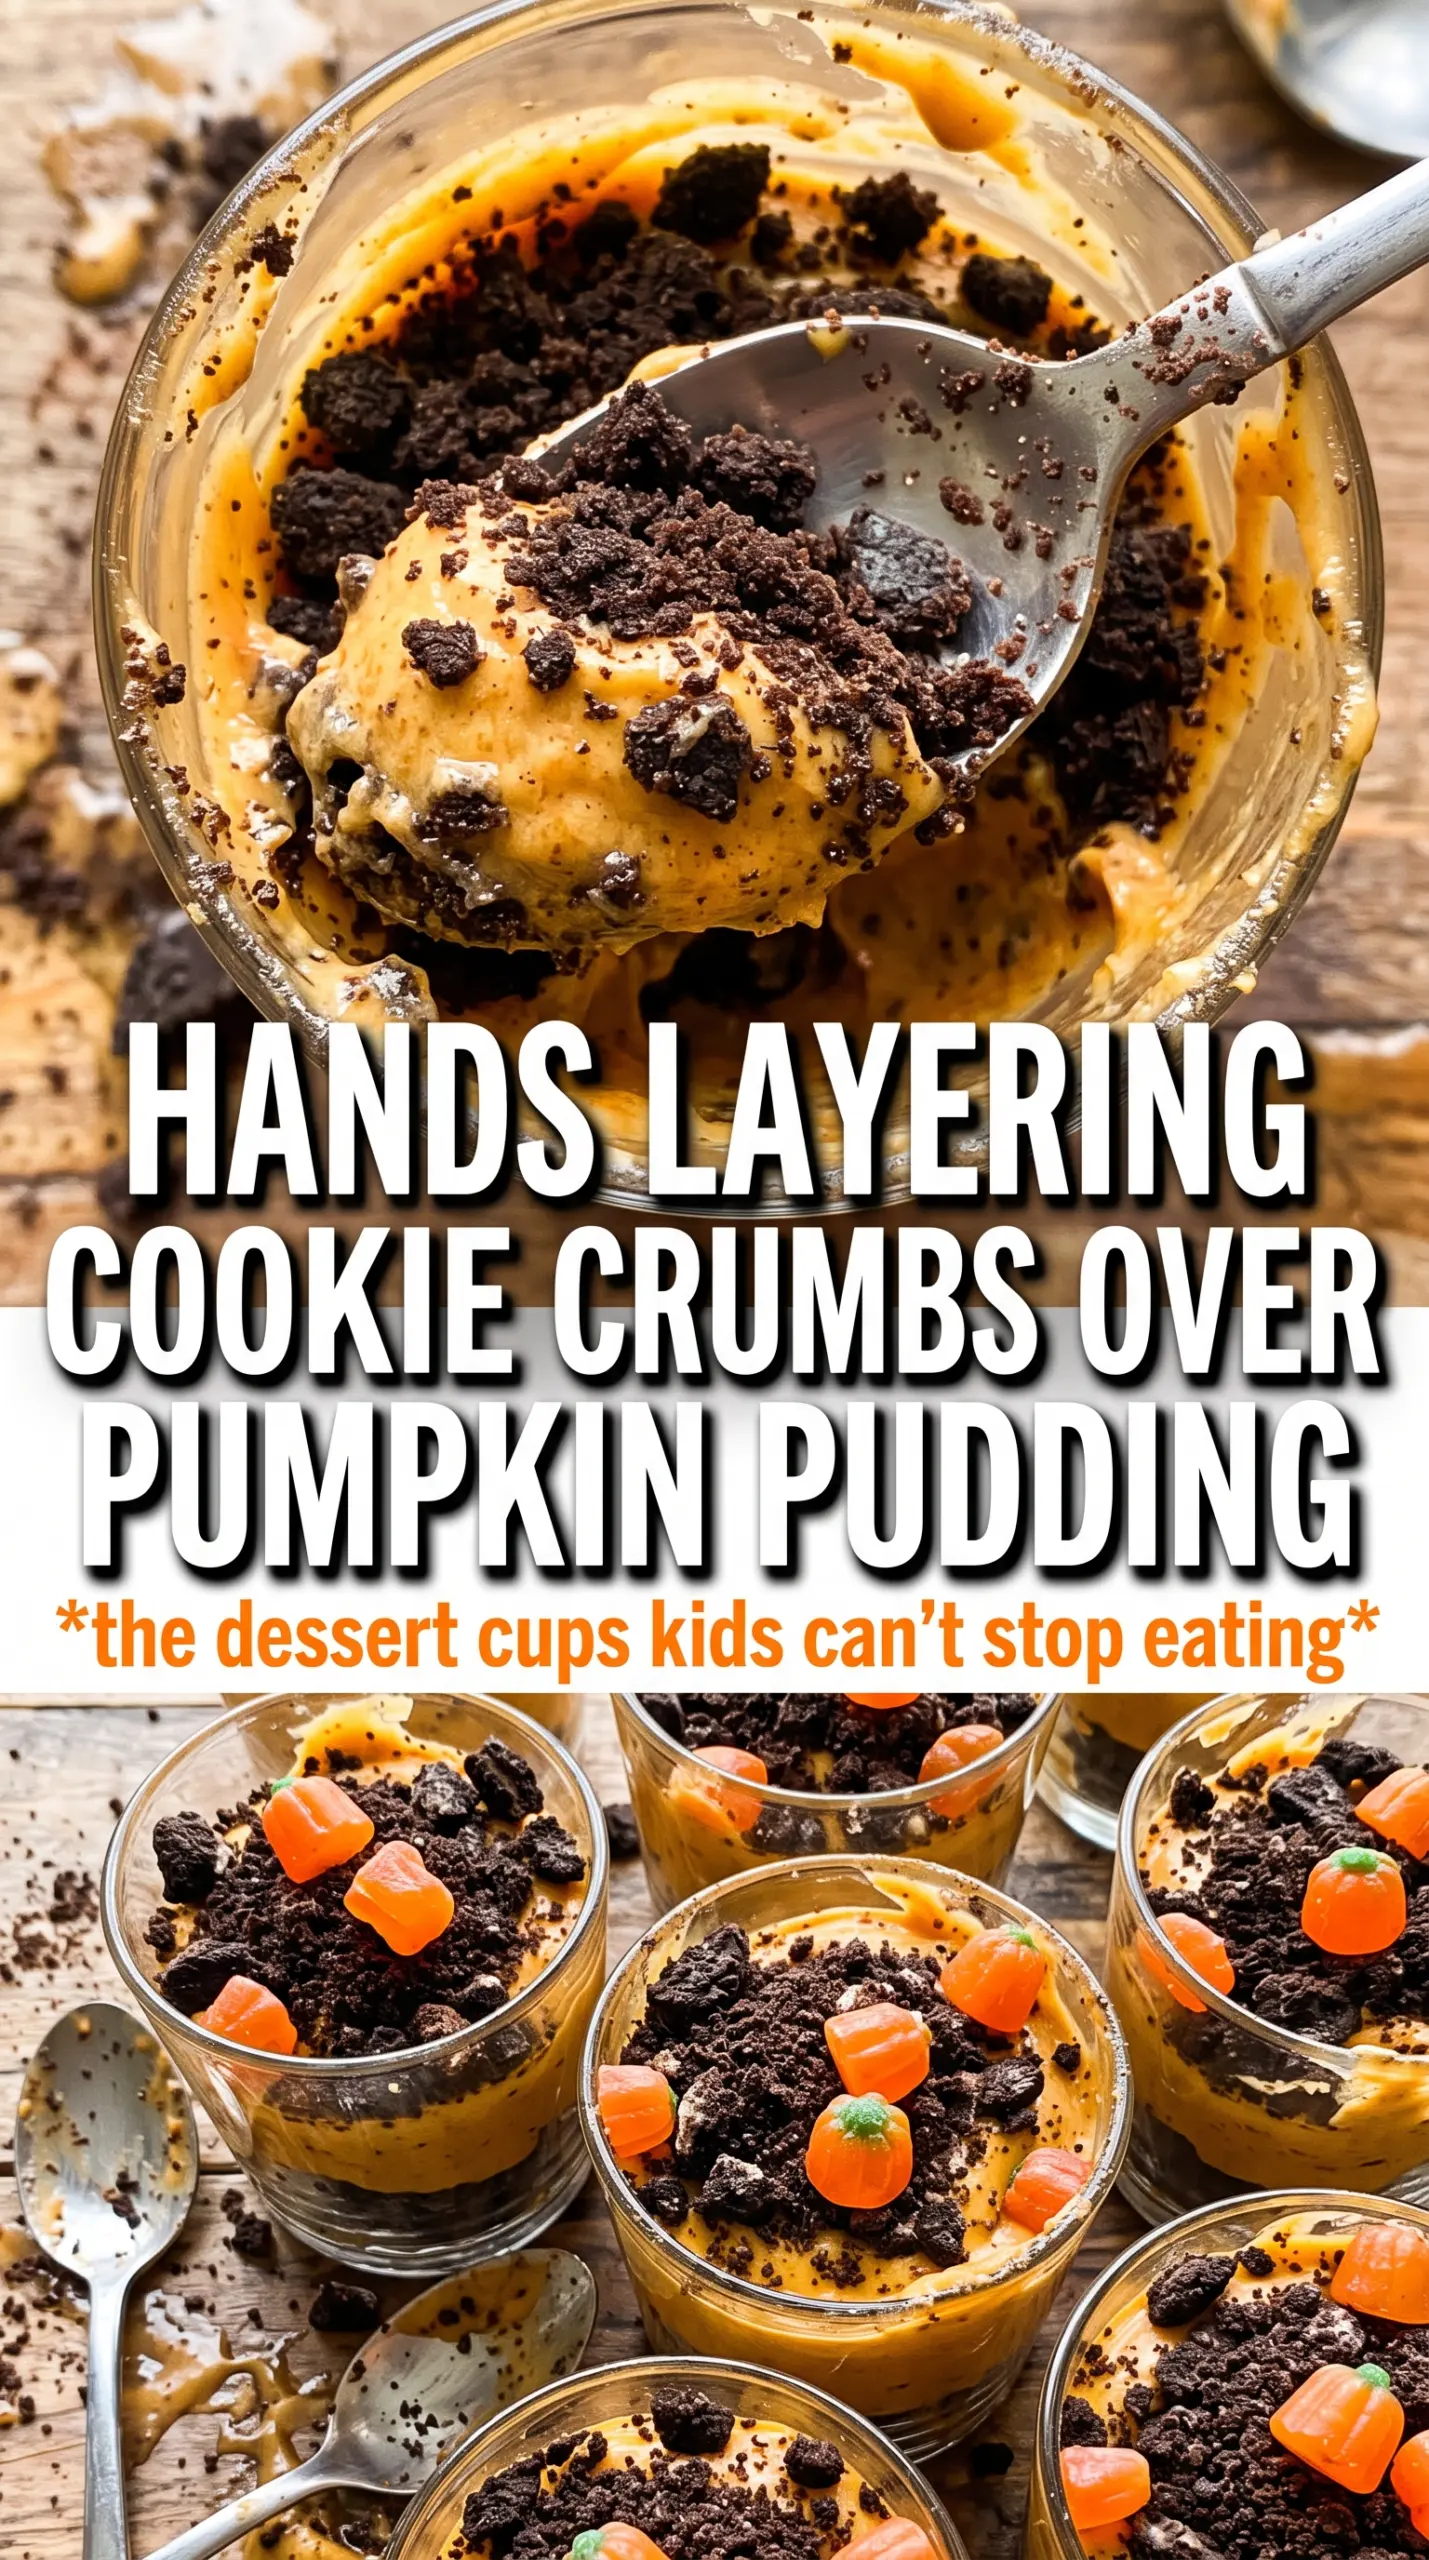
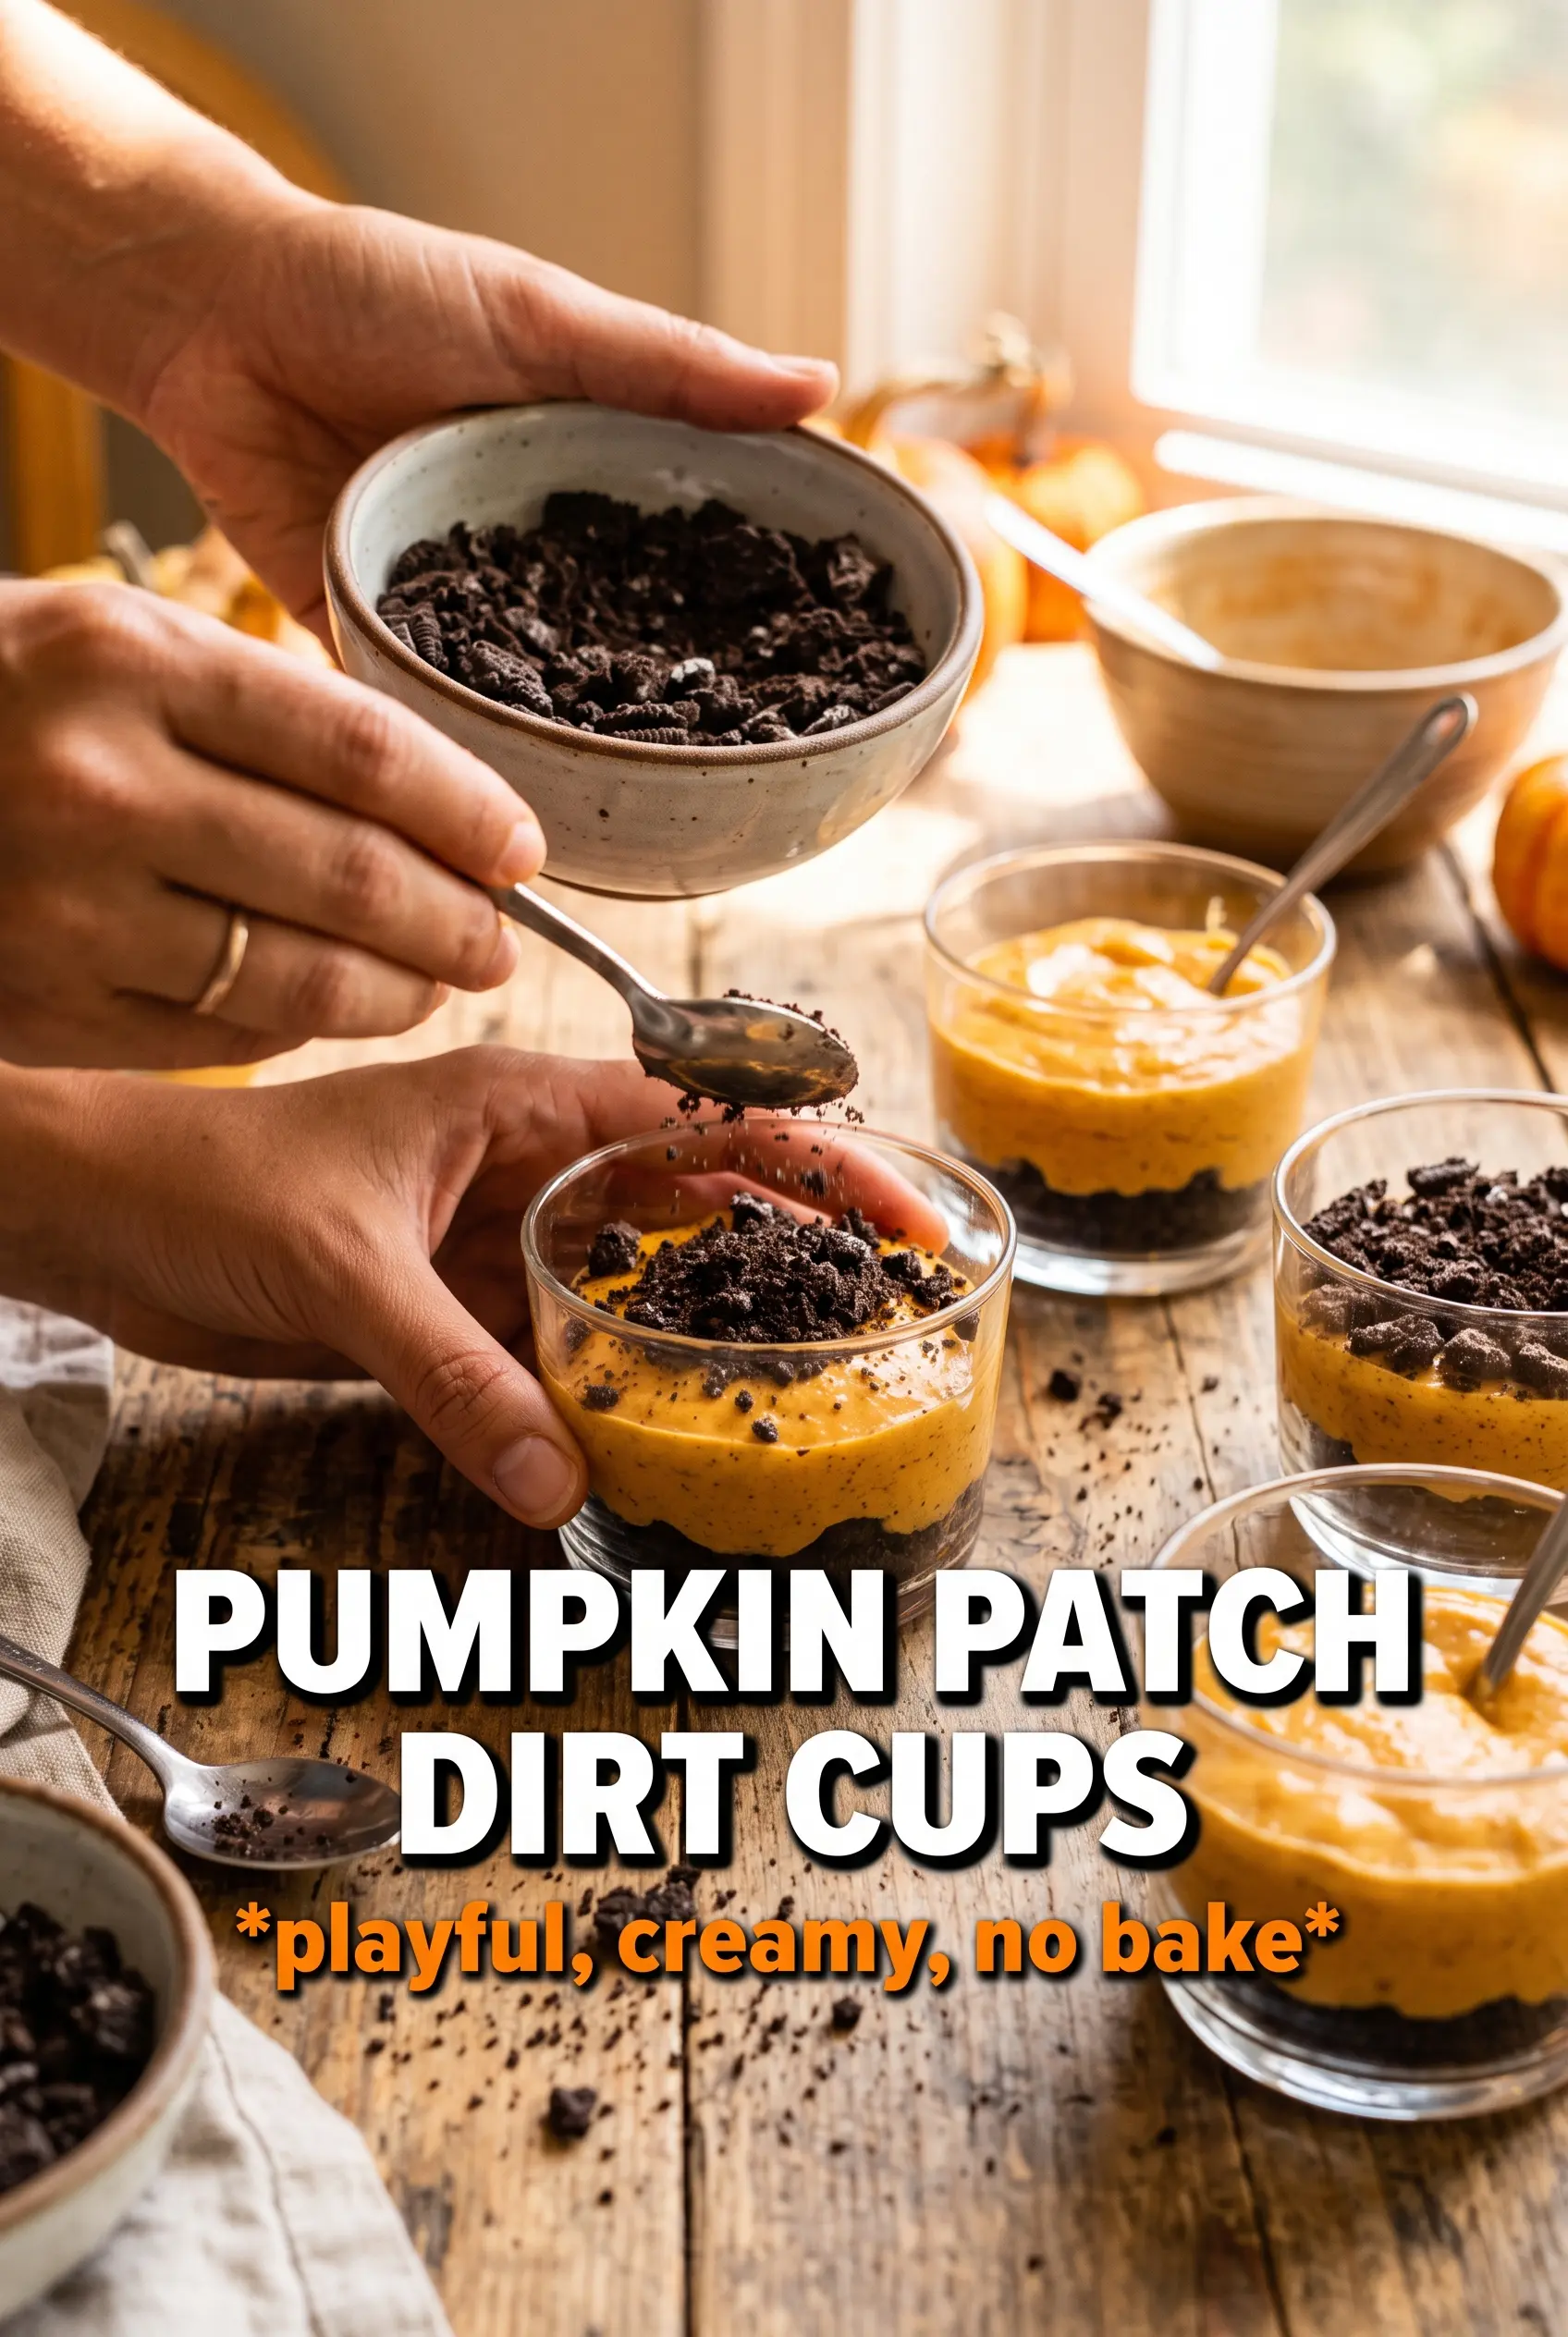
Use clear cups so the orange filling and dark cookie crumbs show through. Start with pumpkin mousse, add a layer of Oreo crumbs, then repeat with mousse and finish with more crumbs on top. The top crumb layer needs to be loose enough for decorations to press in, but not so heavy that it sinks into the filling. If the cups look messy around the sides, wipe the inside edge with a paper towel before chilling.
Chilling Before Decorating
Give the cups at least one hour in the fridge before adding the decorations. That chill time firms up the mousse so the candy pumpkins sit on top instead of sliding around, and the layers settle into clean lines. If you decorate too early, the pretzel sticks can tilt and the gummy worms can sink into the crumbs. A chilled cup also tastes better because the pumpkin flavor tightens up and the filling feels more like a dessert than a dip.
Finishing the Patch
Press the candy pumpkins lightly into the Oreo dirt, then tuck in gummy worms so they look like they’re crawling out of the soil. Add pretzel sticks last as little vine stems. Don’t overpack the surface; a little looseness makes the cups look more natural and keeps the toppings from breaking when you serve them.
How to Adapt These Cups for Different Pans, Parties, and Diets
Dairy-Free Version
Use dairy-free cream cheese and a coconut-based whipped topping. The texture stays close to the original, but the flavor will lean a little lighter and less tangy. Chill a bit longer if the filling seems softer than usual.
Gluten-Free Swap
Use gluten-free chocolate sandwich cookies in place of Oreos. The crumb layer still gives you that dark dirt look, but the cookie flavor may be a little softer and less intense. Crush them just before assembling so they keep the best texture.
Extra Pumpkin Spice Forward
If you want a stronger spice note, add another 1/2 teaspoon pumpkin pie spice. Don’t overdo it or the mousse can start tasting dusty and the pumpkin gets buried. A little extra spice works best when the dessert is served cold, because chilled dairy dulls flavor more than people expect.
Storage and Reheating
- Refrigerator: Store covered for up to 3 days. The cookie crumbs will soften a little, but the mousse stays creamy.
- Freezer: I don’t recommend freezing these. The whipped topping and cream cheese filling can turn grainy after thawing, and the Oreo layer loses its texture.
- Reheating: No reheating needed. Serve straight from the fridge. If the cups sit out too long, the mousse softens and the toppings start to slide.
Questions I Get Asked About This Recipe
Pumpkin Patch Dirt Cups
Ingredients
Equipment
Method
- Beat the cream cheese until smooth. Add the pumpkin puree, powdered sugar, pumpkin pie spice, cinnamon, and vanilla, then beat until fully combined (no lumps), scraping the sides as needed.
- Fold in the whipped topping until the mousse is light and evenly streak-free. Keep mixing gentle so the texture stays fluffy.
- Layer the clear cups with pumpkin mousse, then Oreo crumbs, then more pumpkin mousse. Top with additional Oreo crumbs to form a thick “dirt” layer on the surface.
- Refrigerate the cups for 1 hour. Chill until set and firm enough to hold the layers when you serve.
- Press candy pumpkins into the Oreo dirt so they peek up from the “soil.”
- Tuck green gummy worms into the dirt so they poke out from the top. Add pretzel sticks into the sides or top as vines/stems for a pumpkin patch look.