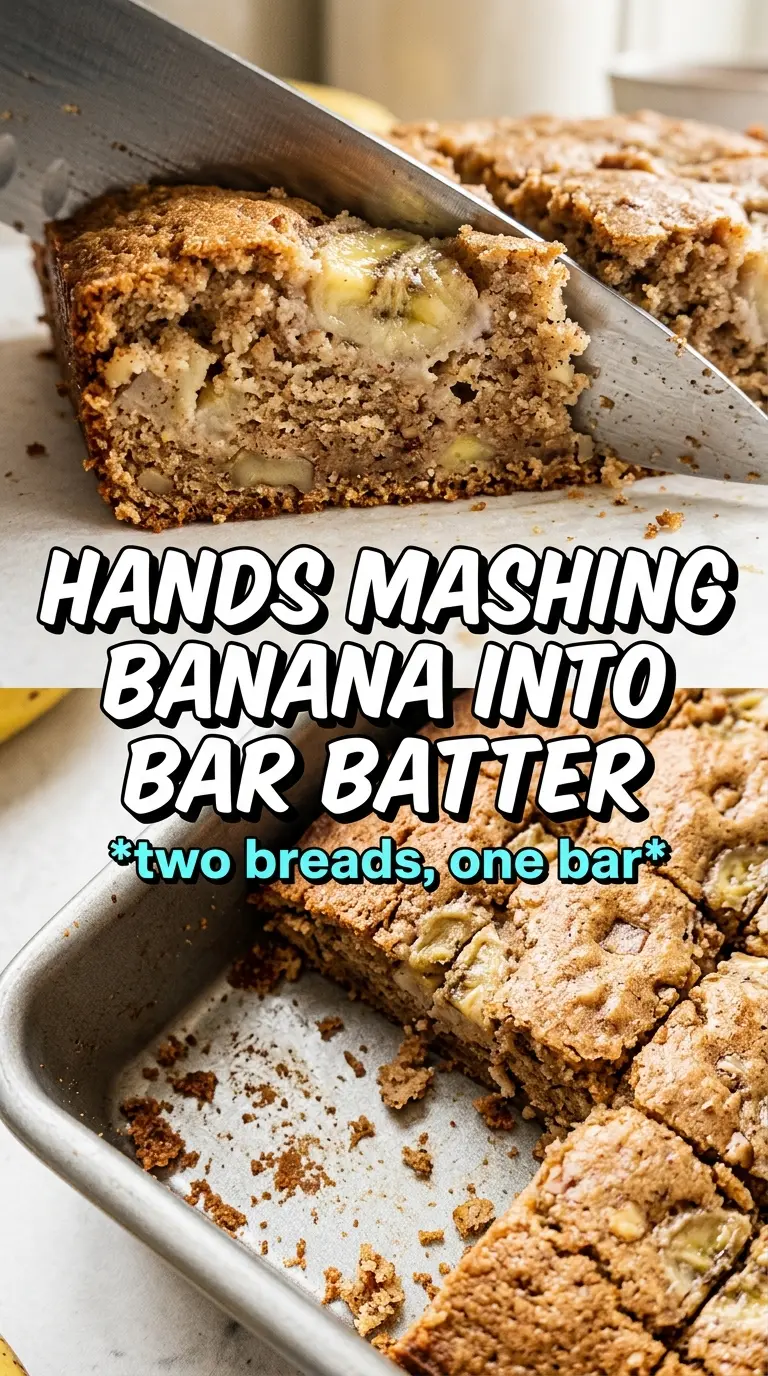
These pumpkin banana bread bars bake up soft, moist, and just dense enough to slice cleanly, with the kind of tender crumb that makes them feel halfway between quick bread and snack cake. The banana brings sweetness and body, the pumpkin keeps everything lush, and the maple glaze on top gives each bar a finish that tastes a little richer than the ingredient list suggests.
What makes this version work is the balance. Ripe bananas and pumpkin puree both carry a lot of moisture, so the dry ingredients have to be measured carefully and mixed only until the flour disappears. That keeps the bars from turning gummy. The brown sugar adds a deeper note that plays well with the pumpkin pie spice, while the vegetable oil keeps the crumb soft even after the bars cool completely.
Below, I’ll walk through the one mixing detail that keeps these bars tender, plus a few smart swaps if you need to change the glaze or make them ahead.
The bars stayed super moist after cooling, and the maple glaze set up just enough that I could stack them without making a mess. My bananas were extra ripe, and the flavor came through perfectly.
Save these Pumpkin Banana Bread Bars for the mornings when you want a soft, maple-glazed breakfast bar with no mixer and no fuss.
Why These Bars Stay Tender Instead of Turning Dense
The biggest risk with pumpkin banana bars is overworking the batter once the dry ingredients go in. Flour + pumpkin + banana can go from tender to heavy fast, especially if you stir like you would for cake batter. Stop as soon as the last streaks of flour disappear, then spread the batter into the pan and let the oven do the rest.
Another thing that helps here is the combination of oil and eggs. Oil keeps the bars soft after they cool, while the eggs give enough structure for clean slices. If you swap in melted butter, the bars will taste a little richer, but they’ll also firm up more as they sit, which changes the texture enough that they read more like a bread-cake hybrid.
What Each Ingredient Is Actually Doing in the Pan
- Very ripe bananas — These give the bars their strongest banana flavor and a lot of natural sweetness. You want them heavily spotted or almost black for the softest mash and the best aroma.
- Pumpkin puree — This adds body, moisture, and that earthy pumpkin note without making the bars taste like pie filling. Use pure pumpkin, not pumpkin pie mix, or the sweetness and spice level will throw off the batter.
- Brown sugar — The molasses in brown sugar deepens the flavor and keeps the crumb a little softer than granulated sugar alone. If you’re out, you can use all granulated sugar, but the bars will taste flatter.
- Vegetable oil — Oil keeps these bars tender after cooling, which is exactly what you want in a breakfast bar. Melted coconut oil can work, but it will add a faint coconut note and may firm up more in the fridge.
- Maple glaze — The glaze is thin enough to drape over the top without burying the bars. If it looks too thick, add milk a few drops at a time; if it’s too loose, sift in a little more powdered sugar until it ribbons instead of running off the sides.
The Mixing Order That Keeps the Crumb Soft
Start With the Dry Ingredients
Whisk the flour, baking soda, baking powder, pumpkin pie spice, cinnamon, and salt together before they touch the wet mixture. That step matters because the spices and leaveners need to be evenly distributed, or you end up with pockets that taste uneven and bars that rise strangely in the middle. If your baking soda clumps, break it up with your fingers before whisking.
Build the Wet Mixture Until It Looks Smooth
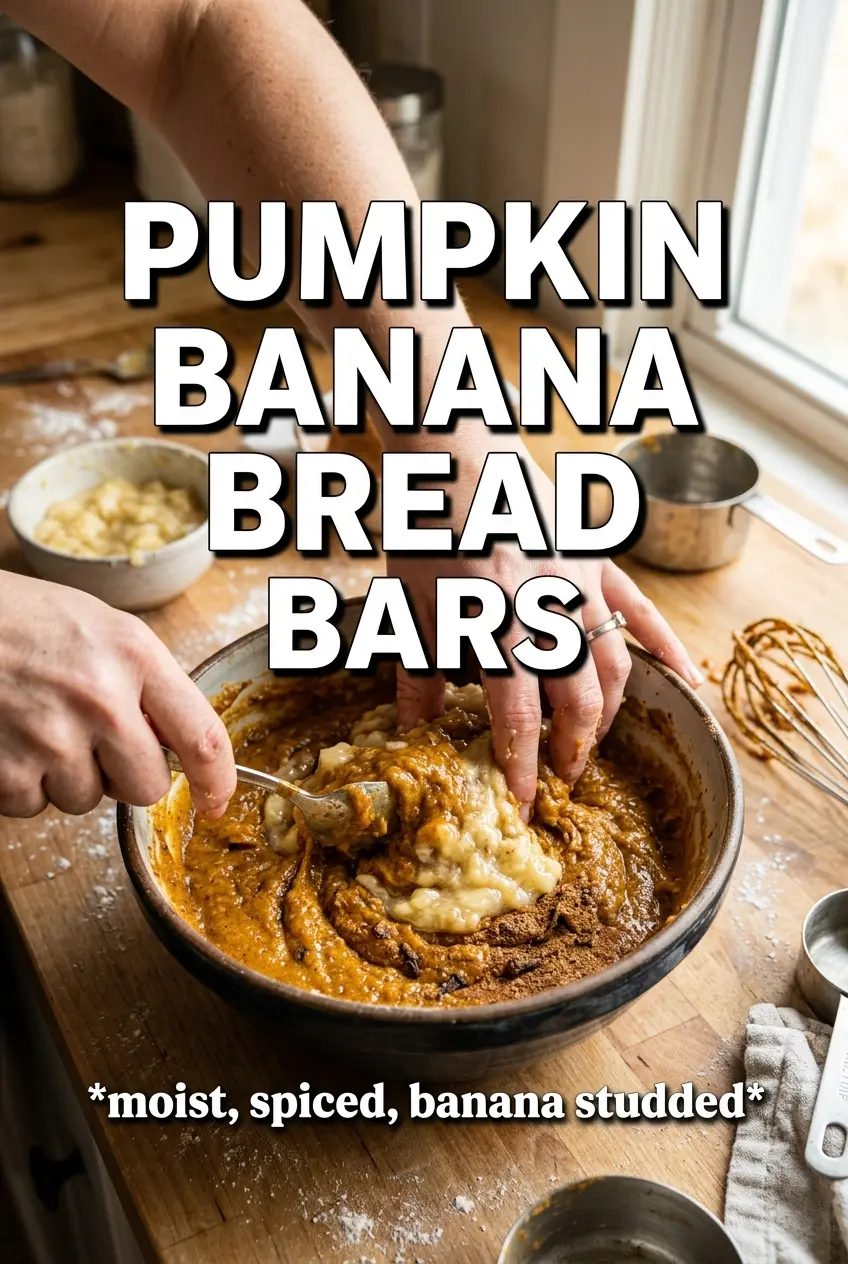
Mix the mashed bananas, pumpkin puree, both sugars, oil, eggs, and vanilla until the batter looks glossy and uniform. You don’t want streaks of egg white or pockets of brown sugar hiding at the bottom of the bowl. A few tiny banana flecks are fine, but the smoother the mash, the cleaner the bars slice after baking.
Fold, Don’t Beat
Add the dry ingredients to the wet mixture and fold just until no dry flour remains. The batter should look thick and spoonable, not pourable like cake batter. If you keep stirring after the flour is hydrated, the bars lose that soft, bread-like texture and can bake up tight around the edges.
Bake Until the Center Springs Back
Spread the batter evenly in the prepared 9×13 pan and bake until a toothpick comes out clean and the center feels set when lightly pressed. Start checking at 25 minutes, because the exact time depends on how wet your bananas were. If the top is browning too fast before the middle is done, lay a loose piece of foil over the pan for the last few minutes.
Glaze Only After Full Cooling
Let the bars cool completely before adding the maple glaze. Warm bars melt the glaze and turn it thin and patchy instead of letting it sit in soft ribbons. Once glazed, wait a few minutes before slicing so the top sets enough to cut cleanly.
How to Change These Bars Without Losing What Makes Them Good
Make Them Dairy-Free
The bars themselves are already dairy-free as written, so the only change is the glaze. Use your favorite unsweetened non-dairy milk in place of regular milk, and keep the maple syrup the same. The glaze will still set with that glossy, sweet finish.
Turn Them Into Gluten-Free Bars
A 1:1 gluten-free baking flour blend usually works here because the recipe relies on moisture from the bananas and pumpkin. The texture will be a little more delicate, so let the bars cool all the way before slicing. If your blend doesn’t include xanthan gum, use one that does.
Skip the Glaze for a Less Sweet Breakfast Bar
Leave the glaze off and the bars become more breakfast-friendly, with the spices and banana taking the lead instead of the maple topping. They’ll still be moist and flavorful, just a little cleaner and less dessert-like. A dusting of powdered sugar works too, but only after the bars have fully cooled.
Storage and Reheating
- Refrigerator: Store the bars in an airtight container for up to 5 days. The glaze may soften a little, but the bars stay moist.
- Freezer: These freeze well. Wrap individual bars tightly and freeze for up to 2 months; thaw at room temperature before serving.
- Reheating: Warm a bar in the microwave for 10 to 15 seconds if you want it soft again. Don’t overheat it or the glaze will melt and the crumb can turn tough at the edges.