Apple cider braised pork shoulder turns a tough, affordable cut into spoon-tender meat with a deep savory-sweet sauce that clings to every shred. The pork comes out rich and silky, the apples soften without disappearing, and the onions melt into the braising liquid until it tastes like it cooked all day for a reason.
What makes this version work is the balance: a hard sear for flavor, apple cider for sweetness and acidity, Dijon to keep the sauce sharp, and a long covered braise so the shoulder has time to break down slowly instead of drying out. The apples go in near the end on purpose, which keeps them intact enough to give the finished dish some shape and texture.
Below, I’ll walk you through the browning step that builds the sauce, the ingredient choices that matter most, and the small finishing move that turns the braising liquid into something worth serving with a spoon.
The pork shredded beautifully after the full braise, and the cider sauce reduced into something glossy instead of watery. I loved that the apples kept their shape and didn’t turn to mush.
Save this apple cider braised pork shoulder for the kind of dinner where you want tender pork, soft apples, and a cider sauce that reduces down beautifully.
The Sear Is the Difference Between Brothy and Deeply Savory
The biggest mistake with braised pork shoulder is rushing past the browning step. That crust on the outside does more than look good; it gives the braising liquid the base it needs to taste rounded instead of flat. If you crowd the pot, the pork steams and the surface stays pale, which means less flavor ends up in the finished sauce.
Use a heavy Dutch oven and give each piece enough room to brown in hot oil without sitting in a puddle of moisture. You want a dark golden crust that releases on its own when it’s ready. If it sticks, leave it alone for another minute or two. The fond left behind after the pork comes out is what makes the cider sauce taste like it belongs with the meat.
What Each Ingredient Is Actually Doing in the Braise
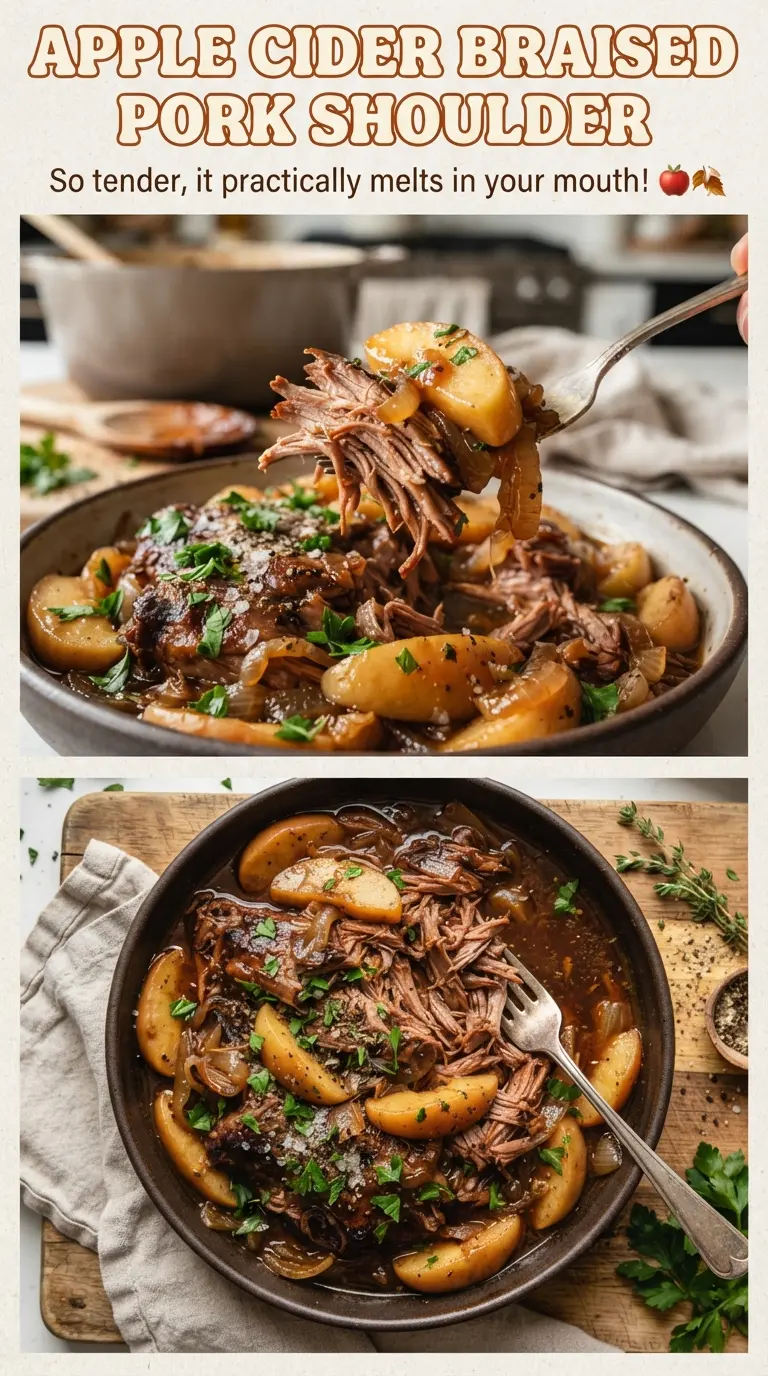
- Pork shoulder — This cut is built for long cooking because it has enough fat and connective tissue to turn silky instead of stringy. Boneless works well here, and cutting it into two large pieces helps it brown better and cook evenly.
- Apple cider — Use real cider, not apple juice. Cider has a fresher, less sugary apple flavor that keeps the sauce from tasting candied after three hours in the oven.
- Dijon mustard — This keeps the braising liquid from leaning too sweet and helps the sauce taste sharper and more complete. It doesn’t make the dish taste mustardy; it just keeps the cider in line.
- Apples — Add them late so they hold some shape. Softer varieties like Honeycrisp or Gala work well because they turn tender without dissolving into the sauce.
- Fresh thyme and rosemary — Dried herbs can work in a pinch, but fresh herbs give the braise a cleaner, woodsy finish. Pull the stems before serving so the sauce stays smooth.
Building the Braise So the Pork Stays Tender
Seasoning and Browning the Meat
Season the pork all over before it hits the pot, then brown it in hot oil until each side has real color. That first stage should sound like an active sizzle, not a gentle hiss. If the pot looks crowded or the pork starts releasing a lot of liquid, work in batches so the surface can sear instead of stew.
Cooking Down the Onions and Deglazing
Once the pork is out, the onion goes into the same pot and cooks until it softens and picks up the browned bits stuck to the bottom. Add the garlic only after the onion has had time to cook, because garlic burns fast and turns bitter. When the cider, broth, vinegar, Dijon, and brown sugar go in, scrape the pot well; that’s where most of the flavor lives.
Long Covered Braising
Return the pork with the herbs, cover the pot, and let the oven do the work. The goal isn’t a hard boil; it’s a gentle, steady braise where the liquid barely moves. If the oven runs hot, the pork can tighten up before the connective tissue has time to soften, so keep the temperature steady and resist lifting the lid.
Finishing with Apples and Reducing the Sauce
When the pork is starting to give when pressed, add the apples for the final stretch. They need enough time to soften, but not enough to collapse. After the pork is shredded, simmer the braising liquid on the stove until it coats a spoon; if it looks thin, keep reducing, because a watery sauce is the fastest way to lose the payoff of the whole dish.
How to Adapt This Pork Shoulder When the Pantry Looks Different
Make It Dairy-Free and Naturally Gluten-Free
This recipe already lands in dairy-free and gluten-free territory as written, which makes it an easy one to serve a crowd. Just check that your Dijon and broth are labeled gluten-free if that matters for your kitchen, since those are the ingredients most likely to carry hidden additives.
Swap the Apples Based on What You Have
Honeycrisp, Gala, and Braeburn all hold up well. If you use a softer apple, it will break down more and thicken the sauce a little, which is fine if you want a looser, more rustic braise. Tart apples will sharpen the sauce, while sweeter apples lean into the brown sugar and cider.
Use Boneless Pork Butt Instead of Shoulder
Pork butt and pork shoulder are close enough in this recipe that either works well. If the piece you buy is heavily marbled, it may braise a little more richly and shred even more easily, but the timing stays the same as long as the pork becomes fork-tender before you pull it apart.
Cut the Sugar if You Want a Less Sweet Sauce
The brown sugar rounds out the cider, but it isn’t carrying the dish. If you want a sharper braise, cut it in half or leave it out and let the Dijon and vinegar do more of the balancing work. The sauce will taste less glossy-sweet and more savory, which is a good direction for serving the pork over potatoes or polenta.
Storage and Reheating
- Refrigerator: Store the pork and sauce for up to 4 days. The flavors deepen overnight, and the sauce usually thickens as it chills.
- Freezer: It freezes well for up to 3 months. Cool it completely first, then pack the pork with plenty of sauce so it doesn’t dry out when reheated.
- Reheating: Warm it gently on the stove over low heat with a splash of broth or water if needed. Fast, high heat can tighten the meat and make the sauce separate, especially after chilling.
Answers to the Questions Worth Asking
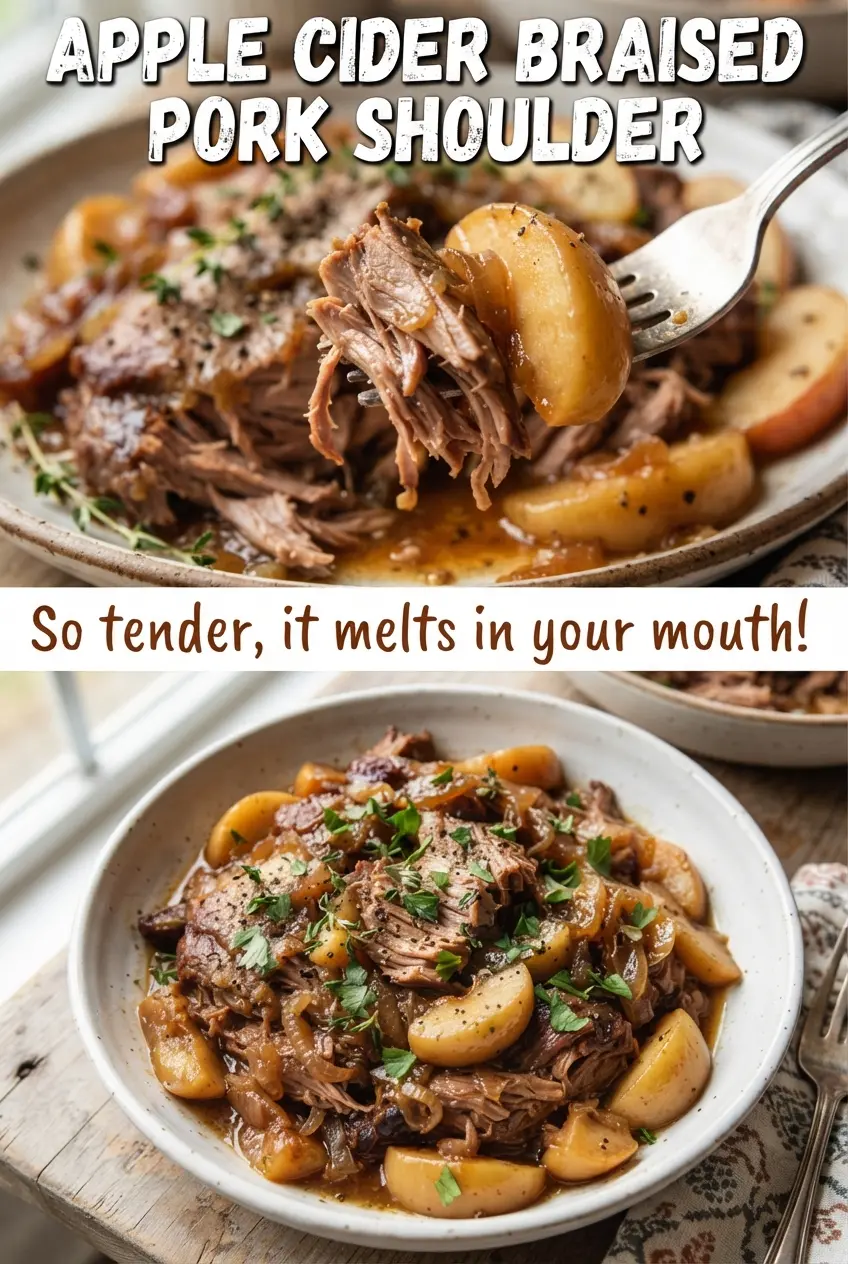
Apple Cider Braised Pork Shoulder
Ingredients
Equipment
Method
- Preheat oven to 325F, then season the pork with salt, black pepper, and smoked paprika.
- Heat olive oil in a Dutch oven and sear pork until well browned, 4-5 minutes per side, then remove.
- Cook onion in the Dutch oven for 5 minutes, then add garlic and cook for 1 minute.
- Stir in apple cider, chicken broth, apple cider vinegar, Dijon mustard, and brown sugar, scraping up the browned bits.
- Return pork to the Dutch oven, add fresh thyme and rosemary, cover, and braise in the oven for 2 1/2 hours.
- Add apples to the Dutch oven and braise covered for 45 minutes, until the pork is fork-tender.
- Shred the pork into large pieces, then simmer the liquid on the stove for 10 minutes to reduce.
- Serve the shredded pork with the reduced cider sauce and braised apples.