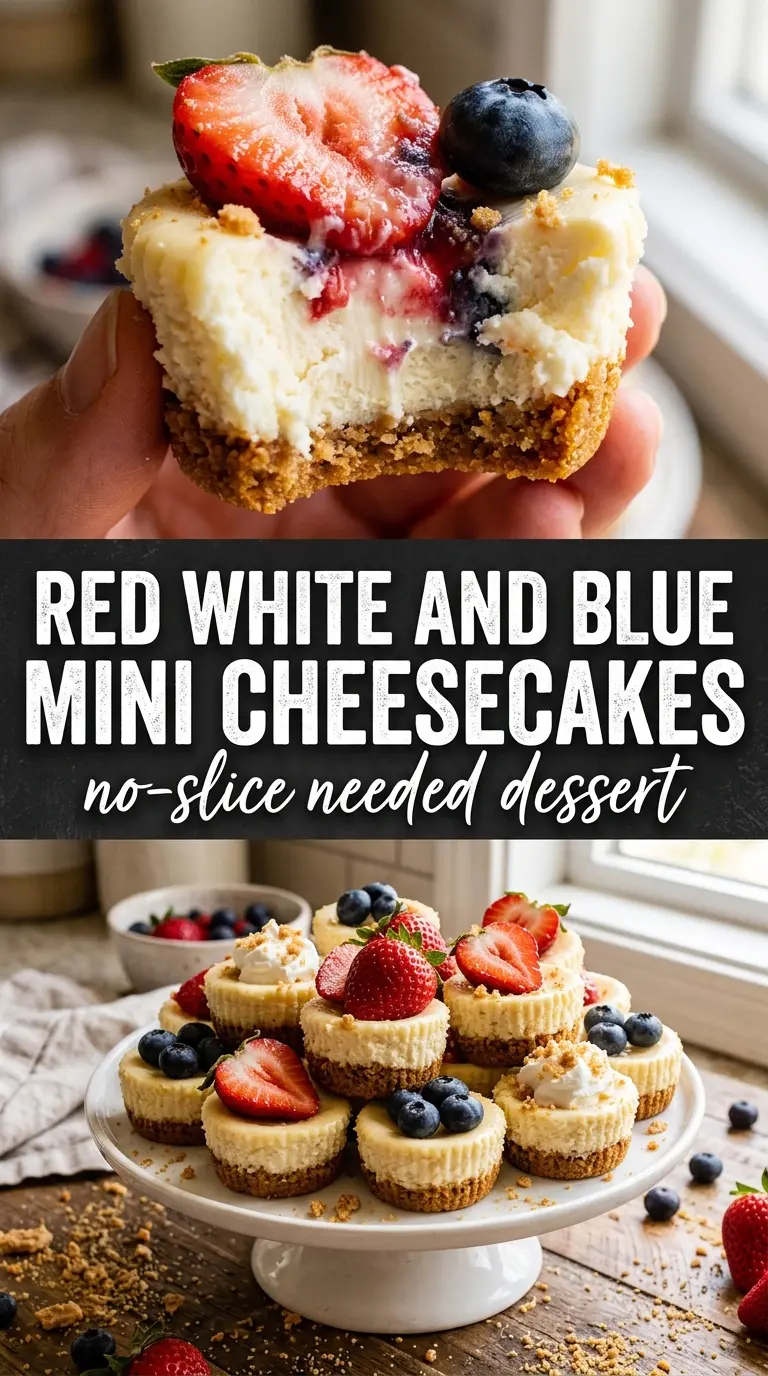
Golden Oreo crust, creamy cheesecake filling, and fresh berries on top make these mini cheesecakes the kind of dessert people notice fast. The texture is the best part: a tender, smooth center that holds its shape in a paper liner, with just enough cookie crunch underneath to keep each bite interesting. They look festive without needing any fussy decorating, and the small size means they chill faster and serve cleaner than a full cheesecake.
The trick is keeping the filling light enough to spoon but stable enough to bake into neat little rounds. Cream cheese needs to be fully softened before it meets the sugar, or you’ll end up chasing lumps around the bowl. A quick bake is enough here; if the centers look completely firm in the oven, they’ve gone too far and will turn dense after chilling. The cheesecake finishes setting in the fridge, which is where the texture gets smooth and sliceable.
Below you’ll find the exact timing that keeps the centers creamy, plus a few smart swaps if you want to change the crust or make these ahead for a party table.
The centers baked up smooth and creamy, and the Golden Oreo crust stayed crisp even after chilling overnight. I topped them with strawberries and blueberries right before serving and they disappeared in minutes.
Red, white, and blue mini cheesecakes with a Golden Oreo crust are made for easy chilling and clean, party-ready serving.
The Center Should Look Slightly Underbaked, Not Set Solid
The biggest mistake with mini cheesecakes is waiting until the tops look finished all the way through. Cheesecake keeps cooking from residual heat after it leaves the oven, and these little cups go from perfect to dense fast. Pull them when the centers still wobble a little in the middle; that small jiggle is what gives you a smooth, creamy texture after chilling.
The muffin tin helps them bake evenly, but it also means they’re exposed to heat on all sides. That speeds things up compared with a full cheesecake, so the baking window is short. If the tops start to crack, the oven was too hot or they stayed in too long. The good news is that cracks are easy to hide under whipped cream and berries, but the texture still tells the real story.
What the Oreo Crust and Sour Cream Are Doing Here
- Golden Oreo cookies — These press in as a built-in crust, and the filling in the cookie helps hold the base together without extra butter. Regular Oreos work too, but the chocolate flavor changes the look and taste of the finished cheesecake. If you want the cleanest patriotic color scheme, Golden Oreos are the better choice.
- Cream cheese — Full-fat cream cheese is what gives these their rich, sliceable texture. Lower-fat versions tend to loosen the batter and can bake up grainy or watery. Let it soften fully at room temperature so it beats smooth without overmixing.
- Sour cream — This adds a little tang and keeps the filling from tasting heavy. If you need a swap, plain full-fat Greek yogurt works, but the texture will be slightly tighter and the flavor a little sharper.
- Fresh strawberries and blueberries — Use fresh fruit for the topping, not frozen. Frozen berries leak juice as they thaw and can stain the whipped cream and surface of the cheesecake.
The Quick Bake That Sets These Up for a Clean Chill
Building the crust in the liners
Set a cookie in the bottom of each paper liner and press it flat so it sits evenly. There’s no need to crush or mix the crust for this version; the whole cookie becomes the base. If the cookies are too large for the liner, break them slightly rather than forcing them in crooked, because an uneven base can tilt the filling later.
Whipping the filling until it turns glossy
Beat the cream cheese and sugar first until the mixture looks smooth and a little shiny, with no visible lumps along the bowl. Add the eggs one at a time so the batter stays stable instead of turning loose. Stop mixing as soon as the sour cream disappears; overbeating adds air, and too much air makes the cheesecakes puff and then fall.
Baking until the middle still moves
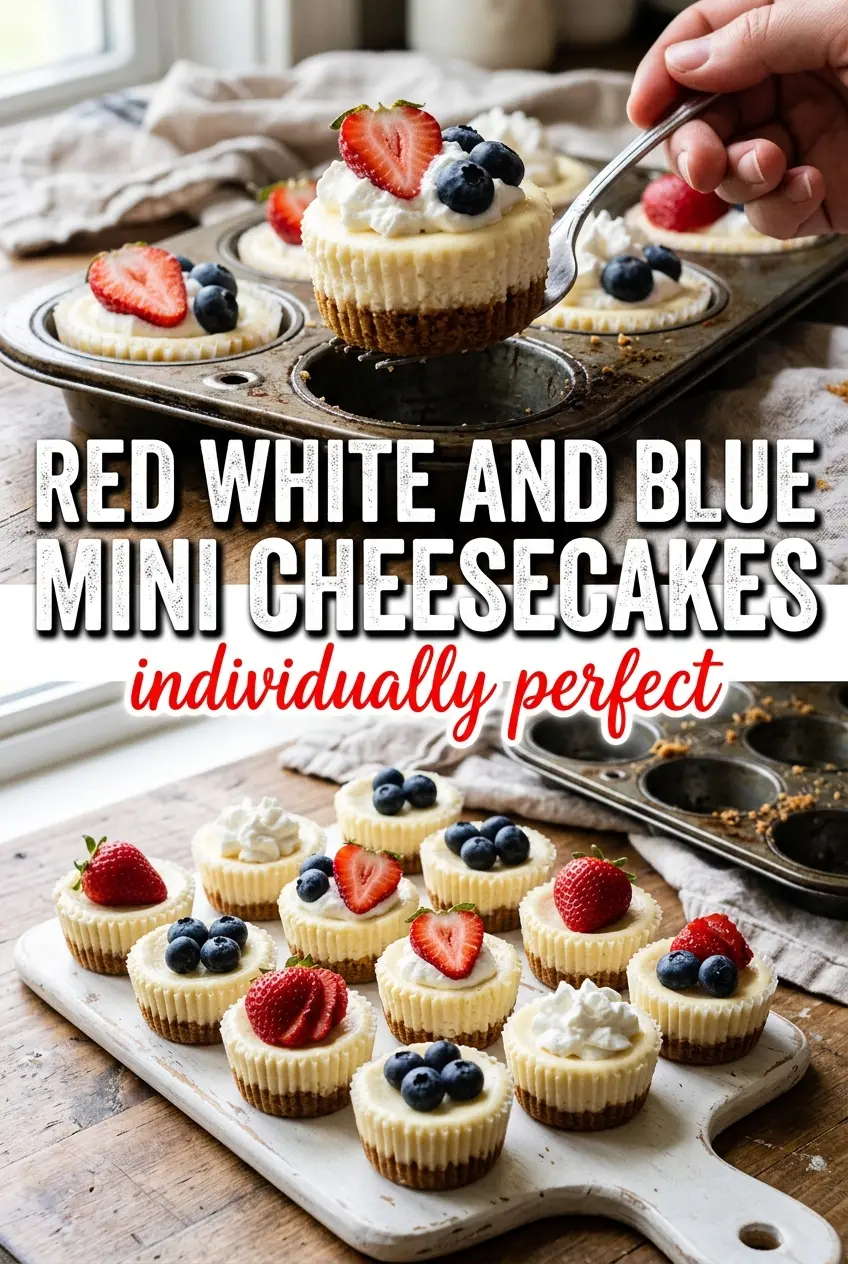
Divide the batter evenly among the cups, filling them about three-quarters full so they rise without spilling over. Bake just until the edges are set and the centers still have a soft wobble. If you wait for the middle to stop moving in the oven, they’ll finish too firm after chilling. Let them cool in the pan before moving them, or the centers can sink and split.
Chilling before topping
Refrigerate the cheesecakes for at least two hours so the texture firms up enough to hold toppings. This is the part that turns them from warm custard into mini cheesecakes. Add the whipped cream, berries, and sprinkles right before serving so the toppings stay bright and the cream doesn’t slide.
How to Adapt These Mini Cheesecakes for Different Crowds
Make them gluten-free with a simple cookie swap
Use a certified gluten-free vanilla sandwich cookie in place of the Oreos. The texture stays close to the original, though some gluten-free cookies soften faster, so serve these the day you chill them for the best crust.
Swap in Greek yogurt for a lighter filling
Plain full-fat Greek yogurt can stand in for the sour cream if that’s what you have. The filling will taste a little tangier and bake up slightly firmer, which works well if you like a cheesecake that slices cleanly after chilling.
Use chocolate cookies for a deeper, less festive version
Regular Oreos give you a darker crust and a stronger cocoa note under the creamy filling. The cheesecake itself stays the same, but the finished dessert loses the red, white, and blue look and leans more like a classic cookies-and-cream mini cheesecake.
Storage and Reheating
- Refrigerator: Store covered for up to 4 days. The crust will soften a little after the first day, but the filling stays creamy.
- Freezer: These freeze well without the toppings. Wrap each cooled cheesecake tightly and freeze for up to 1 month, then thaw in the refrigerator overnight.
- Reheating: Don’t reheat these. Cheesecake should be served chilled, and warming it will make the texture loose and the topping slump.
Answers to the Questions Worth Asking
Red, White and Blue Mini Cheesecakes
Ingredients
Equipment
Method
- Preheat oven to 325°F and line a 12-cup muffin tin with cupcake liners, so the liners are ready to fill. Aim for even baking across all 12 cups.
- Place one Oreo cookie flat in the bottom of each liner, pressing gently to anchor the base. Make sure every cup has the same cookie placement.
- Beat cream cheese and granulated sugar until smooth, scraping the sides as needed for a lump-free batter. This step should look glossy and fully combined.
- Add eggs one at a time, mixing well after each addition, until the batter looks thick and uniform. Keep the mixing steady to prevent streaks.
- Beat in vanilla extract and sour cream until fully incorporated, smoothing the mixture. The batter should be creamy with no visible pockets.
- Divide batter evenly among the 12 cups, filling about 3/4 full for consistent heights. Smooth the tops lightly so they bake evenly.
- Bake at 325°F for 18–20 minutes until centers are just barely set, with a slight wobble. Watch closely so they don’t brown too much.
- Cool in the pan for 30 minutes, letting the cheesecakes settle before moving them. The centers should firm slightly as they cool.
- Refrigerate for at least 2 hours to fully chill and set the texture. Cover or keep in the muffin tin to avoid absorbing fridge odors.
- Before serving, top each cheesecake with a swirl of whipped cream. Make a visible ribbon that holds its shape.
- Add a strawberry slice to each mini cheesecake, placing it centered on the whipped cream. Arrange them so the red topping stands out.
- Add a few blueberries to each cheesecake, clustering them near the strawberry. Keep the blue pieces spaced so they’re easy to see.
- Finish each with a pinch of red and blue sprinkles, keeping the coverage light and festive. Serve immediately after topping for best appearance.