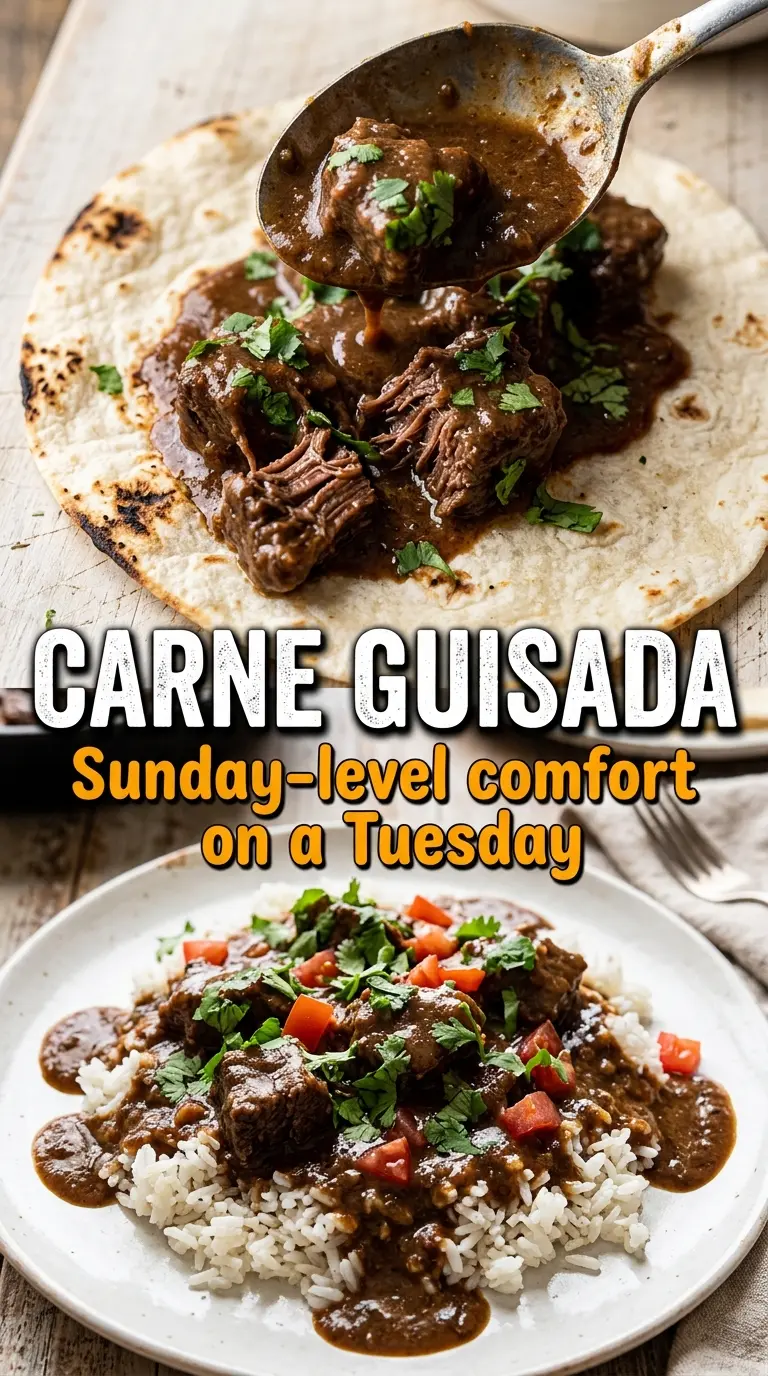
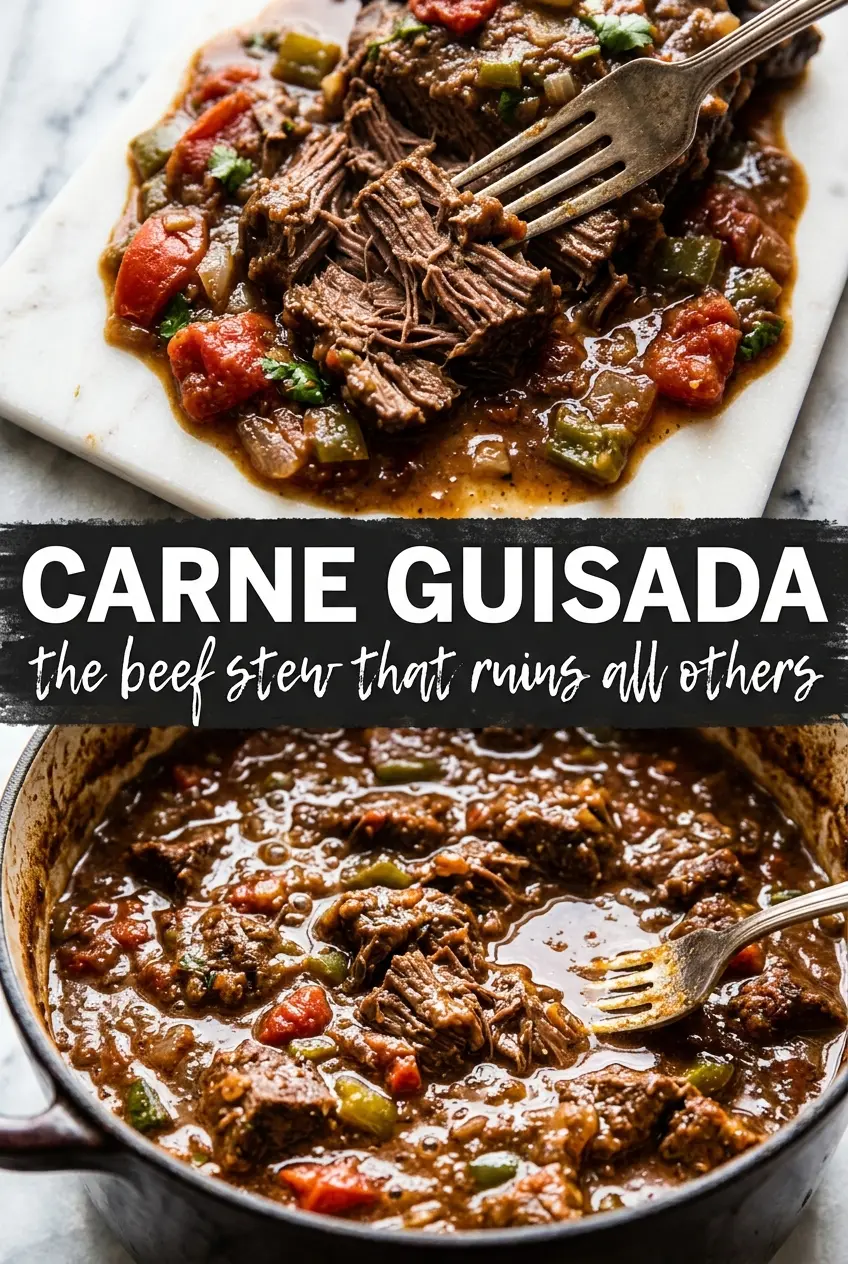
Carne guisada is all about beef that gives up easily and gravy that clings to every bite. When it’s done right, the chunks stay intact but turn spoon-tender, and the sauce cooks down into a deep, chile-spiced brown that begs for a warm flour tortilla. This version lands in that sweet spot between rustic and rich: enough tomato to add body, enough cumin and chili powder to taste like Tex-Mex comfort, and enough simmer time to soften the chuck without shredding it into strings.
The key is building flavor in layers instead of rushing the pot. Browning the beef in batches gives you the base, and the flour cooked with the vegetables thickens the gravy without turning pasty. A long, low simmer does the rest. If the heat stays gentle, the beef stays juicy and the sauce reduces to that glossy, scoopable texture carne guisada should have.
Below, I’ve included the small details that matter most: how to keep the beef from steaming, how to judge when the gravy has reduced enough, and what to change if you want to stretch it farther or make it ahead.
The gravy thickened up beautifully and the beef was tender enough to cut with a spoon. I served it in flour tortillas and my husband asked if there was enough for lunch tomorrow, which never happens.
Save this carne guisada recipe for the nights when you want tender beef, thick Tex-Mex gravy, and warm flour tortillas on the table.
The Part That Makes the Gravy Go From Thin to Spoon-Ready
Carne guisada falls apart when the pot is crowded or the flour goes in before the vegetables have softened. Crowding the beef lowers the pan temperature, and you end up with gray meat and weak drippings instead of the deep browned bits that flavor the gravy. Working in batches is slower, but it’s the difference between a stew that tastes cooked and one that tastes layered.
The other place people lose it is at the simmer. If the heat is too high, the beef tightens and the liquid never settles into a proper gravy; if it’s too low, the connective tissue won’t break down. A low, steady bubble gives you both tenderness and body. You want the sauce to coat a spoon and the beef to give without resistance when pressed with the back of a fork.
What Each Ingredient Is Doing in the Pot
- Beef chuck — This is the cut that makes carne guisada work. It has enough connective tissue to turn tender during a long simmer, but it still holds its shape. Don’t swap in lean stew meat unless that’s all you have; it can work, but it usually cooks up drier.
- Flour — The flour on the vegetables thickens the braising liquid without needing a separate slurry. Cook it for a full minute so it loses the raw taste and starts to look a little sandy before the broth goes in.
- Diced tomatoes — They add body and a gentle acidity that keeps the gravy from tasting flat. A good canned tomato is fine here because it melts into the sauce; you’re not looking for fresh tomato texture.
- Cumin, chili powder, oregano — This is the seasoning backbone. Cumin gives the stew its Tex-Mex warmth, chili powder adds depth, and oregano keeps the gravy from tasting one-note. If your chili powder is old, the whole dish will taste dull, so use one that still smells fragrant when you open the jar.
- Beef broth — Use a broth with some real body. Thin, watery broth makes a thin gravy. If yours is salty, hold back on the added salt until the end so the sauce doesn’t tighten up too aggressively as it reduces.
Building Carne Guisada So the Beef Stays Tender
Season and brown in batches
Toss the beef with the spices first, then sear it in hot oil with space around each piece. You want a dark crust on the outside and a browned fond on the bottom of the pot, not a pile of steaming meat. If the pan starts looking wet, stop and let the batch finish before moving the pieces around too much. The goal is color, because color becomes flavor once the broth goes in.
Cook the vegetables into the drippings
After the beef comes out, the onion and bell pepper go into the same pot. They should soften and pick up some of that browned residue from the bottom, which gives the gravy its backbone. When the garlic goes in, keep it brief; once it smells sharp and fragrant, it’s ready. Burned garlic will make the whole pot bitter, and there’s no saving that later.
Thicken before the long simmer
Sprinkle the flour over the vegetables and stir until it disappears into the oil and juices. That step keeps the gravy from tasting raw and prevents lumps later. Pour in the broth gradually, scraping the bottom as you go, then add the tomatoes and return the beef to the pot. Once it starts to simmer, lower the heat until the bubbles are lazy and occasional.
Cook until the beef yields easily
Set the lid slightly askew and let the pot do its work for 1.5 to 2 hours. Stir every so often and check the texture near the end. The beef is ready when a fork slides in without tugging and the gravy has thickened enough to cling to the meat instead of pooling around it. If the sauce gets too thick before the beef is tender, add a splash of broth and keep going.
How to Change the Pot Without Losing the Character of the Dish
Make It Gluten-Free
Swap the flour for a cornstarch slurry at the end if you need a gluten-free version. You’ll lose a little of the deeper cooked-flour flavor, but the gravy still turns glossy and thick if you stir the slurry in near the end of simmering and let it bubble for a minute or two.
Turn Up the Heat Without Breaking the Stew
Add a minced jalapeño with the onion or stir in a pinch of cayenne with the dry spices. That gives you more kick without changing the texture of the gravy. The trick is to layer heat early, not dump hot sauce into the finished pot, which can make the flavor taste sharp instead of rounded.
Stretch It for a Bigger Crowd
Add an extra cup of broth and a handful of diced potatoes if you need more servings. The potatoes soak up the gravy and make the dish feel heartier, but they also thicken the pot as they cook, so don’t over-reduce it early. Keep an eye on the liquid level and stop once the beef is tender and the sauce coats a spoon.
Storage and Reheating
- Refrigerator: Store for up to 4 days. The gravy thickens as it chills, so it may look denser the next day.
- Freezer: Freezes well for up to 3 months. Cool it completely first and leave a little space in the container because the gravy expands a bit as it freezes.
- Reheating: Warm it slowly on the stove over low heat with a splash of broth or water. Microwaving on high can make the beef tough and the gravy separate, so use short bursts and stir in between if that’s the method you have.
Questions I Get Asked About This Recipe
Carne Guisada
Ingredients
Equipment
Method
- Season the beef cubes generously with salt, pepper, cumin, chili powder, and garlic powder. Press the spices onto the surface so they look evenly coated.
- Brown the beef in batches in hot oil in a heavy pot over high heat—do not crowd—then remove and set aside. Cook until the exterior is deeply browned, about 2–3 minutes per batch, with a sizzly surface.
- In the same pot, sauté the onion and bell pepper for 5 minutes. Stir often until softened and fragrant, with lightly golden edges.
- Add the minced garlic and cook 1 more minute. Keep it moving until it turns fragrant but does not darken.
- Sprinkle the flour over the vegetables and stir for 1 minute. The mixture should look slightly pasty and smell toasted.
- Add the beef broth and diced tomatoes, scraping up the browned bits. Stir until the gravy looks smooth and the pot bottom is deglazed.
- Return the beef to the pot, add the oregano, cover, and simmer on low for 1.5–2 hours until the beef is extremely tender and the gravy has thickened. You should see gentle bubbling throughout and meat that breaks apart with a fork.
- Serve the carne guisada with warm flour tortillas, cilantro, and fresh lime. Ladle the stew over or beside tortillas, finishing with bright green cilantro and lime wedges.