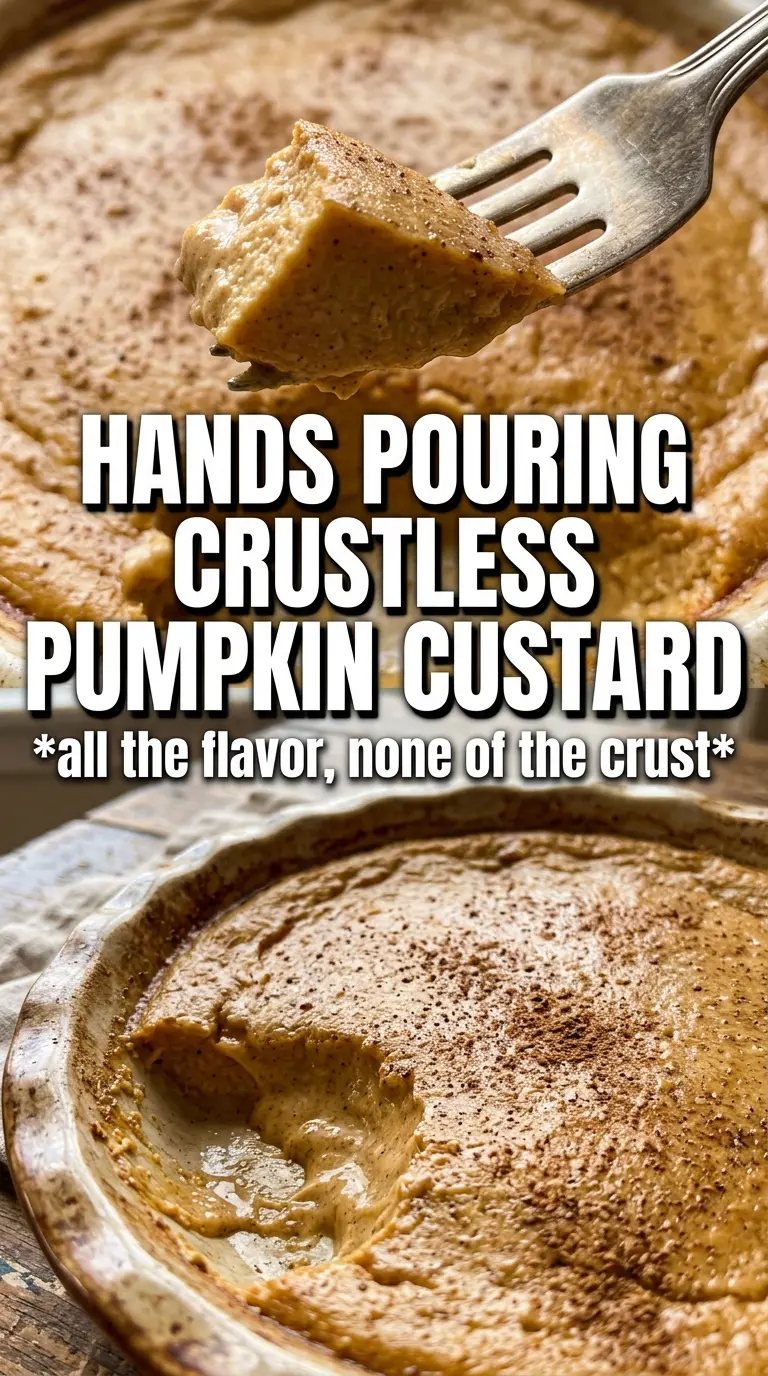
Crustless pumpkin pie bakes into a silky, spoon-tender custard with all the warm spice of the classic version and none of the fuss of rolling dough. What you get is a smooth, golden slice that holds together cleanly once chilled, then melts on the tongue with a soft pumpkin-custard finish.
The trick is balance. Pumpkin puree gives body, eggs set the filling, and a little flour or cornstarch keeps the texture from tipping into loose pudding. The first hot bake helps the custard puff and set at the edges, then the lower temperature finishes it gently so the center stays creamy instead of grainy or cracked.
Below you’ll find the small details that matter most: how to tell when the pie is done, what to do if your spices are clumping, and a few simple ways to adapt it for different diets without losing that classic pumpkin pie feel.
The texture came out silky and set perfectly after chilling. I used the cornstarch and the pie sliced cleanly with no weeping, even after being in the fridge overnight.
Like this crustless pumpkin pie? Save it to Pinterest for a smooth, no-crust holiday dessert that slices cleanly and chills beautifully.
The Secret to a Custard That Sets Without a Crust
Crustless pumpkin pie can go wrong in one of two ways: it stays soft in the middle, or it turns grainy and overbaked around the edges. The fix is in the bake schedule. Starting hot helps the eggs set quickly at the rim, which gives the filling structure, then dropping the oven temperature lets the center finish gently without curdling.
The other thing that matters is the balance between pumpkin and thickener. Pumpkin puree brings flavor and body, but it doesn’t set firmly on its own in a crustless pie. That small amount of flour or cornstarch makes the difference between a slice that holds and a scoop that slides.
- Hot start — The first 15 minutes at 425F give the top and edges enough heat to set before the center has time to slump.
- Low finish — Reducing the oven to 350F keeps the custard tender. High heat for the full bake is what causes cracks and a rubbery texture.
- Just-barely-jiggly center — Pull it when the middle still moves a little like gelatin. It firms up fully as it cools.
- Cooling time — The two-hour chill isn’t optional. That’s when the custard becomes sliceable.
What Each Ingredient Is Actually Doing in This Pie
- Pumpkin puree — This is the backbone of the pie. Use plain pumpkin puree, not pumpkin pie filling, so you control the sweetness and spice.
- Eggs — Eggs are the set here. If you underbeat them or leave streaks in the mixture, the baked pie can bake up patchy, so whisk until the filling looks completely uniform.
- Evaporated milk — It gives the custard a richer, creamier body than regular milk without making it overly heavy. Whole milk will work in a pinch, but the filling will be a little softer.
- Flour or cornstarch — Either one helps the pie hold its shape without a crust. Cornstarch gives a slightly cleaner, smoother finish; flour gives a more classic baked-pie texture.
- Pumpkin pie spice, cinnamon, ginger, cloves, and nutmeg — This layered spice blend keeps the pie from tasting flat. If you only have pumpkin pie spice, you can use that for all the spice and still get a good result.
- Vanilla — It rounds out the spices and keeps the filling from tasting sharp.
- Whipped cream — Add it at serving. It balances the dense custard and gives you that pumpkin pie finish people expect.
Getting the Custard from Liquid to Sliceable
Whisk Everything Until the Filling Looks Uniform
Combine the pumpkin puree, eggs, evaporated milk, sugar, spices, salt, vanilla, and thickener in one bowl and whisk until the mixture looks completely smooth and even in color. Any streaks of egg white or pockets of flour will show up after baking as little bumpy spots or soft seams. The filling should pour like a thick cream, not look foamy or separated.
Bake Hot First, Then Slow It Down
Pour the filling into a buttered 9-inch pie dish and start it at 425F for 15 minutes. That first blast of heat sets the edges and gives the pie structure. Then drop the oven to 350F and bake until the center is just barely jiggly when you nudge the pan. If the top starts to darken too fast, loosely tent it with foil near the end.
Cool Completely Before You Slice
This is the part people rush, and it’s where the pie goes from creamy to messy. Let it cool all the way at room temperature first, then chill it for at least 2 hours. The custard tightens as it cools, and that resting time is what gives you clean slices instead of a spoonable center.
How to Adapt This Crustless Pumpkin Pie for Different Needs
Make it gluten-free
Use cornstarch instead of flour. It sets the filling just as well and gives you a slightly smoother slice. The texture stays custardy, not cakey.
Use dairy-free milk
Swap the evaporated milk for full-fat canned coconut milk or an unsweetened barista-style oat milk. Coconut milk gives the richest result, but it adds a faint coconut note. Oat milk is milder, though the filling may set a little softer.
Reduce the sugar
You can cut the sugar to 1/2 cup if you like a less sweet dessert. The pie will still set the same way, but the spices will taste stronger and the pumpkin will come forward more.
Storage and Reheating
- Refrigerator: Keep covered for up to 4 days. The texture actually improves after a night in the fridge.
- Freezer: It freezes, but the custard can release a little moisture after thawing. Freeze slices tightly wrapped, then thaw in the refrigerator overnight for the best texture.
- Reheating: Serve chilled or let it sit at room temperature for 15 to 20 minutes. Microwaving can make the custard weep, so I don’t recommend warming the whole pie unless you want a softer, less defined slice.
Questions I Get Asked About This Recipe

Crustless Pumpkin Pie
Ingredients
Equipment
Method
- Preheat the oven to 425°F, then butter a 9-inch pie dish for easy release.
- Whisk pumpkin puree, eggs, evaporated milk, granulated sugar, pumpkin pie spice, cinnamon, ginger, cloves, nutmeg, salt, vanilla extract, and all-purpose flour or cornstarch until completely smooth and no streaks remain.
- Pour the custard mixture into the buttered pie dish, scraping the bowl to keep the surface even.
- Bake at 425°F for 15 minutes to set the edges, indicated by a lightly puffed, set outer ring.
- Reduce oven temperature to 350°F and bake 35 to 40 more minutes until the center is just barely jiggly, with a mostly set surface.
- Cool the pie completely at room temperature, then refrigerate for 2 hours until fully chilled and sliceable.
- Serve each slice with whipped cream, piping or spooning around the edge and finishing with a light cinnamon dusting if desired.