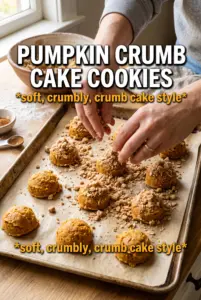
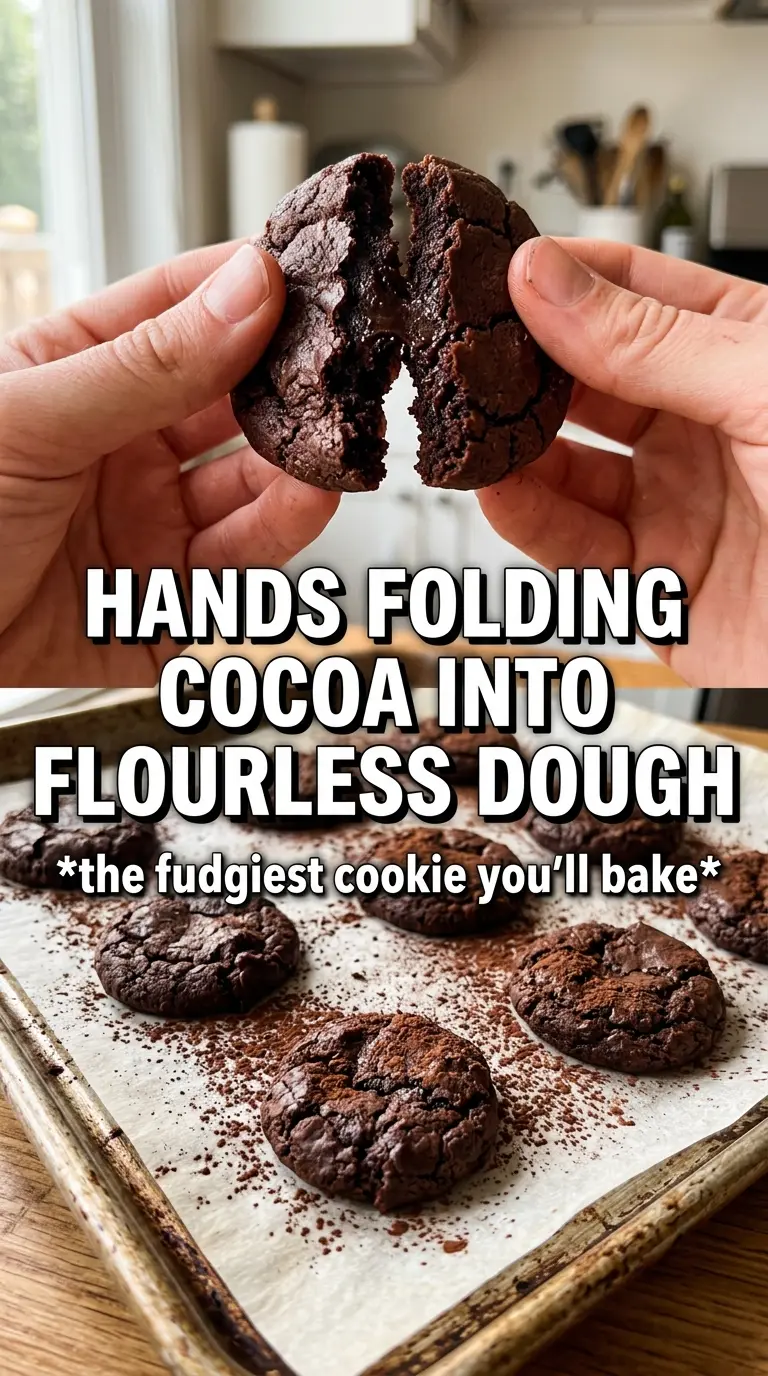
Fudgy, crackled, and deeply chocolatey with a soft pumpkin warmth, these flourless chocolate pumpkin cookies land somewhere between a brownie and a chewy cookie. The tops bake up glossy and wrinkled, the centers stay dense, and the chocolate chips give each bite a little extra melt. They’re the kind of cookie that disappears fast because they taste richer than the short ingredient list suggests.
The trick is keeping the pumpkin puree dry enough to behave. Blotting it first keeps the batter thick instead of loose, which is what lets these cookies hold their shape and develop those signature crinkled tops. Sifting the dry ingredients matters too, because powdered sugar and cocoa can clump and make the batter uneven. Once everything comes together, it should look like a thick, glossy paste that drops neatly from a spoon.
Below, I’ll walk through the one prep step that makes the biggest difference, plus a few smart swaps if you want to adjust the spice level or keep these dairy-free.
I was worried these would turn cakey, but blotting the pumpkin made the batter thick enough to scoop and they came out with those shiny crackly tops just like the photo. Mine needed the full 12 minutes and were perfect after cooling on the tray.
Like these crackly flourless chocolate pumpkin cookies? Save them to Pinterest for the days when you want a fudgy cookie with cocoa, spice, and no flour to measure.
The Pumpkin Isn’t There for Flavor Alone
In flourless cookies, the batter has to do all the structural work on its own. That means every wet ingredient matters, and pumpkin puree can either help or hurt depending on how much water it carries. If you add it straight from the can and it’s loose, the batter spreads too much and the cookies bake up soft in the wrong way. Blotting the puree first keeps the texture dense, which is what gives these cookies their brownie-like center and that lifted, crackled top.
The other thing that matters here is the balance between sugar and cocoa. Powdered sugar melts into the batter more smoothly than granulated sugar, which helps create a glossy finish instead of a grainy one. Sifting the dry ingredients isn’t busywork; it keeps the cocoa from streaking and stops little pockets of spice from showing up in the finished cookie.
- Blotted pumpkin puree — This is the ingredient that needs the most attention. A quick press with paper towels removes enough moisture to keep the batter thick and scoopable.
- Powdered sugar — It dissolves into the batter more evenly than granulated sugar and helps form the shiny surface. Don’t swap in granulated sugar here unless you want a grittier cookie.
- Dark chocolate chips — Use a decent chip that holds some shape. The cookies are already soft and rich, so the chips add contrast instead of just more sweetness.
- Pumpkin pie spice and cinnamon — The spice blend brings the pumpkin forward without making the cookies taste like a spice cookie first. The cinnamon rounds out the cocoa and keeps the flavor from going flat.
What Each Ingredient Is Actually Doing in This Recipe
- Primary ingredient (the star) — Quality matters most. Choose the best you can find.
- Cooking medium (oil, butter, or broth) — This carries flavors and prevents dryness.
- Seasonings (salt, pepper, spices, herbs) — Layer flavors so nothing overpowers. Build depth gradually.
- Aromatics (garlic, onion, herbs) — Cook with fat to bloom flavors. Become the foundation.
- Supporting ingredients — Complement the main ingredient without overpowering it.
- Sauce or liquid (if applicable) — Brings flavors together. Balance richness with acid.
- Acid (lemon, vinegar, wine, or other) — Brightens and prevents flat-tasting results.
- Final finish (garnish, glaze, or sauce) — Prevents one-dimensional taste and adds visual appeal.
Building the Batter So the Tops Crinkle
Sifting the Dry Base
Whisking isn’t enough here; sift the powdered sugar, cocoa, pumpkin pie spice, cinnamon, and salt so the batter starts smooth. Cocoa clumps easily, and if you leave them in, they can streak through the cookies or leave you with bitter little pockets. The mixture should look fine and uniform before any wet ingredients go in.
Bringing in the Pumpkin
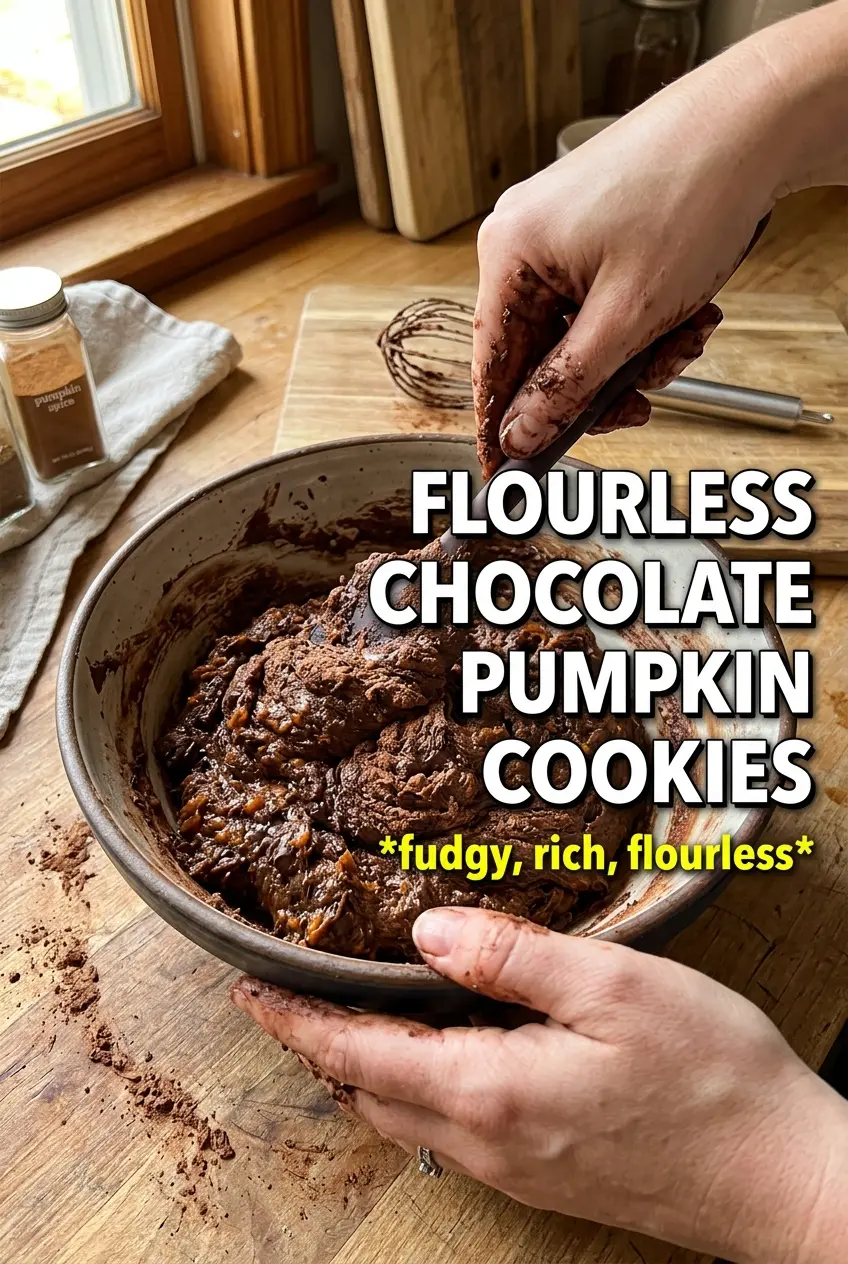
Stir in the blotted pumpkin puree, egg whites, and vanilla until the batter turns thick and glossy. It will look firmer than a typical cookie dough, almost like a dense brownie batter, and that’s exactly what you want. If it seems loose or shiny in a wet way, the pumpkin was probably too damp, and the cookies will spread instead of dome and crackle.
Folding in the Chocolate Chips
Add the chocolate chips last so they stay distributed instead of melting into the batter. Use a spoon or spatula and fold just until they’re mixed in; overworking the batter can loosen it and flatten the cookies. When you drop the dough by heaping tablespoons, it should hold a mound for a moment before settling.
Baking Until the Centers Set
Bake until the tops are crinkled and set around the edges, with the centers still looking just a touch soft. These cookies finish setting as they cool on the pan, so pulling them early is better than waiting for them to look dry. If you overbake them, they lose the fudgy middle and turn more like dry cocoa mounds than cookies.
How to Change the Spice, Chocolate, or Sweetener Without Losing the Texture
For a stronger pumpkin spice finish
Add a little extra pumpkin pie spice on top right after baking. Dusting at the end keeps the spice aromatic and prevents it from blending too deeply into the batter, where it can disappear under the chocolate.
To make them dairy-free
These are already naturally dairy-free if your chocolate chips are dairy-free. That makes this an easy win, but check the chip label since some dark chocolate still contains milk solids.
If you want them a little less sweet
Reduce the chocolate chips slightly and keep the cocoa powder as written. The powdered sugar does the structural work here, so cutting it too much changes the texture; shaving back the chips is the cleaner way to dial down sweetness.
For gluten-free baking with no changes
This recipe is naturally gluten-free as written, since the structure comes from sugar, cocoa, egg whites, and pumpkin rather than flour. Just keep an eye on your spice blend and chocolate chips to confirm they’re processed in a way that works for your needs.
Storage and Reheating
- Refrigerator: Store in an airtight container for up to 5 days. They stay fudgy, though the tops soften a bit after the first day.
- Freezer: Freeze baked cookies in a single layer, then move them to a freezer bag for up to 2 months. Thaw at room temperature so the texture doesn’t turn rubbery.
- Reheating: Warm for 5 to 8 seconds in the microwave if you want the chocolate chips slightly melty. Don’t overheat them or the centers can go from fudgy to dry fast.