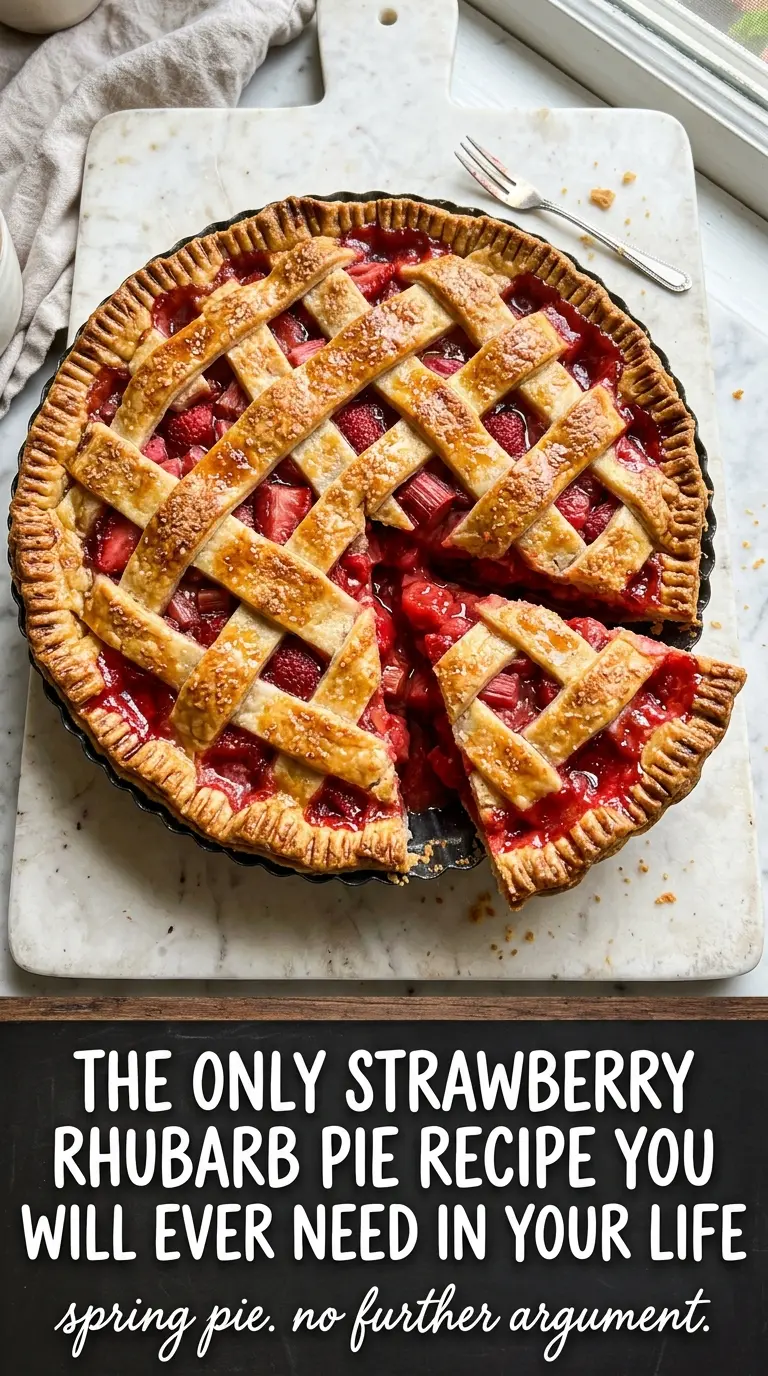
Fresh strawberry rhubarb pie lands right in that perfect middle ground between sweet and tart, with a filling that turns jammy and bright while the crust bakes up flaky and deep golden. When it’s done well, the fruit holds its shape just enough to give you soft strawberry pieces, tender rhubarb, and thick juices that set when the pie cools instead of running all over the plate.
The balance matters here. Strawberries bring perfume and sweetness, but rhubarb gives the pie its backbone, and the cornstarch has to work against all that released juice without turning the filling gluey. That’s why the fruit gets a short rest before baking: the sugar pulls out moisture early, so the thickener can do its job in the oven instead of fighting raw fruit liquid later.
Below, you’ll find the timing trick that keeps the bottom crust from going soggy, plus the one cooling step you really don’t want to rush. A strawberry rhubarb pie is all about patience at the end.
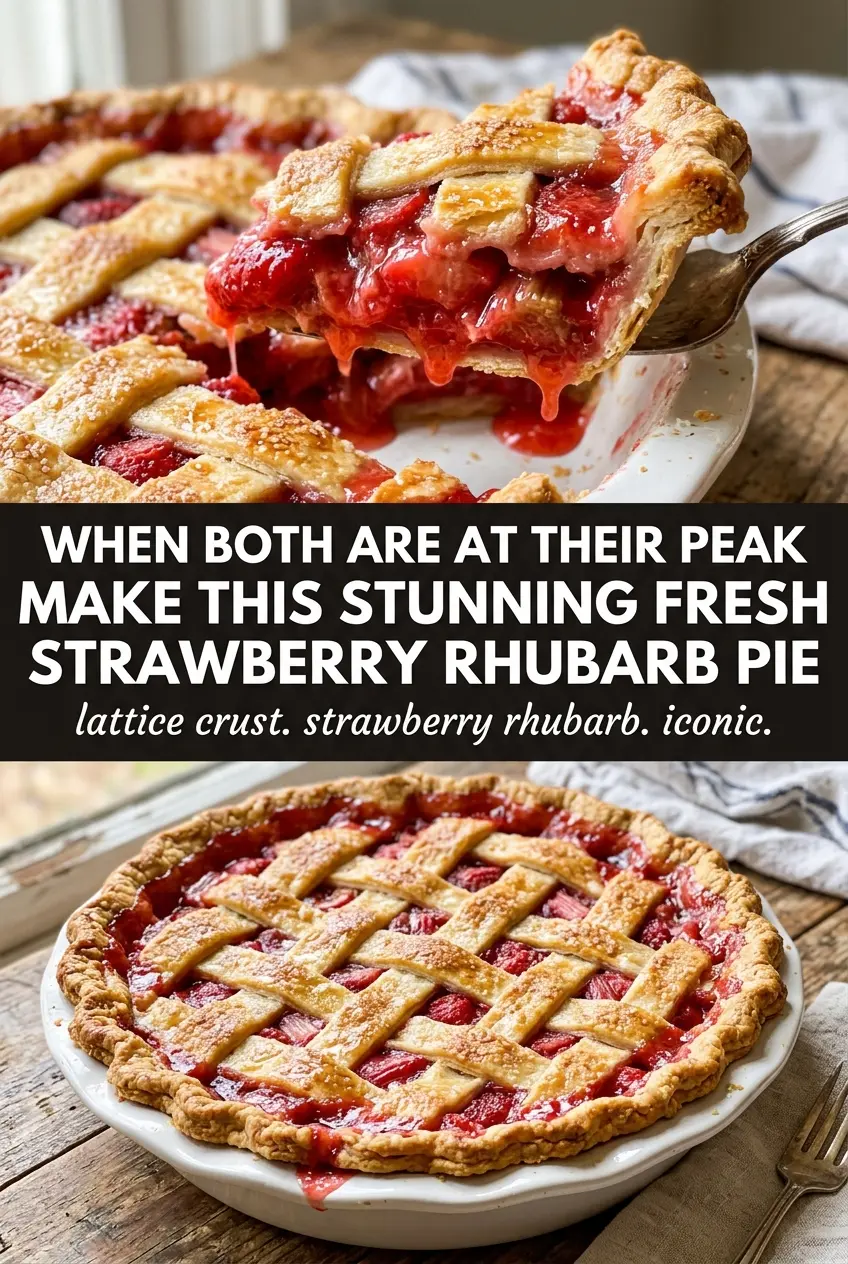
The filling set up beautifully after cooling, and the lattice top stayed crisp instead of turning soggy. I followed the bake time exactly and the juices bubbled right in the center like they were supposed to.
Save this strawberry rhubarb pie for the days when you want a bubbling fruit filling, a crisp lattice top, and a slice that holds together cleanly.
The Part That Keeps Strawberry Rhubarb Pie From Running All Over the Plate
The biggest mistake with strawberry rhubarb pie is cutting it before the filling has finished setting. Hot fruit looks thick in the oven, then turns loose the second you move a slice. This pie needs the full cool-down so the cornstarch can lock onto the fruit juices and turn them into a glossy filling that actually stays put.
The other thing people miss is the brief rest after mixing the fruit with sugar, cornstarch, and salt. That pause pulls out some liquid before the pie goes into the oven, which helps the filling thicken evenly instead of leaving you with a watery bottom and overcooked crust edges. The bake starts hot to set the crust, then drops to finish cooking the fruit without scorching the top.
- Rhubarb — Fresh rhubarb gives the pie its tart edge and holds up better than frozen in the oven. If you use frozen, don’t thaw it first or you’ll end up with extra liquid that the filling has to fight.
- Strawberries — Fresh strawberries keep their shape better and bring the sweet perfume that softens rhubarb’s sharpness. Overripe berries break down fast, so use fruit that’s ripe but still firm.
- Cornstarch — This is what turns the juices into a sliceable filling. Flour can work, but it gives a duller finish and usually needs a little more baking time to lose its raw taste.
- Pie crust — Homemade crust brings the flakiest result, but a good store-bought crust is absolutely fine here. What matters most is keeping it cold so it bakes up crisp instead of shrinking.
Building the Filling So It Bakes Up Thick, Not Soupy
Preheat the oven fully before anything goes in. A hot start helps the bottom crust set before the fruit starts dumping out more juice. Line the pie plate with the bottom crust, keeping it pressed into the corners without stretching it, because stretched dough shrinks back in the oven.
Mix the rhubarb, strawberries, sugar, cornstarch, and salt in a large bowl, then let the mixture sit for 10 minutes. You’ll see syrup forming at the bottom of the bowl; that’s exactly what you want. Pouring that liquid into the crust is what gives the filling enough moisture to bubble and thicken, but if the fruit seems swimming in juice, leave the excess in the bowl instead of dumping every drop into the pie.
Dot the filling with butter before topping the pie. Those little pieces melt into the fruit and give the filling a softer, rounder finish. After that, add the top crust, crimp the edges well, and cut vents if you aren’t using a lattice so steam can escape instead of blowing out the sides.
How to Layer, Bake, and Cool This Pie the Right Way
Setting the Crust
Fit the bottom crust into a 9-inch pie plate and keep it cold while you work. If the dough starts feeling soft or greasy, chill the pan for a few minutes before filling it. That little pause helps the crust stay flaky instead of turning dense.
Mixing the Fruit Filling
Toss the fruit with the sugar, cornstarch, and salt until every piece looks lightly coated. Don’t stop at the first sign of syrup; the coating needs to be even or you’ll get pockets of raw starch and pockets of runny fruit. The filling should look glossy, not dry.
Assembling the Top
Lay on the second crust as a full top or lattice, then trim and crimp the edges tightly. Brush the top with beaten egg and sprinkle with sugar for a crisp, crackly finish. If you’re using a solid top, cut a few sharp vents so the steam has a way out during baking.
Baking Until the Center Bubbles
Bake at 400°F for 20 minutes, then lower the heat to 350°F and bake for another 30 to 35 minutes. The pie is done when the crust is deep golden and the filling is actively bubbling in the center, not just around the edges. If the top browns too fast, tent it loosely with foil while the filling finishes.
Cooling Without Rushing It
Let the pie cool completely for at least 3 hours before slicing. That’s the part that turns a hot fruit pie into clean wedges. Cut it too soon and the filling will spill out, even if the pie looked perfect coming out of the oven.
How to Adapt Strawberry Rhubarb Pie for Different Crusts and Different Kitchens
Lattice Top for Extra Steam Release
A lattice top gives the filling more room to bubble and helps the fruit cook down without trapping too much moisture. It also lets the top crust brown faster, so watch the edges and cover them if they start getting too dark before the center is done.
Frozen Fruit Version
You can use frozen strawberries and rhubarb, but don’t thaw them first. Toss them with the sugar and cornstarch while still frozen, then expect a slightly longer bake and a bit more bubbling before the filling sets.
Gluten-Free Crust
Use a gluten-free pie crust that’s designed for rolling and baking, not a crumb crust. Fruit pies need structure, and a sturdy gluten-free dough can still give you a crisp bottom if you keep it cold and bake until the filling is bubbling through the vents.
Less Sweet, More Tart Filling
If you like a sharper pie, reduce the sugar slightly, but don’t cut it too far or the filling can taste flat and the juices won’t thicken the same way. Sugar isn’t just sweetness here; it also helps draw out moisture and balance the rhubarb.
Storage and Reheating
- Refrigerator: Store covered for up to 4 days. The crust will soften a bit, but the filling stays nicely set.
- Freezer: Baked pie freezes well. Cool completely, wrap tightly, and freeze for up to 2 months. Thaw in the refrigerator before reheating.
- Reheating: Warm slices in a 300°F oven until the crust crisps back up. The microwave makes the crust soft, which is the most common mistake with fruit pie leftovers.
Answers to the Questions Worth Asking
Fresh Strawberry Rhubarb Pie
Ingredients
Equipment
Method
- Preheat the oven to 400°F and line a 9-inch pie plate with the bottom crust. Keep the lattice (if using) ready so the filling can go in immediately.
- Combine rhubarb, strawberries, sugar, cornstarch, and salt in a bowl and let sit for 10 minutes. You should see juices start to form and the mixture thicken slightly.
- Pour the fruit mixture into the bottom crust and dot with butter. Spread it evenly so bubbling is consistent across the pie.
- Top with the second crust (whole or lattice), then trim and crimp the edges. Press firmly along the rim so the juices don’t leak out.
- Brush the top with the beaten egg wash. Finish with egg-washed sheen, especially around the lattice intersections.
- Sprinkle the top with sugar and cut vents if using a solid top crust. Look for visible steam release points to prevent soggy crust.
- Bake for 20 minutes at 400°F. The crust should start turning golden and the filling should begin bubbling through the lattice.
- Reduce the heat to 350°F and bake for 30 to 35 minutes more until the crust is golden and the filling is bubbling. The surface should look set around the edges while still actively bubbling in the center.
- Cool completely for at least 3 hours before slicing. The filling should firm up and thicken so your slice holds its jewel-toned layers.