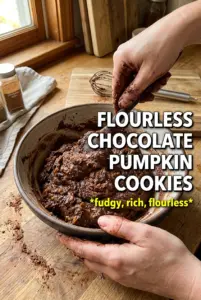
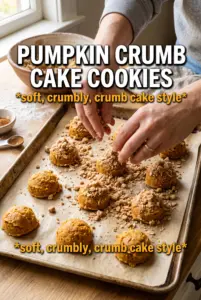
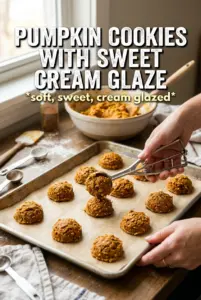
Gluten-free pumpkin bars bake up soft, tender, and warmly spiced with a cream cheese frosting that sets the whole pan off just right. The crumb stays moist without turning heavy, and the bars cut into neat squares after a quick chill, which means you get clean slices instead of a messy frosting slide. They taste like the kind of pumpkin dessert that disappears fast at a potluck but still feels easy enough to make on a regular afternoon.
What makes this version work is the balance in the batter. Pumpkin puree brings moisture, oil keeps the texture plush, and the egg-rich base gives the bars enough structure to hold together without wheat flour. The gluten-free flour blend needs xanthan gum here, because that small bit of support is what helps the bars stay sliceable and not crumbly. The frosting is classic cream cheese frosting with cinnamon mixed in, which gives it just enough warmth to match the bars instead of tasting flat and sugary.
Below you’ll find the exact pan size that keeps these bars thin enough to bake evenly, plus the one chilling step that makes frosting and slicing much easier. If you’ve had gluten-free pumpkin bars turn gummy or fragile before, the details here will help.
The bars baked up soft and cakey, and the cream cheese frosting spread so smoothly after chilling. I cut them after 30 minutes in the fridge and got perfect squares without the frosting smearing everywhere.
Like these gluten-free pumpkin bars? Save them to Pinterest for the days when you want a soft, spiced bar with clean frosting slices.
The Part That Keeps Gluten-Free Pumpkin Bars from Falling Apart
Gluten-free bars fail in a predictable way: they bake up soft, then crumble the second you try to lift a square. The fix isn’t more flour. It’s structure. This batter uses enough eggs to hold the bars together, plus a flour blend that already contains xanthan gum, which helps replace some of the elastic quality wheat normally provides. If your blend doesn’t include xanthan gum, the bars can still bake, but they’ll be more fragile and harder to cut cleanly.
The other thing that matters here is pan size. A 15×10 rimmed sheet gives you the right thickness for pumpkin bars that bake through without drying out. In a deeper or smaller pan, the center can stay tacky while the edges overbake. The goal is a set top, a moist crumb, and a toothpick that comes out clean or with just a few moist crumbs attached.
- Gluten-free all-purpose flour blend — Use a balanced blend made for 1:1 baking, and look for one with xanthan gum already included. That saves you from guessing at structure.
- Pumpkin puree — Use plain pumpkin puree, not pumpkin pie filling. Pie filling is already sweetened and spiced, which throws off both the texture and the flavor.
- Vegetable oil — Oil keeps these bars soft even after chilling. Butter tastes great, but it firms up more in the fridge and can make the bars feel drier.
- Cream cheese frosting — Full-fat cream cheese gives the best tang and the smoothest set. Reduced-fat versions can turn loose and a little watery.
What Each Ingredient Is Actually Doing in This Recipe
- Primary ingredient (the star) — Quality matters most. Choose the best you can find.
- Cooking medium (oil, butter, or broth) — This carries flavors and prevents dryness.
- Seasonings (salt, pepper, spices, herbs) — Layer flavors so nothing overpowers. Build depth gradually.
- Aromatics (garlic, onion, herbs) — Cook with fat to bloom flavors. Become the foundation.
- Supporting ingredients — Complement the main ingredient without overpowering it.
- Sauce or liquid (if applicable) — Brings flavors together. Balance richness with acid.
- Acid (lemon, vinegar, wine, or other) — Brightens and prevents flat-tasting results.
- Final finish (garnish, glaze, or sauce) — Prevents one-dimensional taste and adds visual appeal.
Building the Batter Before the Pumpkin Can Weigh It Down
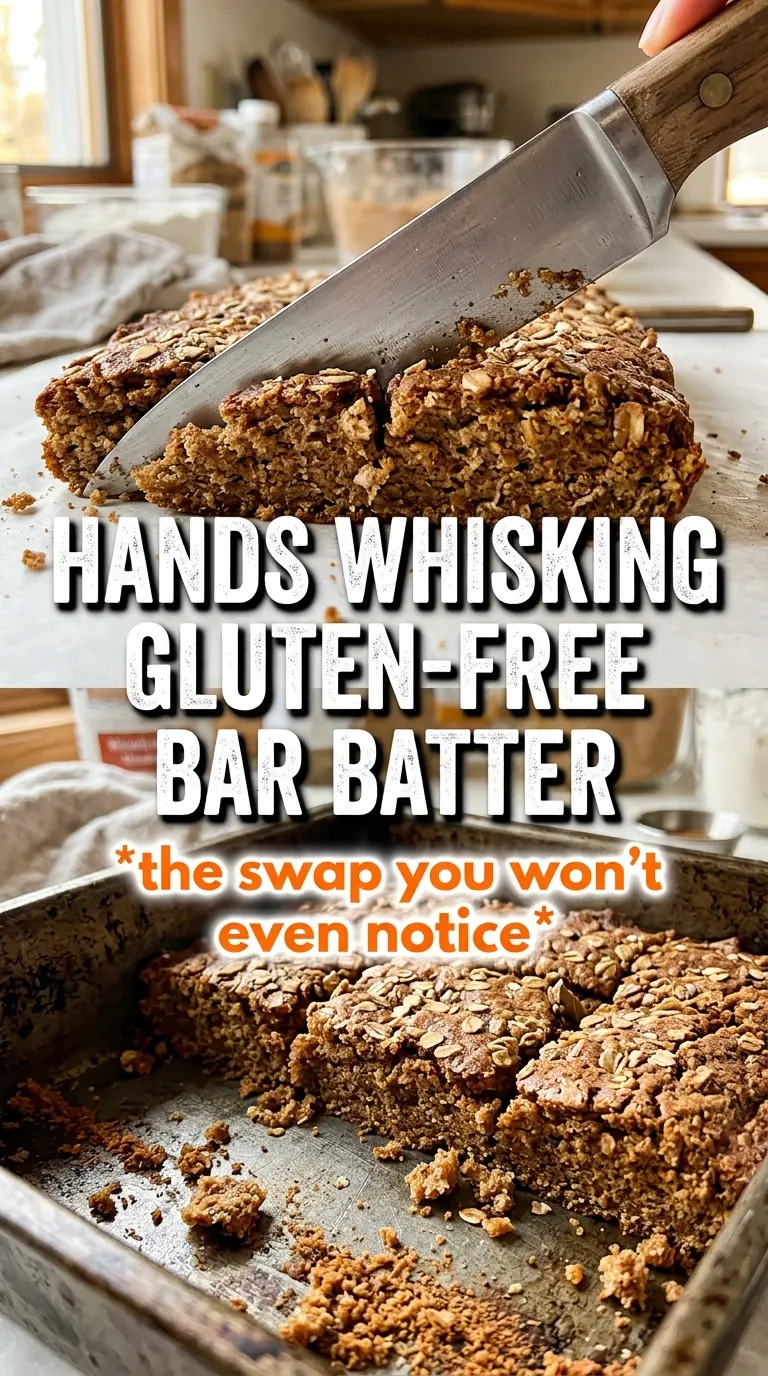
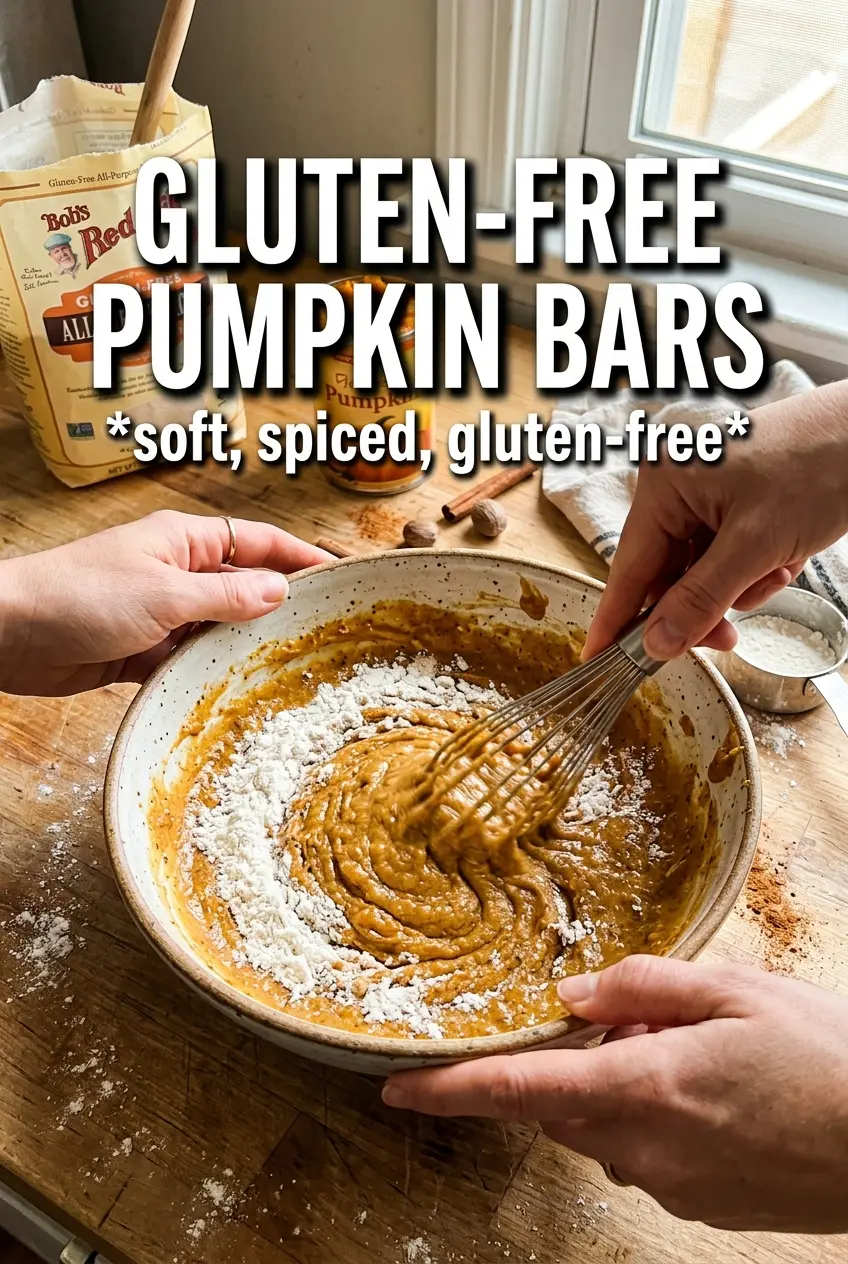
Start by whisking the dry ingredients well so the baking powder, baking soda, and spices are evenly spread through the flour. That keeps the bars from tasting uneven or baking with little pockets of spice. In a separate bowl, beat the eggs, sugar, oil, pumpkin, and vanilla until the mixture looks smooth and glossy. You don’t need to whip in much air; you’re building an even base, not a fluffy cake batter.
When the dry ingredients go in, fold just until the flour disappears. Overmixing gluten-free batter can still make the finished texture tight and gummy, especially once the starches begin to hydrate. Spread the batter evenly in the pan and bake until the center springs back lightly and a toothpick comes out clean. If the top looks done but the middle still sticks, give it a few more minutes and keep the oven door closed so the bars don’t sink.
Whisking the Dry Mix
Whisk the flour blend, baking powder, baking soda, pumpkin pie spice, cinnamon, and salt until the color looks uniform. You want the spices fully distributed before they ever hit the wet bowl. If you see little streaks of cinnamon later, that’s a sign the dry ingredients weren’t mixed enough.
Mixing the Wet Base
Beat the eggs, sugar, oil, pumpkin puree, and vanilla until the mixture looks smooth and slightly thickened. The sugar should be mostly dissolved and the batter should look even from edge to edge. If it still looks streaky, keep mixing for another 20 to 30 seconds before adding the flour.
Baking to a Clean Center
Pour the batter into the greased rimmed pan and spread it into the corners in an even layer. Bake at 350°F for about 25 to 28 minutes, checking near the end for a center that springs back and a toothpick that comes out clean. Pull them before the edges turn dark; gluten-free pumpkin bars dry out fast once they go past done.
Frosting and Chilling for Clean Slices
Cool the bars completely before frosting, or the cream cheese layer will soften and slide. Beat the frosting ingredients until fluffy, then spread it all the way to the edges in an even layer. Chill the pan for at least 30 minutes before cutting so the frosting firms up and the squares release cleanly.
How to Adapt These Bars Without Losing the Soft Crumb
Dairy-Free Version
Use a dairy-free cream cheese and a plant-based butter for the frosting. The bars themselves are already dairy-free, so this swap keeps the texture close to the original, though the frosting may be a touch softer and need a longer chill before slicing.
Lower-Sugar Frosting
You can reduce the powdered sugar slightly, but stop before the frosting becomes loose. Powdered sugar isn’t just sweetness here; it’s what gives the frosting enough body to spread and set. If you cut it too far, the topping turns soft and slides on the bars.
Turning Them Into Cupcakes or Muffins
The batter can be baked in lined muffin tins, but the timing changes a lot. Start checking early and expect a drier edge than you get in the sheet pan version. The bars have more surface area for frosting, so the finished dessert will feel a little less plush and a little more cake-like.
Storage and Reheating
- Refrigerator: Store covered for up to 5 days. The bars actually slice a little cleaner after a full chill, but the frosting will soften if left out too long.
- Freezer: Freeze unfrosted bars for up to 2 months, wrapped tightly and layered with parchment. Frosted bars can freeze, but the topping may lose some of its smooth texture after thawing.
- Reheating: These are best served chilled or at cool room temperature, not reheated. If you want to take the chill off, leave a square on the counter for 15 to 20 minutes. Microwaving softens the frosting and can make the crumb feel greasy.
Answers to the Questions Worth Asking
Gluten-Free Pumpkin Bars
Ingredients
Equipment
Method
- Preheat the oven to 350F and grease a 15x10 rimmed baking sheet.
- Whisk together gluten-free all-purpose flour blend, baking powder, baking soda, pumpkin pie spice, cinnamon, and salt.
- Beat the eggs, granulated sugar, vegetable oil, pumpkin puree, and vanilla until smooth.
- Fold the dry flour mixture into the pumpkin mixture until just combined, then pour the batter into the prepared pan.
- Bake for 25-28 minutes, until a toothpick comes out clean, then cool completely.
- Beat cream cheese, butter, powdered sugar, vanilla, and cinnamon until fluffy.
- Spread the frosting over the cooled bars.
- Chill the frosted bars for 30 minutes before cutting, so the frosting sets.