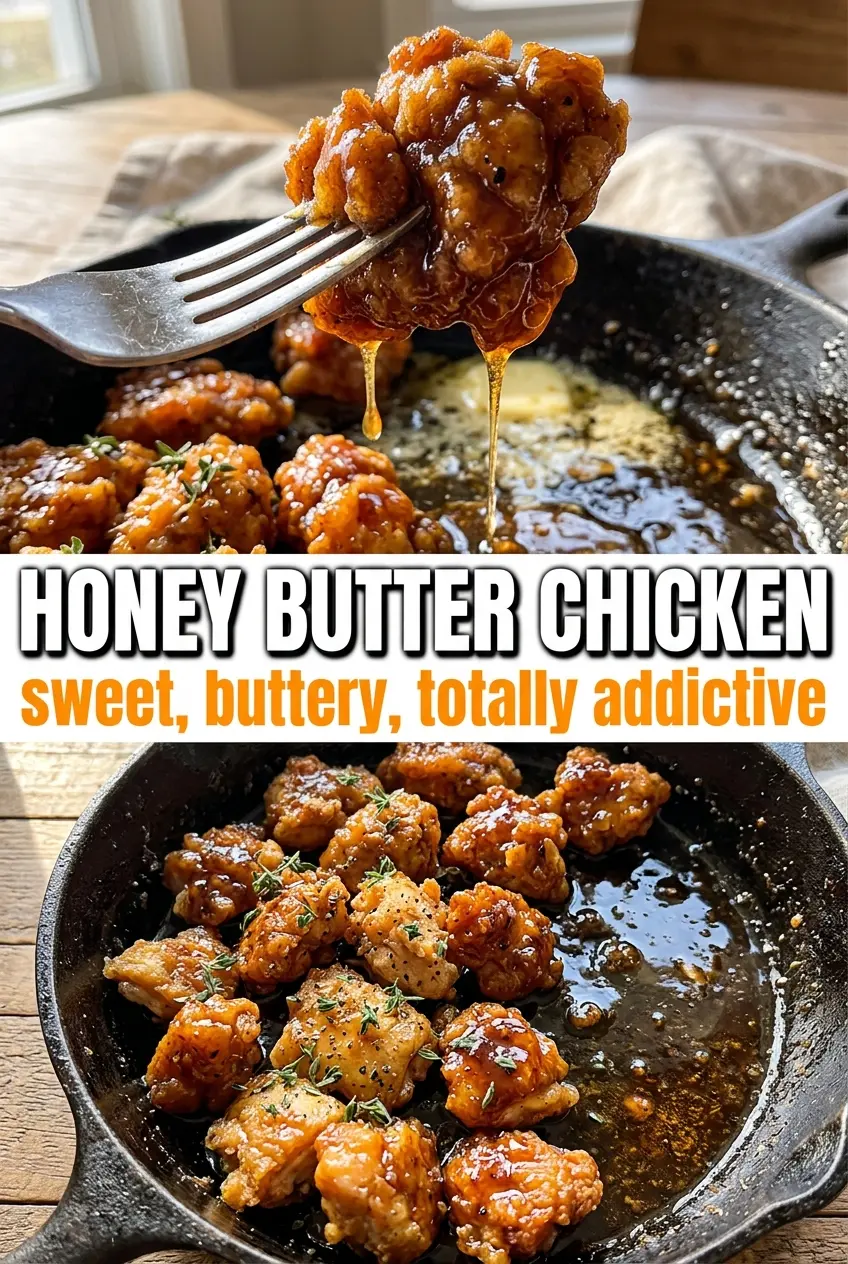
Caramelized honey butter chicken brings the kind of glossy, pan-coated finish that makes a plain skillet dinner feel a little more special without turning into a project. The chicken stays juicy under a sticky amber sauce, and every bite lands with that sweet-salty balance that keeps you going back for one more forkful.
What makes this version work is the order of operations. The chicken gets a real sear first, which builds flavor and keeps the sauce from doing all the work. Then the butter, honey, soy sauce, and vinegar go into the same pan, where the browned bits dissolve into the glaze instead of getting washed away. That little splash of vinegar matters more than it looks like it should. It keeps the sauce from tasting flat and gives the honey enough edge to cling to the chicken instead of feeling sugary.
Below, I’ll walk you through the skillet cues that matter, the ingredient swaps that still hold up, and the one reheating method that keeps the sauce from turning greasy or tight.
The sauce thickened into this glossy glaze right in the pan, and the garlic stayed mellow instead of burning. I basted the chicken for a couple of minutes and it came out coated on every side.
Save this honey butter chicken for the nights when you want a glossy skillet glaze and juicy chicken with almost no cleanup.
The Trick Is Searing the Chicken Before the Honey Goes In
The biggest mistake with a sweet skillet sauce is letting the honey hit the pan too early. Honey burns fast, and once it goes dark, the whole dish tastes bitter instead of glazed. Sear the chicken first until it’s deep golden on both sides, then pull it out before building the sauce in the same pan. Those browned bits at the bottom are the backbone of the flavor.
Another thing that matters here is thickness. If your chicken breasts are wildly uneven, the outside will overcook before the center is done. Pounding them to a more even thickness helps them sear cleanly and finish in the sauce without drying out.
What Each Ingredient Is Actually Doing in This Skillet

- Chicken breasts — Boneless, skinless breasts give you a lean base that picks up the sauce well. If they’re especially thick, slice them horizontally or pound them slightly so they cook through before the glaze gets too dark.
- Butter — This is where the sauce gets its richness and shine. Unsalted butter is the safer choice because the soy sauce already brings salt, and you want control over the finish.
- Honey — Honey makes the glaze cling and gives the chicken that amber sheen. There isn’t a perfect substitute for the texture it brings, but maple syrup works in a pinch; the sauce will taste a little deeper and less floral.
- Soy sauce and apple cider vinegar — Soy sauce adds salt and umami, while vinegar keeps the glaze from turning one-note sweet. If you need a gluten-free version, use tamari in the same amount.
- Garlic — Fresh garlic perfumes the sauce fast, but it only needs about a minute in the butter. If it browns too far before the honey goes in, it turns harsh, so keep the heat moderate.
Building the Glaze Without Burning It
Getting the Sear Right
Season the chicken well before it hits the pan, then sear it in hot olive oil until the surface turns a deep golden brown and releases easily from the skillet. If it sticks, it isn’t ready yet. Once it’s ready, it’ll lift without tearing. Don’t crowd the pan, or the chicken will steam and miss that browned edge you need for the sauce.
Making the Honey Butter Sauce
After the chicken comes out, lower the heat and melt the butter in the same skillet. Add the garlic and stir just until it smells fragrant, not browned. Then pour in the honey, soy sauce, and vinegar, and let the sauce come to a gentle simmer. If the heat is too high here, the honey can tighten and taste scorched before the chicken goes back in.
Finishing the Chicken in the Glaze
Return the chicken to the skillet and spoon the sauce over the top as it cooks for the last couple of minutes. The sauce should thicken enough to coat the back of a spoon and leave a shiny trail over the chicken. If it still looks thin, let it bubble for another minute or two; if it turns too thick, add a teaspoon of water and stir it through.
Serving It at Its Best
Plate the chicken right away and scrape every last bit of sauce over the top. Fresh thyme gives the sweetness a clean finish, and flaky salt makes the glaze taste brighter without turning it salty. This dish is at its best hot from the skillet, when the sauce is still glossy and the edges of the chicken are coated rather than sticky-dry.
How to Adapt Honey Butter Chicken Without Losing the Glaze
Use Chicken Thighs for a Richer Finish
Boneless skinless thighs work well if you want a juicier, slightly richer result. They usually need a few extra minutes in the skillet, but they’re more forgiving than breasts and hold up well under the glaze.
Make It Gluten-Free
Swap the soy sauce for tamari in the same amount. You’ll keep the same savory depth and salt balance without changing the texture of the sauce.
Cut the Sweetness Slightly
If you prefer a less sweet glaze, reduce the honey by 1 to 2 tablespoons and keep the vinegar where it is. The sauce will still coat the chicken, but the flavor lands more savory and less candy-like.
Add Heat Without Changing the Structure
A pinch of red pepper flakes with the garlic gives the glaze a gentle kick without thinning it out. That small amount of heat plays well with the honey and keeps the sauce from reading too sweet.
Storage and Reheating
- Refrigerator: Store leftovers in an airtight container for up to 3 days. The sauce will thicken as it chills.
- Freezer: It freezes, but the glaze can separate a bit after thawing. Freeze in a shallow container for up to 2 months, then thaw in the fridge overnight.
- Reheating: Warm gently in a covered skillet over low heat with a splash of water to loosen the sauce. High heat will make the honey tighten and can dry out the chicken.
Questions I Get Asked About This Recipe
Honey Butter Chicken
Ingredients
Equipment
Method
- Season the chicken breasts with salt, pepper, garlic powder, and smoked paprika. Heat the olive oil in a large skillet over medium-high heat and sear the chicken for 5-6 minutes per side until deeply golden and the internal temperature reaches 165°F, then remove.
- Melt the butter in the same pan over medium heat. Add the minced garlic and cook for 1 minute, until fragrant and lightly golden.
- Stir in the honey, soy sauce, and apple cider vinegar. Bring the mixture to a simmer, then keep it gently bubbling to start the caramelization.
- Return the chicken to the pan and cook for 2-3 minutes, turning and basting as you go. Cook until the sauce caramelizes and coats the chicken in a glossy amber glaze.
- Plate the chicken and drizzle with any remaining sauce from the skillet. Finish with fresh thyme leaves and flaky sea salt.