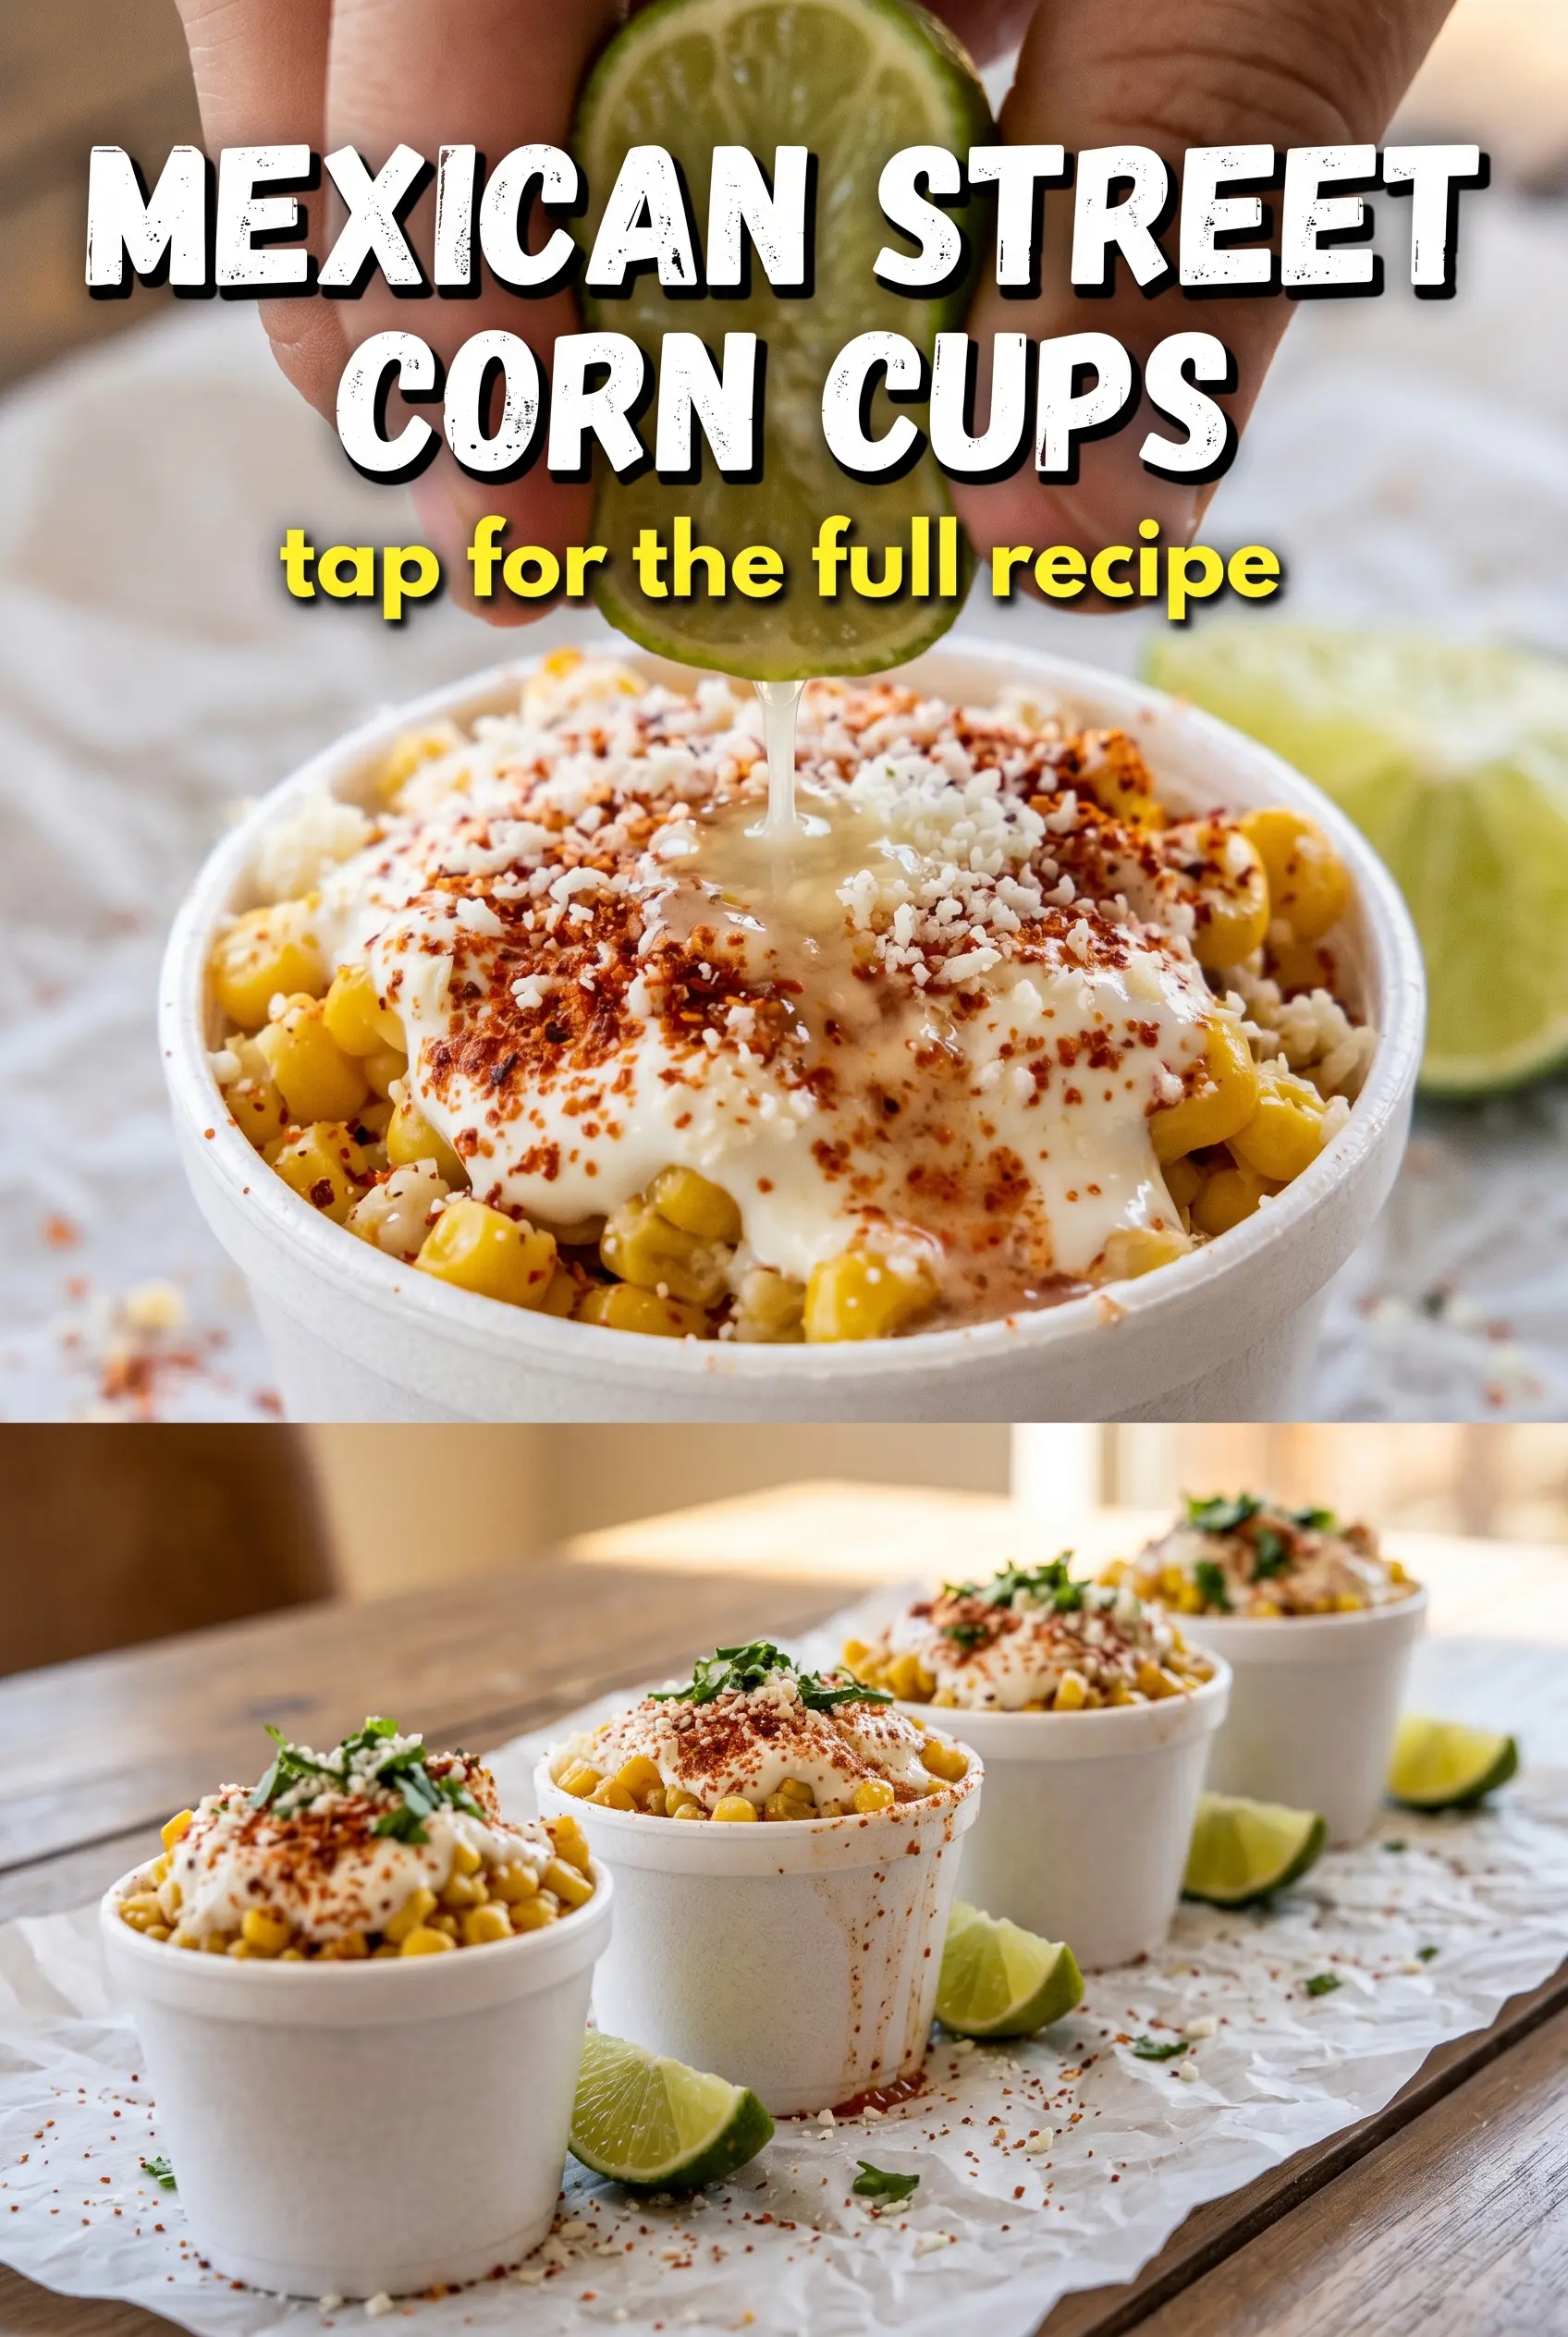
Crispy, charred corn and a cool, creamy cotija topping hit every note this dish needs. The corn gets enough time in a hot pan to pick up those browned edges that taste like summer street food, while the cheese mixture stays bright, salty, and just rich enough to cling to every kernel. Served in small cups, it feels fun and casual without losing the part that matters most: the contrast between hot corn, tangy lime, and that creamy finish.
The trick is giving the corn real contact with the pan instead of rushing it. If the skillet is too cool or overcrowded, the kernels steam and go pale. A little space, a hot cast iron pan, and patience turn plain corn into something with depth. Cotija brings the salty crumble that makes this taste authentic, while mayonnaise keeps the topping lush and helps the garlic and chili powder spread evenly instead of sitting in dry patches.
Below, you’ll find the small details that make these Mexican Street Corn Cups work every time, plus a few smart variations if you want to adjust the heat, swap the dairy, or prep them for a crowd.
The corn got those perfect browned spots in my cast iron, and the limey cotija topping balanced it out instead of making it heavy. I served them in little cups for taco night and they disappeared first.
Like these Mexican Street Corn Cups? Save them for the nights when you want smoky corn, creamy cotija, and a fast side that tastes like street food.
The Corn Needs Space to Char, Not Steam
The biggest mistake with street corn in a skillet is crowding the pan. Corn kernels need direct heat and a little breathing room to blister properly, and if they’re piled too thick, they’ll turn soft before they ever brown. That char is where the dish gets its depth, so don’t rush this part.
Cast iron helps because it holds heat when the corn goes in. Stir occasionally, not constantly, so the kernels can sit against the hot surface long enough to color. If the pan looks dry, the butter is working; if the corn looks pale after several minutes, the heat isn’t high enough or the pan is overloaded.
What the Cotija Mixture Is Doing Besides Adding Cheese
- Cotija cheese — This is the salty, crumbly anchor of the topping. It won’t melt into a smooth sauce, and that’s the point; it gives each bite little pops of savory richness. If you can’t find cotija, feta is the closest substitute, though it’s a little tangier and less mellow.
- Mayonnaise — Mayo carries the seasonings and gives the topping that creamy street-corn texture. Use a good store-bought mayonnaise here; it doesn’t need to be fancy, but it does need to be full-fat so the topping clings instead of turning loose and oily. Greek yogurt works in a pinch, though it tastes sharper and less classic.
- Lime — The lime juice wakes everything up at the end. Add it right before serving so the topping stays bright and the corn keeps its charred flavor. Bottled juice works only if that’s all you have, but fresh lime makes the whole bowl taste cleaner.
- Cilantro and garlic — These are what keep the dish from tasting flat. Chop the cilantro finely so it distributes evenly, and mince the garlic small enough that it disappears into the cheese mixture instead of hitting in raw chunks. If you’re sensitive to raw garlic, use one small clove instead of two.
Getting the Charred Corn and Creamy Topping to Meet in the Middle
Blistering the Corn
Cut the kernels from the cob, then spread them in a hot skillet with the melted butter. Let them sit long enough to pick up color before stirring, because constant movement prevents browning. You’re looking for golden kernels with a few dark spots at the edges and the smell of toasted corn; if they taste flat, they probably never got hot enough.
Mixing the Cheese Base
Stir the cotija, mayonnaise, cilantro, garlic, chili powder, salt, and pepper together in a bowl until the mixture looks thick and speckled. The texture should be spoonable, not runny. If it seems loose, the mayo is doing its job and the cheese will firm it up a bit once it sits on the warm corn; don’t thin it with extra lime juice here.
Building the Cups
Spoon the corn into small bowls or corn husks while it’s still warm so the topping softens just slightly on contact. Add the cheese mixture over the top instead of stirring it all together; that keeps the contrast between hot kernels and cool creaminess. Finish with a squeeze of lime right at the end so the bright acid stays sharp and doesn’t fade.
Add heat with jalapeño
Finely dice a little fresh jalapeño and fold it into the corn while it cooks, or scatter it over the top for a sharper bite. This keeps the heat bright instead of burying it under the creamy topping.
Make it dairy-free without losing the creamy finish
Use a dairy-free butter for the corn and swap the cotija-mayo topping for a dairy-free mayonnaise mixed with a little crumbled plant-based feta. The flavor shifts a bit, but you still get the salty, tangy contrast that makes the dish work.
Turn it into a gluten-free appetizer spread
Serve the corn cups with sturdy gluten-free tortilla chips or spoon them into small lettuce cups for a lighter bite. The recipe is naturally gluten-free as written, so this is mostly about how you present it.
Make-ahead for a party
Cook the corn and mix the topping a few hours ahead, then store them separately and assemble just before serving. If the corn sits too long with the topping on it, the texture softens and you lose the contrast that makes these cups stand out.
Storage and Reheating
- Refrigerator: Store the corn and topping separately for up to 3 days. The corn will lose some of its crisp edges, but the flavor holds up well.
- Freezer: Freezing isn’t a good fit here. The creamy topping separates, and the corn turns watery after thawing.
- Reheating: Warm the corn in a skillet over medium heat until hot, then add the topping after it’s off the burner. Microwaving the assembled cups makes the cheese mixture greasy and soft, which flattens the whole dish.
Questions I Get Asked About This Recipe
Mexican Street Corn Cups
Ingredients
Equipment
Method
- Cut the corn kernels from the husks using a sharp knife so all kernels are freed from the cob.
- Heat a cast iron skillet over medium-high heat until hot, then add the melted butter and corn kernels.
- Stir occasionally and cook until the kernels char and turn golden, about 12-15 minutes, using the skillet’s hot surface to create crispy edges.
- In a bowl, combine cotija cheese, mayonnaise, chopped cilantro, minced garlic, chili powder, salt, and pepper until evenly mixed and thick.
- Divide the charred corn among four small bowls or corn husks, distributing kernels evenly.
- Spoon the cotija cheese mixture over the corn cups so each portion is topped generously.
- Squeeze fresh lime juice over the top, then serve warm immediately for the best crisp-tender texture.