Pan-fried cabbage and noodles lands in that sweet spot between humble and unforgettable. The noodles come out glossy, the cabbage turns sweet and deeply golden, and the onions melt down into the butter until the whole pan tastes richer than the ingredient list suggests. It’s the kind of dinner that feels quiet and comforting, but still has enough caramelized edges and peppery finish to keep you going back for another forkful.
The trick is giving the cabbage time to take on color before the noodles go in. If the pan is crowded or the heat is too low, the vegetables steam and the dish tastes flat. Browned butter isn’t just for show here, either; it coats the noodles and picks up all the savory bits stuck to the pan, which is where a lot of the flavor lives.
Below, I’m walking through the timing that keeps the cabbage tender instead of limp, plus the swaps that still keep this dish in its haluski lane when you’re working with what you’ve got.
The cabbage turned sweet and caramelized without getting mushy, and the browned butter gave the noodles a deeper flavor than I expected. My husband went back for seconds before I even sat down.
Craving those buttery, caramelized cabbage and noodles edges? Save this pan-fried haluski for the night you want a budget-friendly dinner with deep golden flavor.
The Reason the Cabbage Needs Time Before the Noodles Go In
Most cabbage and noodle dishes fail for one of two reasons: the cabbage is still pale, or the noodles sit in the pan long enough to turn heavy and greasy. The fix is to let the onion and cabbage take on real color before the noodles are added. That browning changes the dish from soft and bland to sweet, savory, and worth making again.
Medium heat gives you control. If the pan runs too hot, the butter burns before the vegetables soften. Too low, and the cabbage steams in its own moisture. You want a little sizzle, then patience. Stir often enough to keep things from sticking, but not so often that the cabbage never gets a chance to sit against the pan and caramelize.
- Onion — This is the first layer of sweetness. It needs the full 10 minutes so it can soften and start browning before the cabbage goes in.
- Cabbage — Thin slices matter here. Thick pieces stay bulky and waterlogged longer, which keeps them from developing those deep golden edges.
- Butter — Dividing it matters. The first portion cooks the vegetables, and the second coats the noodles at the end so the whole dish tastes rich instead of oily.
What Each Ingredient Is Actually Doing in the Pan
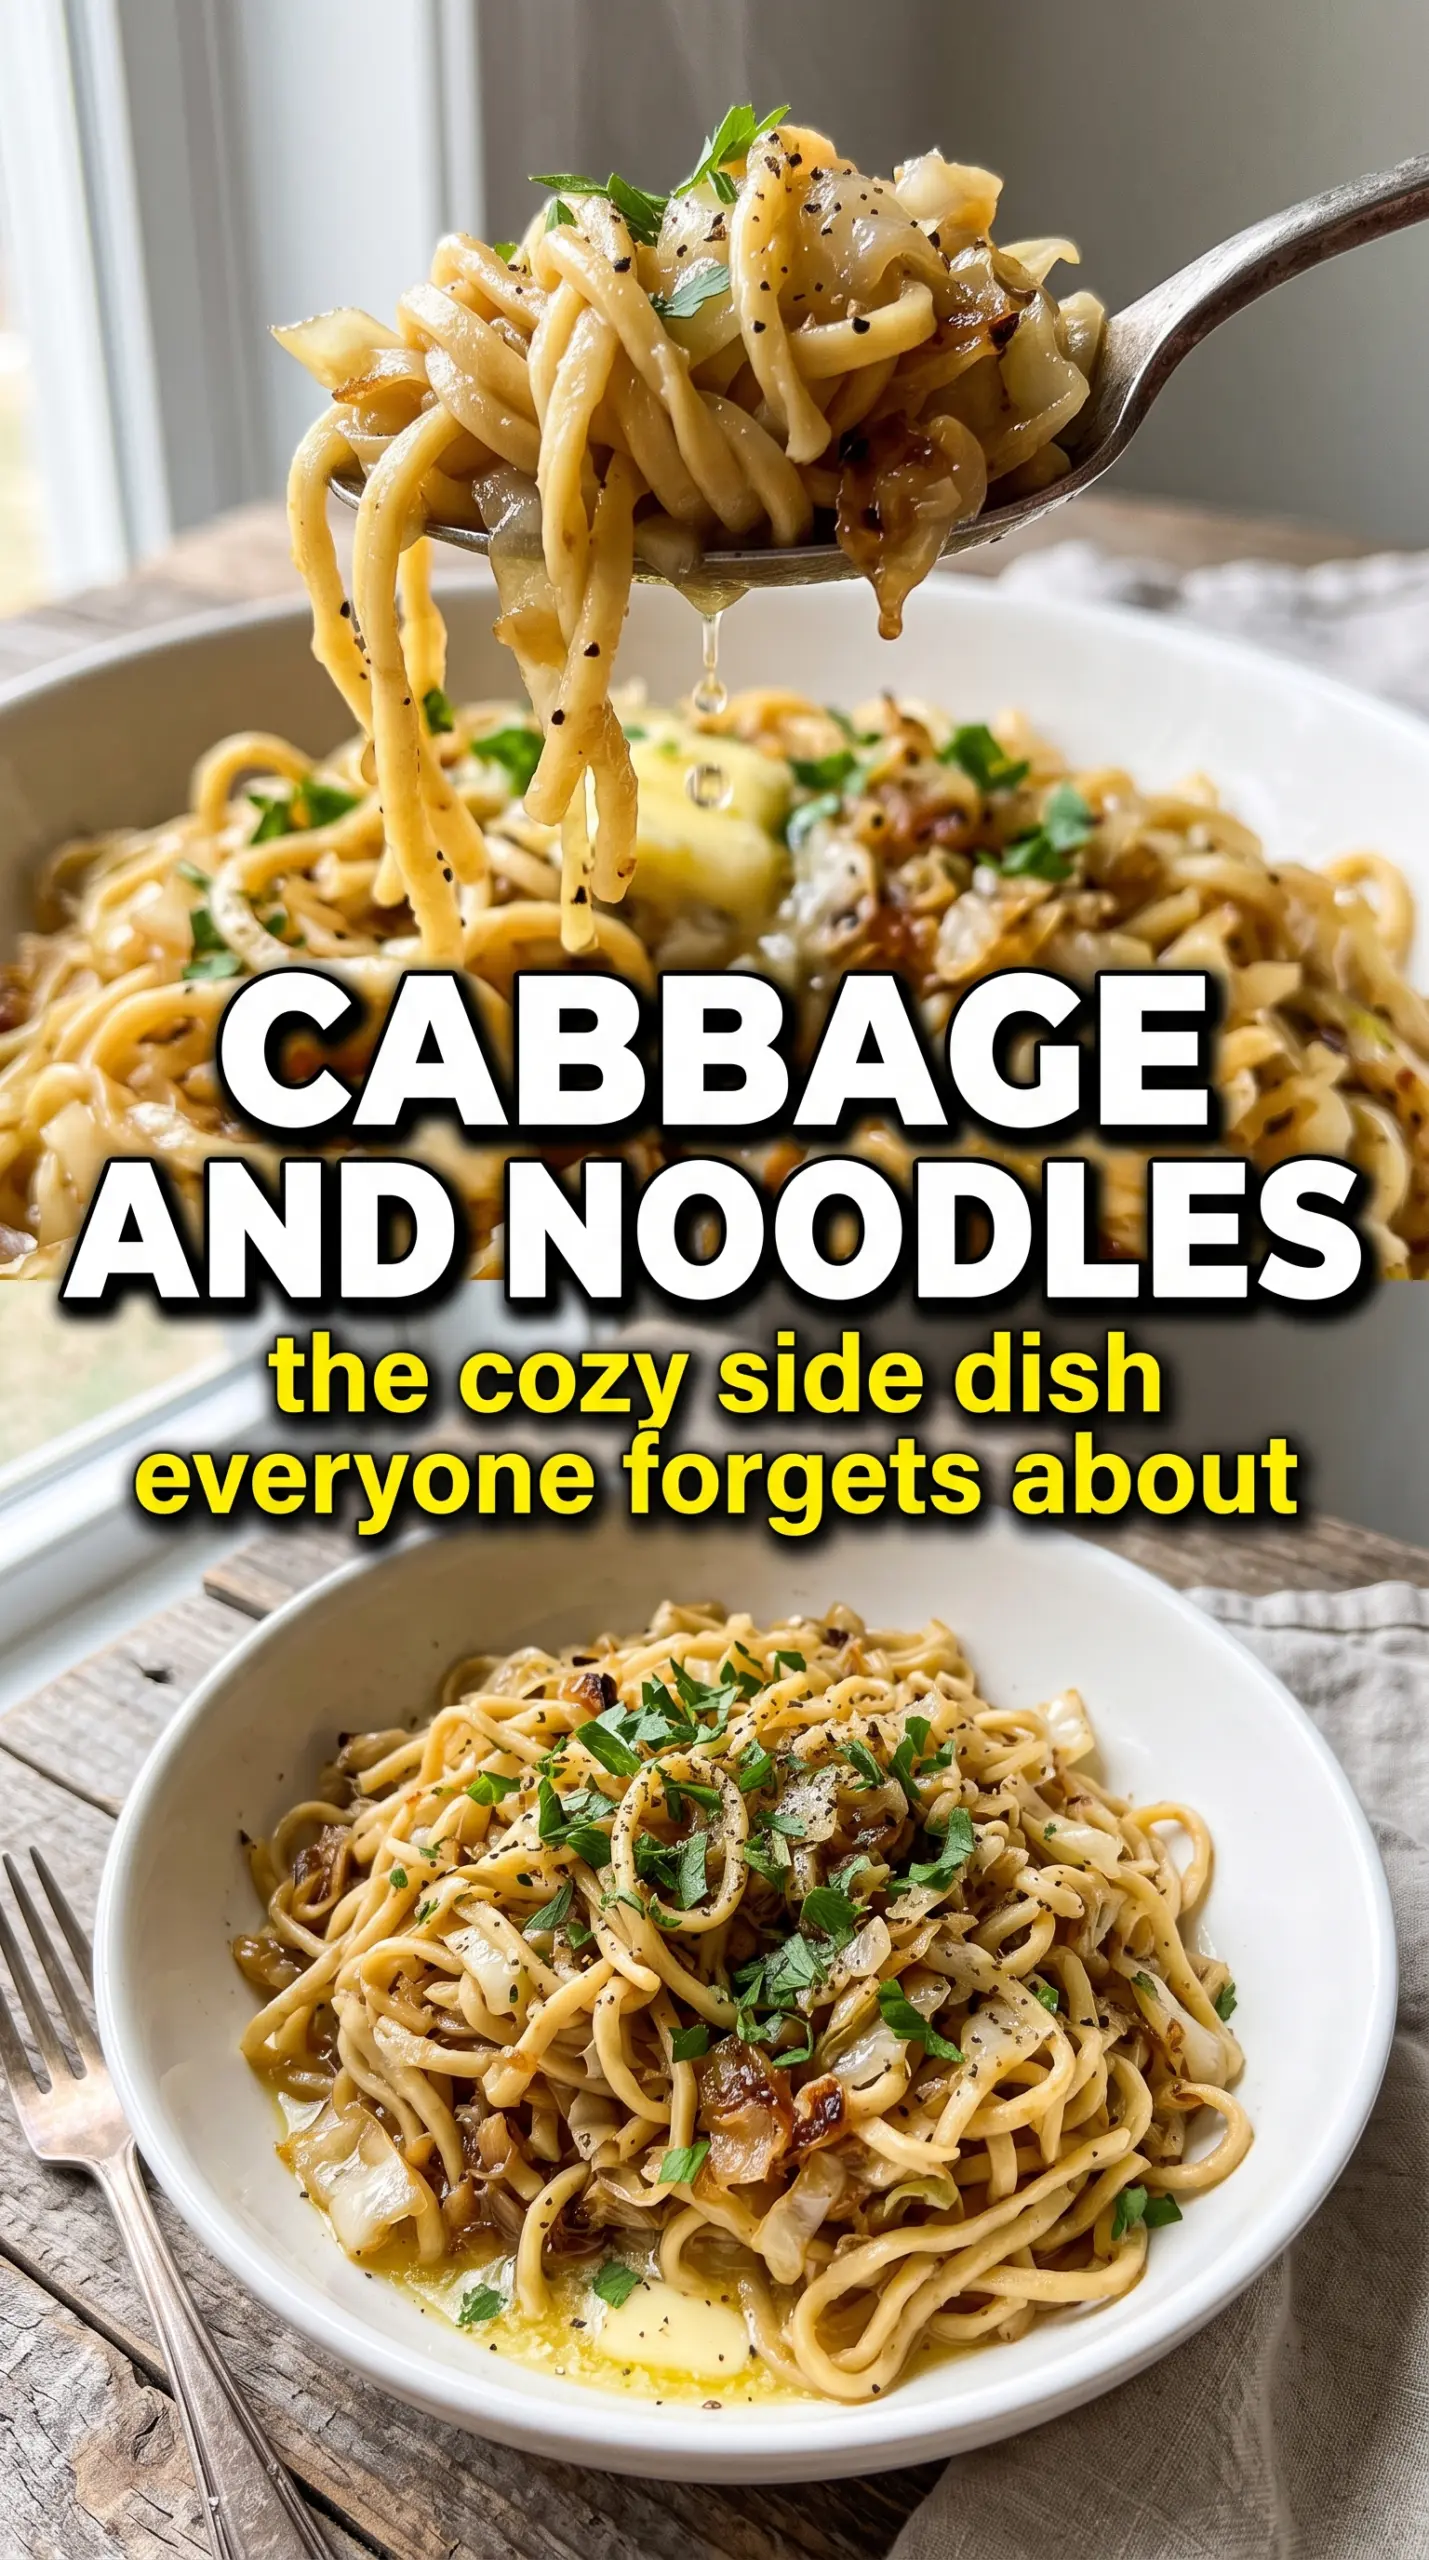
- Wide egg noodles — Their broad shape catches the butter and little browned bits from the pan. If you swap in a thinner noodle, the dish still works, but it won’t feel as plush.
- Green cabbage — This is the backbone of the dish. Green cabbage softens well and turns sweet when browned; red cabbage or napa will cook differently and won’t give the same result.
- Butter — This is where the flavor gets round and savory. If you need a dairy-free version, a good olive oil works, but you’ll lose that browned, nutty finish.
- Caraway seeds — Optional, but they pull the dish toward classic Eastern European flavor. A little goes a long way; toast them briefly with the garlic so they wake up without turning bitter.
- Sour cream and dill — Both are serving touches, not filler. The sour cream cuts the richness, and fresh dill gives the final bite a clean, grassy lift.
Getting the Vegetables Brown Before the Noodles Take Over
Softening the Onion First
Melt 4 tablespoons of the butter in a large skillet over medium heat, then add the onion with a pinch of salt. Cook it until it starts to turn translucent and picks up some color at the edges, about 10 minutes. If the onion is still crunchy when the cabbage goes in, the whole pan tastes unfinished. A little browning here builds the base for everything that follows.
Caramelizing the Cabbage
Add the sliced cabbage and keep cooking for 10 to 12 minutes, stirring occasionally. The goal is deep golden strands with tender bite, not pale, wilted cabbage. If the pan looks dry before the cabbage browns, add another small knob of butter, but don’t flood it. You want the edges to sizzle and the bottom of the pan to collect browned spots, because those bits are what the noodles will pick up later.
Finishing with Noodles and Butter
Stir in the garlic and caraway, if using, and cook for one minute just until fragrant. Add the remaining butter and the cooked noodles, then toss everything over medium heat until the noodles are coated and hot. The pan should look glossy, not soupy. If the noodles clump, separate them with tongs while they’re still warm; once they cool, they hold together tighter and are harder to coat evenly.
How to Adapt This for a Bigger Crowd, a Lighter Plate, or a Dairy-Free Pan
Dairy-Free Version
Use olive oil or a plant-based butter instead of dairy butter. You’ll still get the sweet cabbage and onion, but you’ll lose the nutty browned-butter note, so lean harder on black pepper and a little extra salt at the end.
Gluten-Free Swap
Use a sturdy gluten-free egg noodle or a short pasta that holds up in the skillet. Cook it just shy of fully tender so it doesn’t turn soft when you toss it back into the hot cabbage.
Make It Heartier
Add diced kielbasa, smoked sausage, or crispy bacon after the onions brown. Each one brings salt and smoke, which makes the dish more robust but also moves it away from the clean, buttery cabbage flavor at the center of the recipe.
Storage and Reheating
- Refrigerator: Store leftovers for up to 4 days. The noodles absorb some of the butter, so the dish gets a little denser after chilling.
- Freezer: It freezes, but the cabbage softens more after thawing. For the best texture, freeze in portions and expect a slightly softer skillet finish.
- Reheating: Warm it in a skillet over medium-low heat with a small splash of water or a dab of butter. The mistake is blasting it in the microwave until the noodles dry out and the cabbage turns limp.
Answers to the Questions Worth Asking
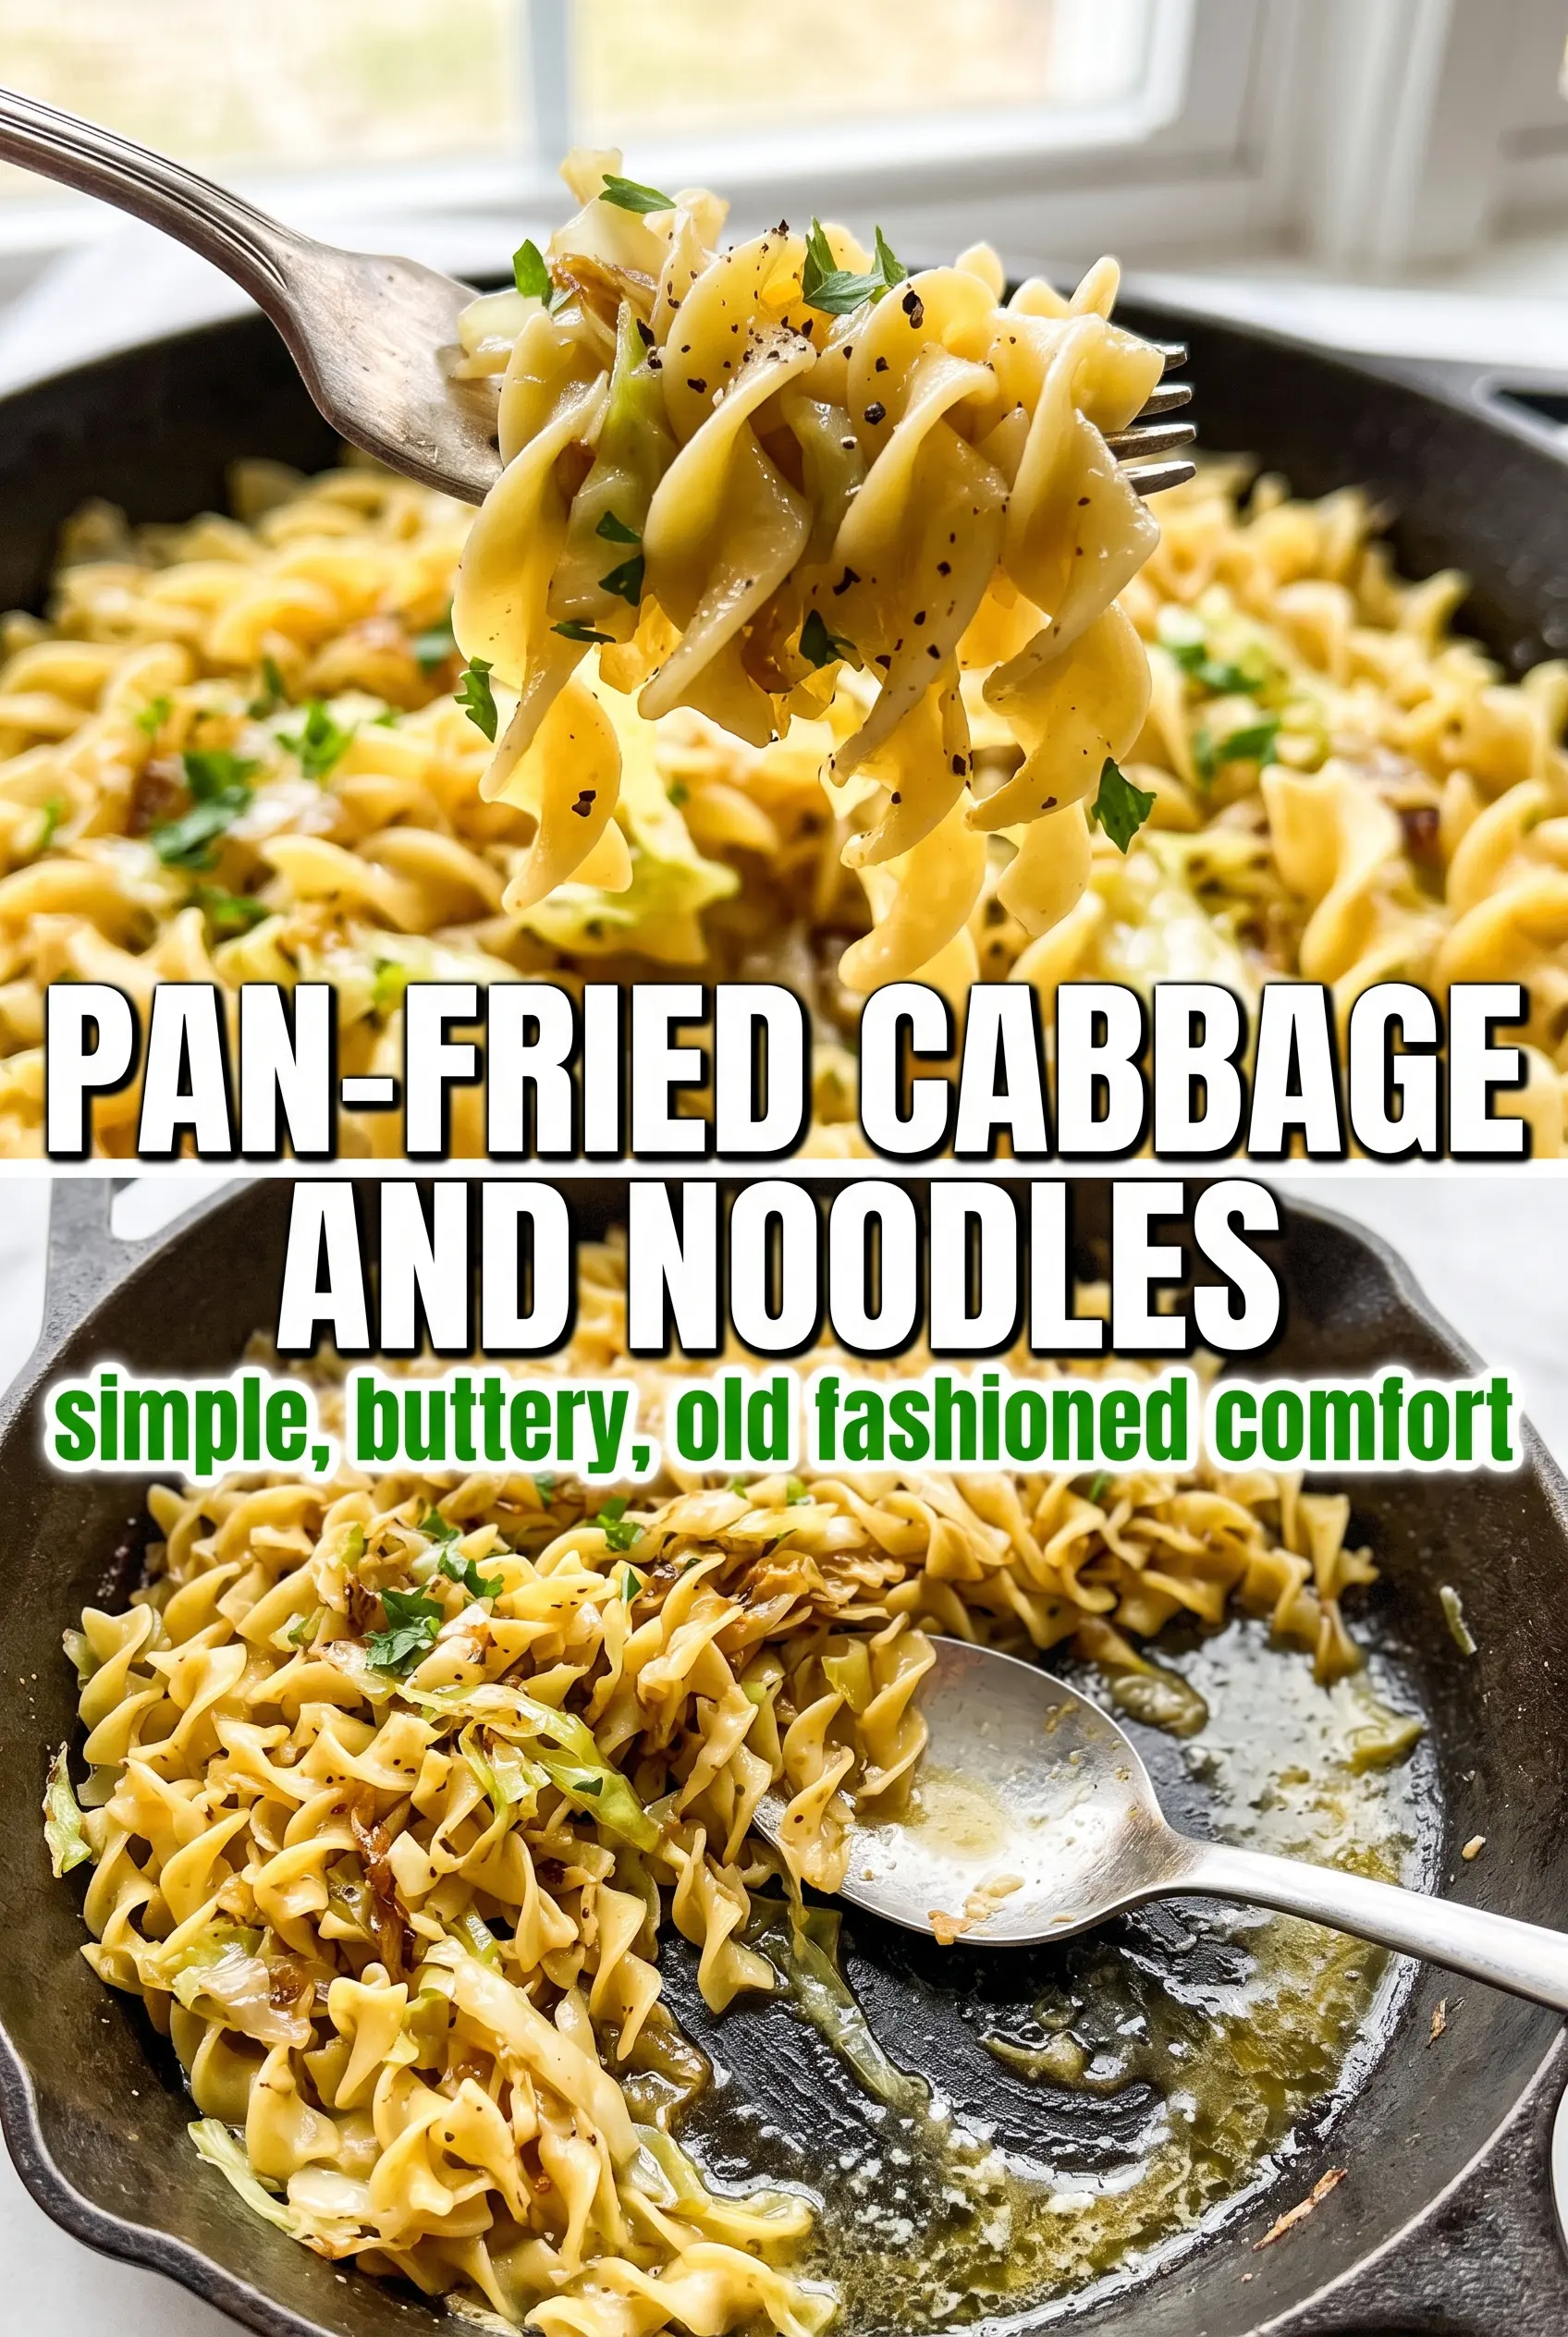
Pan-Fried Cabbage and Noodles (Haluski)
Ingredients
Equipment
Method
- Melt 4 tablespoons butter in a large skillet over medium heat, then add the onion with a pinch of salt and cook for 10 minutes until starting to caramelize, stirring as needed. Visual cue: the onion edges should turn golden and smell sweet.
- Add the sliced cabbage and cook for another 10–12 minutes over medium heat, stirring occasionally, until the cabbage is deeply golden and tender. Visual cue: you should see browned spots on the cabbage and a glossy, reduced look in the pan.
- Add the garlic and caraway seeds (if using) and cook for 1 minute, stirring constantly until fragrant. Visual cue: garlic should look lightly golden, not browned.
- Add the remaining butter and the cooked egg noodles, then toss everything together over medium heat until the noodles are coated and heated through. Visual cue: the noodles should look shiny and evenly buttery with golden cabbage distributed throughout.
- Season generously with salt and cracked black pepper, then serve immediately with a dollop of sour cream and fresh dill on top. Visual cue: black pepper flecks and dill should be visible on the finished dish.