These pumpkin chocolate chip blondies bake up thick, chewy, and deeply caramelized at the edges, with pockets of melted chocolate and a warm spice flavor that stays in the background instead of taking over. The browned butter gives them a nutty, almost toffee-like finish, and the pumpkin adds just enough softness to keep every square tender without turning cakey. A little flaky salt on top pulls the whole pan together.
The trick is keeping the pumpkin under control. Too much puree and the bars turn heavy and damp, which is why this recipe uses a small amount that’s blotted dry before it goes in. Browned butter does more than add flavor here; it helps the blondies taste richer without making them greasy, and it stands up to the chocolate chips instead of getting lost.
Below, I’ve included the one step that matters most for texture, plus a few swaps that actually work if you need to change the mix-ins or bake these for a different kind of dessert crowd.
The browned butter made these taste like pumpkin toffee bars, and the centers stayed soft without getting gummy. I cooled them completely and the chocolate chips set up into perfect little pockets.
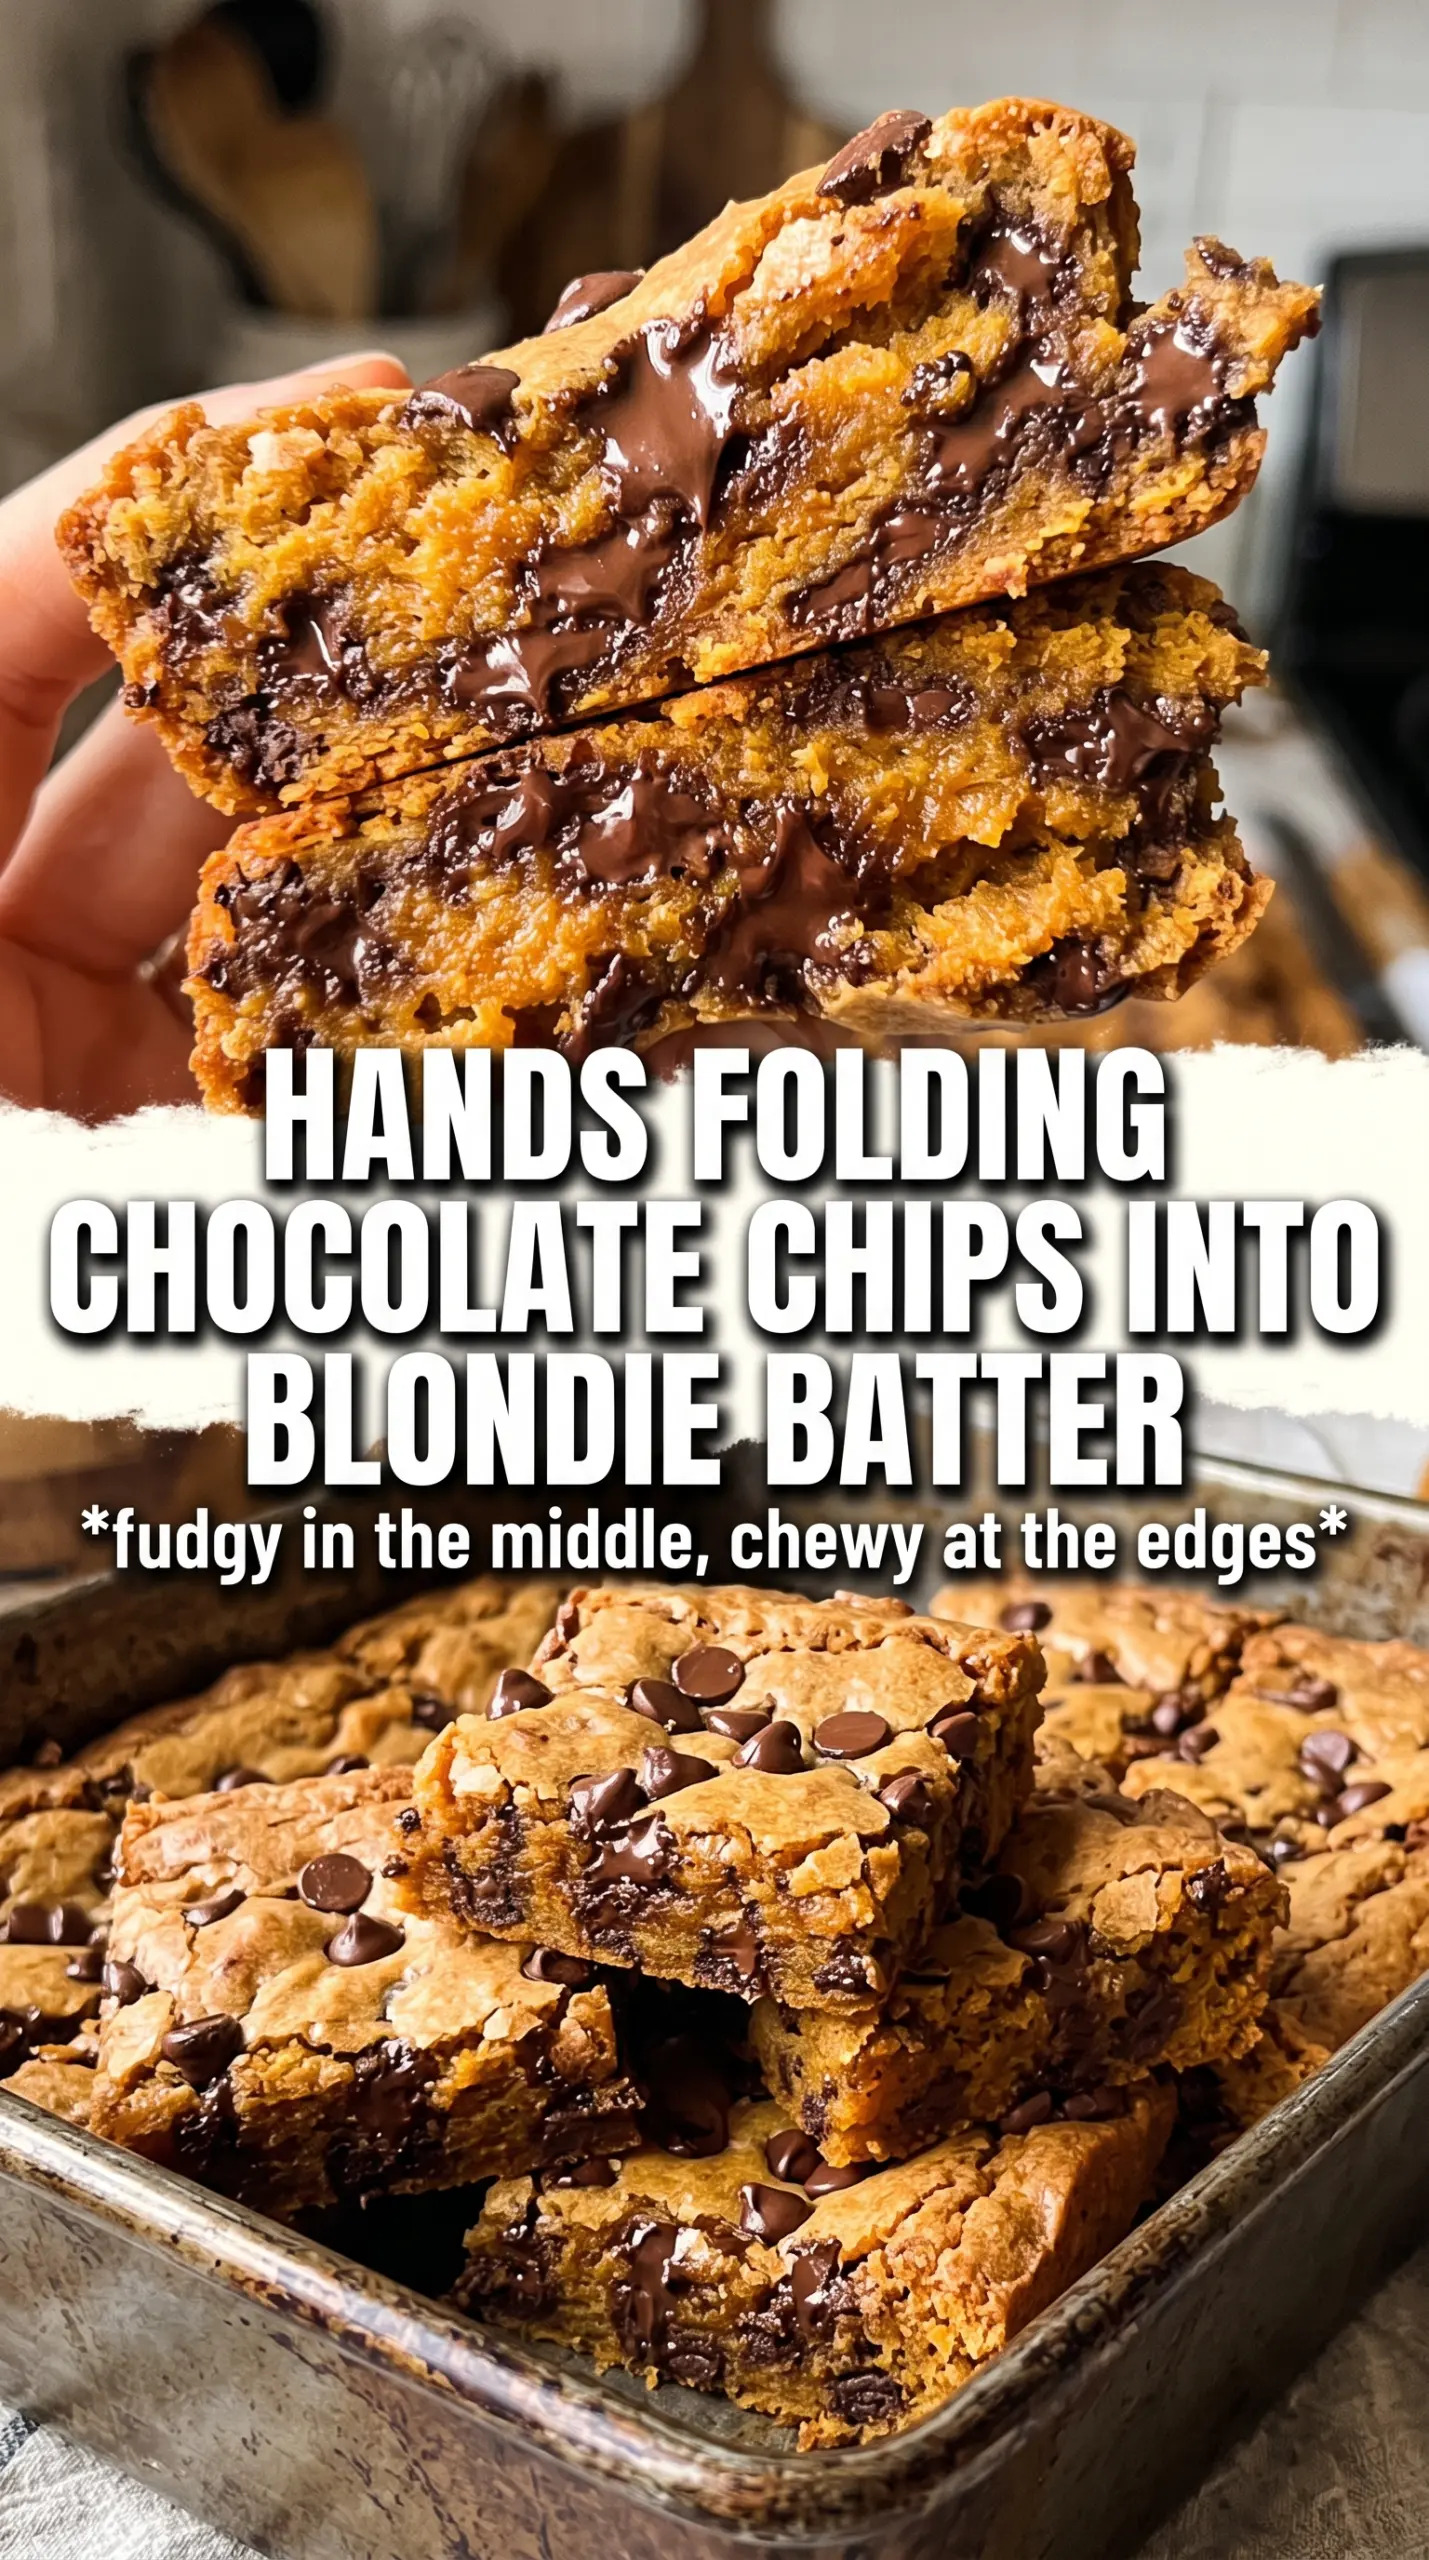
Save these pumpkin chocolate chip blondies for when you want chewy bars with browned butter, warm spice, and melted chocolate in every bite.
The Trick to Blondies That Stay Chewy Instead of Turning Cake-Like
Blondies get soft and cakey fast when there’s too much moisture in the batter or too much air worked into the mix. Pumpkin is the usual troublemaker. It’s tasty, but it brings a lot of water with it, and that water shows up in the oven as a puffy, bready bar instead of a dense one.
This version stays chewy because the pumpkin is used sparingly and blotted dry before it goes in. That small step matters more than any extra spice you could add. The browned butter also helps keep the crumb tight and rich, since it adds flavor without the extra water that plain melted butter can bring from rushing the mixing process.
Pull these from the oven when the center still has a few moist crumbs on the tester. If the toothpick comes out totally clean, they’ve usually gone a minute or two too far and the edges start to dry out before the middle sets.
What Each Ingredient Is Actually Doing in These Bars
- Browned butter — This is the backbone of the flavor. Browning it cooks off some moisture and leaves behind those nutty, toasted notes that make the bars taste deeper and more buttery than plain melted butter ever could.
- Pumpkin puree — Keep it to the measured amount and blot it dry. Fresh canned puree varies a lot in water content, and too much moisture is the fastest way to lose the chewy texture.
- Brown sugar — This brings the molasses note and keeps the bars soft for days. Light or dark brown sugar both work, but dark brown sugar gives a little more depth and a slightly stickier crumb.
- All-purpose flour — This gives the bars enough structure to hold the chocolate chips and pumpkin without collapsing. Don’t swap in cake flour here; it’s too soft and pushes the texture in the wrong direction.
- Chocolate chips — Semi-sweet chips are the sweet spot because they balance the brown sugar and spice without making the bars cloying. If you use chopped chocolate, you’ll get bigger melted pockets and a messier, more rustic look.
- Flaky sea salt — Add it at the end, not before baking. The little salty crunch makes the chocolate pop and cuts through the richness.
Building the Batter So the Bars Bake Up Thick and Fudgy
Browning the Butter Without Burning It
Set the butter in a light-colored pan so you can see the color change. It will foam first, then the milk solids will sink and start turning golden with a nutty smell. The moment you see amber bits and the aroma shifts from creamy to toasted, pull it off the heat and let it cool for about 10 minutes. If it goes too dark, the bars will taste bitter instead of rich.
Mixing the Wet Ingredients Without Whipping Air In
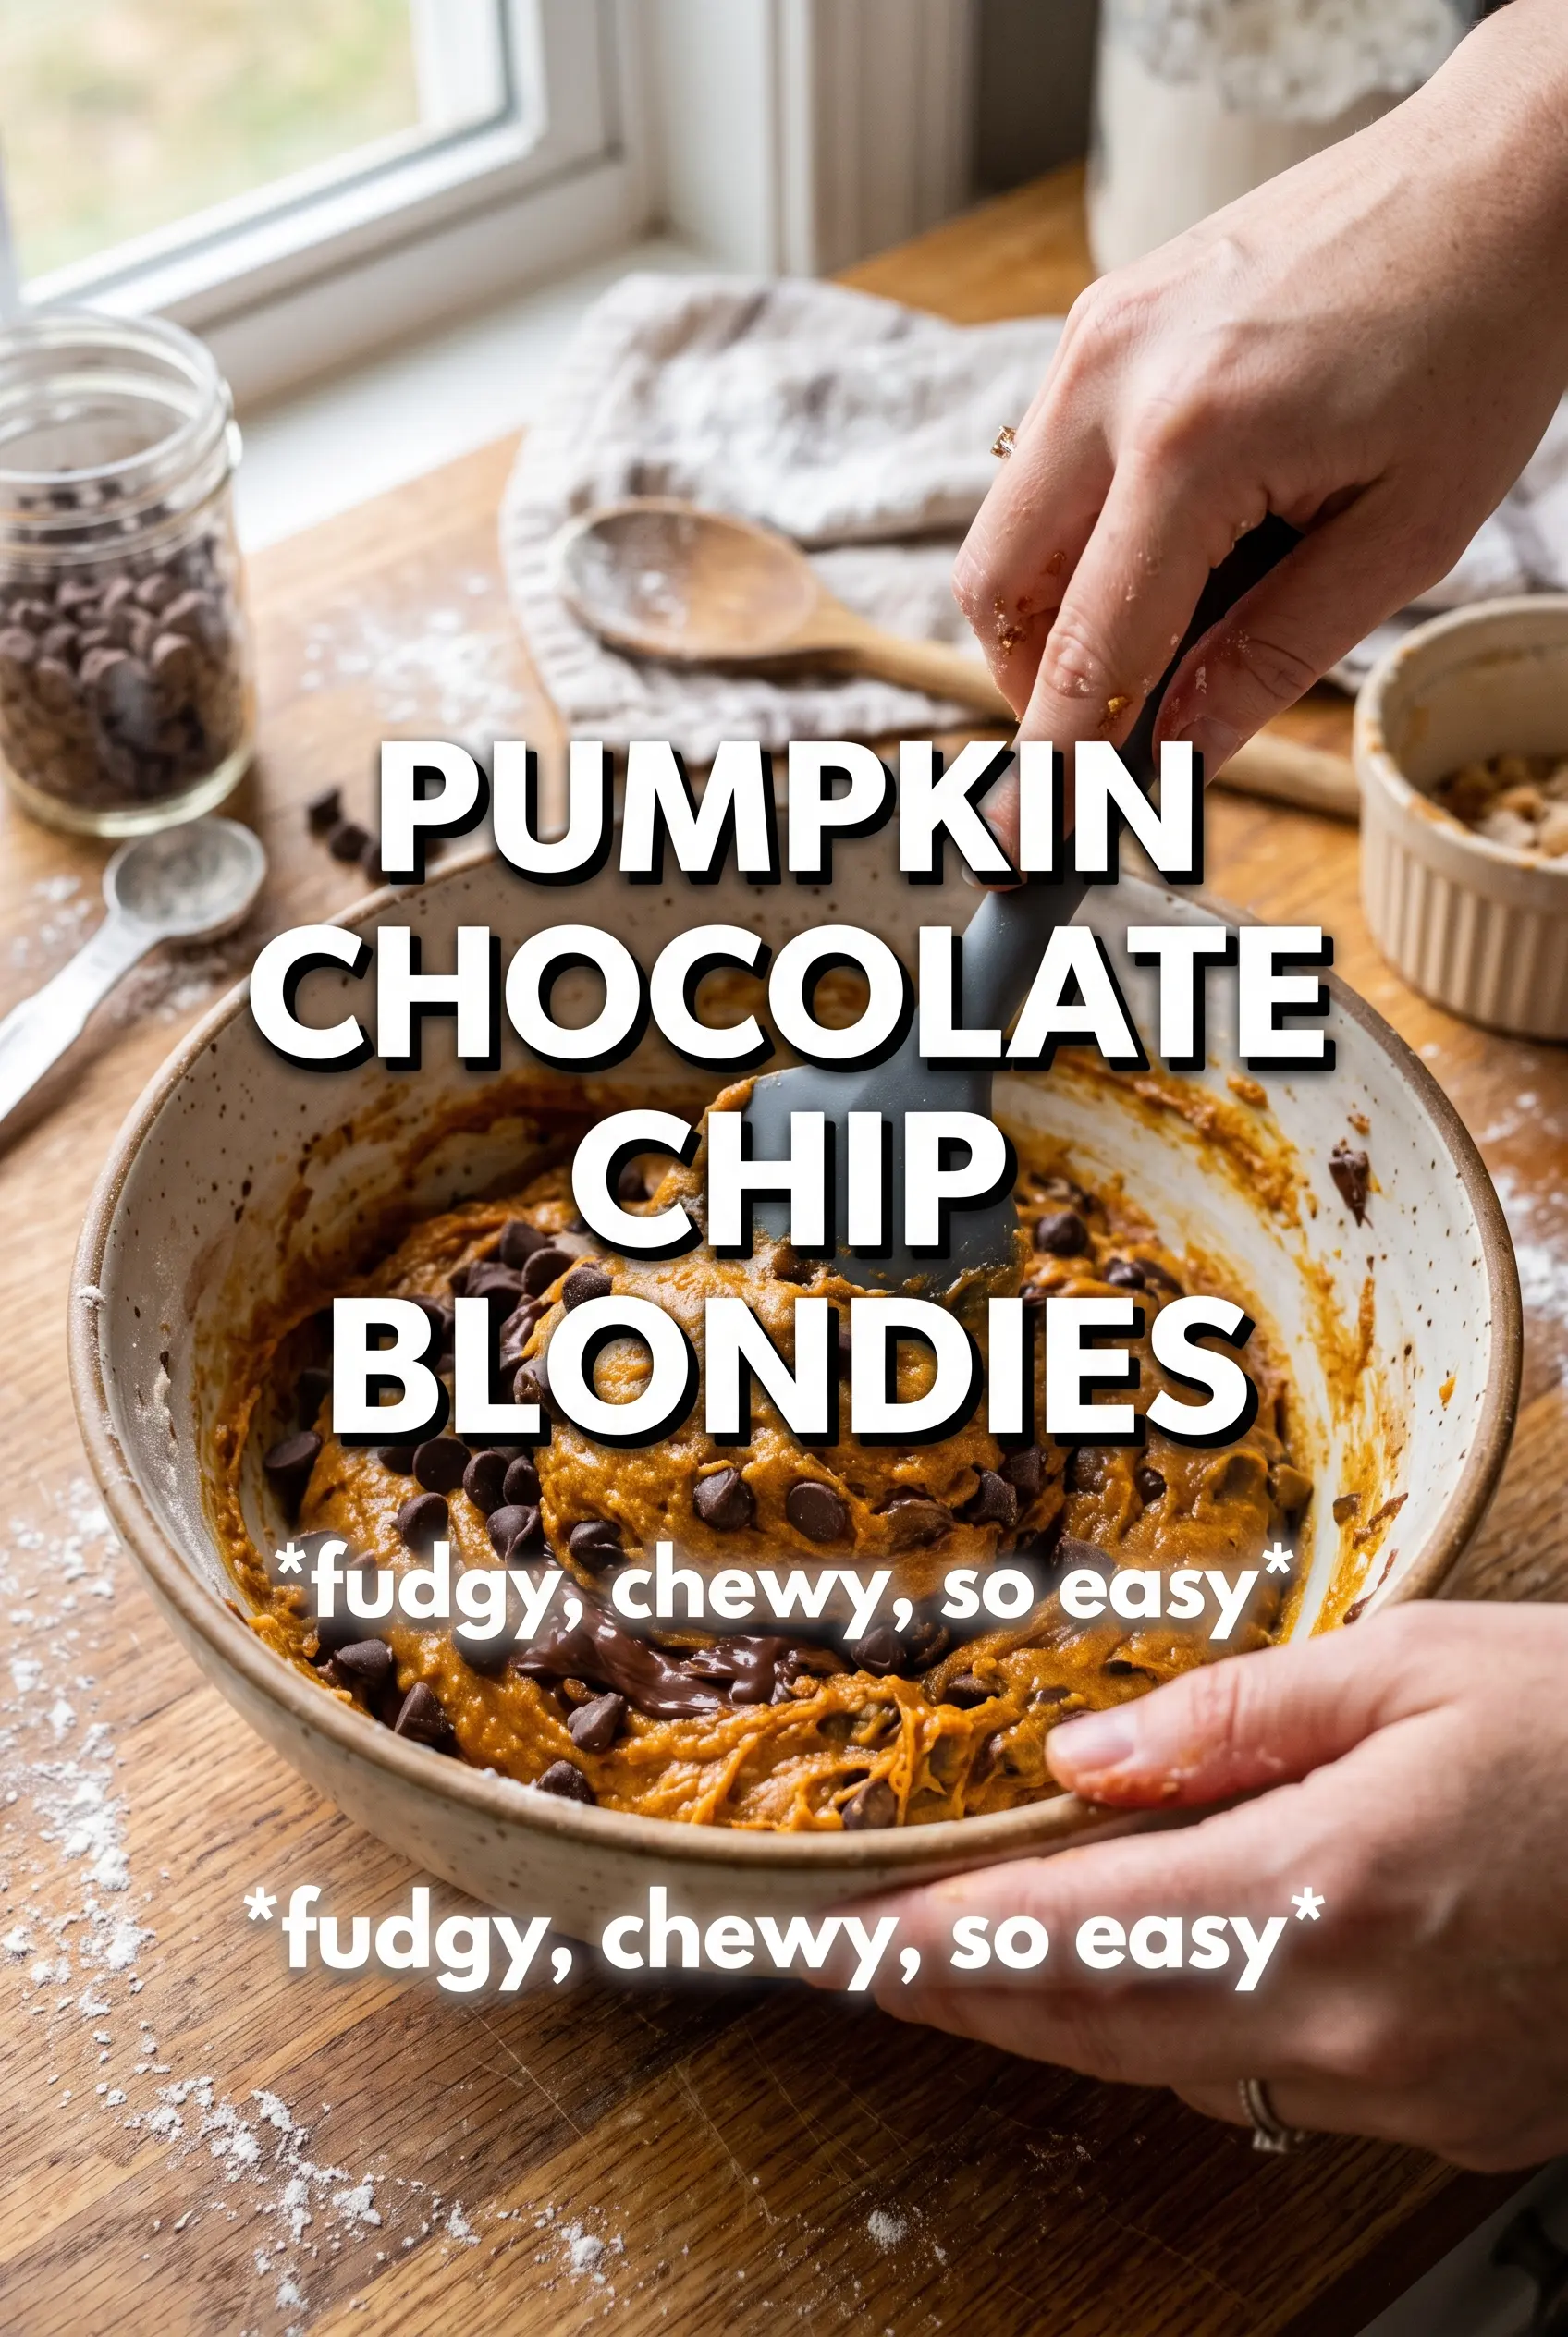
Whisk the brown sugar into the warm browned butter until the mixture looks glossy and thick. Then add the blotted pumpkin, eggs, and vanilla just until combined. You don’t want a fluffy batter here; extra air makes blondies rise too much and bake up more like cake. A smooth, slightly thick mixture is what you’re after.
Folding and Panning for Even Baking
Stir the dry ingredients in just until the flour disappears, then fold in the chocolate chips. Stop as soon as you stop seeing streaks of flour. Spread the batter into a greased 9×13 pan and nudge it into the corners so the edges don’t overbake while the center catches up. A few extra chips on top give you those bakery-style chocolate puddles.
Knowing When the Center Is Done Enough
Bake until the edges look set and lightly bronzed and the center still looks a little soft. A toothpick should come out with a few moist crumbs, not wet batter. That’s the sweet spot. Cool the pan completely before cutting, because these bars finish setting as they cool and slice much cleaner once the chocolate firms back up.
How to Change These Blondies Without Losing the Texture
Make Them Gluten-Free
Use a good 1:1 gluten-free flour blend that includes xanthan gum. The bars will be a touch more delicate, but the chew and structure hold up well if you don’t overmix the batter and you let them cool fully before slicing.
Swap the Chocolate Chips
Milk chocolate makes the bars sweeter and softer in flavor, while chopped dark chocolate gives sharper contrast and bigger melted pockets. White chocolate works too, but it pushes the blondies toward dessert-candy territory and softens the pumpkin spice.
Add Toasted Pecans
Fold in up to 1 cup of toasted pecans for extra crunch and a more nutty, autumn-style bar. Toast them first so they stay crisp in the moist batter and don’t taste flat beside the browned butter.
Storage and Reheating
- Refrigerator: Store in an airtight container for up to 5 days. The bars stay chewy, though the chocolate will firm up.
- Freezer: Freeze tightly wrapped squares for up to 2 months. Layer parchment between pieces so they don’t stick together.
- Reheating: Warm a square in the microwave for 10 to 15 seconds, just enough to soften the chocolate. Too much heat dries out the edges and makes the center lose that fudgy bite.
Answers to the Questions Worth Asking
Pumpkin Chocolate Chip Blondies
Ingredients
Equipment
Method
- Cook the unsalted butter in a cast iron skillet until golden and nutty, then cool for 10 minutes.
- Use the cooled browned butter as the base for the blondie batter.
- Preheat the oven to 350°F and grease a 9x13 pan.
- Whisk together all-purpose flour, baking powder, pumpkin pie spice, cinnamon, and salt until evenly combined.
- Whisk the browned butter and packed brown sugar until smooth, then whisk in the blotted pumpkin puree, eggs, and vanilla extract.
- Fold the flour mixture into the wet ingredients until just combined, keeping the batter thick.
- Fold in the semi-sweet chocolate chips, then spread the batter into the greased 9x13 pan.
- Scatter extra semi-sweet chocolate chips on top for visible pockets.
- Bake for 25-30 minutes at 350°F until a toothpick has just a few moist crumbs.
- Sprinkle with flaky sea salt, then cool completely before cutting.