Pumpkin Oreo balls hit that sweet spot between nostalgic and a little unexpected: a cookies-and-cream center with a soft pumpkin-spice edge, wrapped in a snap of white chocolate. The filling stays dense enough to roll cleanly, but the bite is still creamy, not dry or crumbly, which is what makes them disappear fast from a dessert tray.
The texture depends on two things: blotting the pumpkin puree until it loses some of its water, and chilling the mixture before you scoop it. Skip either one and the balls turn sticky, soft, and hard to dip. I also like using pumpkin spice Oreos when I can find them because they give you pumpkin flavor without making the filling loose.
Below, I’ve included the little details that keep the centers firm, the coating smooth, and the topping in place before the chocolate sets. If you’ve ever had truffle-style desserts crack, slump, or slide off the fork, this batch will save you a lot of frustration.
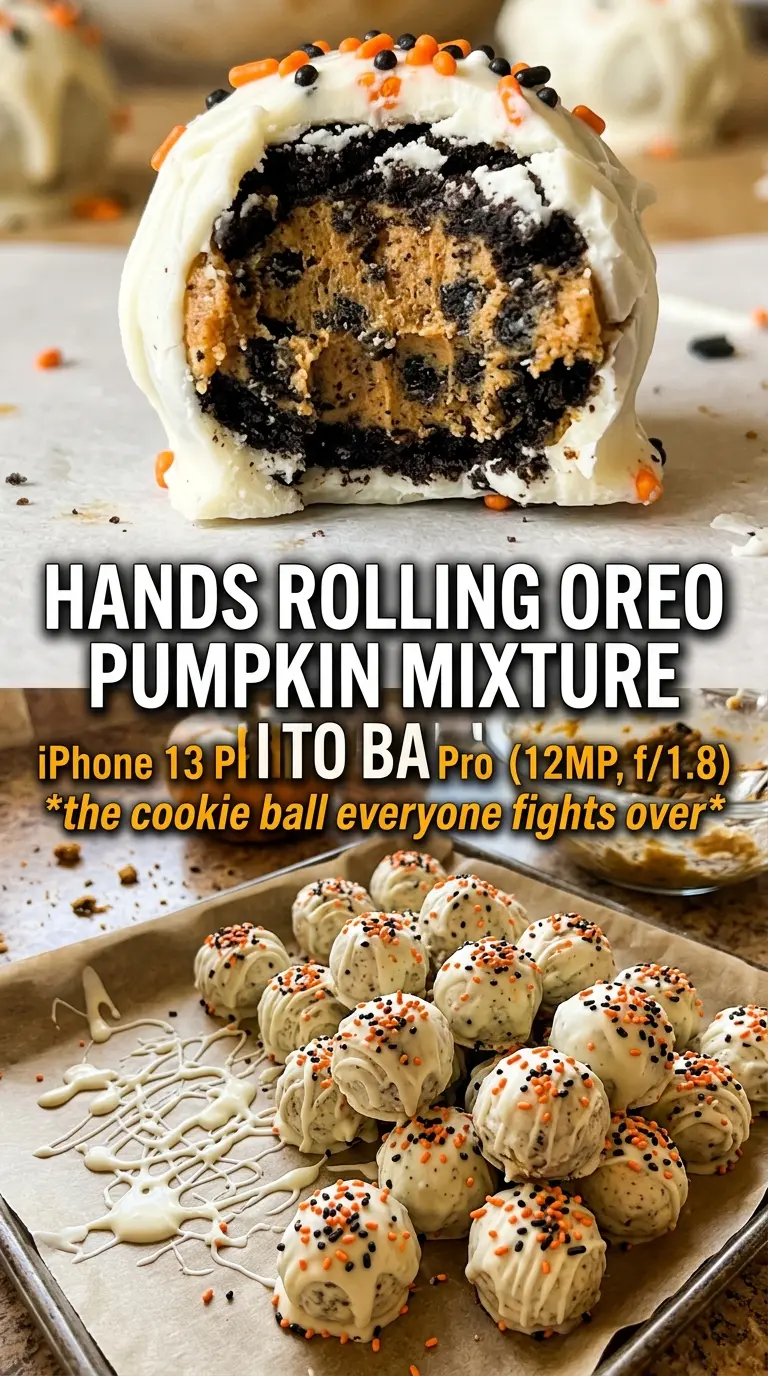
The filling set up perfectly after chilling, and the white chocolate coating stayed smooth instead of cracking when I dipped them. I used regular Oreos and added a little extra pumpkin spice on top, and they tasted like pumpkin cheesecake cookies.
Like these Pumpkin Oreo Balls? Save them to Pinterest for an easy no-bake dessert with a creamy center and chocolate shell.
The Reason These Balls Hold Their Shape Instead of Turning Sticky
Pumpkin puree is the troublemaker here. It adds flavor, but it also adds water, and water is what makes truffle-style mixtures too soft to roll or dip. Blotting the puree first keeps the filling thick enough to hold together without needing a mountain of extra crumbs, which would make the centers dry and dull.
The other thing that matters is chilling in stages. First the mixed filling needs time to firm up, then the scooped balls need a quick freeze so they stay round when they meet the warm chocolate. If you try to dip them while they’re still soft, the centers will slump, the coating will drag, and you’ll end up with misshapen little blobs instead of clean balls.
- Pumpkin puree — Use plain pumpkin puree, not pumpkin pie filling. The filling already contains sugar and spices, which throws off both the texture and the balance of the mixture. Blot it well between paper towels until it feels thicker and less glossy.
- Cream cheese — Full-fat cream cheese gives the smoothest, richest center and sets up best after chilling. Reduced-fat works in a pinch, but it softens faster and can make the mixture a little looser.
- Pumpkin spice Oreos — These give you built-in spice and a stronger pumpkin note. Regular Oreos still work fine, but if you use them, the pumpkin pie spice and cinnamon need to carry more of the flavor.
- White chocolate or candy melts — Candy melts are the easiest option if you want a smooth, crack-free shell. White chocolate tastes better, but it’s pickier and can seize if even a drop of moisture gets into it.
What Each Ingredient Is Actually Doing in This Recipe
- Primary ingredient (the star) — Quality matters most. Choose the best you can find.
- Cooking medium (oil, butter, or broth) — This carries flavors and prevents dryness.
- Seasonings (salt, pepper, spices, herbs) — Layer flavors so nothing overpowers. Build depth gradually.
- Aromatics (garlic, onion, herbs) — Cook with fat to bloom flavors. Become the foundation.
- Supporting ingredients — Complement the main ingredient without overpowering it.
- Sauce or liquid (if applicable) — Brings flavors together. Balance richness with acid.
- Acid (lemon, vinegar, wine, or other) — Brightens and prevents flat-tasting results.
- Final finish (garnish, glaze, or sauce) — Prevents one-dimensional taste and adds visual appeal.
Getting the Filling Cold Enough to Dip Cleanly
Building the Oreo Base
Crush the Oreos into fine crumbs, including the filling, so the mixture binds evenly and doesn’t leave sandy pockets. A food processor gives the cleanest result, but a sealed bag and rolling pin work if you go until the crumbs are truly fine. Bigger pieces make the balls lumpy and more likely to crack when you roll them.
Mixing the Pumpkin Center
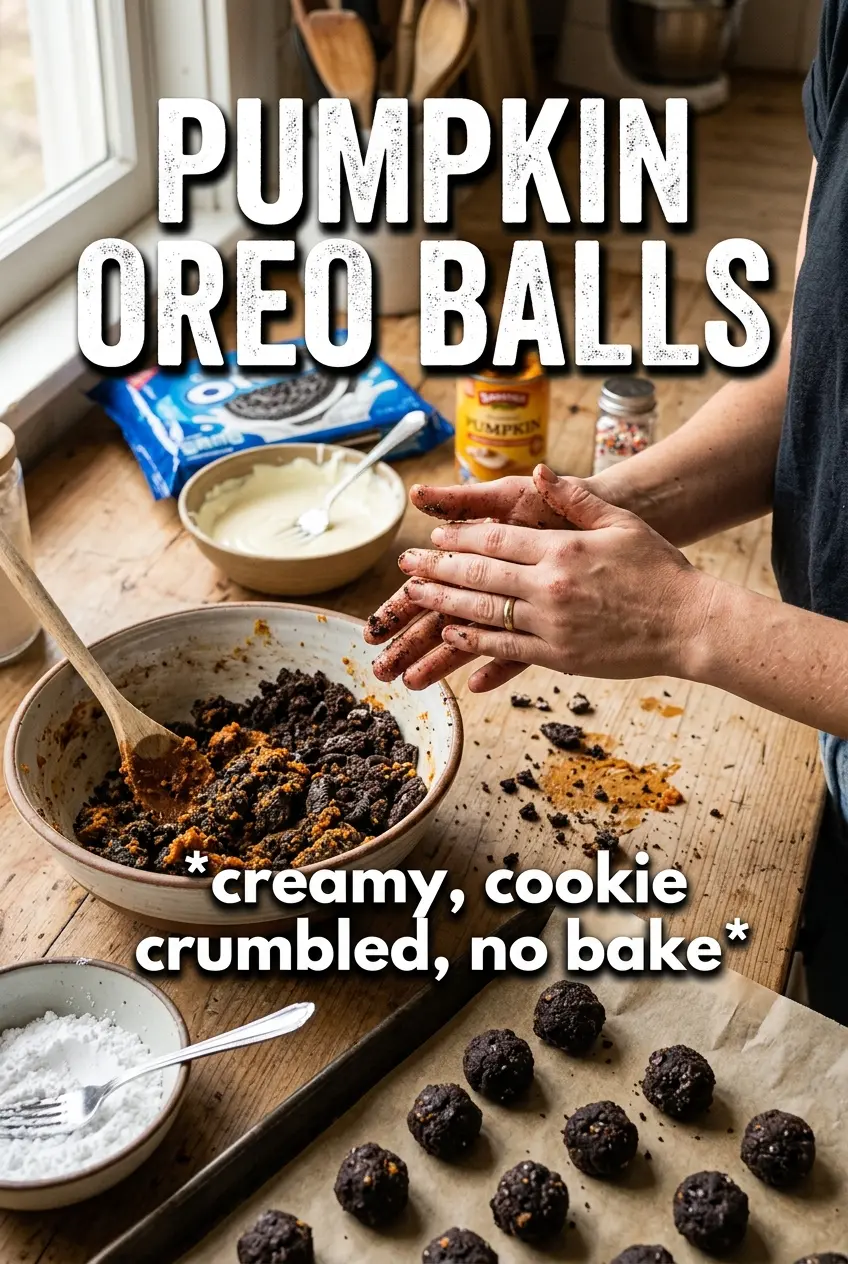
Beat the cream cheese first until it’s completely smooth, then add the blotted pumpkin puree, pumpkin pie spice, and cinnamon. That order matters because cold or lumpy cream cheese makes it harder to mix everything evenly. Once the Oreo crumbs go in, stop mixing as soon as the dough looks uniform; overmixing just warms it up and makes dipping harder later.
Shaping and Freezing
Refrigerate the mixture before scooping, then roll into 1-inch balls and freeze until firm. The goal is a shape that feels cool and solid in your hands, not frozen solid through the center. If the balls stick to your palms, dust your hands lightly with Oreo crumbs or chill the mixture a little longer before continuing.
Coating Without Dragging the Centers
Melt the white chocolate slowly and keep it smooth, then stir in orange coloring only if you want that pumpkin-orange look. Dip each ball and let the excess drip off before setting it on parchment, because a thick coating hides the shape and pools underneath. Add the crushed Oreo topping immediately, while the chocolate is still wet, or it won’t cling.
Make Them Darker and Less Sweet
Use semi-sweet or dark chocolate instead of white chocolate. The coating will be less classic-looking, but it balances the sweet cream cheese center better and gives each bite more contrast.
Gluten-Free Version
Use gluten-free sandwich cookies that crush into a similar fine crumb. The texture stays close to the original, though some gluten-free cookies are softer, so chill the mixture a little longer before rolling.
Extra Pumpkin Spice Flavor
Add another 1/4 teaspoon of pumpkin pie spice if you want the pumpkin flavor to come forward more strongly. Don’t add extra pumpkin puree to boost the taste; that only makes the mixture wetter and harder to shape.
Storage and Reheating
- Refrigerator: Store in an airtight container for up to 5 days. The coating stays firm, but the centers soften slightly after a day or two.
- Freezer: These freeze well for up to 2 months. Freeze in a single layer first, then transfer to a container with parchment between layers so the shells don’t stick together.
- Reheating: Don’t reheat these. Serve them straight from the fridge or let them sit at room temperature for 10 to 15 minutes so the center loses its chill without softening the coating.
Answers to the Questions Worth Asking
Pumpkin Oreo Balls
Ingredients
Equipment
Method
- Blot the pumpkin puree dry, then crush the entire package of Oreos into fine crumbs in a food processor.
- Beat the cream cheese until smooth, then add the blotted pumpkin puree, pumpkin pie spice, and cinnamon.
- Fold the Oreo crumbs into the cream cheese mixture until fully combined, then refrigerate for 30 minutes.
- Scoop the chilled mixture into 1-inch balls, then freeze for 20 minutes.
- Melt the white chocolate (or candy melts) and stir in orange food coloring if desired.
- Dip each frozen ball, let excess drip off, and top immediately with crushed Oreos before the chocolate sets.
- Refrigerate the pumpkin Oreo balls until firm.