Pumpkin poke cake lands somewhere between bakery cake and old-fashioned icebox dessert, and that’s what makes it so good. The spice cake stays soft and tender, the caramel sinks deep into the holes, and the chilled whipped topping gives each slice that cool, creamy finish that makes people go back for a second piece before the first one is gone.
The trick here is using the cake while it’s still hot enough to drink up the caramel. If you wait until it cools, the sauce mostly sits on top instead of soaking through the crumb. A little pumpkin puree goes into the batter for extra moisture and a quieter, more rounded pumpkin flavor, while pumpkin pie spice keeps the cake tasting warm and familiar instead of flat.
Below, you’ll find the simple timing that keeps the caramel moving into the cake instead of pooling on top, plus a few smart swaps if you need to work with what’s in your pantry.
The caramel soaked all the way through and the topping stayed fluffy even after chilling overnight. I used the spoon handle to poke the holes and it made a huge difference in getting every bite sweet and moist.
Like this pumpkin poke cake? Save it to Pinterest for the caramel-soaked dessert that gets even better after chilling.
The Part That Keeps the Caramel From Sitting on Top
The whole dessert depends on timing. The cake needs to be hot when the caramel goes on, because heat loosens the crumb just enough for the sauce to move down into the holes instead of making a sticky layer on the surface. If the cake has cooled, the caramel clings to the top and the inside stays dry.
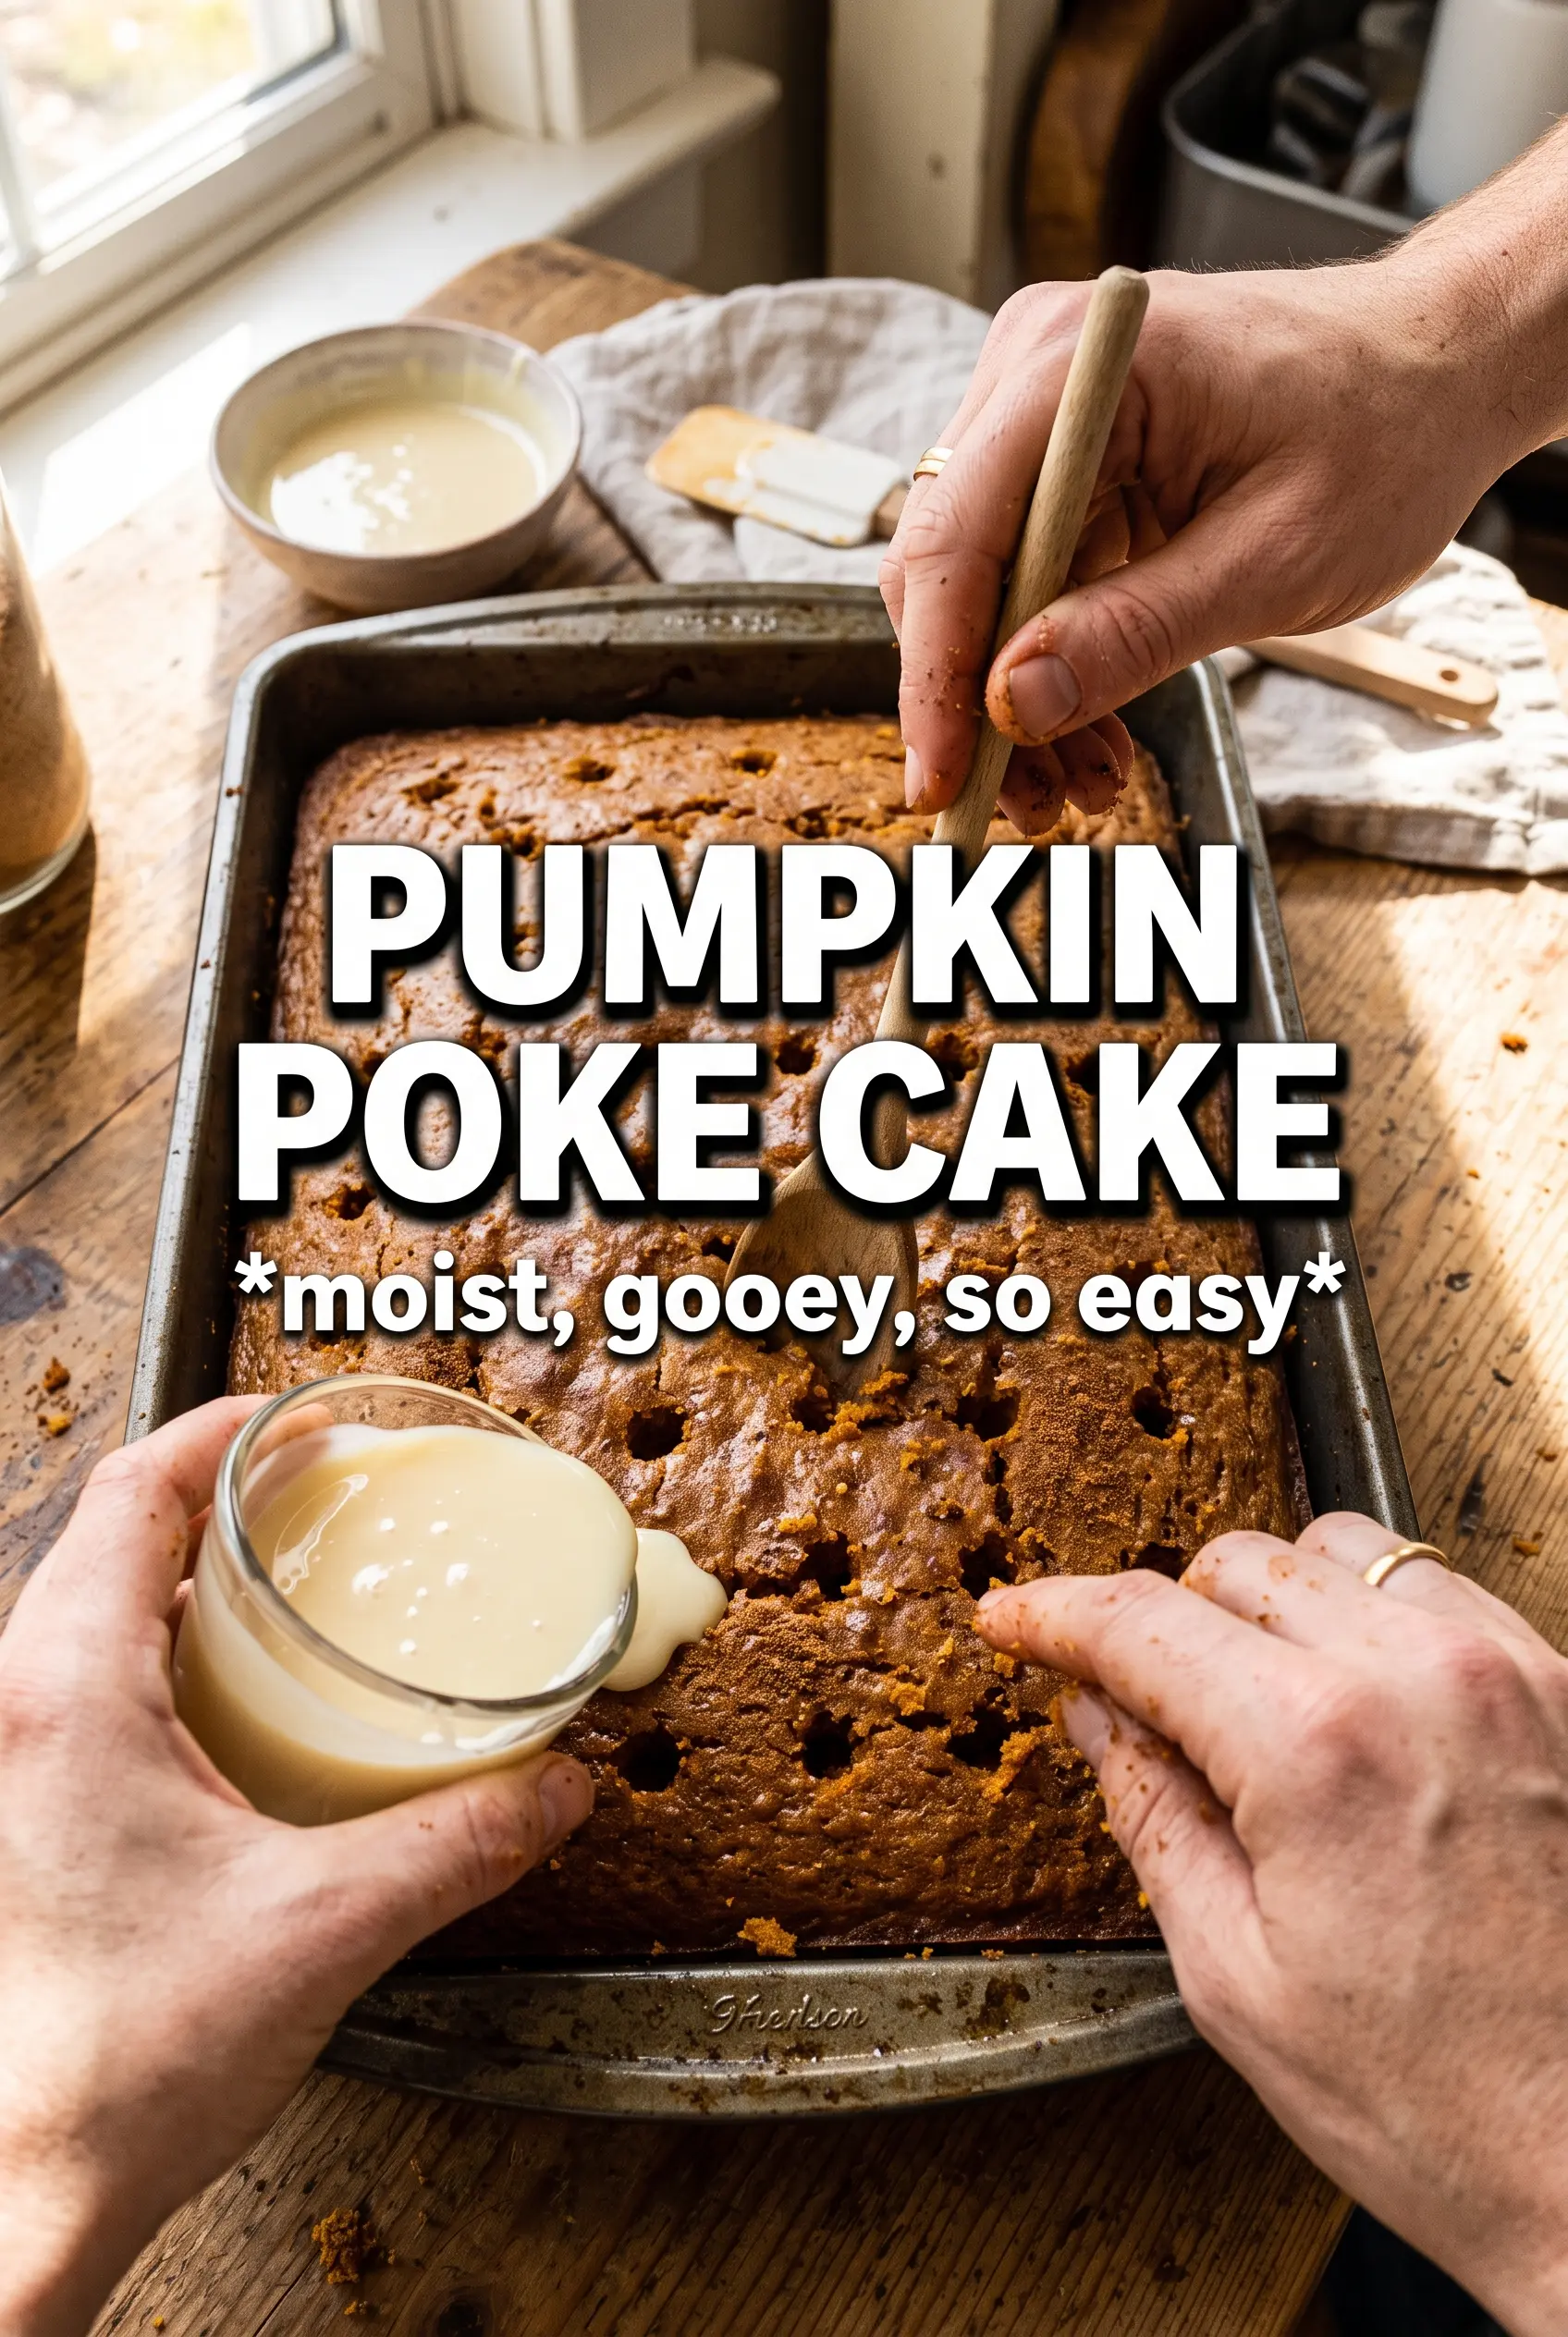
Use the handle of a wooden spoon, not a fork or skewer. Bigger holes give the caramel places to settle, and you want enough of them that every slice gets some of that soaked-through middle. Don’t overdo the baking time either; a cake that’s baked just until a toothpick comes out clean will stay tender after chilling, while an overbaked one turns crumbly once it’s cut.
What Each Layer Is Doing in This Cake
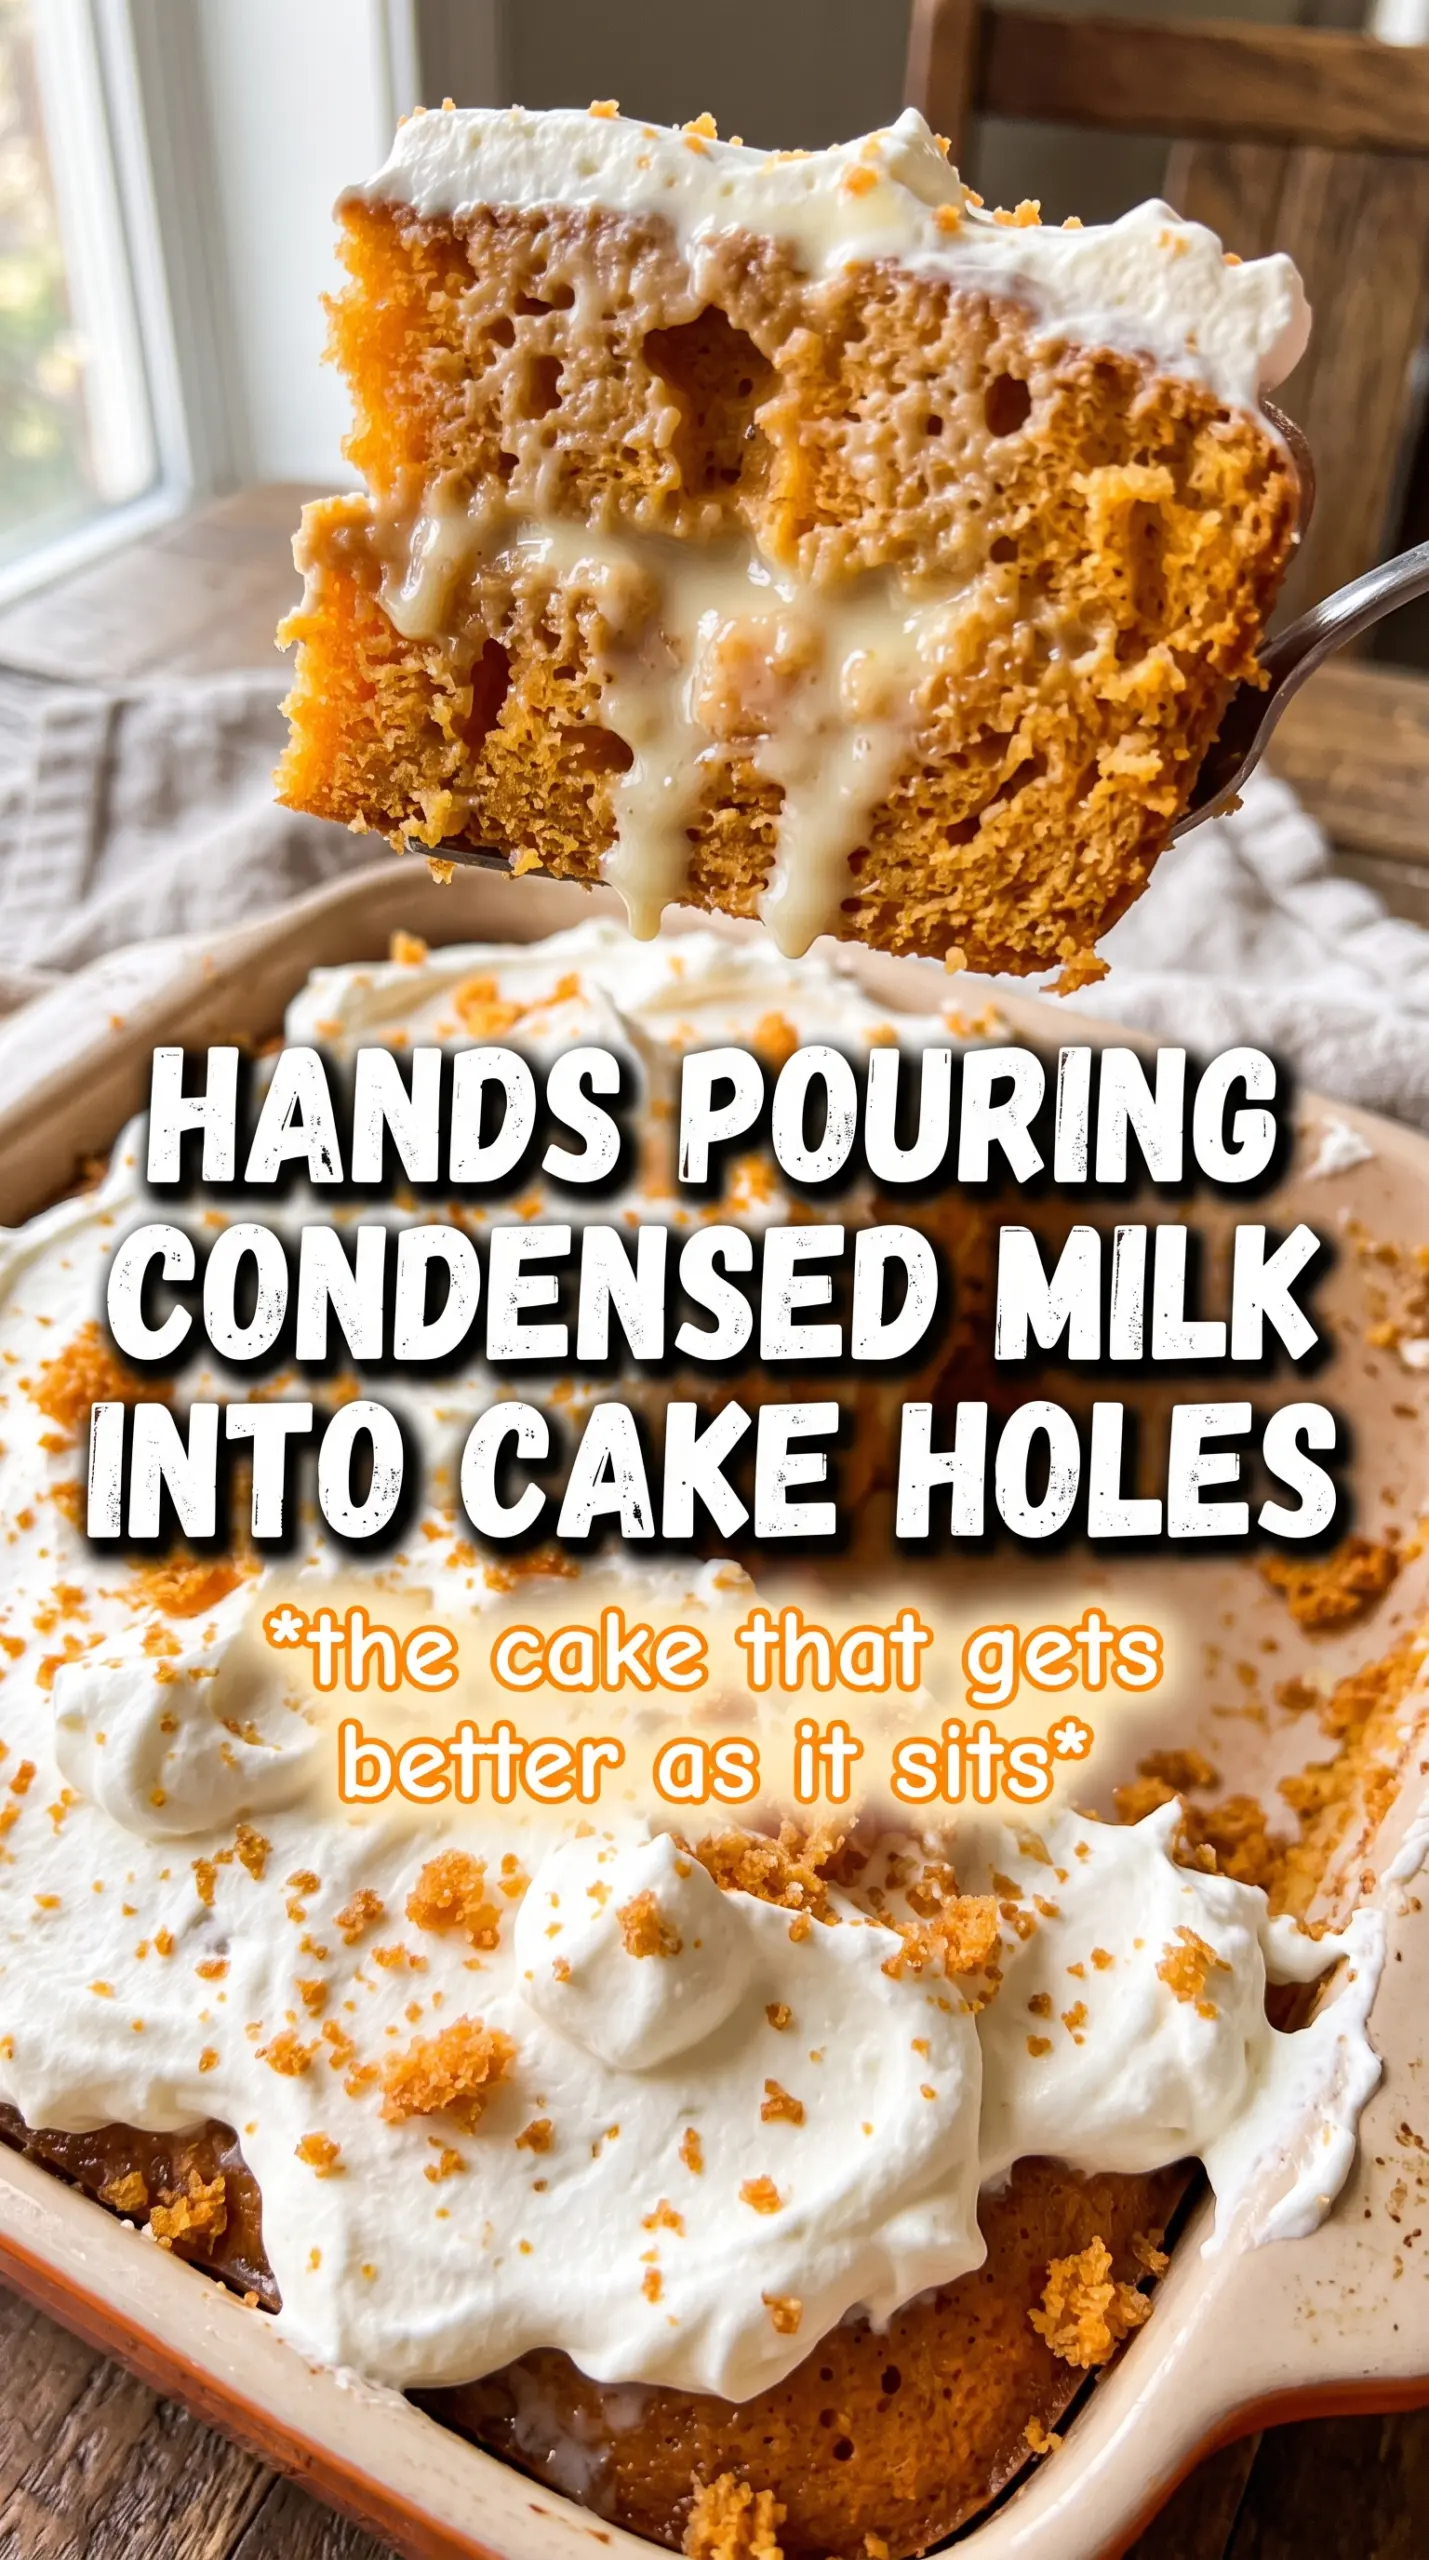
- Spice cake mix — This gives you a dependable, moist base with built-in warmth from the spices. A plain yellow cake mix works in a pinch, but you’ll lose the deeper cinnamon-and-clove background that makes the pumpkin read clearly.
- Pumpkin puree — This adds moisture and a soft pumpkin flavor without making the cake heavy. Use pure pumpkin puree, not pumpkin pie filling, or you’ll throw off the sweetness and spice balance.
- Pumpkin pie spice — The spice mix boosts the pumpkin flavor and keeps the cake from tasting flat. If you don’t have it, cinnamon with a pinch each of nutmeg and ginger gets you close.
- Caramel sauce — This is the soak, so use something pourable and smooth. Thick caramel that’s too cold won’t travel into the holes well; warm it slightly if needed so it flows.
- Whipped topping — Cool, fluffy topping balances the dense, soaked cake and keeps the dessert from feeling too rich. Homemade whipped cream can work, but it’s softer and won’t hold as long in the fridge.
- Toffee bits — They add crunch and a little butterscotch note that plays nicely with the caramel. Add them right before serving if you want the fullest crunch.
Building the Soak, the Chill, and the Finish
Mixing the Pumpkin Into the Batter
Prepare the spice cake mix according to the box directions, then stir in the pumpkin puree and pumpkin pie spice. The batter will look a little thicker than a standard box cake, and that’s fine; the pumpkin adds body and moisture. Mix only until everything is combined, because beating it too long can make the cake tight instead of tender.
Baking for a Soft Crumb
Pour the batter into a greased 9×13 pan and bake until the center springs back lightly and a toothpick comes out with a few moist crumbs. You want the cake done, not dry. If it bakes too long, the caramel won’t soak in as evenly and the finished dessert can get a little bready around the edges.
Poking While It’s Hot
As soon as the cake comes out of the oven, use the handle of a wooden spoon to poke holes all over the top. Work in rows so you don’t miss the corners. If you let it sit too long, the top firms up and the caramel has a harder time sinking into the crumb.
Pouring the Caramel In
Slowly pour the caramel sauce over the warm cake, aiming for the holes and moving across the surface in passes. Let it sit for a few minutes so the sauce can drop down before you spread or move anything. If the caramel pools, the cake wasn’t hot enough or the sauce was too thick, and a brief warm-up will help the rest of it flow.
Chilling Before the Topping
Refrigerate the cake until it’s fully cool and the caramel has settled, about an hour. The whipped topping needs a cold base or it will start sliding around when you spread it. This is the point that keeps the layers clean when you cut into it later.
Finishing With Topping and Crunch
Spread the thawed whipped topping over the chilled cake in an even layer, then add the toffee bits and a drizzle of extra caramel. If you want neat slices, chill it again before serving so the topping sets a little. The flavor is best after that second chill, when the caramel has fully married with the cake.
How to Change It Without Losing What Makes It Good
Dairy-Free Version
Use a dairy-free whipped topping and check that your caramel sauce is dairy-free, since many store-bought versions contain cream or butter. The cake itself can stay the same if your boxed mix is dairy-free, and the finished dessert still gets that chilled, creamy top without losing the soak.
Gluten-Free Cake Mix Swap
Use a gluten-free spice cake mix and follow the package directions closely, since gluten-free batters can be a little more fragile. The texture will be slightly more delicate, but the caramel soak and whipped topping still make it sliceable and rich.
Extra Pumpkin Flavor
If you want the pumpkin to come forward more, add an extra 1/4 cup pumpkin puree and reduce the oil in the box mix by the same amount if the batter seems loose. That keeps the cake from turning heavy while still pushing the flavor more toward pumpkin than spice cake.
Storage and Reheating
- Refrigerator: Store covered for up to 4 days. The whipped topping stays best when the cake is kept cold, though the toffee bits will soften a little after day one.
- Freezer: Freeze the unfrosted, caramel-soaked cake if you want to get ahead. Add the whipped topping and toffee after thawing; frozen topping tends to separate and lose its texture.
- Reheating: Don’t reheat the finished cake. This dessert is meant to be served chilled, and warming it will melt the topping and make the caramel run.
Answers to the Questions Worth Asking
Pumpkin Poke Cake
Ingredients
Equipment
Method
- Heat oven to 350°F and prepare a 9x13 pan. Mix the spice cake mix according to box directions, then stir in pumpkin puree and pumpkin pie spice.
- Bake in the 9x13 pan at 350°F for 30 minutes, or until a toothpick comes out clean. Keep the cake in the pan immediately after baking.
- While the cake is still hot, poke holes all over using the handle of a wooden spoon. Space the holes evenly so the caramel has access to the whole cake.
- Pour caramel sauce over the hot cake, letting it soak into all holes completely. Pause as needed so the surface looks uniformly saturated.
- Refrigerate for 60 minutes until fully absorbed and cooled. The cake should feel set and not slick from excess caramel.
- Spread the whipped topping over the chilled cake. Cover the surface evenly to the edges.
- Scatter toffee bits over the whipped topping, then drizzle with extra caramel. Finish with a light, glossy caramel layer.
- Refrigerate at least 60 more minutes before serving. Chill until firm enough to slice cleanly.